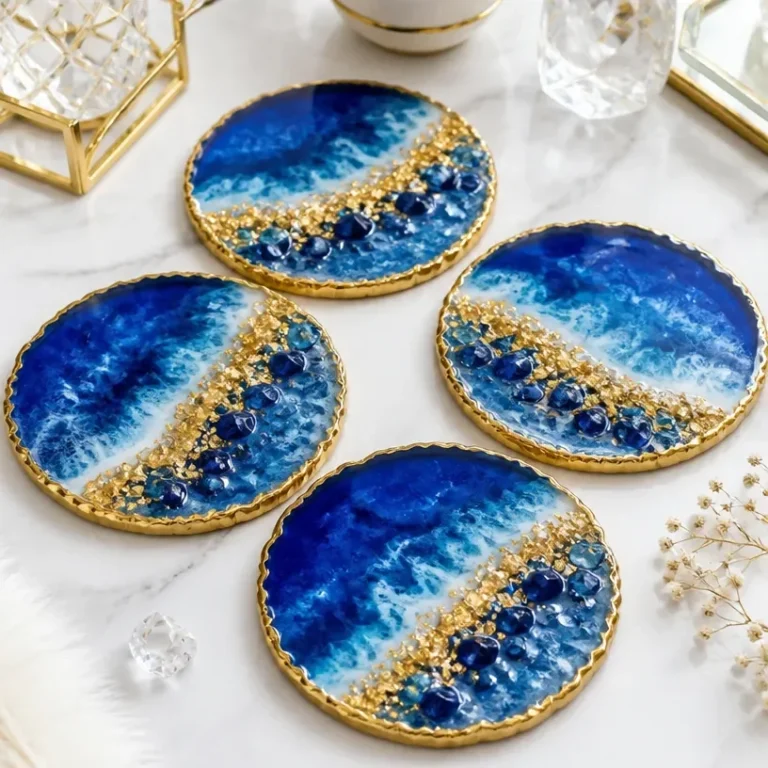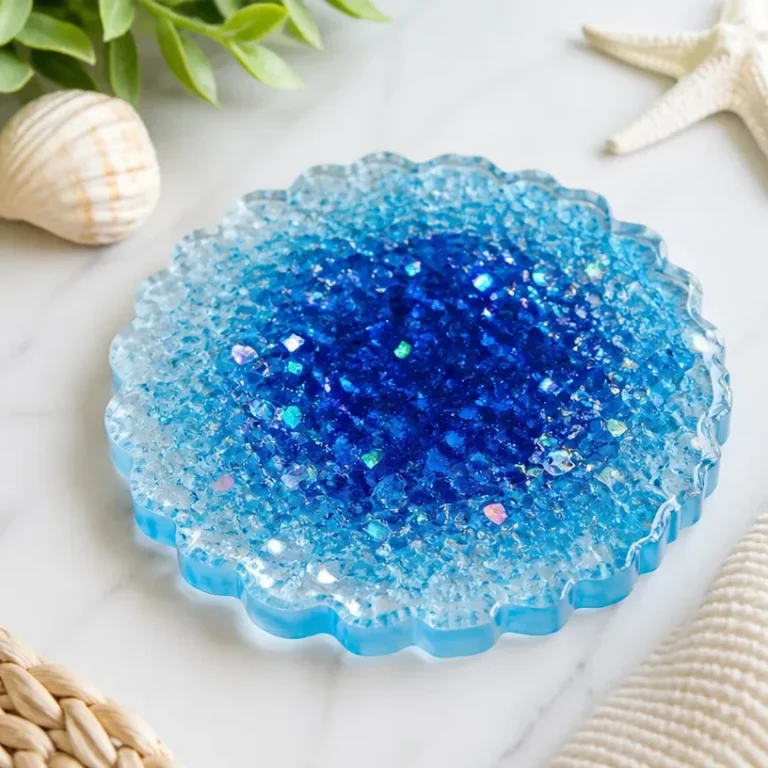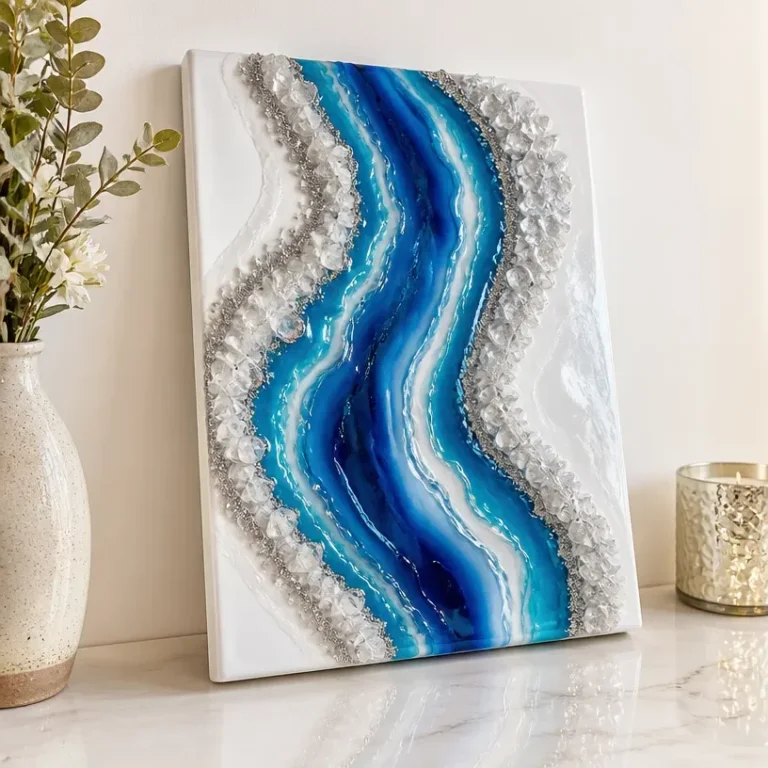
Creating beautiful ocean resin coasters adds a touch of coastal charm to your home decor. These unique pieces are perfect for showcasing natural blues and aquamarines, reminiscent of serene ocean waves. They can be displayed in your living room, used as functional coasters, or even gifted to friends who cherish beach-themed decor. You may also find Diy Ocean Glitter Resin Tray Coastal Decor useful.
In this article, we will guide you through the steps to craft these stunning coasters yourself, ensuring that the finished result is both eye-catching and functional. For those eager to explore more coastal-inspired projects, consider checking out DIY coastal resin trays as well.
Why You’ll Love This Project
Benefits of Making Ocean Resin Coasters
- Display-Worthy Aesthetic: These coasters are not only practical but also serve as decorative elements in your home.
- Customizable Designs: You can easily modify colors and materials to match your decor or personal style.
- Approachable Crafting Technique: If you’re new to working with resin, creating coasters is a manageable and rewarding project.
- Gift Potential: Handmade coasters make thoughtful and unique gifts for any occasion.
- Inexpensive Materials: Most materials required for this project are affordable and readily available.
Before You Begin
Before starting your project, it’s essential to prepare your workspace. Make sure to protect your work surface with a drop cloth or silicone mat to prevent any resin drips. Additionally, ensure that your work area is well-ventilated, as resin can emit fumes during curing. Organizing your materials ahead of time also helps streamline the process, allowing for a more enjoyable crafting experience. You may also find Diy Artificial Sea Glass Vase For Coastal Decor useful.

You may also find Diy Sea Glass Mosaic Mirror For Coastal Wall Decor useful.
Materials You’ll Need
- Epoxy resin a clear and durable material used to create the coaster base.
- Hardener necessary for curing the epoxy resin to a solid state.
- Mixing cups used for combining the resin and hardener.
- Stirring sticks needed to mix your resin and hardener thoroughly.
- Color pigments to give your coasters the desired ocean-inspired hues (e.g., blue, turquoise).
- Glitter or small decorative elements can be added for an eye-catching sparkle.
- Coaster molds to shape your resin into coasters.
- Heat gun or torch helpful for removing bubbles in the resin.

Tools
- Protective gloves essential for keeping your hands safe while working with resin.
- Safety goggles to protect your eyes during crafting.
- Spatula or craft knife for smoothing the edges after curing.
How to Make the Project
Step 1: Prepare Your Molds
Start by ensuring that your coaster molds are clean and free of any debris. If needed, apply mold release spray to make the unmolding process easier later on. You may also find Ocean Resin Coasters Handmade Art Tables useful.
Step 2: Mix the Resin
Following the manufacturer’s instructions, measure the resin and hardener in the mixing cups. Use a ratio of one part hardener to two parts resin, and mix thoroughly for about 3-5 minutes to achieve a consistent blend.
Step 3: Add Color and Effects
Once your resin mixture is well combined, divide it into smaller cups if you plan on creating multiple color layers. Slowly add your chosen color pigments and mix until you achieve your desired shade. You can also incorporate glitter at this stage for added sparkle.
Step 4: Pour into Molds
Carefully pour the colored resin into your coaster molds, filling each one to your desired depth. If you’re creating layered designs, allow the first layer to partially cure before adding the next one.
Step 5: Remove Bubbles
Use a heat gun or torch to gently pass over the surface, which will help eliminate bubbles trapped in the resin. Be cautious not to overheat the resin, as this might affect the final result.
Step 6: Cure and Unmold
Let the coasters cure as per the manufacturer’s instructions, typically 24-48 hours. After curing, gently remove them from the molds, ensuring not to damage the edges.
Tips for the Best Result
- Temperature matters: Ensure that the resin is mixed at room temperature for optimal curing.
- Take your time: Allow each layer to cure completely before adding new ones for better dimensional effects.
- Experiment with designs: Don’t hesitate to try different color combinations or add small seashells for enhanced coastal flair.
Customization / Variations
You can personalize your coasters further by using different color palettes, such as sunset hues or soft pastels. Consider incorporating pressed flowers or small stones into the resin for a unique touch. Changing the shape and size of your coaster molds can also lead to interesting variations.
How to Display Your Finished Coasters
Your completed ocean resin coasters can be styled beautifully in various ways. Set them on a coffee table for a pop of color or use them to elevate a dining table setting. If you’re considering gifting, pair them with a lovely potted plant for an added natural touch.
Care and Storage
To maintain your resin coasters’ appearance, gently dust them with a soft cloth. Avoid exposing them to prolonged moisture or extreme heat, which can damage the resin finish.

Frequently Asked Questions
What can I use instead of a silicone mat?
You can use any protective surface, like wax paper or a plastic drop cloth, but a silicone mat is best for easy cleanup.
How can I fix a mistake or bubble in my resin?
If you notice a bubble or imperfection after curing, you can sand the area down gently and apply a small amount of additional resin to fill it in and smooth the surface.
Can I use food-safe resin for coasters?
Yes, if you intend to use your coasters for food or beverages, opt for a food-safe resin to ensure safety.
How do I prevent my coasters from sticking to the table?
Use coasters with a non-stick surface or apply a layer of felt on their bottom to prevent them from sticking to wooden surfaces.
How should I store my coasters?
Store them flat in a cool, dry place away from direct sunlight to avoid discoloration and warping.
Conclusion
In this project, you’ve crafted beautiful ocean resin coasters that not only showcase the beauty of coastal decor but are also functional pieces for your home. Whether you use them yourself or gift them, these coasters are a perfect way to bring a touch of the beach into your everyday life. To explore more ocean-themed decor options, check out the stunning coaster collections on Etsy and take a look at the teal ocean resin coasters offered by Caslova for further inspiration.
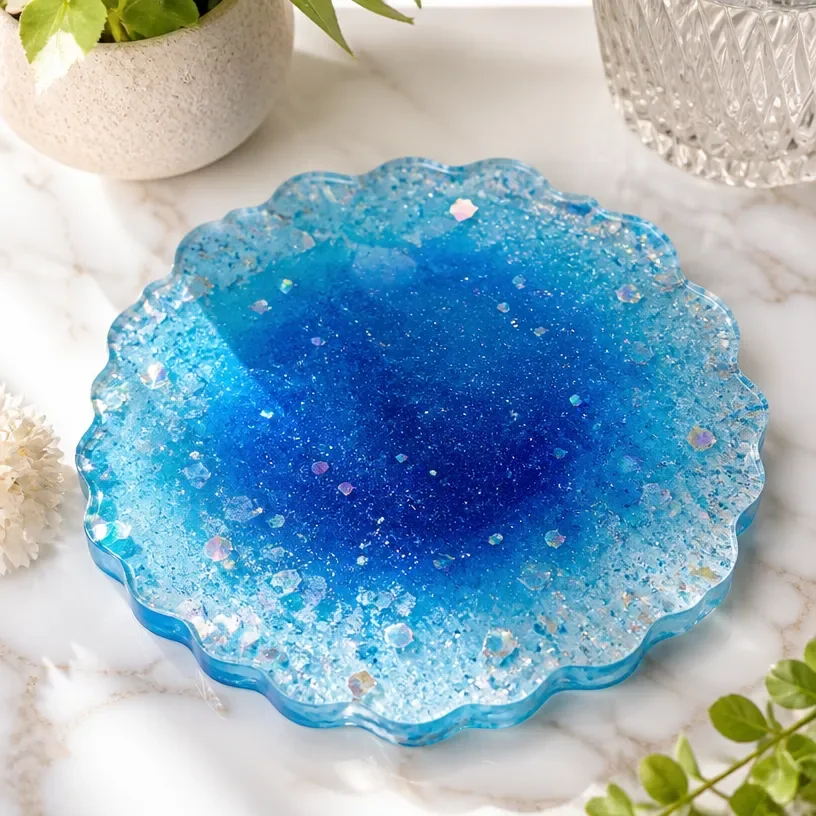
Ocean Resin Coasters
Ingredients
Method
- Prepare your workspace by protecting your work surface with a drop cloth or silicone mat.
- Ensure your work area is well-ventilated.
- Measure the resin and hardener in the mixing cups at a ratio of one part hardener to two parts resin.
- Mix thoroughly for about 3-5 minutes until a consistent blend is achieved.
- Divide the resin mixture into smaller cups and add chosen color pigments.
- Mix until the desired shade is achieved, adding glitter if desired.
- Carefully pour the colored resin into your coaster molds.
- If creating layers, allow the first layer to partially cure before adding the next.
- Use a heat gun or torch to gently pass over the surface to eliminate bubbles.
- Let the coasters cure as per manufacturer's instructions, typically 24-48 hours.
- Gently remove from the molds, taking care not to damage the edges.