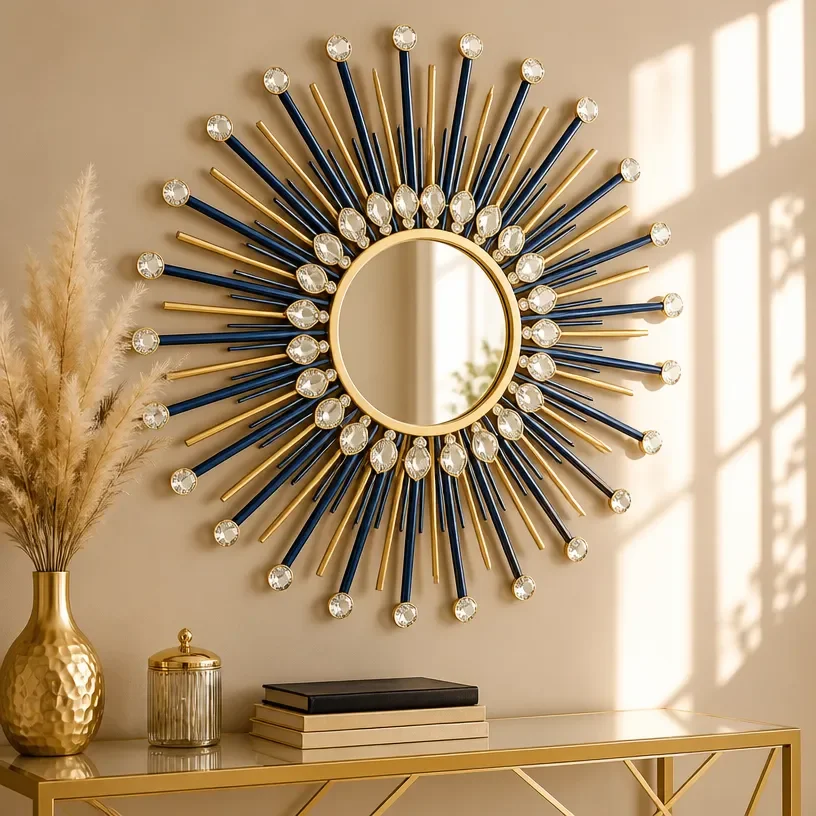
DIY Crystal Sunburst Mirror
Creating a stunning DIY Crystal Sunburst Mirror is a delightful way to enhance your home décor. The eye-catching design, marked by painted craft sticks radiating around a round mirror, adds a unique touch to any space. It makes a perfect addition to living rooms, hallways, or even as a focal point in a bedroom.
Not only does this project allow for personalization through color choices and embellishments, but the reflective surfaces of the mirror and crystals create enchanting light and reflection effects that can brighten up any area. This project is approachable for crafters at all levels, making it an enjoyable and satisfying endeavor.
Why You’ll Love This Project
Eye-catching Design
The sunburst design brings a lively vibe to your décor, transforming a plain mirror into a conversation piece.
Customizable Colors
You can paint the wooden sticks in colors that fit your aesthetic, allowing for complete customization to match your interior design.
Reflective Beauty
The inclusion of crystal-style gems enhances the play of light throughout your room, creating a beautiful sparkling effect.
Simple Techniques
This project uses straightforward techniques that help you achieve a professional-looking result without needing advanced crafting skills.
Gift Potential
A handcrafted sunburst mirror makes a thoughtful and unique gift for housewarming parties or birthdays.
Before You Begin
To ensure a smooth crafting process, set up your work area with adequate space and good lighting. Cover your work surface to protect it from paint and adhesive spills. Organize all materials beforehand so you can easily access them as you work.
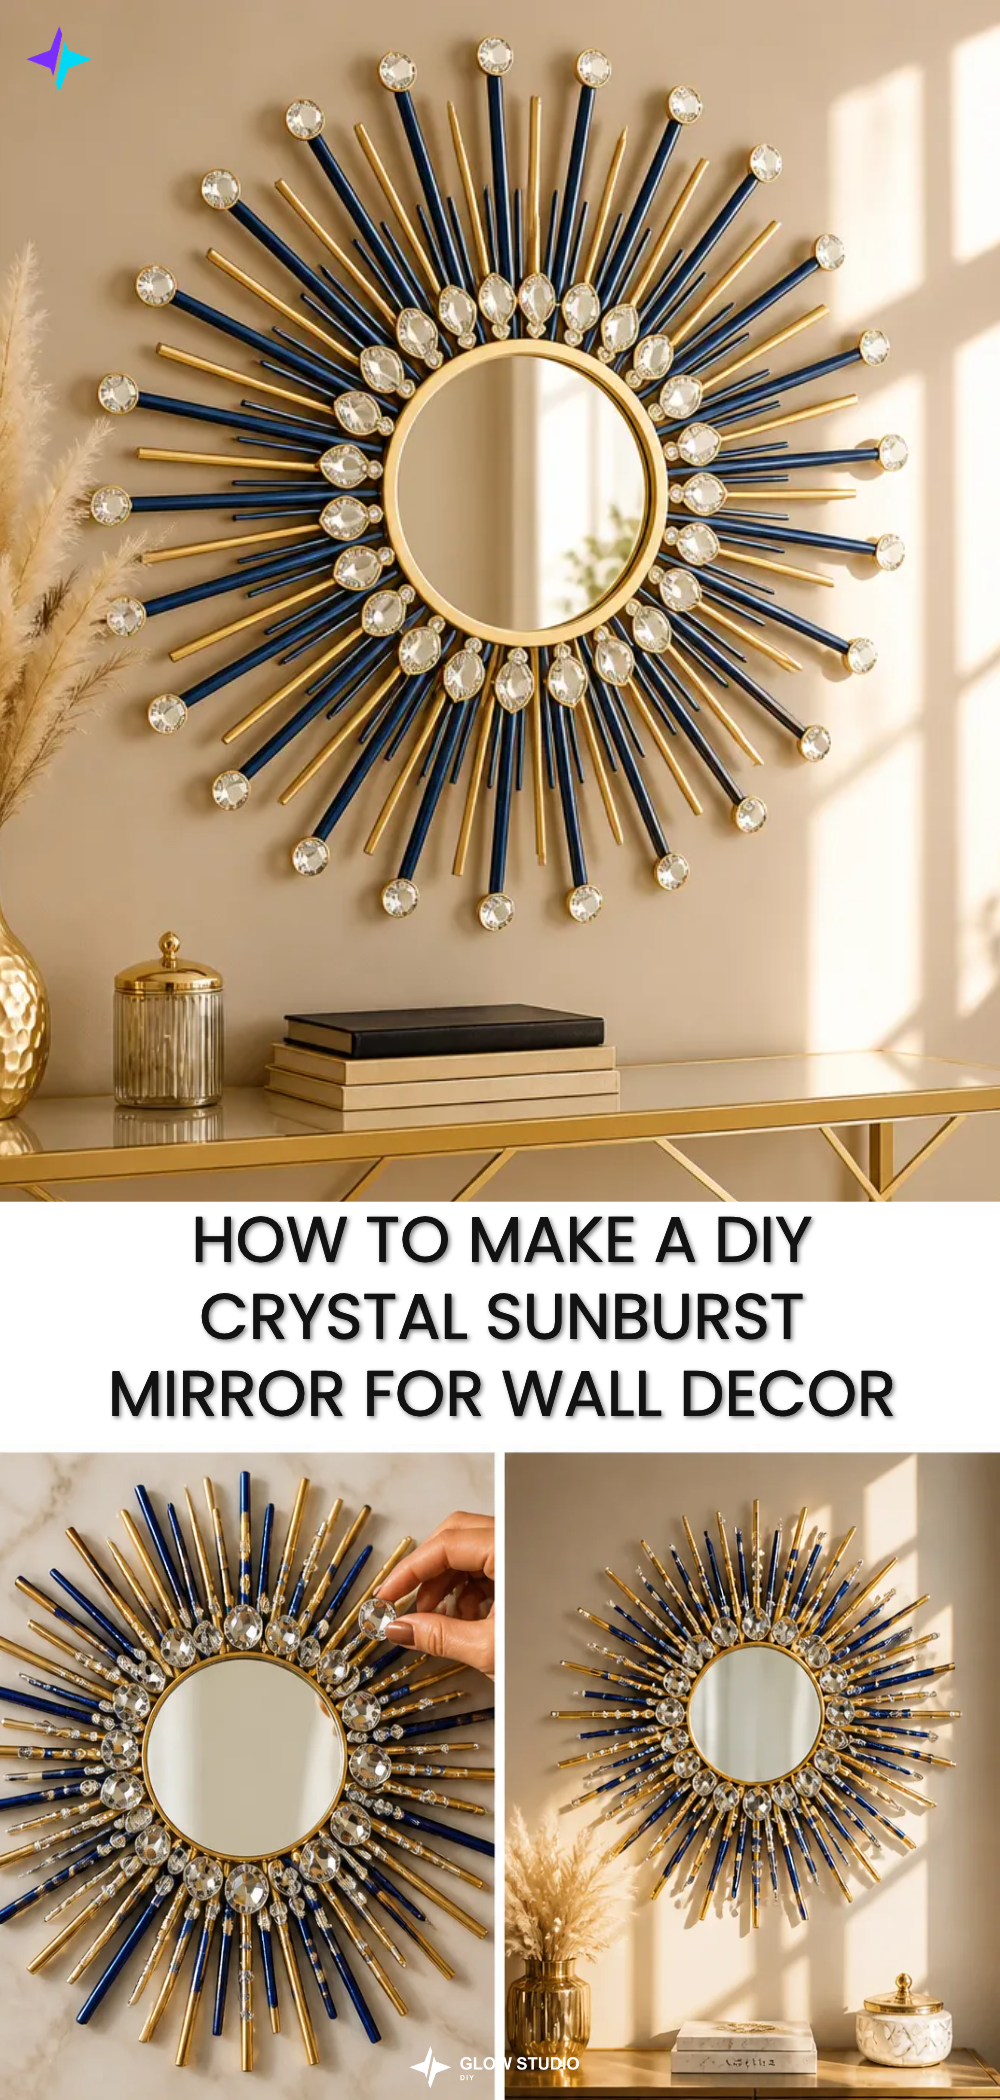
Materials You’ll Need
- Round mirror
- Wooden craft sticks or dowels
- Crystal-style gems
- Strong craft adhesive
- Paint
- Hanging hardware
Tools
- Scissors or craft knife
- Paintbrush
How to Make the Project
Step 1: Arrange the Sticks
Begin by arranging the painted wooden craft sticks around the mirror in a sunburst pattern. Play with different configurations until you have a design you love.
Step 2: Secure the Design
Using a strong craft adhesive, carefully secure the sticks to the mirror. Ensure that the pieces are held firmly in place and allow some time for the glue to set.
Step 3: Add Crystal Details
Next, add the crystal-style gems at regular intervals along the outer edges of the sticks. This will enhance the reflective quality of the mirror and create visual interest.
Step 4: Final Assembly
Once everything is secure and dried, mount your stunning mirror using the appropriate hanging hardware. Ensure that it is securely fastened so you can enjoy your beautiful creation.
Tips for the Best Result
- Placement: Before securing, lay everything out to ensure it’s balanced visually.
- Neat Adhesive Application: Use enough adhesive but avoid excess to prevent a messy finish.
- Allow to Dry Completely: Be patient and let everything cure as per the adhesive’s instructions for strength.
Customization / Variations
Consider using different color palettes or adding additional embellishments such as ribbons or floral accents to customize your sunburst mirror further. You could also opt for varying sizes of mirrors or sticks for added dimension and creativity.
Ideas for Styling Your Handmade Decor
Once completed, hang your DIY Crystal Sunburst Mirror in a location that captures natural light to accentuate its sparkle. You might also consider pairing it with complementary décor like wall-mounted plants or framed art for a cohesive look.
Frequently Asked Questions
Can I use different types of mirrors for this project?
Yes, feel free to experiment with mirrors that have different shapes or sizes to match your personal style.
What is the best way to hang the finished mirror?
Use appropriate hanging hardware that can support the weight of the mirror. Always follow the manufacturer’s instructions for the best results.
How can I fix any mistakes made during the project?
If excess adhesive is visible, carefully wipe it away with a damp cloth before it sets. For minor adjustments to placement, use a little adhesive remover.
Can I use real crystals instead of crystal-style gems?
Yes, if you prefer the look of real crystals, just ensure they are securely attached and won’t add too much weight, which can affect hanging.
Conclusion
The DIY Crystal Sunburst Mirror is more than just a decorative piece; it’s a reflection of your creativity and style. Its glittering design and customizable features allow you to make something that is not only beautiful but truly unique. If you’re looking for more creative ideas, you might explore a DIY light fixture made from a repurposed sunburst mirror or try the DIY Wood Shim Sunburst Mirror project for an added touch of charm to your home décor.
Follow Glow Studio DIY for fresh DIY ideas & inspiration!
DIY Crystal Sunburst Mirror
Would you like to save this project?
By submitting you agree to receive this project and occasional emails. Unsubscribe anytime.
Materials
Materials Needed
- 1 piece Round mirror Base for the sunburst design.
- 10-20 pieces Wooden craft sticks or dowels For the sunburst effect.
- 10-15 pieces Crystal-style gems To enhance the reflective quality.
- 1 bottle Strong craft adhesive For securing the sticks and gems.
- 1 can Paint For coloring the sticks.
- 1 set Hanging hardware For mounting the finished mirror.
Directions
How to Make the Project
- Arrange the painted wooden craft sticks around the mirror in a sunburst pattern, experimenting with different configurations.
- Using the strong craft adhesive, secure the sticks to the mirror, ensuring pieces are held firmly and allowing glue to set.
- Add the crystal-style gems at regular intervals along the outer edges of the sticks to enhance the reflective quality.
- Once everything is secure and dried, mount your mirror using the appropriate hanging hardware, ensuring it is securely fastened.
Last Step: Don’t forget to leave a rating and comment below! It helps other readers find the best DIY projects — and it helps us too!