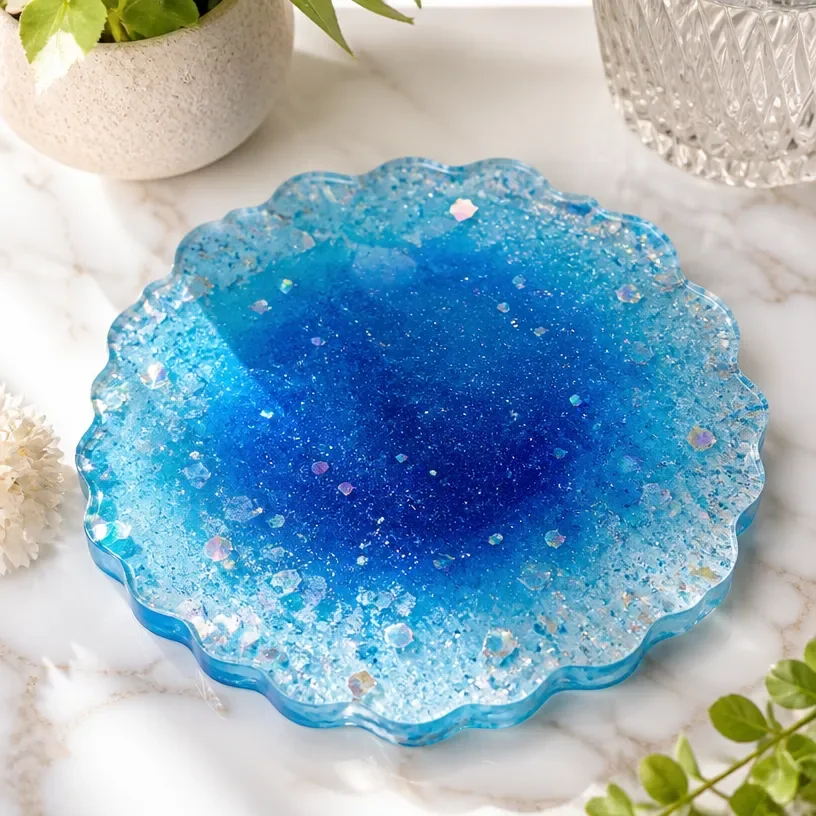
Ingredients
Method
Preparation
- Prepare your workspace by protecting your work surface with a drop cloth or silicone mat.
- Ensure your work area is well-ventilated.
Mixing the Resin
- Measure the resin and hardener in the mixing cups at a ratio of one part hardener to two parts resin.
- Mix thoroughly for about 3-5 minutes until a consistent blend is achieved.
Adding Color and Effects
- Divide the resin mixture into smaller cups and add chosen color pigments.
- Mix until the desired shade is achieved, adding glitter if desired.
Pouring into Molds
- Carefully pour the colored resin into your coaster molds.
- If creating layers, allow the first layer to partially cure before adding the next.
Removing Bubbles
- Use a heat gun or torch to gently pass over the surface to eliminate bubbles.
Curing and Unmolding
- Let the coasters cure as per manufacturer's instructions, typically 24-48 hours.
- Gently remove from the molds, taking care not to damage the edges.
Notes
For the best result, ensure the resin is mixed at room temperature and take your time with each layer. Customize with different color palettes or incorporate unique elements like pressed flowers.