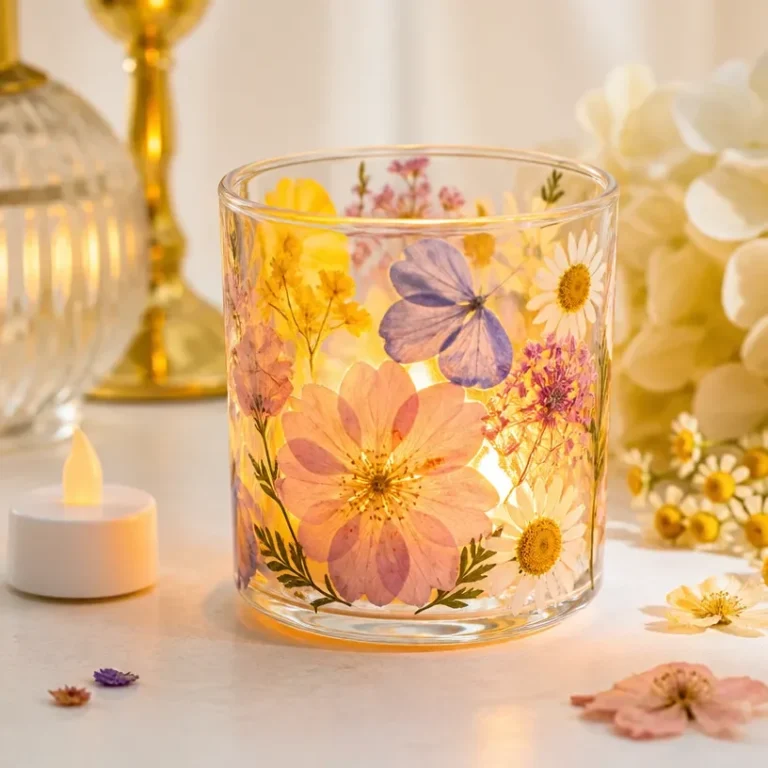
Pressed Flower Coaster Set with Real Flowers
Creating pressed flower coasters is an enchanting way to incorporate the beauty of nature into your home decor. These coasters are not only visually striking but also serve as functional pieces that can elevate any coffee table or dining surface. From the delicate petals to the vibrant colors, pressed flower coasters can add a touch of personality and warmth to your space. You may also find Diy Pressed Flower Coasters Handmade Floral Decor useful.
By making your own pressed flower coasters, you can choose specific flowers that resonate with you or represent a special occasion, making them perfect as gifts or seasonal decor. This DIY project is approachable for crafters at any skill level and offers a beautiful way to preserve nature. You may also find Preserved Flower Coasters Handmade Floral Coaster Set useful.
Why You’ll Love This Project
Benefits of Making Pressed Flower Coasters
- Display-worthy Aesthetic: The combination of real flowers and resin gives these coasters a unique look, making them stunning enough to display.
- Customizable Options: You can select flowers that suit your taste, allowing for a wide array of color palettes and designs.
- Functional Home Decor: These coasters are not just beautiful; they are practical and protect your surfaces from water rings and scratches.
- Gift Potential: Handmade pressed flower coasters make thoughtful gifts for friends and family, especially for special occasions such as weddings or housewarmings.
- Seasonal Decorating: Change the flowers with the seasons to refresh your home decor year-round.
Before You Begin
Before diving into this project, prepare your workspace by covering surfaces with newspaper or a craft mat to avoid any mess. Organize your materials so that everything is within reach, which will streamline your crafting process. Ensure your flowers are pressed and completely dried, as this will help achieve the best possible results. Ventilation is also key, especially when working with resin; ensure your area is well-ventilated to avoid inhaling fumes. You may also find Diy Botanical Pressed Flower Wall Art useful.

You may also find Diy Pressed Flower Art Wall Art useful.
Materials You’ll Need
- Real dried flowers select blooms that are flat and fully dried for the best results.
- Clear epoxy resin this will encapsulate the flowers and provide a glossy finish.
- Silicone molds used to shape your coasters; choose a mold with your desired size and shape.
- Mixing cups and sticks necessary for combining the resin and hardener.
- Gloves protect your hands during the resin mixing and pouring.
- Rubbing alcohol to clean the molds and tools after use.

Tools
- Scissors for trimming flowers, if needed.
- Heat gun or lighter to pop any bubbles that may form in the resin.
How to Make the Project
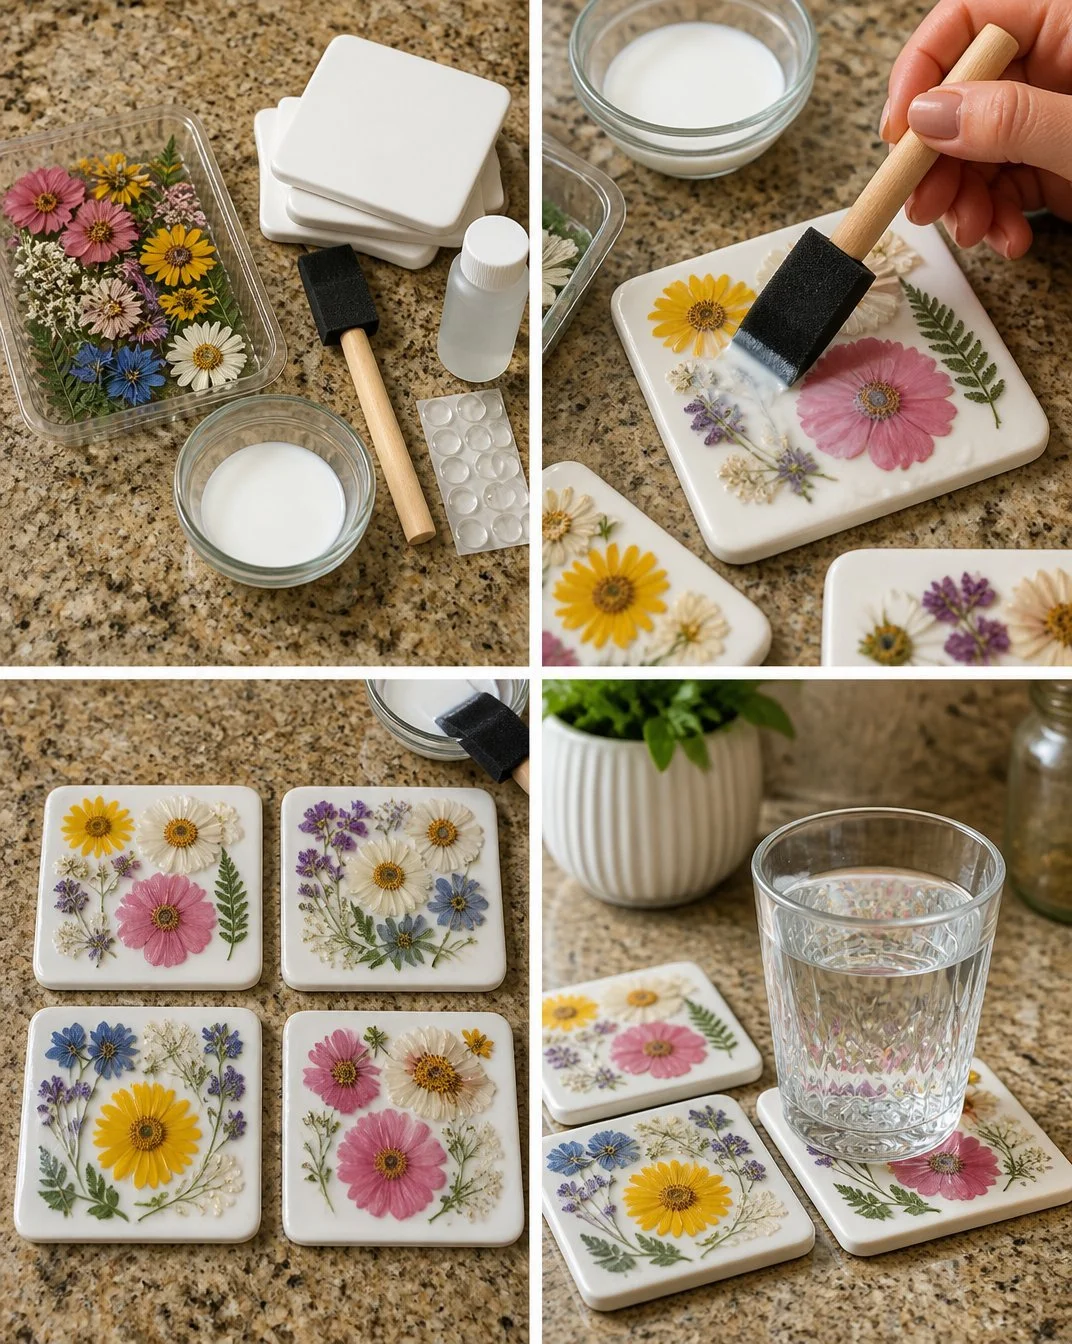
Step 1: Prepare the Flowers
Start by arranging your pressed flowers how you’d like them to appear in the coasters. Trim any unwanted stems or leaves to create a polished look. This step is critical as the arrangement will be visible in the final product. You may also find Diy Pressed Flower Botanical Christmas Ornaments useful.
Step 2: Mix the Resin
Follow the manufacturer’s instructions to mix your epoxy resin and hardener. Use equal parts and stir thoroughly, ensuring no swirls of hardener remain. Be mindful of following proper ratios as stated on your product.
Step 3: Pour the Resin
Once your resin is mixed, pour a thin layer into the molds. This initial layer will serve as a base for your flowers. Allow it to set briefly until it thickens slightly.
Step 4: Arrange the Flowers
Gently place your dried flowers onto the layer of resin. Ensure they are well-positioned before pouring any additional resin on top. You can also use a toothpick to adjust their placement if necessary.
Step 5: Complete the Pour
Carefully pour more resin over the flowers until the molds are filled. Avoid overfilling to prevent excessive drips. Allow the resin to cure according to the manufacturer’s guidelines, usually 24 hours.
Step 6: Demold and Finish
Once cured, gently remove the coasters from the molds. If the edges are rough, you can sand them lightly for a smooth finish.
Project Tips
- Choose vibrant blooms that retain their color well after drying to create visually appealing coasters.
- Avoid overcrowding the design with too many flowers; sometimes less is more.
- Keep the flowers flat during curing to maintain their shape and visibility.
- Use a heat gun carefully to eliminate air bubbles for a clearer finish.
- Plan your arrangements ahead of time to ensure a balanced look.
Customization / Variations
Consider experimenting with different flower types think seasonal or thematic variations like autumn leaves or holiday-themed blooms for Christmas coasters. You can also adjust the color of the resin by adding a few drops of food-safe dye to match your decor.
Ideas for Styling Your Handmade Decor
These pressed flower coasters can be placed on coffee tables, dining tables, or as a part of your display cabinet. They can enhance the aesthetic of your living area or serve as an excellent talking point when entertaining guests. These coasters can also be beautifully packaged as gifts, perhaps paired with a matching decorative tray.
Frequently Asked Questions
How do I best dry and press flowers for coasters?
Press your flowers between the pages of a heavy book or use a flower press. Ensure they are completely dry to maintain their shape and color.
Can I use fresh flowers to make these coasters?
It’s recommended to use dried flowers only, as fresh flowers can mold or discolor when encased in resin.
How do I fix bubbles in the resin?
You can use a heat gun or lighter to gently warm the surface, which will help the bubbles rise and pop.
How should I store my coasters?
Store them in a dry place away from moisture and direct sunlight to keep them looking beautiful.
What happens if I mix the resin incorrectly?
Incorrect mixing can lead to sticky or improperly set coasters. Always follow the manufacturer’s instructions for the best results.
Conclusion
In conclusion, creating a pressed flower coaster set with real flowers not only beautifies your home but also offers a creative outlet for self-expression. These coasters make for delightful gifts and can be showcased as part of your seasonal decor. For additional inspiration, consider exploring comprehensive guides like DIY resin coasters with dried pressed flowers or find unique pieces on Etsy that showcase pressed flower artistry.
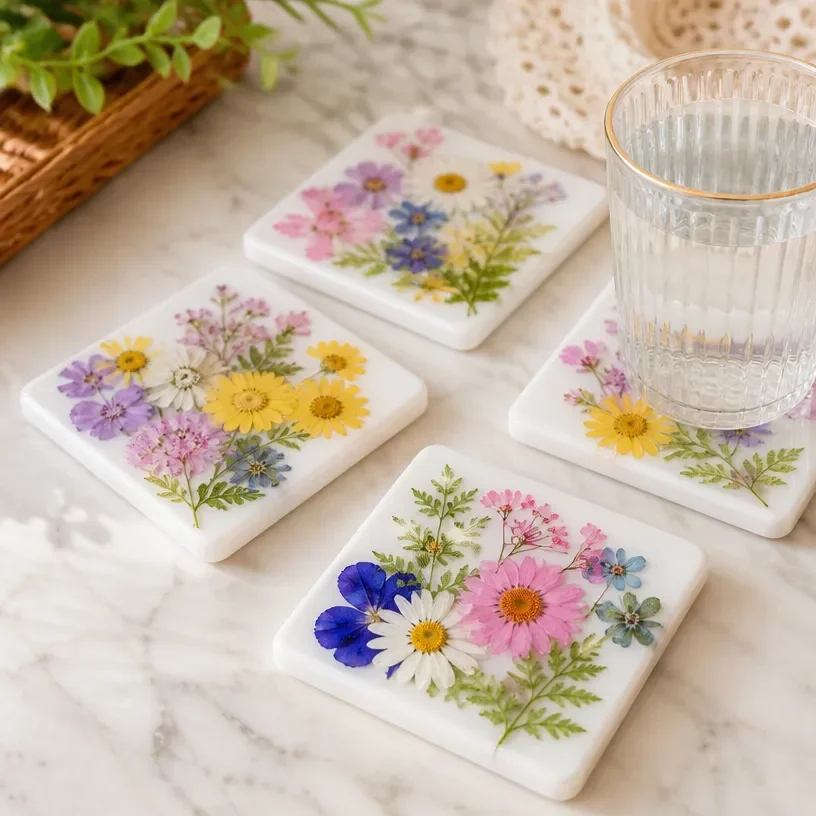
Pressed Flower Coasters
Ingredients
Method
- Prepare your workspace by covering surfaces with newspaper or a craft mat to avoid any mess.
- Arrange your pressed flowers in the molds how you’d like them to appear in the coasters. Trim any unwanted stems or leaves.
- Follow the manufacturer's instructions to mix your epoxy resin and hardener in equal parts and stir thoroughly.
- Pour a thin layer of resin into the molds to serve as a base for your flowers.
- Allow the resin to set briefly until it thickens slightly.
- Gently place your dried flowers onto the layer of resin, adjusting their placement with a toothpick if necessary.
- Carefully pour more resin over the flowers until the molds are filled, avoiding overfilling.
- Allow the resin to cure according to the manufacturer’s guidelines, usually 24 hours.
- Once cured, gently remove the coasters from the molds. Sand edges lightly for a smooth finish if necessary.