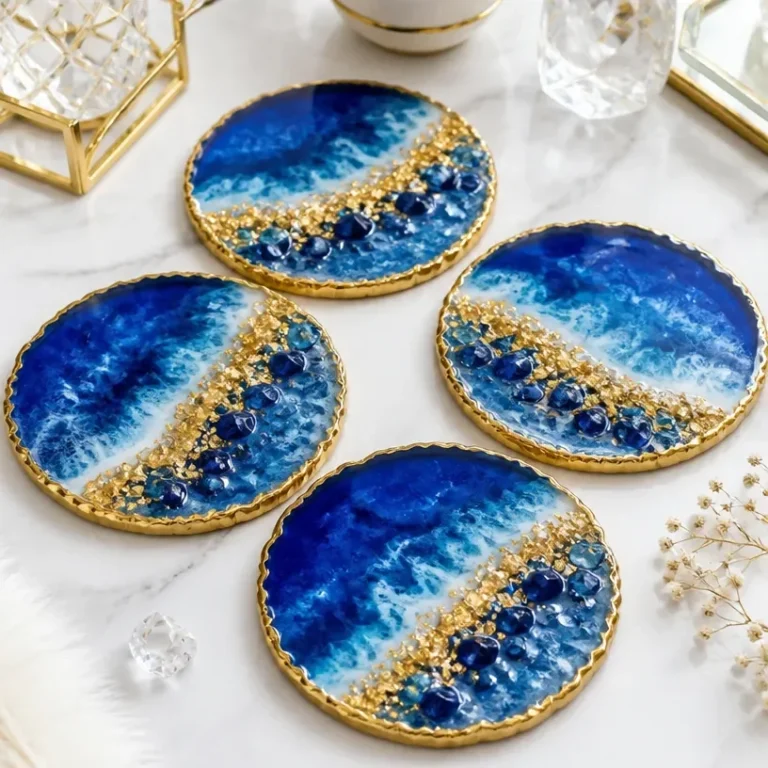
Creating striking ocean resin-style coasters is a beautiful way to bring the serene hues of the sea into your home decor. These coasters not only serve a practical purpose but also double as stunning pieces of art that can be displayed on coffee tables, dining tables, or home offices. With vibrant blues and greens intertwined, they evoke the feel of a tranquil beach setting, making them perfect for any coastal-themed space. You may also find Diy Coastal Resin Tray Ocean Inspired Decor useful.
In this guide, you’ll learn how to design your own unique coasters, ensuring a perfect blend of beauty and functionality. You’ll find that making ocean resin coasters is a delightful DIY project that lets you play with colors and designs while achieving a remarkably polished final product. You may also find Diy Layered Ocean Prism Jar Storage useful.
Why You’ll Love This Project
The Allure of Ocean Resin Coasters
There are several reasons to love creating your own ocean resin coasters: You may also find Diy Ocean Blue Candle Holder Elegant Home Decor useful.
- Customizable Designs: Each coaster can reflect your individual style. Whether you prefer more vibrant colors or a subtle mix, the customization options are endless.
- Elegant Home Decor: Once completed, these coasters will not only protect your surfaces but also enhance your decor, acting as conversation starters during gatherings.
- Approachable Technique: The resin pouring technique is relatively straightforward, making it accessible even for beginners. With a few basic materials and tools, you can achieve professional-looking results.
- Perfect for Gifting: Handmade items carry a special touch, and gifting a set of these coasters can make for a cherished, personal present.
- Seasonal Appeal: The colors and themes you choose can align with different seasons, allowing you to adapt your home decor throughout the year.
If you’re considering adding a resin project to your crafting repertoire, exploring DIY ocean resin coasters could spark your creativity.
Before You Begin
To ensure your crafting experience is enjoyable and hassle-free, here are a few preparatory steps to consider:
- Work Surface Protection: Lay down a protective covering on your workspace to prevent any mess from the resin.
- Material Organization: Gather all materials and tools beforehand to streamline your process.
- Ventilation: Always work in a well-ventilated area, as resin can emit fumes during the curing process.
- Mold Preparation: Make sure your coaster mold is clean and dry. This will help achieve a smooth finish and prevent any imperfections in your design.
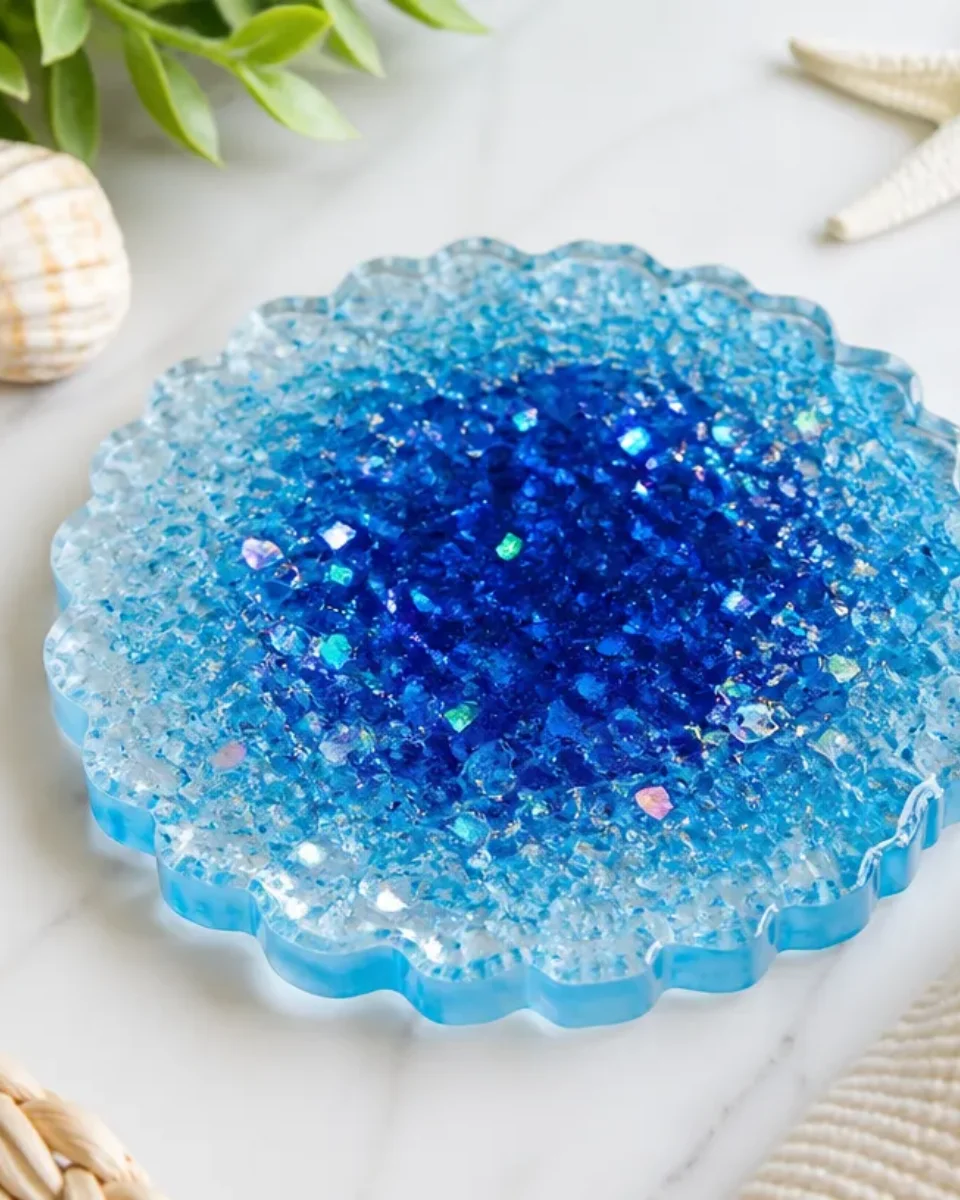
Materials You’ll Need
Here’s a list of materials required to create your ocean resin-style coasters:
- Epoxy resin the main material used for the coasters that provides a glossy finish.
- Hardener pairs with the resin to achieve the setting. Always follow the manufacturer’s instructions for mixing.
- Mixing cups for combining resin and hardener in precise ratios.
- Stir sticks to properly mix the resin and hardener.
- Pigments or dyes to achieve the beautiful ocean colors; silicone pigments are preferable for clear resin.
- Coaster molds silicone molds specifically designed for coaster shapes; these ensure easy removal once cured.
- Glitter or shells (optional) to add decorative elements that enhance the ocean theme.
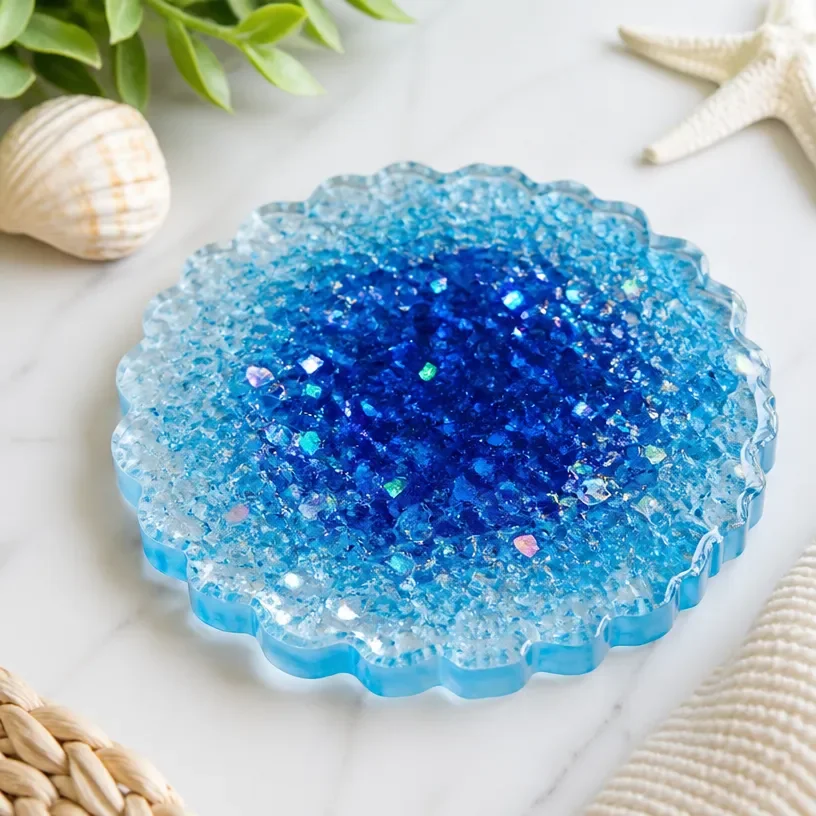
How to Make the Project
Step 1: Prepare the Mold
Ensure that your coaster molds are clean and dry. You may want to lightly spray them with a mold release agent to facilitate easy removal once the resin cures.
Step 2: Mix the Resin
Following the manufacturer’s instructions, measure out your resin and hardener, typically in a 1:1 ratio. Pour them into a mixing cup, then use a stir stick to blend until you achieve a uniform mixture.
Step 3: Add Colors
Now it’s time to add your pigments or dyes to the mixed resin. Experiment with different colors to mimic the ocean; consider a blend of blues and greens. Mix well to ensure an even color distribution.
Step 4: Pour the Resin into the Mold
Slowly pour the colored resin into your coaster mold. Start from the center and allow the resin to flow to the edges for a smooth finish.
Step 5: Incorporate Decorative Elements
If you want to add shells or glitter, gently place them in the resin while it’s still wet. This will create a stunning ocean-inspired look.
Step 6: Allow to Cure
Let the coasters cure in accordance with the resin’s instructions, usually around 24 hours. Make sure not to disturb them during this time.
Step 7: Demold and Finish
Once fully cured, carefully remove the coasters from the mold. If there are any sharp edges, you can lightly sand them to ensure a smooth finish.
Tips for the Best Result
- Avoid Bubbles: If bubbles form while mixing, use a heat gun or a small torch to gently pop them before they cure.
- Work Quickly: Once mixed, the resin has a limited working time. Plan your pouring and decorating accordingly.
- Don’t Skimp on Pigments: Use enough color to create vibrant coasters, but be cautious as too much can affect the curing process.
Customization and Variations
Explore various styles to personalize your ocean resin coasters. You can:
- Change the Color Palette: Opt for sunset hues or a deep-toned ocean look.
- Incorporate Natural Elements: Pressed flowers or small sea glass can add a unique touch.
- Adjust Coaster Sizes: Create larger trays using similar techniques for a cohesive look throughout your home.
Display, Use, or Gifting
These beautiful coasters can be displayed prominently on your coffee table or dining table. Alternatively, they make splendid gifts for friends and family who love a coastal aesthetic. Wrap them in a decorative box or pair them with a matching ocean-themed resin tray to enhance the presentation.
Frequently Asked Questions
Frequently Asked Questions
1. How can I fix bubbles in the resin?
Use a heat gun or a small torch quickly after pouring to pop any bubbles that form on the surface.
2. Can I use food-safe resin for these coasters?
Make sure to use a food-safe resin if you’re using coasters to hold food or beverages.
3. How do I clean my resin coasters?
Gently wipe with a damp cloth. Avoid soaking them in water, as it may damage the resin.
4. Can I modify the size of my coasters?
Yes, you can create larger or smaller ones by using different molds. Just adjust your resin quantities accordingly.

Conclusion
In summary, crafting ocean resin-style coasters is an imaginative way to enhance your living space with beautiful, handmade decor. These coasters allow you to express your creativity and can become a cherished addition to your home or a thoughtful gift for loved ones. Consider looking for additional inspiration on places like Amazon for themed coasters or on Etsy for unique designs that complement your creations. Enjoy your crafting journey!
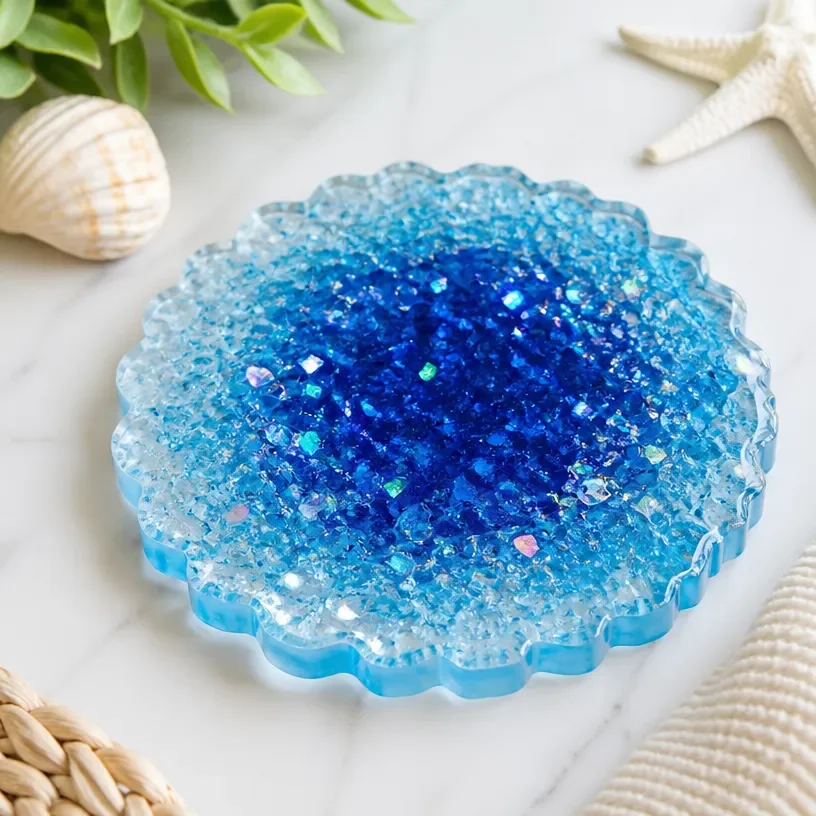
Ocean Resin Coasters
Ingredients
Method
- Lay down a protective covering on your workspace to prevent any mess from the resin.
- Ensure that your coaster molds are clean and dry.
- Work in a well-ventilated area as resin can emit fumes during the curing process.
- Measure out your resin and hardener into a mixing cup in a 1:1 ratio and blend until uniform.
- Add pigments or dyes to the mixed resin and mix well to ensure an even color distribution.
- Slowly pour the colored resin into your coaster mold from the center to the edges.
- If using, place shells or glitter into the resin while it's still wet.
- Allow the coasters to cure according to resin instructions, usually around 24 hours.
- Carefully remove the coasters from the mold and lightly sand any sharp edges for a smooth finish.