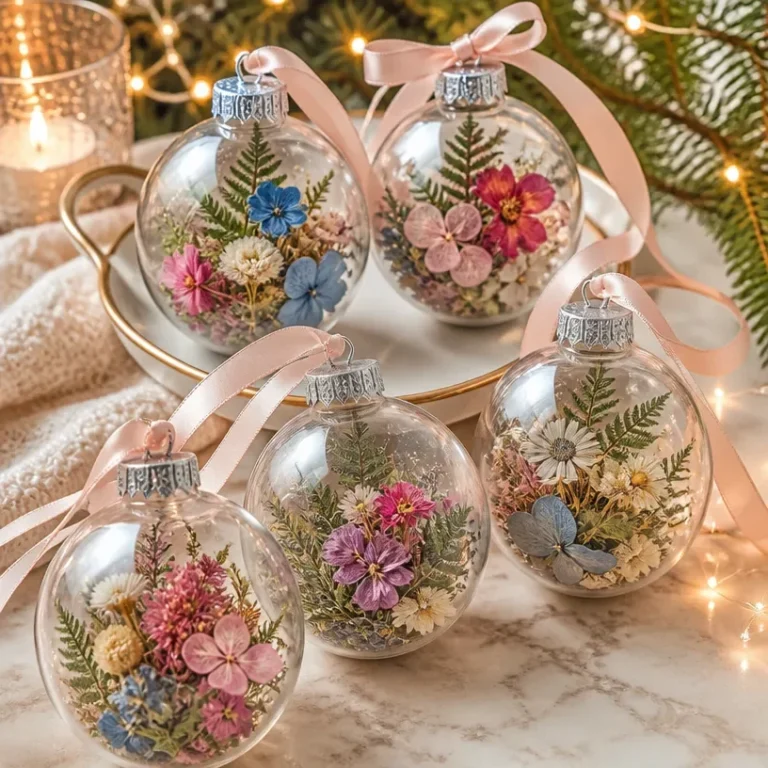
Creating a Personalized Crystal Initial Ornament Keepsake is a delightful way to add a touch of charm to your holiday decor or gift something uniquely special to loved ones. These ornaments not only sparkle beautifully when they catch the light but also serve as meaningful keepsakes that can be cherished for years to come. Ideal for hanging on a tree or adorning a special display, these vibrant ornaments showcase your personal touch with initials that can reflect each family member or a loved one. You may also find Personalized Crystal Monogram Ornament useful.
This project is perfect for both crafting enthusiasts and beginners. The materials are readily available, and the technique is straightforward, allowing for a stunning finish that elevates any space. For an alternative design, you might also explore making a personalized crystal letter ornament.
Why You’ll Love This Project
Reasons to Create a Crystal Initial Ornament
- Display-Worthy Finished Result: The combination of crystals and initials creates a stunning visual that draws attention, perfect for decoration during the festive season.
- Customizable Design: Tailor the colors and initials to your preference, allowing for personalization that suits individual tastes and home decor.
- Easy and Approachable Technique: With simple steps to follow, this project is suitable for crafters of all skill levels.
- Great Gift Idea: Handmade keepsakes are heartfelt gifts that add a personal touch, making them ideal for friends and family.
- Versatile Decoration: Use these ornaments to bring a festive spirit to your home, hanging them on trees, garlands, or as part of a table centerpiece.
Before You Begin
It’s important to prepare your workspace before diving into the crafting process. Lay down a protective covering over your working surface to catch any stray glue or debris. Organizing your materials will also streamline the crafting process, making it easier to access everything you need as you work. You may also find Crystal Beaded Christmas Ornament useful.

You may also find Diy Crystal Firework Ornament Christmas Decor useful.
Materials You’ll Need
- Clear acrylic discs serves as the base for your ornament.
- Colorful crystals choose a mix of sizes for a dynamic look.
- Initial templates print or sketch the initials you’d like to use.
- High-strength adhesive ensures that your pieces are securely attached.
- Ribbons or hanging strings for displaying your finished ornaments.
- Twinkling LED lights (optional) to enhance your ornament’s twinkle when displayed.

Tools
- Scissors for cutting the ribbons or any templates.
- Paintbrush useful for applying adhesive evenly to small surfaces.
- Craft knife for fine adjustments in the templates if needed.
How to Make the Project
Step 1: Prepare Your Acrylic Base
Begin by selecting the acrylic discs, which will serve as the foundation for your ornaments. Ensure they are clean and free from any dust or fingerprints before you start gluing. You may also find Diy Crystal Icicle Ornament Winter Decor useful.
Step 2: Position Your Initial Template
Using your initial templates, arrange the letters on the acrylic disc to determine the best placement. This can help you visualize the final design and make necessary adjustments before attaching anything.
Step 3: Secure the Design
Once you are satisfied with the placement, use a paintbrush to spread a thin layer of high-strength adhesive on the back of your initial template. Press it onto the acrylic base firmly and allow it to set according to the manufacturer’s instructions.
Step 4: Add Crystals
Now it’s time to bring in the colorful crystals. Using small amounts of adhesive, arrange the crystals around the initials. This decorative edge will enhance your ornament’s sparkle and charm. Ensure each crystal is securely attached before moving on.
Step 5: Attach the Ribbon
Once your ornament is dried completely, take a piece of ribbon or string and attach it to the top of the acrylic disc. You can tie a bow or loop it for a clean finish. This will allow you to hang your ornament wherever you want.
Tips for the Best Result
- Be Patient with Drying: Make sure to allow each layer of glue to dry completely for the best adherence.
- Handle Carefully: Be gentle when positioning crystals to avoid any slips or misalignments.
- Experiment with Colors: Don’t hesitate to use various colors and shapes of crystals to create a more personalized appearance.
- Use a Steady Hand: Apply adhesive with precision to prevent excess from oozing out between the crystals.
Customization and Variations
You can customize your crystal initial ornament in numerous ways. Consider using seasonal color palettes like reds and greens for Christmas or pastels for spring. Additionally, varying the size of the initials or using different shapes in your acrylic base can make each ornament unique.
Display, Use or Gifting
Once completed, consider different ways to display your new ornament. They can be proudly hung on your holiday tree, used as a decorative piece year-round, or gifted to friends and family as a heartwarming keepsake. These personalized ornaments make thoughtful gifts that will be cherished for their significance and beauty.
Frequently Asked Questions
Frequently Asked Questions
Can I use other materials for my initials?
Yes, you can use cardboard, paper, or even wood for your initials based on your aesthetic preference.
How do I fix a crystal that came loose?
If a crystal falls off, simply reapply the adhesive and firmly press it back on, allowing ample drying time.
Can I use the same technique for larger ornaments?
Absolutely! You can scale up by using larger acrylic bases and bigger letters, just adjust the quantities of other materials accordingly.
What’s the best way to store these ornaments after use?
Store them in a cool, dry place, guarding against excessive moisture. Consider using a box with cushioning to keep delicate pieces protected.

Conclusion
In creating your Personalized Crystal Initial Ornament Keepsake, you’ve crafted a stunning piece that beautifully reflects your personal style. The shimmering crystals and custom initials not only enhance the aesthetic but also provide an opportunity for personalization that is truly meaningful. For those interested in expanding their handmade ornament collection, consider exploring options like this Custom Christmas Ornament 2026 or a charming Baby’s Footprint Keepsake Ornament. Whether on display or gifted, your ornament is sure to make an impression.
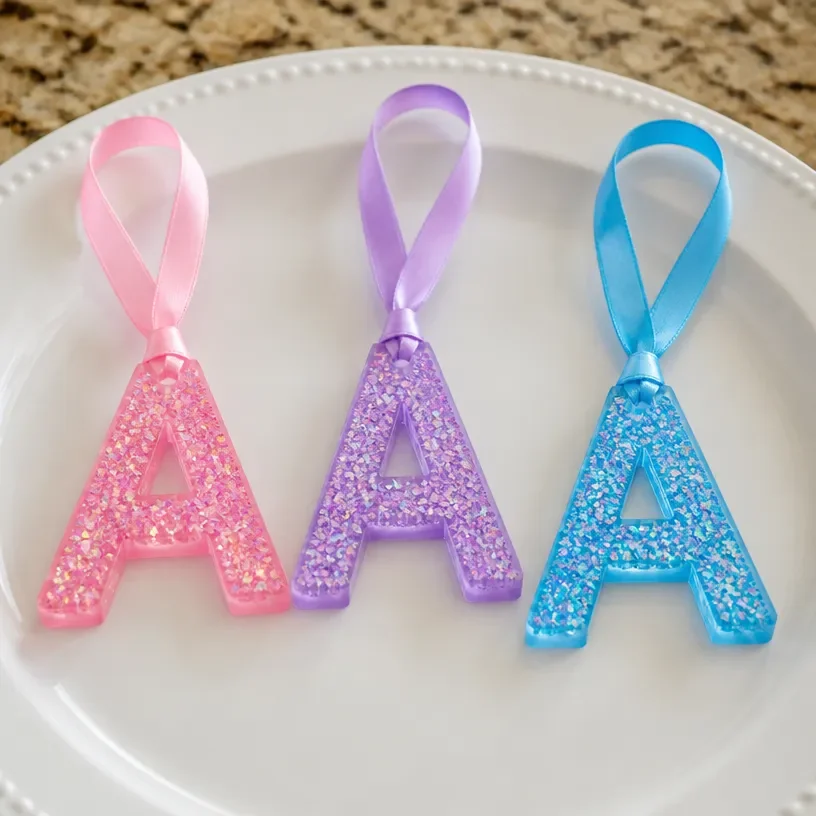
Crystal Initial Ornament
Ingredients
Method
- Begin by selecting the acrylic discs, ensuring they are clean and free from dust or fingerprints.
- Using your initial templates, arrange the letters on the acrylic disc to visualize the design.
- Spread a thin layer of high-strength adhesive on the back of your initial template and press it onto the acrylic base.
- Arrange the colorful crystals around the initials using small amounts of adhesive, securing each crystal before moving on.
- Once dried, attach a ribbon or string to the top of the acrylic disc for hanging.