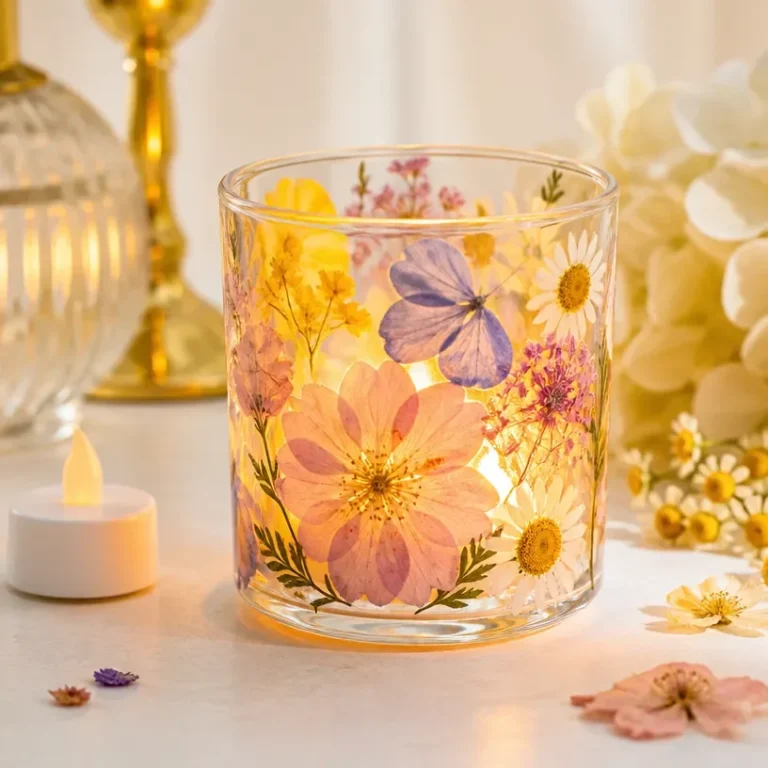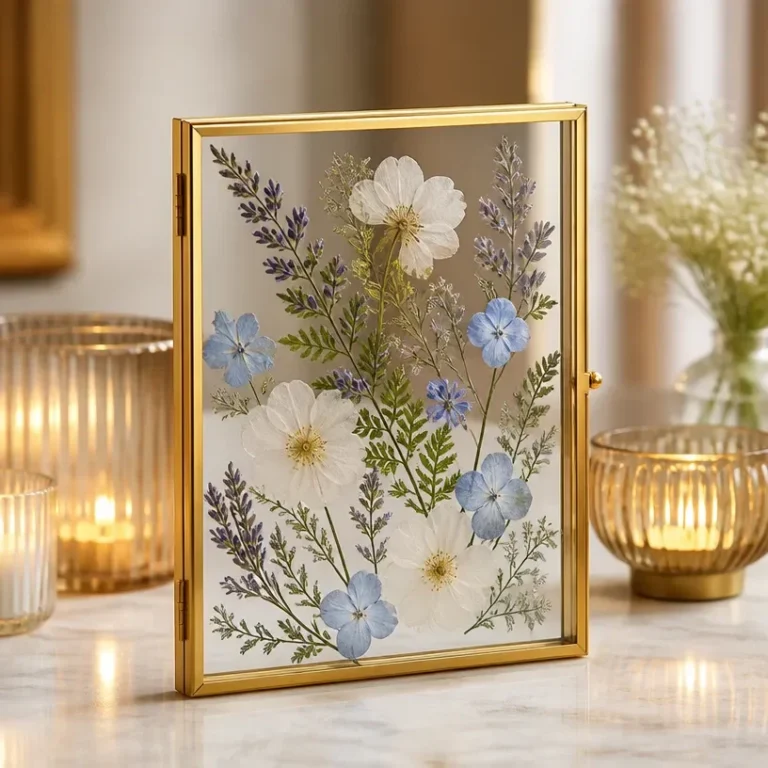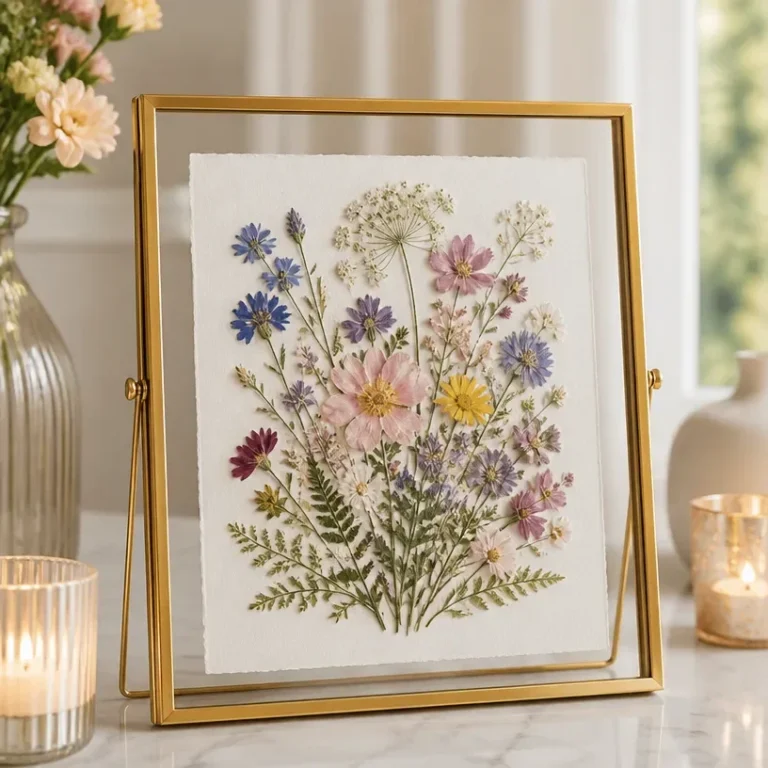
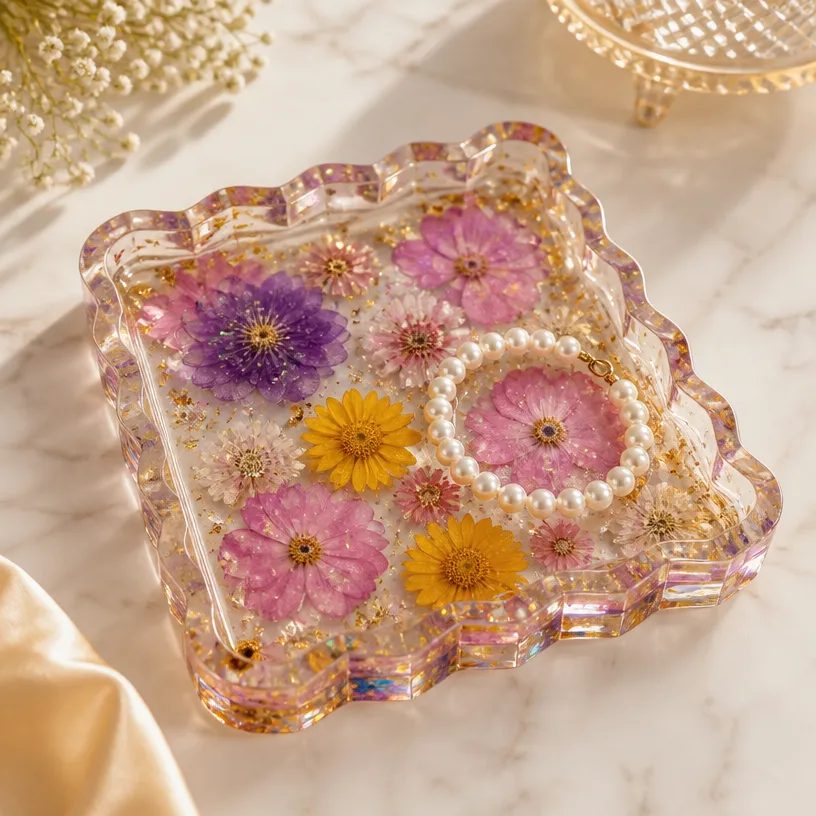
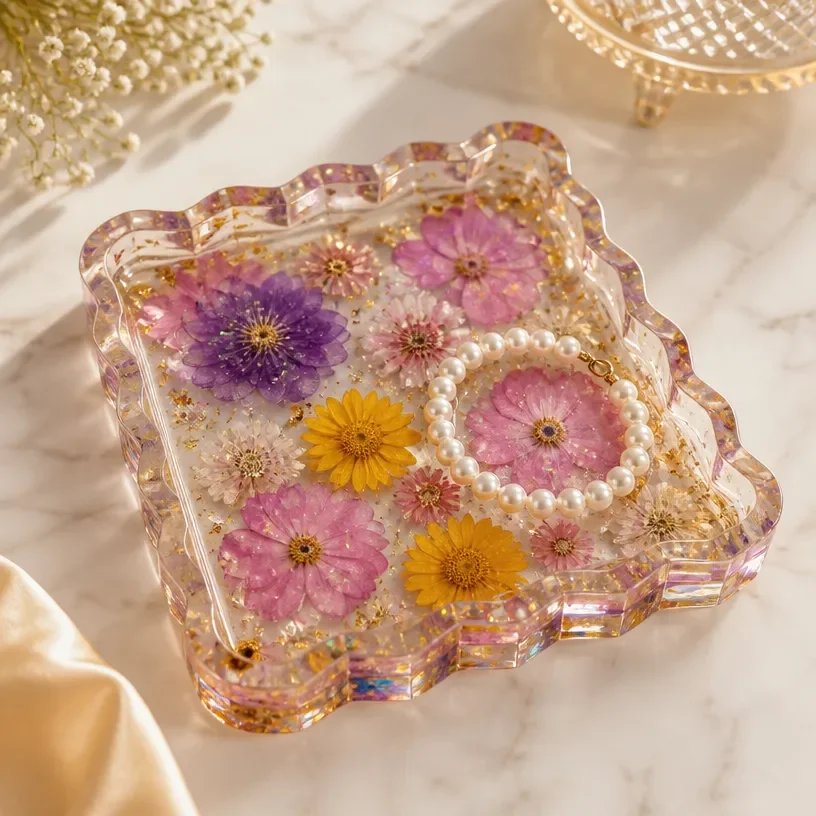
Creating a pressed flower resin trinket tray is a delightful way to capture the beauty of nature and showcase it in your home. This stunning project marries functionality with artistry, allowing you to artfully encapsulate dried flowers in resin to create a unique tray that can hold jewelry, keys, or other small items. Its aesthetic charm can enhance any decor style, making it a perfect addition to your entryway, bedroom, or living room.
In this project, you’ll learn how to combine vivid colors and textures by using pressed flowers and resin, resulting in a visually appealing and personal piece of decor. The process is approachable for crafters of all skill levels, and the finished tray makes a wonderful gift or a beautiful piece for personal use.
Why You’ll Love This Project
Unique Display
This project not only enhances your space but also serves as a conversation starter. The vibrant colors and intricate designs of pressed flowers set against the smooth resin create a captivating visual effect.
Personalization
You can personalize your trinket tray with flowers that hold special meaning to you or reflect seasonal themes, making it uniquely yours.
Practicality
Beyond its decorative appeal, this tray is functional, providing a handy place to store small items.
Inexpensive Materials
The materials needed are relatively affordable and can be found at most craft stores.
Approachability
The method is straightforward, making it a great project for both beginners and experienced crafters looking for a relaxing activity.
Materials You’ll Need
- Silicone tray mold creates the shape of the tray.
- Casting resin provides the clear, glossy finish.
- Pressed flowers choose flat, fully dried blooms for the best effect.
- Mixing supplies necessary for combining resin.
- Gloves keep your hands protected while working with resin.
- Decorative flakes add extra visual interest and sparkle.
How to Make the Project
Step 1: Prepare the Resin
First, follow the manufacturer’s instructions to prepare the resin. This usually involves mixing the resin with a hardener in the correct ratio. Make sure to wear gloves during this step to protect your hands.
Step 2: Arrange the Pressed Flowers
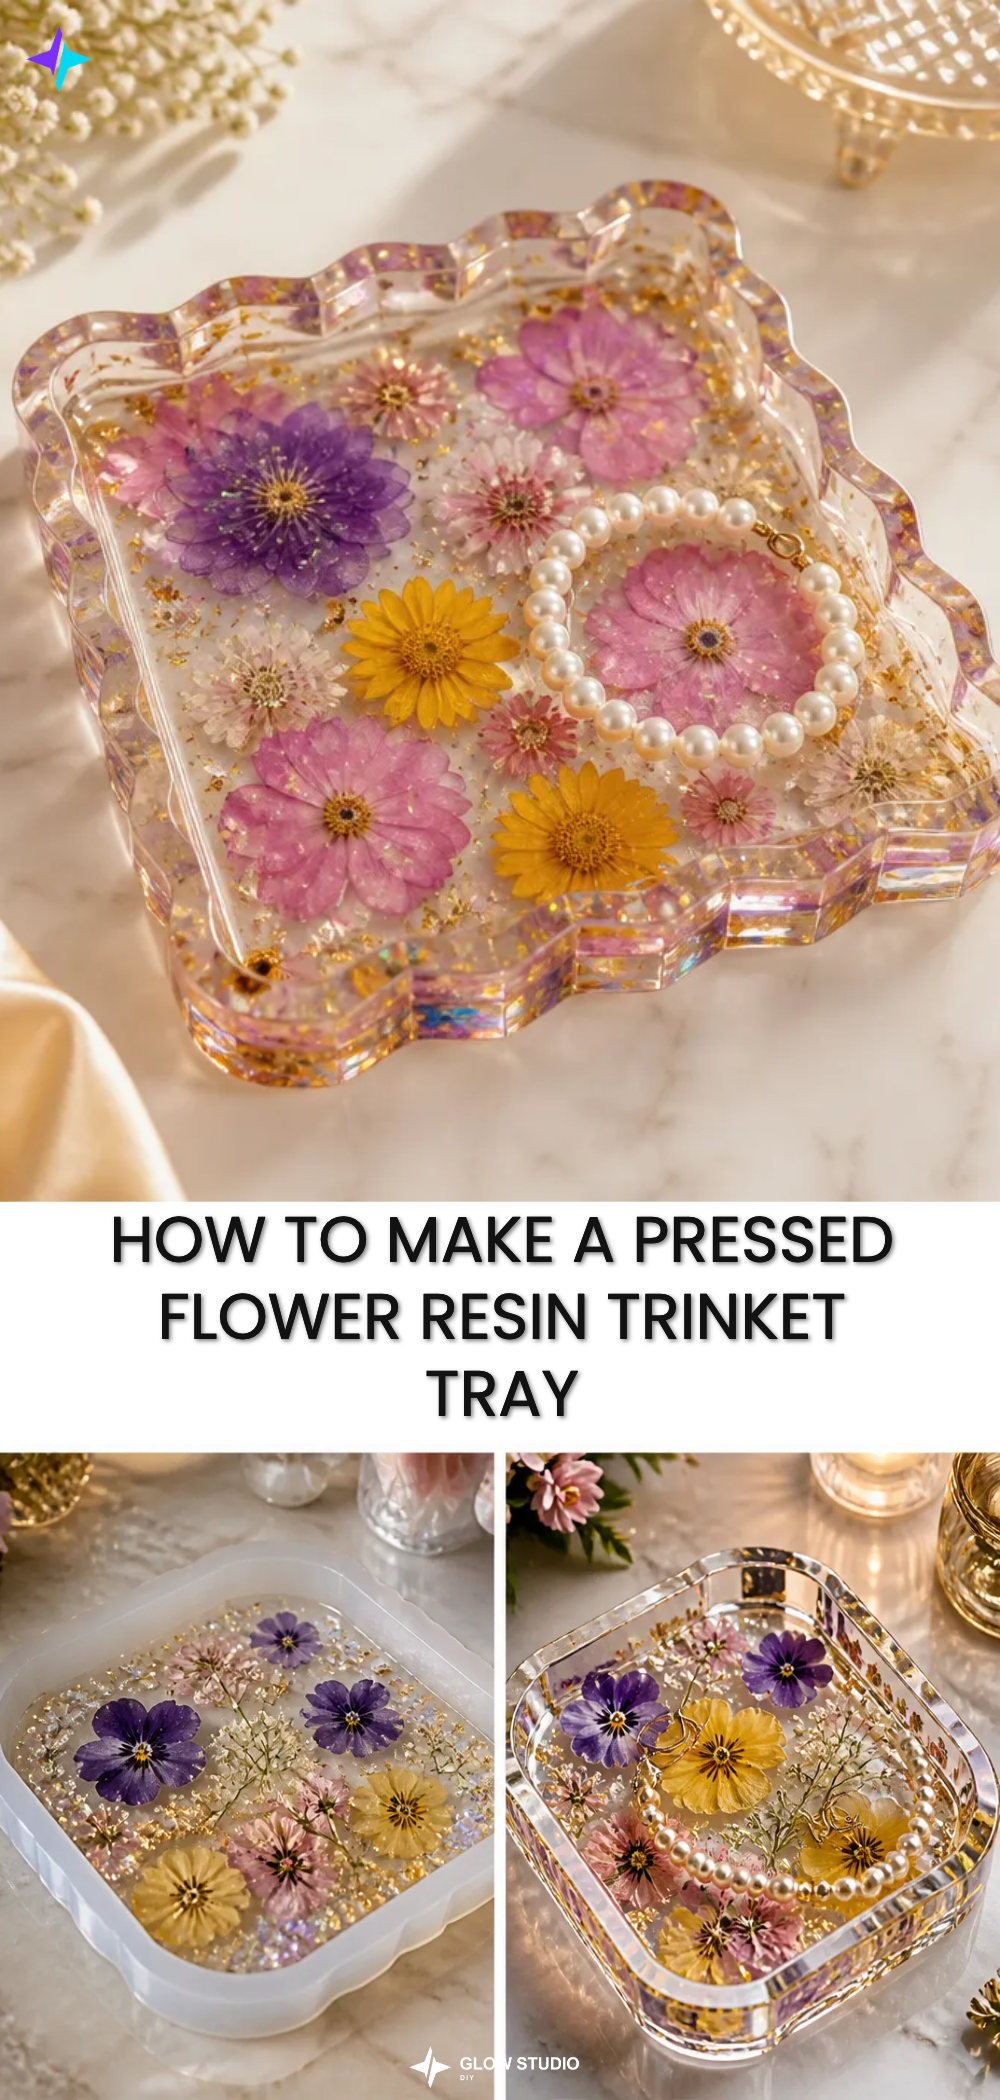
Once the resin is mixed, take your pressed flowers and arrange them in the silicone mold. Place larger flowers first, followed by smaller ones to achieve a layered effect. Make sure they are positioned where you want them to be visible.
Step 3: Add the Resin
Pour the prepared resin into the mold over the arranged flowers. Add resin in layers if you’re using thicker blooms. Pour slowly to minimize bubbles. Allow the first layer to set slightly before adding more layers if needed.
Step 4: Cure the Tray
Follow the manufacturer’s curing instructions to let the resin set fully. This may take anywhere from several hours to a full day, depending on the type of resin used. Once fully cured, gently unmold your tray and finish the edges as needed for a smooth appearance.
Tips for the Best Result
- Choose Flat Flowers: Ensure your pressed flowers are completely flat before arranging; this prevents them from floating to the top during curing.
- Finishing Touches: Smooth any rough edges with sandpaper after unmolding to achieve a polished look.
- Minimize Bubbles: To reduce bubbles, stir the resin slowly and let it sit for a few moments after mixing before pouring.
- Avoid Moisture: Keep your project in a dry environment during the curing process to prevent any water spots.
Displaying and Using Your Tray
There are plenty of ways to showcase your beautiful pressed flower resin trinket tray. Place it on a dresser to hold jewelry, or use it as a decorative catch-all for keys and loose change in your entryway. For a seasonal touch, switch out the flowers with different colors and types throughout the year, as they can be easily interchanged for different looks.
Frequently Asked Questions
Can I use fresh flowers instead of pressed flowers?
Fresh flowers tend to create moisture during the curing process, which can lead to unexpected results. It’s best to use dried or pressed flowers for this project.
How do I store leftover resin?
Store leftover resin in a cool, dry place, ensuring it is sealed tightly to prevent it from hardening.
What should I do if the resin gets too hot while curing?
If the resin heats up excessively, it may indicate too much resin was poured at once. Ensure you follow the manufacturer’s instructions for proper mixing and pouring techniques.
Can I customize the size of the tray?
Yes, you may use different molds to create varying sizes of trays or shapes, just keep in mind the proportions with the resin and flowers.
Conclusion
Creating your own pressed flower resin trinket tray is a fulfilling project that adds a touch of elegance to your home décor. The combination of vibrant flowers and shiny resin brings nature indoors beautifully. For those looking to expand their crafting collection, consider checking out a lovely pressed flower jewelry box or explore more options like a pressed flower trinket tray for fresh ideas and inspiration to personalize your space further. Enjoy the process of crafting something beautiful!
Pressed Flower Resin Trinket Tray
Ingredients
Method
- Follow the manufacturer's instructions to prepare the resin, mixing with a hardener in the correct ratio. Wear gloves during this step.
- Arrange the pressed flowers in the silicone mold, placing larger flowers first, followed by smaller ones for a layered effect.
- Pour the prepared resin into the mold over the arranged flowers, adding in layers if using thicker blooms while pouring slowly to minimize bubbles.
- Follow the manufacturer's curing instructions, letting the resin set fully, which may take several hours to a full day.
- Once fully cured, gently unmold your tray and finish the edges with sandpaper for a smooth appearance.