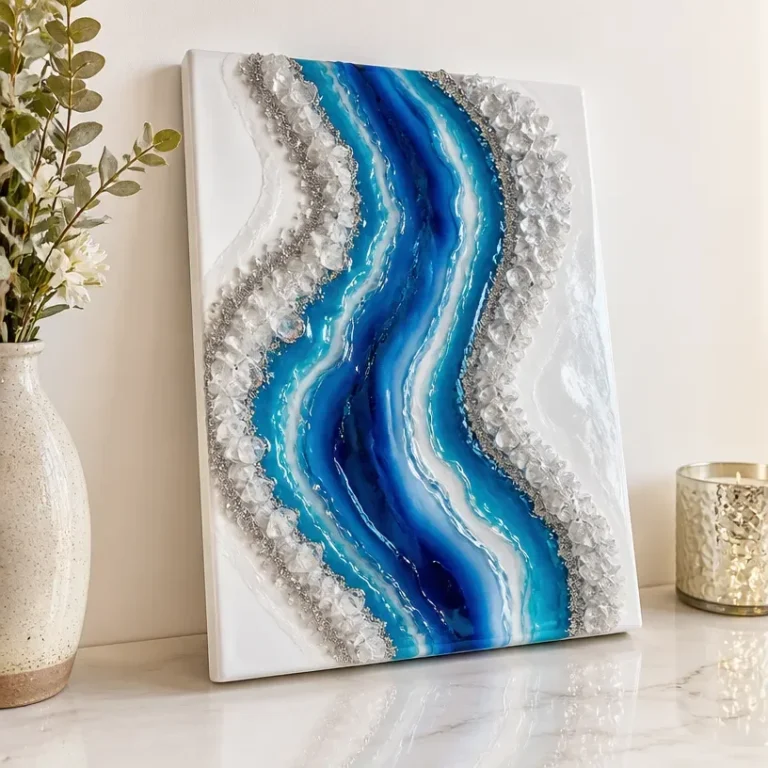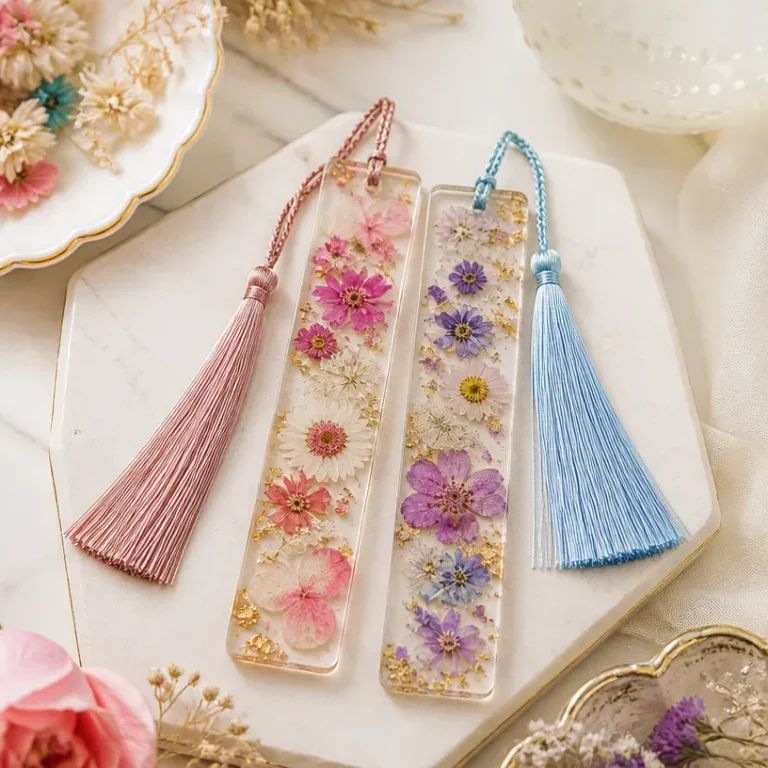
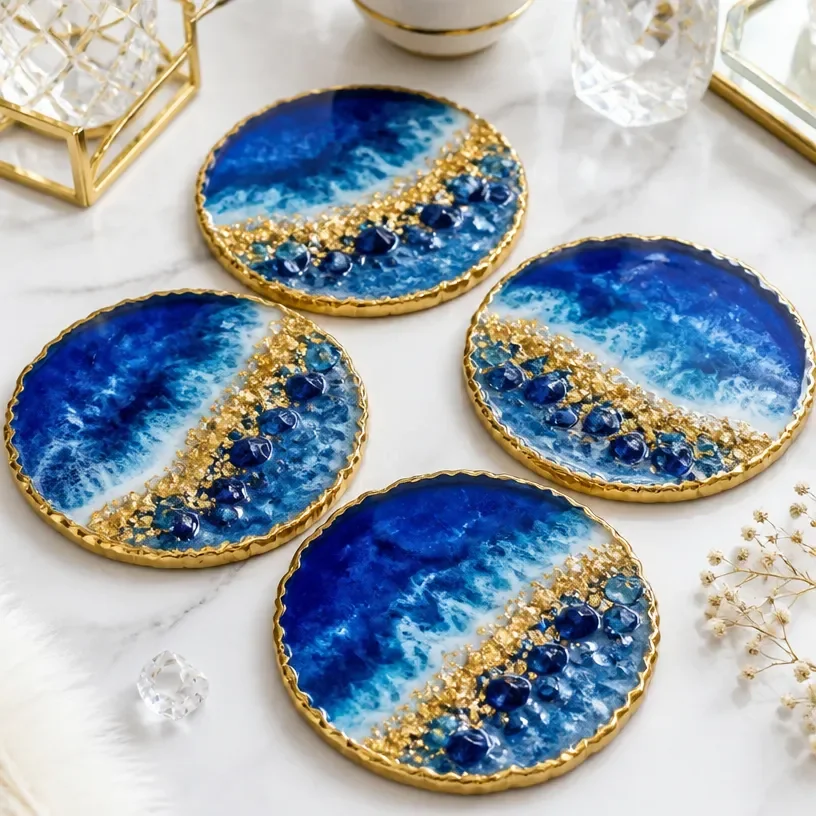
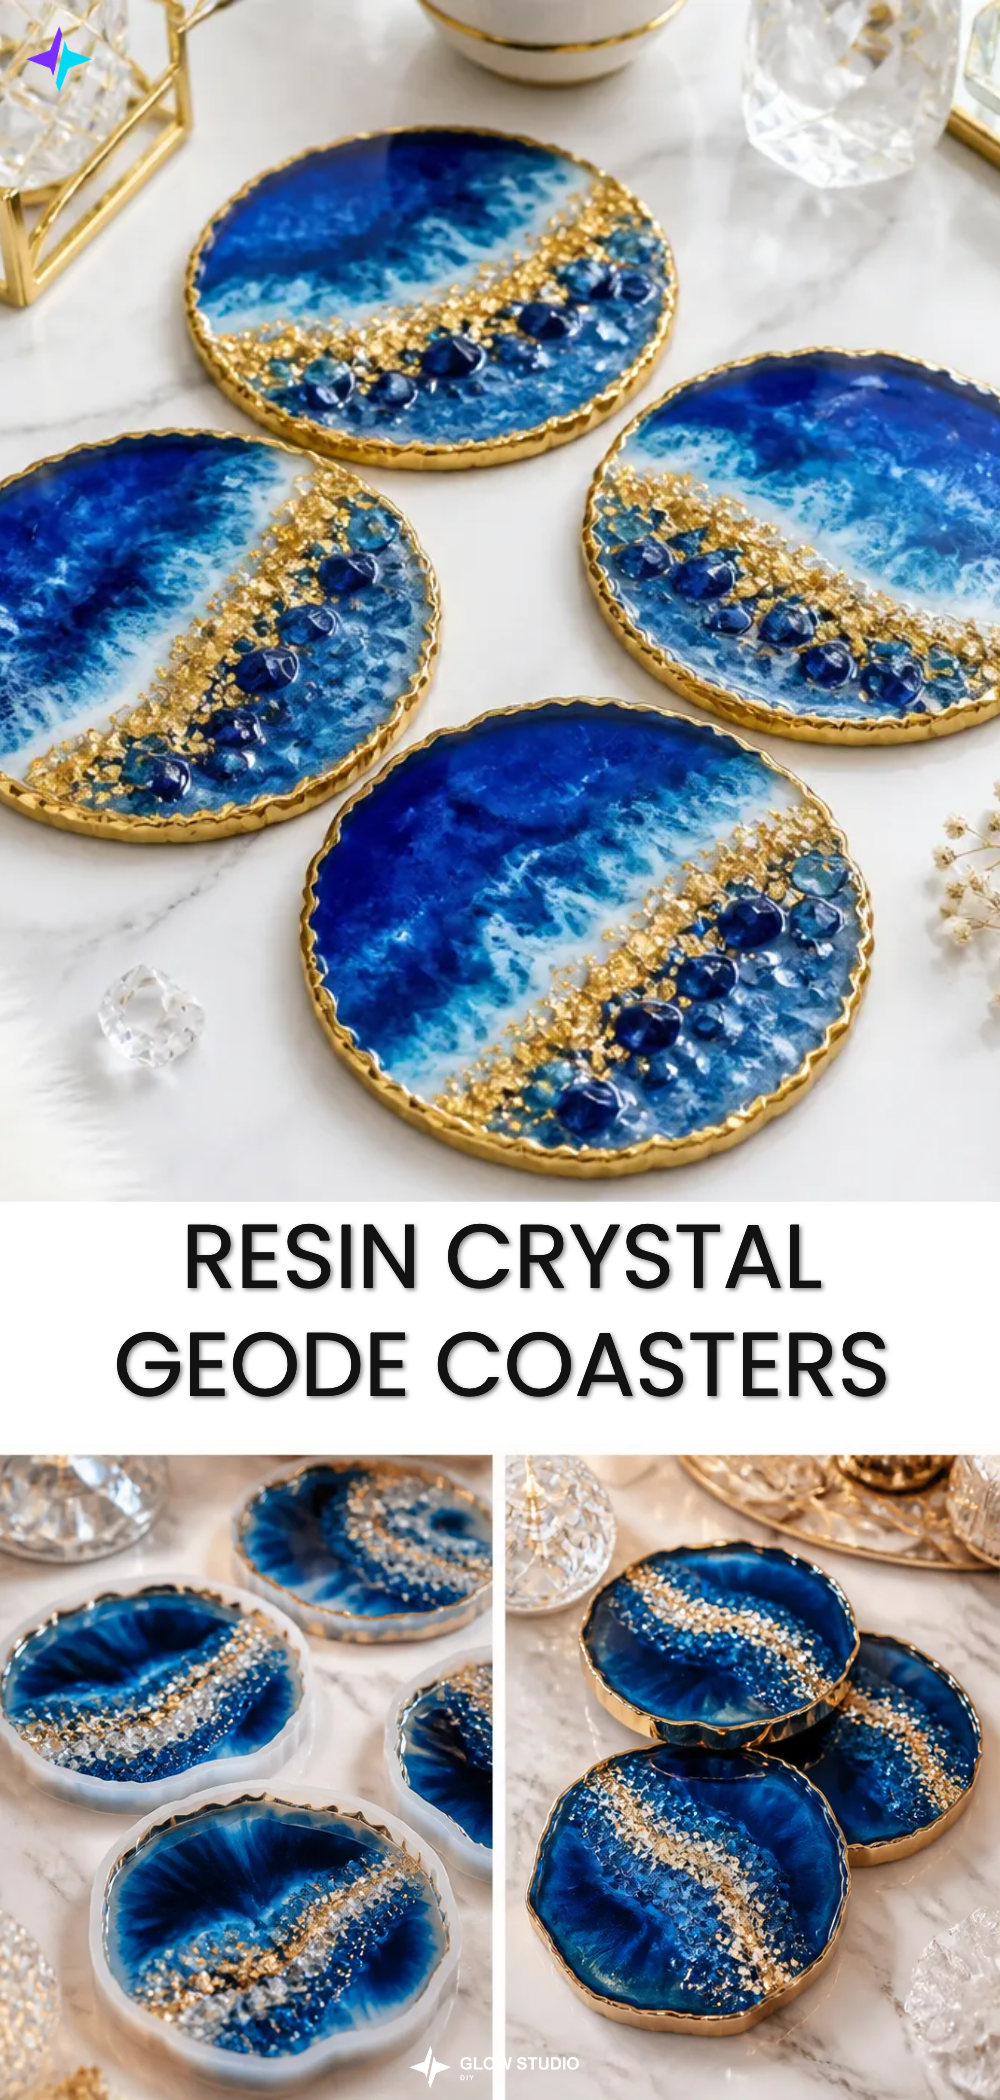
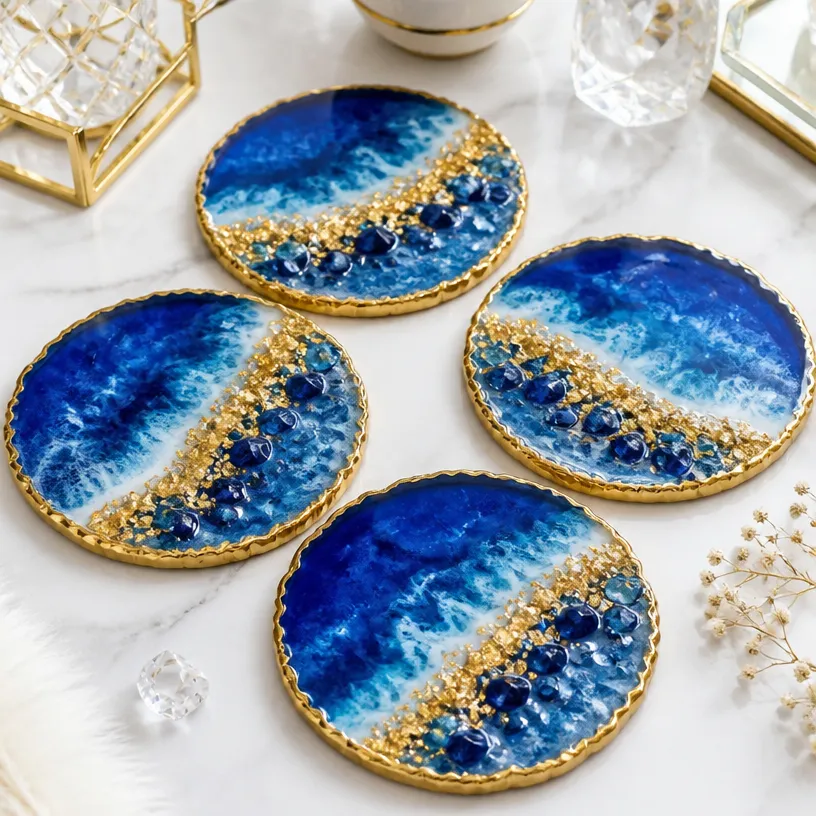
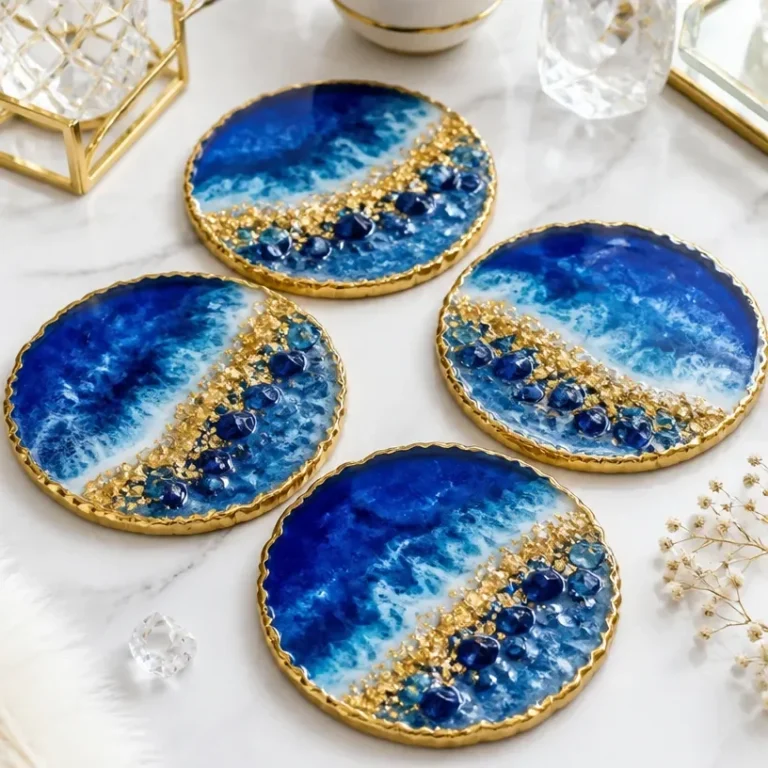
Creating your own Resin Crystal Geode Coasters is an exciting project that combines beauty and functionality. These coasters not only serve as practical items for protecting your surfaces, but they also add a touch of elegance to your home decor with their stunning visual effects that resemble natural geodes. Placed on a coffee table, serving area, or even as a decorative piece, they are sure to captivate anyone’s attention.
This DIY project is approachable for both beginners and seasoned crafters. With just a few materials and some fun techniques, you’ll be able to craft coasters that not only look gorgeous but can also be customized to match your aesthetic. The shimmering colors and sparkly details make these coasters an eye-catching addition to any space.
Why You’ll Love This Project
Making your own resin coasters comes with a variety of benefits:
- Beautiful Display: Once completed, these coasters resemble natural agate and add a unique touch to your decor.
- Customizable Colors: You can mix and match colors, glitters, and materials to perfectly suit your personal style or home theme.
- Perfect for Gifting: Handmade coasters make for thoughtful gifts for friends and family, especially for housewarmings or weddings.
- Inexpensive Materials: The materials needed are generally affordable and easy to find, making this an economical craft.
- Fun and Engaging Process: The hands-on nature of working with resin is both satisfying and enjoyable.
Before You Begin
Before you dive into creating your resin geode coasters, it’s beneficial to prepare your workspace and materials:
- Protect Your Surface: Cover your work area with a plastic drop cloth or silicone mat to prevent any spills or damage.
- Organize Your Materials: Lay out all the materials needed, such as silicone molds, pigments, and decorative elements, for ease of access.
- Ventilation: Make sure your workspace is well-ventilated since working with resin can emit fumes.
Materials You’ll Need
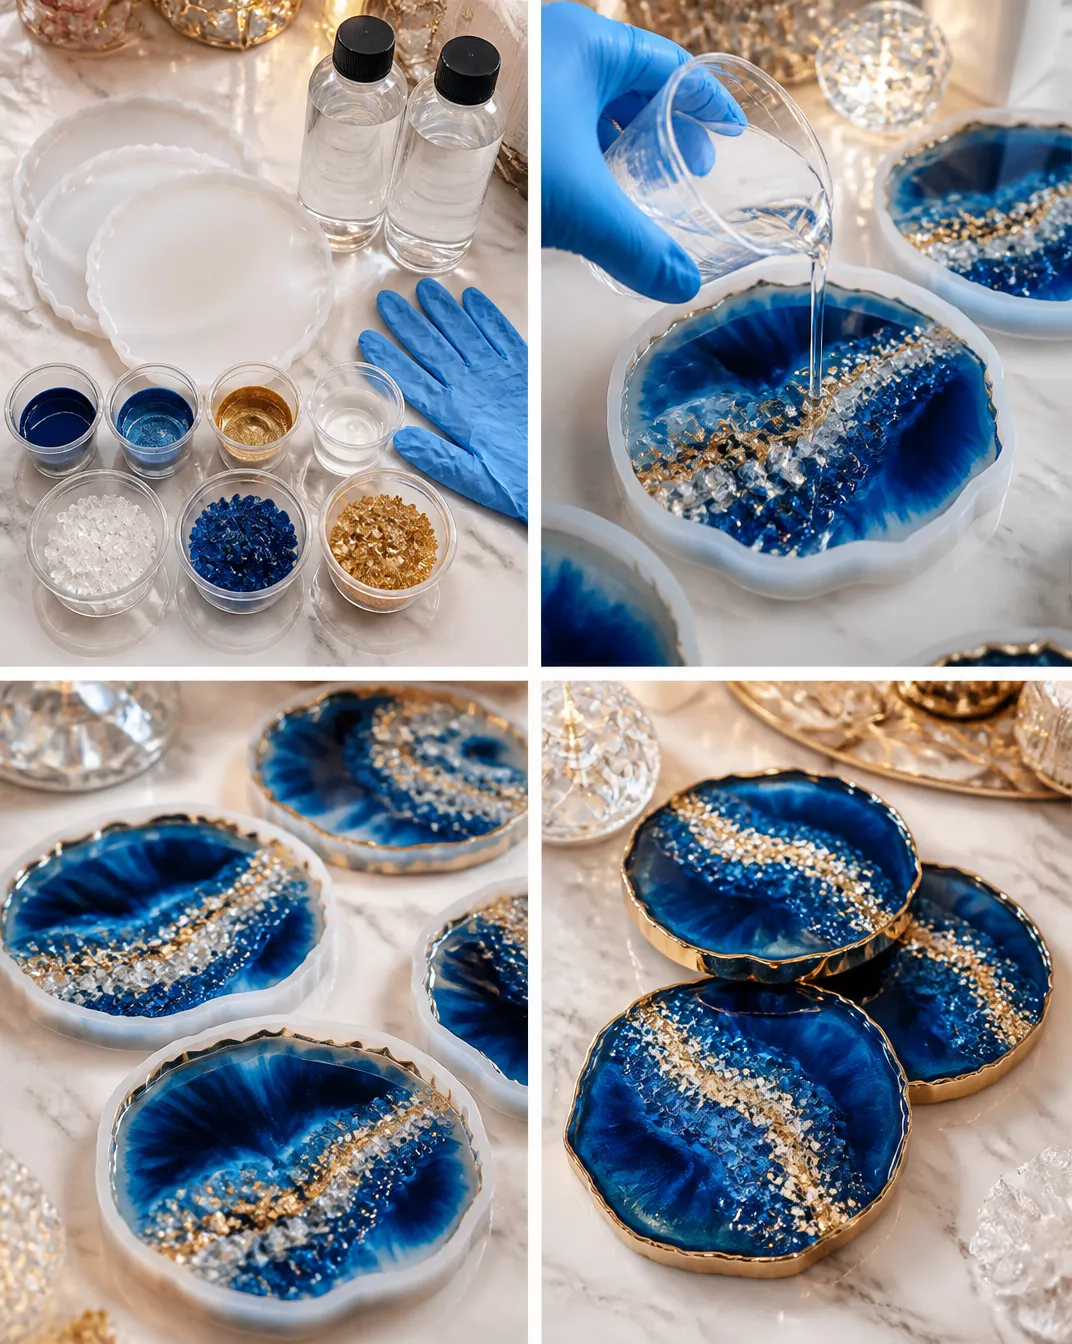
- Silicone coaster molds – To shape your coasters.
- Casting resin – The core material that hardens to create your coasters.
- Pigments – For adding color to your resin.
- Decorative glass or crystal chips – To mimic natural geode formations.
- Metallic flakes – For added shimmer and dimension.
- Gloves – To protect your hands while working with resin.
Tools
You don’t need many tools for this project, but having the following will help:
- Stirring sticks – For mixing resin and pigments.
- Measuring cups – To ensure accurate mixing of resin and hardener.
- Heat gun (optional) – To eliminate bubbles from the resin surface.
How to Make the Project
Step 1: Mix the Resin
Follow the product directions to mix your resin. Be sure to do this in a well-ventilated area, and wear gloves to protect your skin. Stir the resin thoroughly to ensure that it’s well combined.
Step 2: Build Your Geode Design
Pour a small layer of resin into the bottom of each mold. Use a stir stick to create an organic “geode” shape. You can start by adding different colored pigments as desired.
Step 3: Add Decorative Details
Sprinkle decorative glass or crystal chips into the resin mixture. Feel free to add metallic flakes for that extra sparkle! Arrange the various elements to resemble the look of a natural geode.
Step 4: Cure Your Coasters
Allow the resin to cure completely by following the manufacturer’s instructions. This may take several hours to overnight, depending on the resin used.
Step 5: Unmold Your Coasters
Once fully cured, carefully remove the coasters from the silicone molds. You should see a stunning design that looks like it came straight from nature!
Tips for the Best Result
- Avoid Bubbles: If bubbles form during mixing, use a heat source like a heat gun to gently pass over the surface and release them.
- Layering: Consider creating layers with different colors for a more dynamic look.
- Experiment with Shapes: Feel free to try different molds or create larger trays for added versatility.
Customization / Variations
You can easily customize your geode coasters by adjusting the colors and materials you use. For instance, you can experiment with a pastel palette for a softer look or use darker tones for a more dramatic feel. You might also consider adding small dried flowers or herbs to give your coasters a touch of nature.
How to Display Your Finished Project
Once your coasters are complete, consider placing them on a stylish tray on your coffee table or showcasing them on a decorative stand. They also make great conversation starters when entertaining guests or can be given as unique, handmade gifts.
Care and Storage
To keep your resin coasters looking their best, gently dust them with a soft cloth. Avoid placing them in direct sunlight for prolonged periods to prevent fading over time.
Frequently Asked Questions
-
Can I use different types of pigments? Yes! Experiment with various pigments to see what effects you like best. Just ensure they are compatible with resin.
-
What if my coasters have bubbles? If bubbles appear, you can use a heat gun to carefully pass over the surface and pop them.
-
How do I clean my coasters? Wipe them with a damp cloth and mild soap. Avoid abrasive materials that could scratch the surface.
-
Can I make coasters with a different shape? Absolutely! Try different silicone molds to create unique shapes and sizes for your coasters.
-
Can I use my coasters for hot drinks? While resin is heat-resistant to some degree, avoid exposing them to extreme heat. Consider using them for cold drinks or as decorative items.
Conclusion
In summary, crafting your own Resin Crystal Geode Coasters is not only an enjoyable project, but it also results in stunning pieces that enhance your living space. Their unique designs bring a touch of nature indoors and serve as wonderful gifts for any occasion. To explore more beautiful designs, you can check out Geode Coasters on Amazon or discover techniques at Resin Geode Coasters That Look Like Agate! on Mod Podge Rocks. Happy crafting!
Follow Glow Studio DIY for fresh DIY ideas & inspiration!
Resin Crystal Geode Coasters
Would you like to save this project?
By submitting you agree to receive this project and occasional emails. Unsubscribe anytime.
Materials
Materials for Coasters
- 2 pieces Silicone coaster molds To shape your coasters.
- 1 set Casting resin The core material that hardens to create your coasters.
- as desired various Pigments For adding color to your resin.
- as desired various Decorative glass or crystal chips To mimic natural geode formations.
- as desired various Metallic flakes For added shimmer and dimension.
- 1 pair Gloves To protect your hands while working with resin.
Directions
Preparation
- Prepare your workspace by covering the area with a plastic drop cloth or silicone mat.
- Lay out all materials needed, such as silicone molds, pigments, and decorative elements, for ease of access.
- Ensure your workspace is well-ventilated.
Mixing and Pouring
- Follow the product directions to mix your resin in a well-ventilated area, wearing gloves.
- Pour a small layer of resin into the bottom of each mold.
Building the Design
- Use a stir stick to create an organic 'geode' shape with colored pigments.
- Sprinkle decorative glass or crystal chips into the resin mixture, adding metallic flakes for extra sparkle.
Curing
- Allow the resin to cure completely by following the manufacturer’s instructions, which may take several hours to overnight.
Finishing
- Once fully cured, carefully remove the coasters from the silicone molds to reveal the stunning designs.
Last Step: Don’t forget to leave a rating and comment below! It helps other readers find the best DIY projects — and it helps us too!