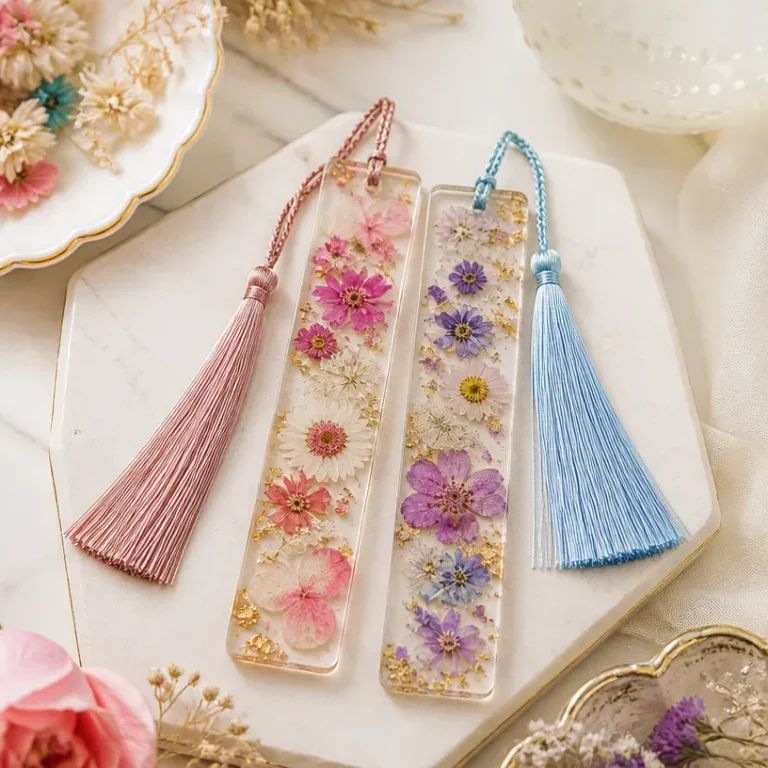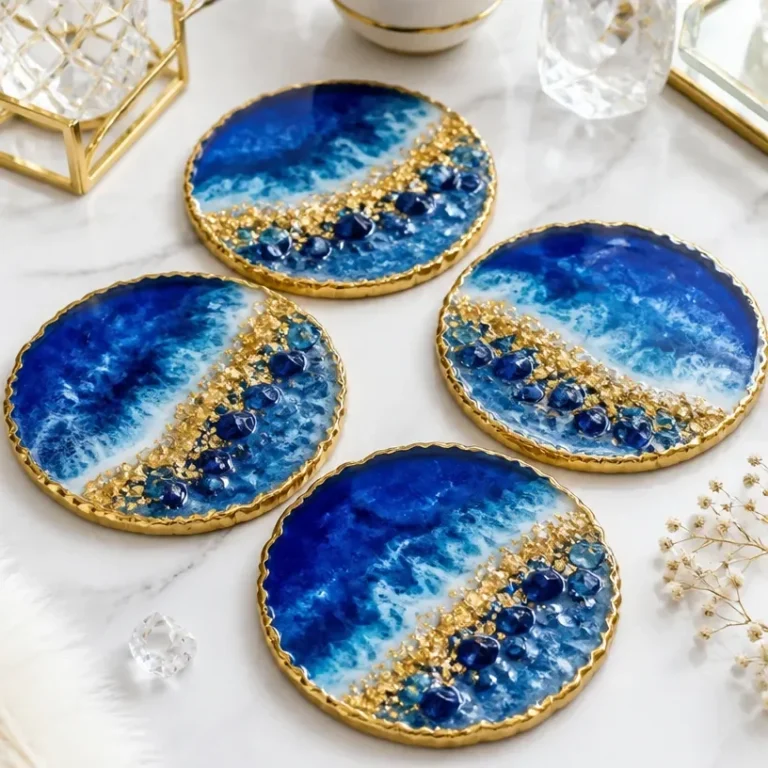
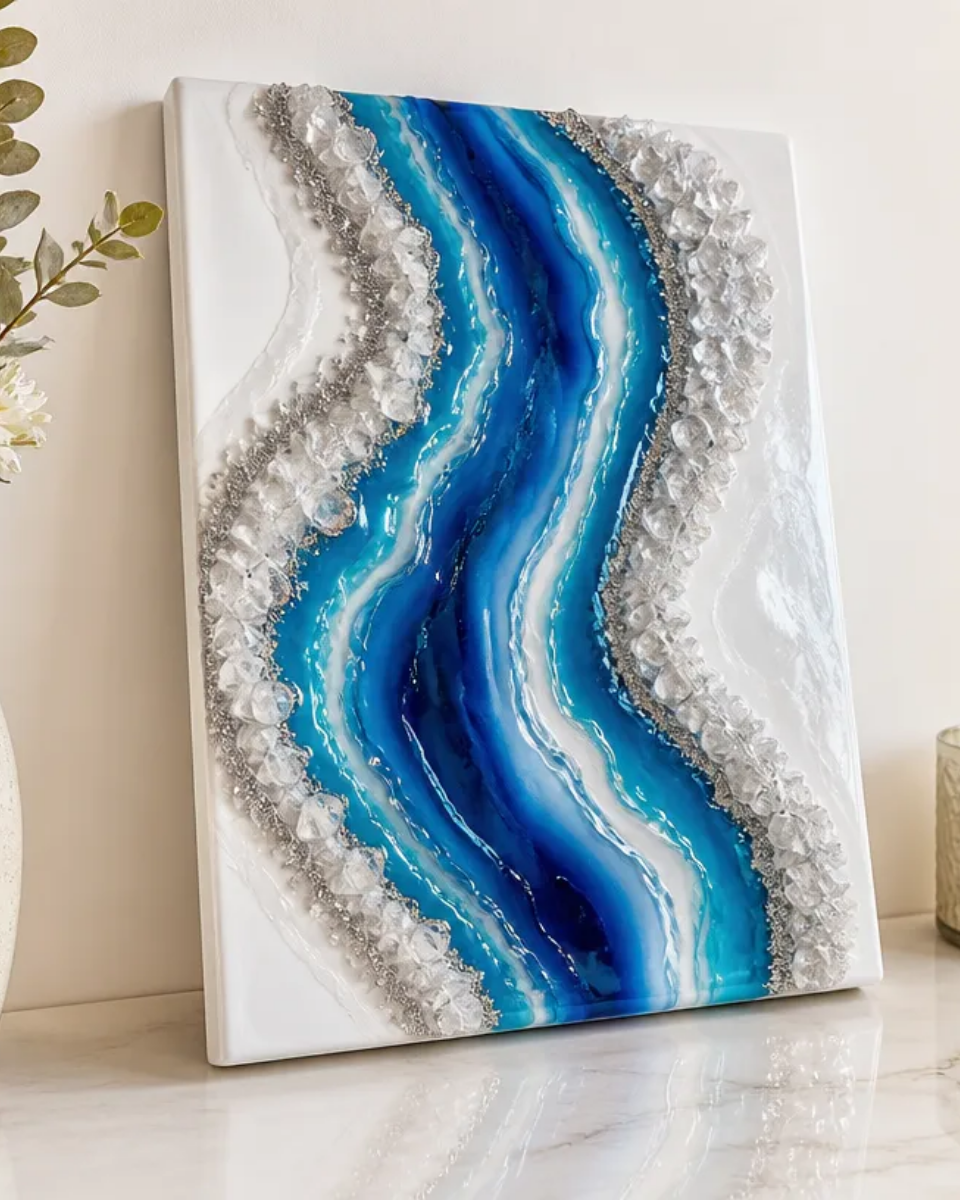
Creating resin geode wall art is a captivating way to add a touch of elegance to your home decor. This DIY faux crystal decor project results in stunning, unique pieces that sparkle and shine in the light. Perfect for displaying in any space from living rooms to bedrooms this art form can serve as both a focal point and a conversation starter. You may also find How To Make A Diy Crystal Sunburst Mirror For Wall Decor useful.
In this guide, we’ll walk you through the steps of making your own resin geode wall art. Whether you’re a seasoned DIYer or a beginner, this project uses approachable techniques and materials that are easy to work with. If you enjoy making beautiful pieces that showcase your creativity, this is the perfect project to unleash your artistic talents. For another stunning decor idea, consider checking out our DIY crystal sunburst mirror wall decor.
Why You’ll Love This Project
Unique Display Piece
One of the most appealing aspects of creating resin geode wall art is that each piece is completely unique. The blending of colors and patterns ensures that no two creations will look the same. This adds a personal touch to your home decor. You may also find Crystal Lotus Prism Mirror Frame Diy Elegant Home Decor useful.
Easy Customization
You have complete control over the colors and materials used in this project. You can create a piece that matches your existing decor or experiment with vibrant hues for a bold statement. For inspiration on a similar concept, check out our guide on DIY blue crystal pumpkin geode Halloween decor.
Budget-Friendly
Creating your own decor can be more cost-effective than purchasing handmade pieces. The materials used in this project are typically inexpensive and easily accessible. This means you can create stunning artwork without breaking the bank. You may also find Diy Crystal Ice Candle Elegant Home Decor useful.
Shareable Crafting Experience
Making resin geode art can be a fun activity to share with friends or family. Gather your loved ones for a crafting session, and you’ll not only enjoy the process together but also create beautiful pieces to take home.
A Perfect Gift
Once completed, your resin geode wall art makes an excellent gift. Whether for birthdays, housewarming parties, or holidays, a personalized piece of art is both thoughtful and memorable.
Before You Begin
Before diving into the project, ensure your workspace is prepared and organized. It’s essential to cover your work surface to protect it from any spills. Additionally, gather all your materials and tools to avoid interruptions during the crafting process. Make sure to work in a well-ventilated area, and follow the manufacturer’s instructions regarding the resin curing process.
Materials You’ll Need
- Epoxy resin – The base of your artwork, provides the crystal-like finish.
- Resin color pigments – For coloring your resin. Choose colors based on your design vision.
- Silicone mold – To shape your resin into your desired geode pattern.
- Glitter or mica powder – Optional, for added sparkle.
- Coffee stirrers – For mixing the resin and pigments.
- Rubbing alcohol – To prevent bubbles from forming in your resin.
- Latex gloves – To protect your hands during the resin application.
- Craft knife – For removing any excess material after curing.
Tools
- Small mixing cups – For combined resin and pigments.
- Heat gun or torch – To pop any air bubbles that form in the resin.
- Protective mask – To ensure safety while working with resin.
- Sandpaper – For smoothing edges once your creation is cured.
How to Make the Project
Step 1: Prepare Your Workspace
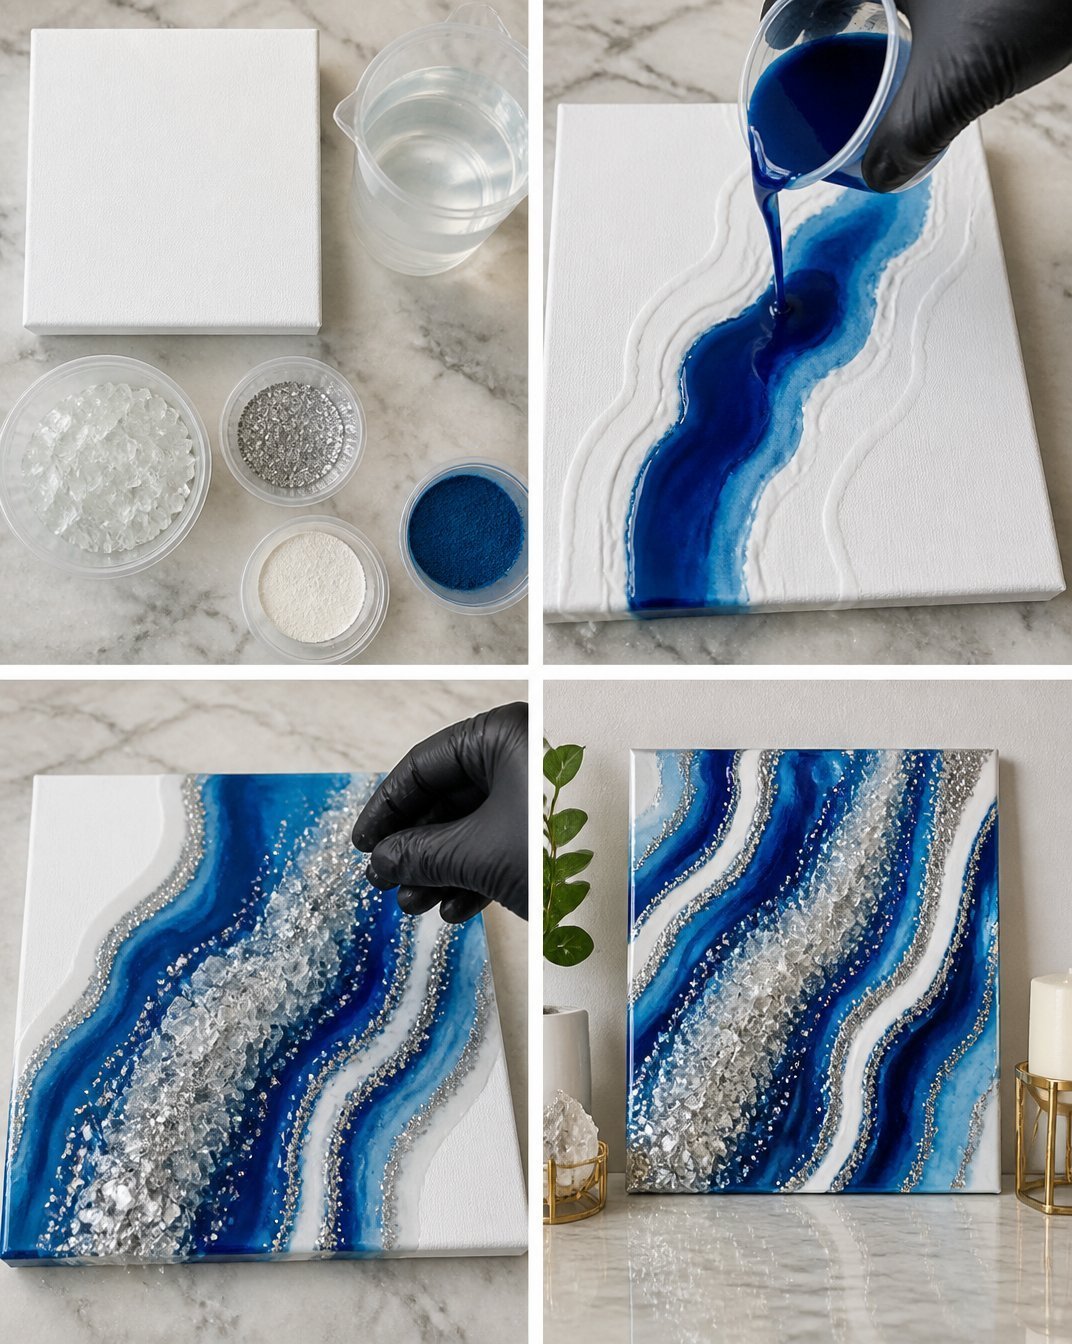
Start by protecting your work surface with a drop cloth or plastic sheeting. Ensure you have all materials and tools within reach to create a smooth workflow.
Step 2: Mix Your Epoxy Resin
Follow the manufacturer’s instructions to mix your epoxy resin. Typically, this involves combining equal parts of resin and hardener in a mixing cup. Stir thoroughly with a coffee stirrer for several minutes until well integrated.
Step 3: Add Color
Once your resin is well mixed, divide it into smaller cups to create different colors. Add your resin color pigments to achieve your desired shades. Don’t forget to mix in additional elements like glitter or mica powder if using them.
Step 4: Pour into the Mold
Begin pouring your colored resins into the silicone mold. Start with one color, then alternate and layer your colors to create a marbled effect. Use your stirrer to gently swirl the colors together, being careful not to overmix.
Step 5: Remove Air Bubbles
After pouring, use a heat gun or torch to gently pass over the surface. This process will help eliminate any air bubbles that may have formed during mixing and pouring.
Step 6: Cure the Resin
Allow your resin to cure based on the manufacturer’s instructions. This typically takes 24 hours, depending on the thickness. Ensure your workspace is undisturbed during this period.
Step 7: Remove from the Mold
Once fully cured, carefully remove your resin art from the mold. If any edges are sharp or uneven, use sandpaper to smooth them out.
Step 8: Display Your Artwork
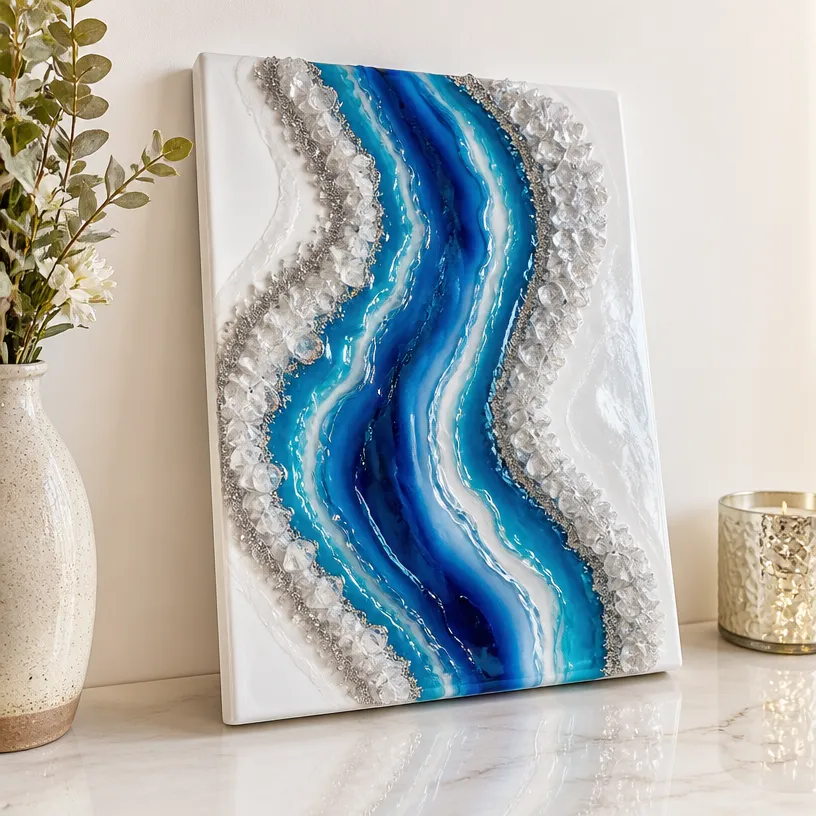
Find a perfect spot in your home to display your newly crafted resin geode wall art. Whether it’s hung on a wall or placed on a shelf, it’s sure to catch the eye.
Tips for the Best Result
- Plan Your Colors: Before you start mixing, visualize the color scheme you want. Keeping it cohesive can enhance the overall look.
- Work Quickly: Resin can begin to set within a specific timeframe, so work efficiently when pouring and adding colors.
- Bubble Prevention: Ensure you pour slowly to minimize bubble formation.
- Temperature Matters: A warm environment can help your resin cure better, but avoid direct sunlight which can heat the resin excessively.
- Practice Patience: Let the resin cure fully. Rushing the process can compromise your final piece.
Customization / Variations
You can get creative with this project by altering the colors and patterns used in the resin. Try incorporating natural elements like dried flowers or sparkling crystals for added dimension. Additionally, you may choose different mold shapes for varied aesthetics.
How to Display Your Finished Project
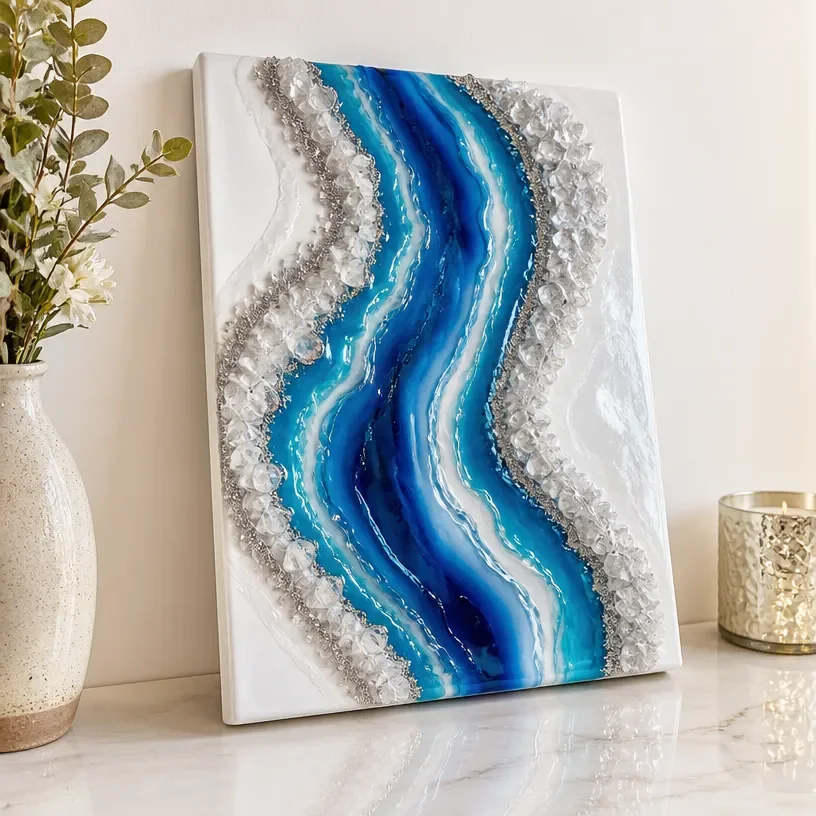
Your resin geode wall art can be a versatile decoration in your home. Hang it as part of a gallery wall or stand it on a shelf. For a boho touch, incorporate it in combination with other natural decor elements and textures. These unique creations can serve not just as decoration, but as personalized gifts for friends and loved ones.
Frequently Asked Questions
Frequently Asked Questions
Can I use other types of resin?
Yes, while epoxy resin is commonly used, ensure you follow the specific instructions for any resin type to achieve the desired results.
What if my resin didn’t cure properly?
Improper curing can be due to incorrect ratios or temperature. If this happens, try re-mixing and pouring a small amount over the original project after ensuring it’s well-prepared.
How do I clean up spills?
Clean resin spills immediately with rubbing alcohol before it hardens. If it has cured, you may need to carefully scrape and sand the area down.
Can I reuse the mold?
Yes, silicone molds are reusable. Just make sure to clean them thoroughly after each use to avoid color mixing.
Is resin safe to use indoors?
Ensure proper ventilation while working with resin, as fumes can be harmful. Always follow safety precautions.
Conclusion
In conclusion, crafting resin geode wall art is not only a rewarding DIY project but also a stunning way to beautify your space. The glow and reflections of the finished pieces provide an artistic flair to any room. As you explore further into resin art, consider looking into additional ideas like creating a DIY faux geode slice with Envirotex Lite pour-on epoxy or browsing beautiful pieces on Etsy for inspiration. Enjoy creating unique decor that showcases your artistic touch!
Resin Geode Wall Art
Ingredients
Method
- Protect your work surface with a drop cloth or plastic sheeting.
- Gather all materials and tools within reach.
- Follow the manufacturer's instructions to mix your epoxy resin—typically combining equal parts resin and hardener in a mixing cup.
- Stir thoroughly with a coffee stirrer for several minutes until well integrated.
- Divide the mixed resin into smaller cups to create different colors.
- Add resin color pigments to achieve your desired shades and mix in glitter or mica powder if desired.
- Pour your colored resins into the silicone mold, starting with one color and layering as you go.
- Use your stirrer to gently swirl the colors together without overmixing.
- Use a heat gun or torch to gently pass over the surface to eliminate any air bubbles.
- Allow your resin to cure based on the manufacturer's instructions, typically taking 24 hours depending on thickness.
- Make sure your workspace is undisturbed during this period.
- Once fully cured, carefully remove your resin art from the mold.
- Use sandpaper to smooth out any sharp or uneven edges.
- Find a perfect spot in your home to display your newly crafted resin geode wall art.