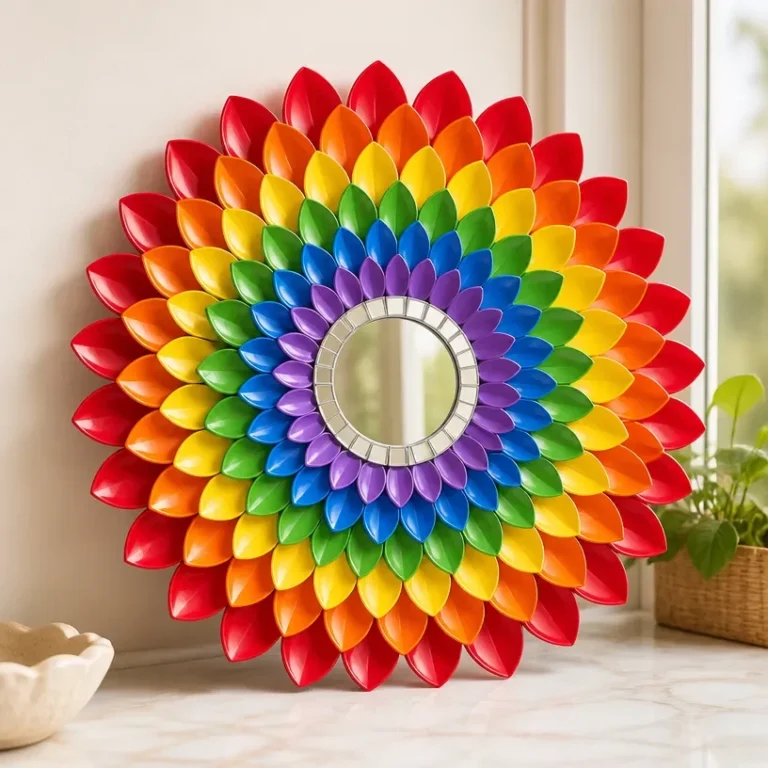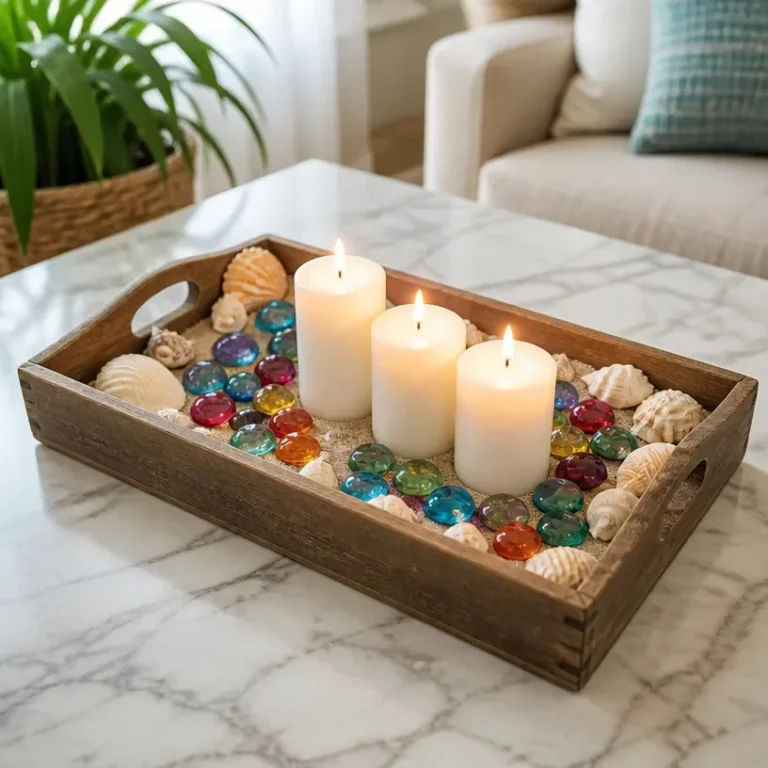
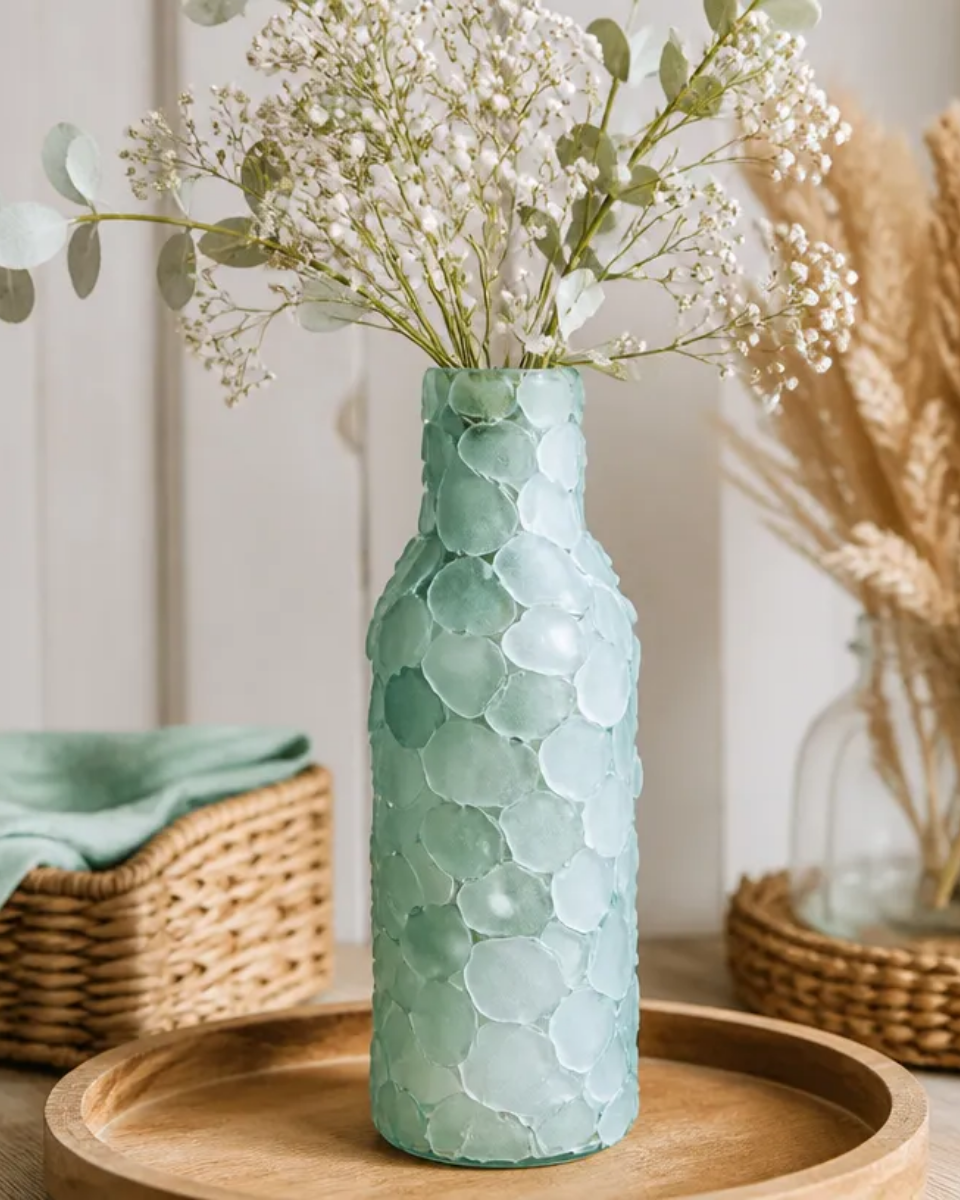
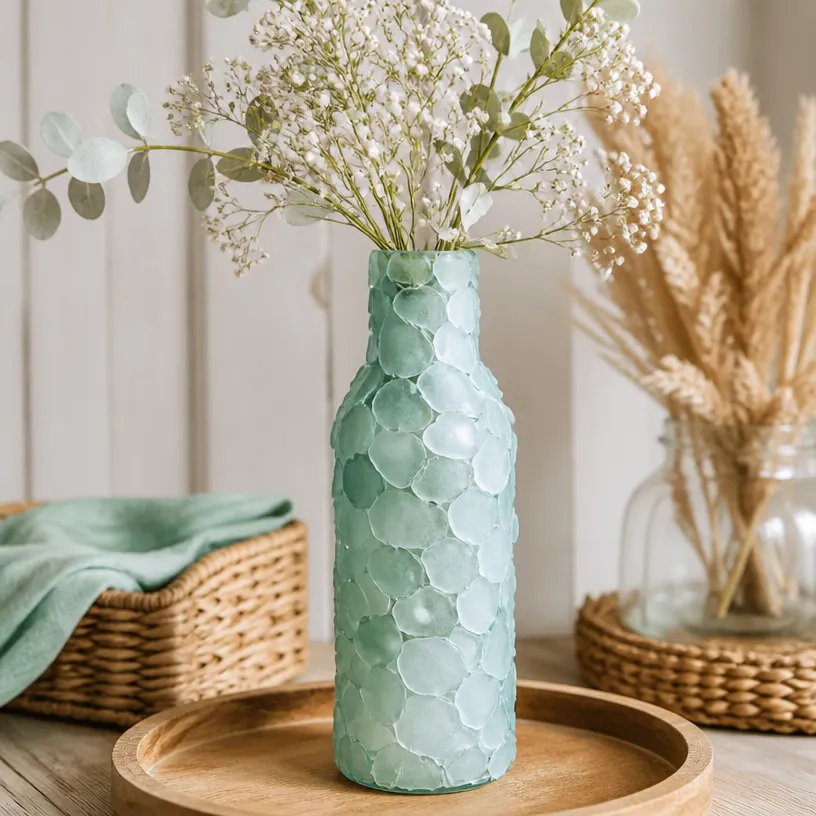
Transform your living space with a beautiful artificial sea glass vase that captures the essence of coastal decor. This project is not only visually appealing, with its vibrant colors and textures reminiscent of ocean treasures, but also versatile enough to fit any room in your home. Whether placed on a shelf, dining table, or as part of a larger arrangement, this vase will add a refreshing touch to your decor. You may also find Diy Rainbow Sea Glass Vases Coastal Decor useful.
Creating an artificial sea glass vase is a rewarding DIY project that brings together creativity and craftsmanship. By using simple materials, you can achieve a stunning finished product worthy of display. If you’re interested in similar projects, you might want to explore how to make elegant faux sea glass vases that complement this style beautifully.
Why You’ll Love This Project
Benefits of Crafting Your Own Sea Glass Vase
- Display-Worthy Result: The finished vase has an authentic ocean-inspired look.
- Customizable Colors: You can choose the colors that best suit your decor or mood.
- Approachable Technique: The project is suitable for both beginners and seasoned crafters.
- Inexpensive Materials: You’ll find the materials are both affordable and easy to acquire.
- Eco-Friendly Option: This alternative to real sea glass keeps waste out of oceans while providing a beautiful aesthetic.
Before You Begin
Before starting, it’s essential to prepare your workspace. Protect your surfaces with a drop cloth or newspaper, especially when working with adhesives or paints. Organizing your materials will keep your crafting process smooth and efficient, ensuring that you have everything at hand when needed. You may also find Diy Sea Glass Mosaic Mirror For Coastal Wall Decor useful.
You may also find Diy Sea Glass Driftwood Sailboat Ornament useful.
Materials You’ll Need
- Artificial sea glass The main decorative element to give the vase its coastal charm.
- Clear glass vase This serves as the base for your project.
- Adhesive A suitable crafting glue that bonds well with glass and plastic.
- Paintbrush To apply adhesive evenly.
- Sealer (optional) Provides additional protection for your finished piece.
Tools
- Scissors For trimming any excess sea glass.
How to Make Your Artificial Sea Glass Vase
Step 1: Prepare the Vase
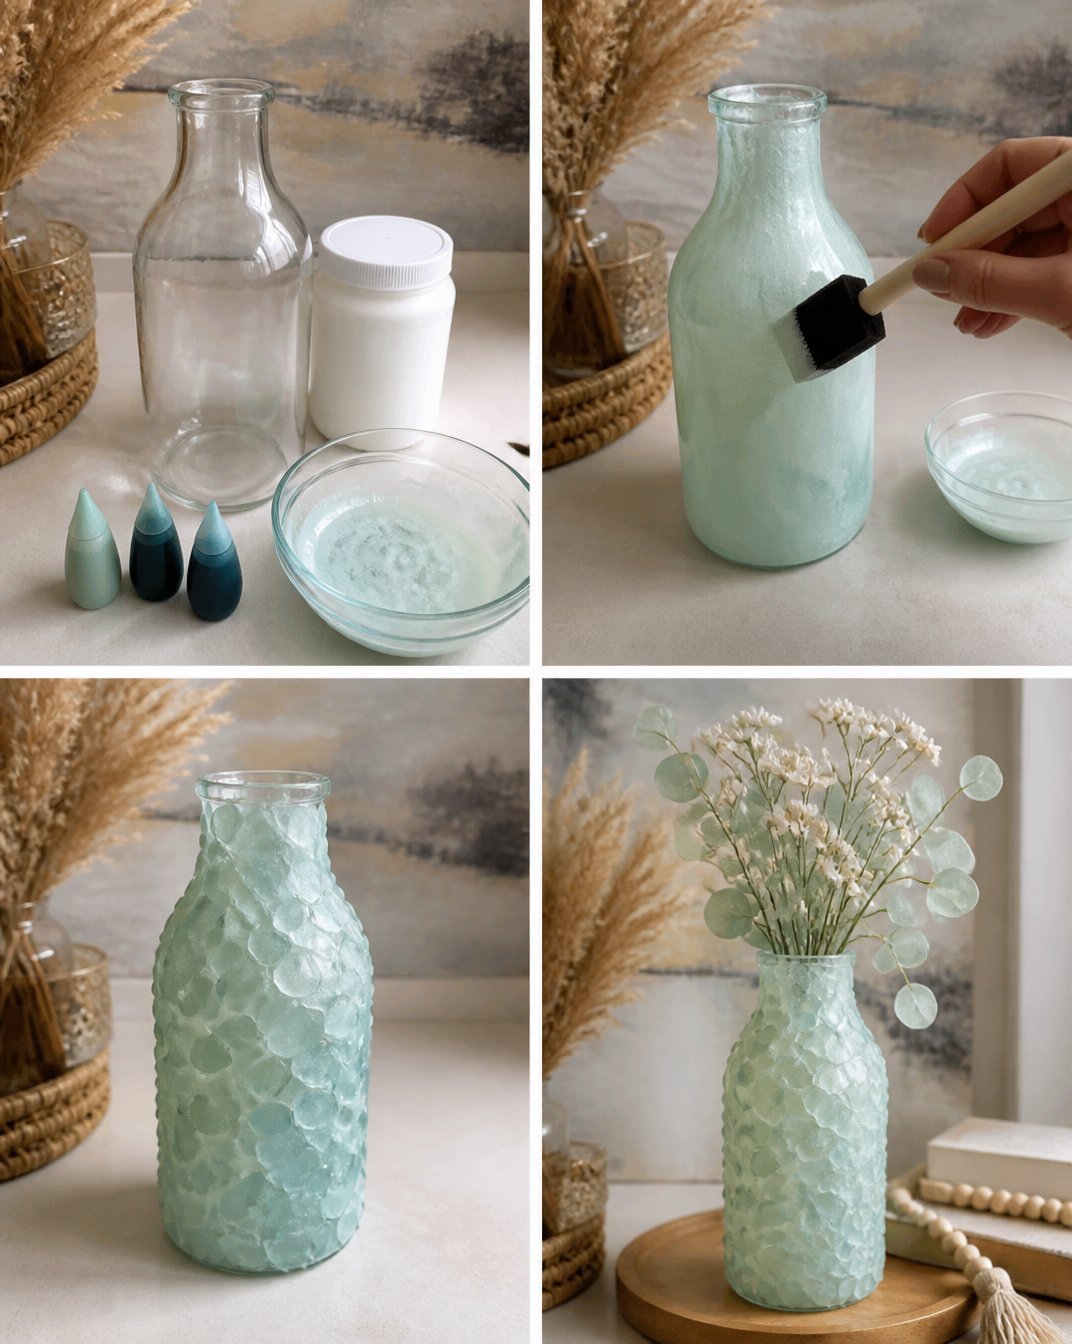
Start by cleaning your clear glass vase thoroughly to ensure there is no dust or residue. This step is critical for allowing the adhesive to bond effectively.
Step 2: Arrange the Sea Glass
Before applying adhesive, lay out your artificial sea glass pieces directly on the vase. Experiment with different patterns and color combinations to find a design that you’ll love.
Step 3: Secure the Design
Once you’re happy with the arrangement, begin applying adhesive to the back of each sea glass piece. Use the paintbrush to adhere the glass securely to the vase. Make sure each piece is well-aligned as you attach it.
Step 4: Allow to Dry
After all pieces are attached, set the vase aside to dry completely according to the manufacturer’s instructions for the adhesive used. This usually takes a few hours but could depend on environmental conditions as well.
Step 5: Finishing Touch
If desired, apply a sealer around the finished design to enhance durability. This step is optional but can provide additional protection against wear and tear.
Tips for the Best Result
- Color Balance: Choose a balanced color palette that brings out the beauty of each piece of sea glass.
- Placement: Work in a well-lit area to see true colors and effects of the adhesive.
- Avoid Overlapping: For the best aesthetic finish, avoid overlapping pieces unless desired.
- Use Weight: If pieces are sliding, use a light weight to hold them in place while drying.
Customization/Variations
Feel free to customize the vase based on your personal style. Consider varying the color palette to match your seasonal decor, or even experimenting with different sizes of vases to create a cohesive display.
Ideas for Styling Your Handmade Decor
Your finished artificial sea glass vase can be a stunning centerpiece or an accent in any room. Pair it with natural elements like driftwood or fresh flowers to amplify the coastal theme. You can also group it with other decorative items from your collection, perhaps including a sea glass mosaic mirror for a harmonious look.
Frequently Asked Questions
Can I use real sea glass instead of artificial?
Yes, you can, but it may be more challenging to securely attach real sea glass to a vase due to weight and texture.
How do I care for my artificial sea glass vase?
Avoid using harsh chemicals when cleaning. Dust gently with a soft cloth to maintain its appearance.
What if I don’t have a paintbrush?
If you don’t have a paintbrush, you can use your fingers or a sponge to apply the adhesive carefully.
Can this decoration be displayed outdoors?
It’s best to place it indoors as natural elements may degrade the adhesive and the sea glass over time.
How can I change the color of my vase?
You can use colored paints to coat areas of the vase or utilize different shades of artificial sea glass.
Conclusion
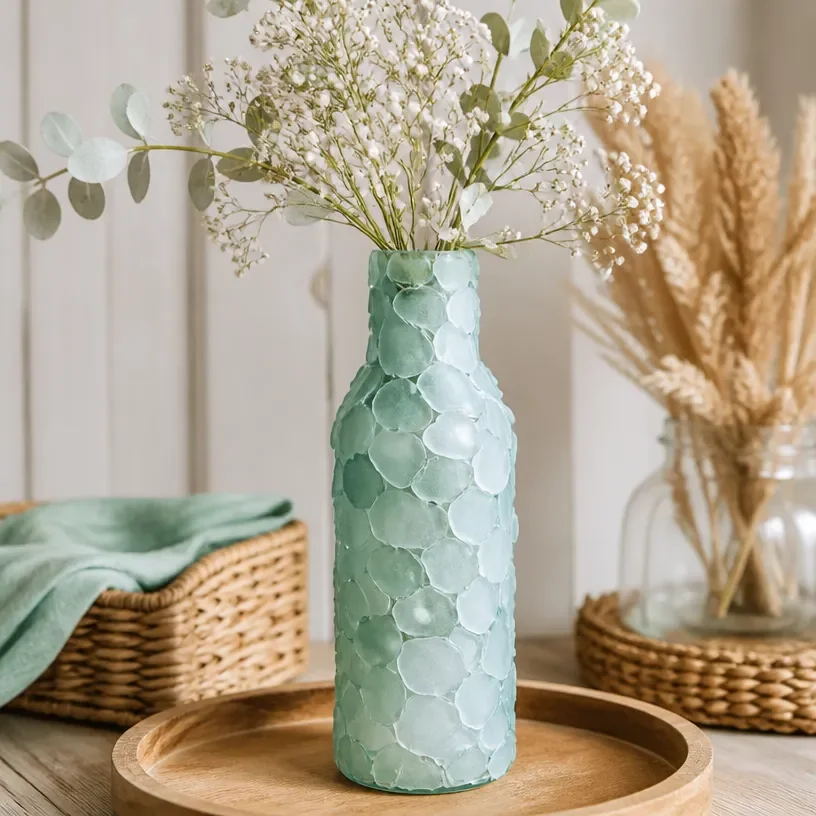
Creating an artificial sea glass vase is a delightful way to bring a piece of the coast into your home. The vibrant colors and textures enhance any space, making it a beautiful addition to your decor. For those looking for more ways to incorporate coastal themes, check out the CYS EXCEL Frosted Light Blue Sea Glass or consider joining the CBMM hosts Eastern Shore Sea Glass & Coastal Arts Festival to further explore this enchanting art form.
Artificial Sea Glass Vase
Ingredients
Method
- Prepare your workspace by covering surfaces with a drop cloth or newspaper.
- Clean the clear glass vase thoroughly.
- Lay out artificial sea glass pieces on the vase to design your preferred pattern.
- Apply adhesive to the back of each sea glass piece and attach them to the vase using a paintbrush.
- Set the vase aside to dry completely according to the adhesive manufacturer's instructions.
- Optionally, apply a sealer around the finished design for added durability.