Creating a stunning piece of floating floral wall art is a rewarding way to bring a touch of nature into your contemporary home decor. This project stands out for its visual appeal, showcasing delicate flowers that appear to float against a clean backdrop. Perfect for brightening up any room, this artwork can be placed above a couch, in a hallway, or as a focal point in a bedroom. You may also find Diy 3D Flower Wall Art Fruit Foam Nets Home Decor useful.
By using simple materials and accessible techniques, you’ll find that making your own wall art is both achievable and enjoyable. This tutorial will guide you through each step to replicate your own beautiful piece, ensuring it’s worthy of display. You may also find Holographic Iridescent Flower Vase For Contemporary Home Decor useful.
Why You’ll Love This Project
The Benefits of Floating Floral Wall Art
- Show-Stopping Visuals: The combination of floating flowers and transparent elements creates an eye-catching art piece that draws attention.
- Versatility: Customize your creation with different flowers or colored backgrounds to match your home’s decor.
- Craftsmanship: By making it yourself, you can add a personal touch to your decor while gaining a sense of achievement.
- Budget-Friendly: The materials required are inexpensive and can often be sourced locally or from your garden.
- Perfect Gift: This art piece makes for a thoughtful handmade gift for friends and family, particularly for housewarming or special occasions.
You might also find inspiration from other creative projects, such as the 3D floral wall art, which showcases a different artistic technique.
Before You Begin
Before diving into the project, take a moment to prepare your workspace. Ensure that you have a clean, flat surface to work on, and cover it to avoid damage from spills or glue. Gather all necessary materials beforehand, and consider testing your flower arrangements before securing them in place to find the layout that suits your vision best. You may also find Diy Artificial Sea Glass Vase For Coastal Decor useful.
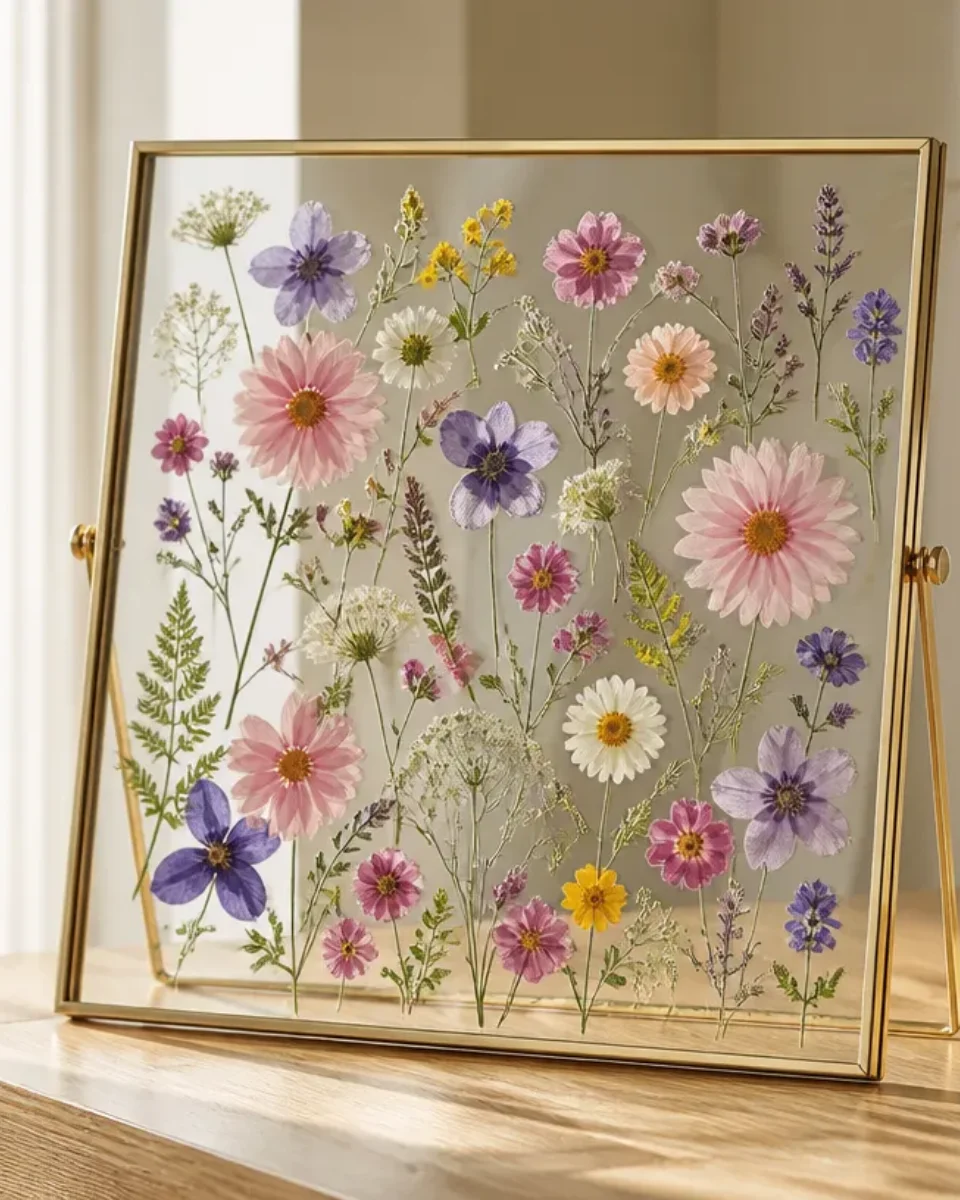
Materials You’ll Need
- Floral wire for creating the base structure of your arrangement.
- Flower stems select a variety of dried or silk flowers that complement your theme.
- Transparent acrylic sheet serves as the background that showcases your floating effect.
- Adhesive glue suitable for securing the flowers onto the acrylic.
- Decorative frame (optional) adds a polished edge to your final artwork.
Each material plays a crucial role in ensuring the longevity and aesthetic of your artwork.
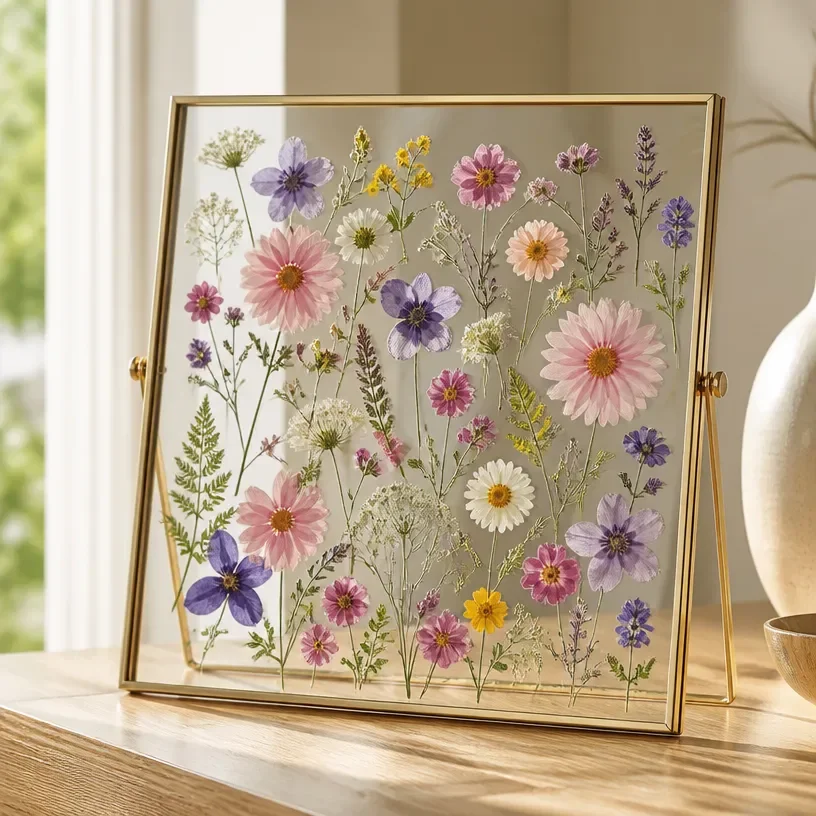
Tools
- Wire cutters for trimming floral wire to the desired lengths.
- Hot glue gun for securely attaching flowers.
- Craft knife to make precise cuts in the acrylic sheet if needed.
- Ruler for measuring your acrylic sheet and flower stems.
How to Make the Project
Step 1: Prepare Your Flowers
Begin by trimming the flower stems to your desired length. Ensure that the length is suitable for the depth of the frame or display area you have chosen.
Step 2: Arrange Flowers on Acrylic
Lay the acrylic sheet flat and start positioning the flowers according to your preferred design. Play around with different placements before adhering them down, keeping in mind balance and visual flow.
Step 3: Secure the Flowers
Once you are satisfied with the arrangement, use the hot glue gun to attach each flower to the acrylic sheet. Apply enough adhesive to ensure a secure bond, but be careful not to use too much, as this could be visible in the finished product.
Step 4: Finishing Touches
After all flowers are glued and secured, allow the arrangement to dry completely. If using a decorative frame, carefully place the acrylic into the frame and secure it according to the manufacturer’s instructions.
Tips for the Best Result
- Use Dried Flowers: For ease of use and longevity, consider dried flowers which maintain their beauty over time.
- Avoid Overcrowding: Leave some negative space between flowers to let each piece breathe and stand out.
- Experiment with Height: Arrange flowers at varying heights for a more dynamic visual.
- Light It Up: Consider adding LED lights behind the acrylic sheet for a soft glow, enhancing the floating effect.
You may also find our tutorial on creating a shimmering wall art helpful for further inspiration.
Customization / Variations
Feel free to personalize your floating floral wall art according to your tastes. You can choose flowers in different colors or styles, add embellishments like lace or beads, or even incorporate seasonal details like autumn leaves or spring blooms.
How to Display Your Finished Project
Once completed, hang your artwork in an area with ample light to highlight the transparent backdrop. Consider mounting it in a frame that complements your interior style, or prop it on a shelf or side table to enjoy from different angles.
Frequently Asked Questions
Frequently Asked Questions
Can I use fresh flowers?
Fresh flowers may wilt over time; it’s better to use dried or silk flowers for lasting art.
What if I want to use larger flowers?
Adjust the height of your acrylic sheet and make sure to secure larger flowers firmly with sufficient glue.
How do I store my floating floral art when not displayed?
Keep it in a cool, dry place away from direct sunlight to maintain its appearance.
Can this artwork be used outdoors?
It’s best suited for indoor use as the elements may damage the materials.
Conclusion
In this project, you’ve transformed simple materials into a striking piece of floating floral wall art, perfect for showcasing in your home. This art not only enhances your decor but also allows for endless customization, making it a very personal creation. For additional ideas, consider looking into options such as the floating metal floral wall art or the floating flowers canvas print to complement your new artwork.
Floating Floral Wall Art
Ingredients
Method
- Prepare your workspace with a clean, flat surface and cover it to protect against spills.
- Trim flower stems to your desired length according to the depth of your frame.
- Lay the acrylic sheet flat and position the flowers according to your design. Experiment with placements.
- Once satisfied with the arrangement, attach each flower to the acrylic sheet with the hot glue gun.
- Allow the arrangement to dry completely before placing it into a decorative frame if using.