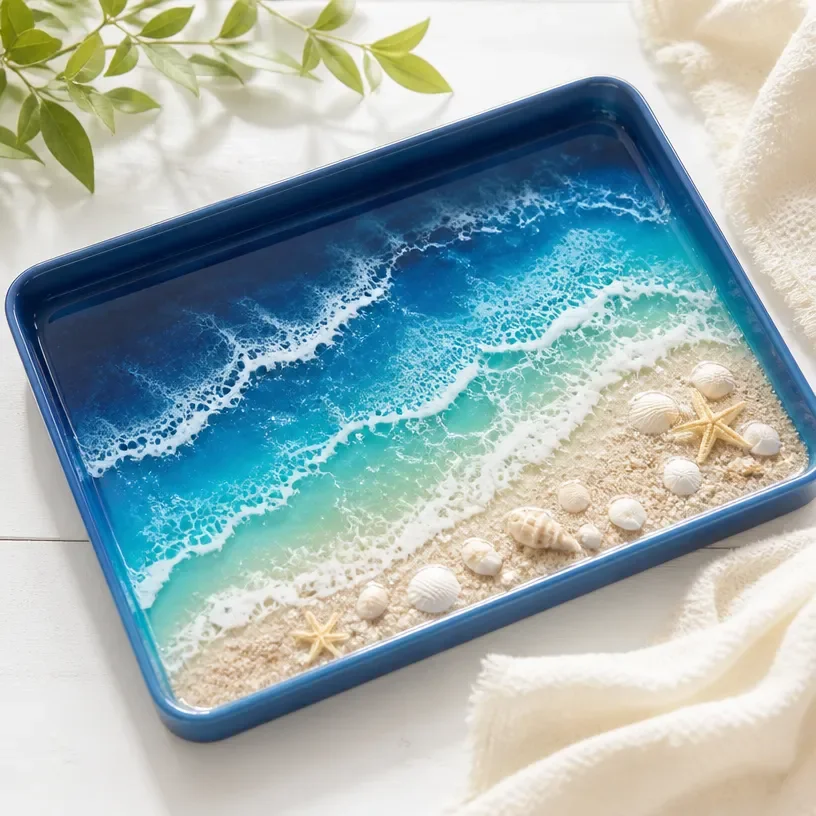
Creating an ocean-themed resin-look tray is a delightful way to bring a touch of coastal charm to your home. This project not only results in a visually stunning piece of decor but also allows you to customize it to fit your personal style. Once completed, the tray can be used to organize various items or simply serve as a beautiful accent piece on a table or dresser. You may also find Diy Flower Petal Candle Rings For Easy Home Decor useful.
In this guide, you’ll learn how to craft your own tray, making it perfect for displaying your favorite decorative items or even as a thoughtful gift. With a few accessible materials and a bit of creativity, you’ll achieve a gorgeous result that mimics the soft hues of ocean waves and beach elements, similar to what you might find in a coastal decor project.
Why You’ll Love This Project
Crafting an ocean-themed resin-look tray offers a variety of appealing benefits: You may also find Diy Ocean Glitter Resin Tray Coastal Decor useful.
- Display-Worthy Result: The finished tray not only serves a practical purpose but also acts as a beautiful display piece that can enhance your decor.
- Customizable: You can alter the colors and elements to match your personal aesthetic or the season.
- Approachable Technique: This DIY project utilizes straightforward methods that make it accessible even for beginners.
- Inexpensive Resources: The materials used are often affordable and easy to find, allowing for multiple creations without breaking the bank.
- Gift Potential: Handcrafted trays are excellent for gifts, especially when customized to the receiver’s tastes.
Before You Begin
Before you start creating your ocean-themed tray, ensure you have a protected work surface to avoid any mess. Lay down a silicone mat or some newspaper to catch any drips or spills. Additionally, organizing your materials beforehand will help streamline the process. Keep your resin and hardener within reach, as well as any decorative elements you’d like to include in your design. You may also find Diy Radiant Star Lantern Cozy Glow Night Light For Home Decor useful.

Materials You’ll Need
- Resin and Hardener These will form the base of your tray.
- A Tray Mold A silicone mold in your desired tray shape.
- Color Pigments Choose ocean-inspired hues like blues and greens.
- Decorative Elements (Shells, Sand, etc.) These will create the coastal feel of your tray.
- Mixing Sticks and Cups For preparing your resin mixture.
- Protective Gear Gloves and a mask to ensure safety during the crafting process.

How to Make the Ocean-Themed Tray
Step 1: Prepare the Tray Mold
Begin by ensuring your silicone mold is clean and dry. If desired, you can lightly spray it with a mold release agent to ensure easy removal of the finished tray.
Step 2: Mix the Resin
Following the manufacturer’s instructions, mix the appropriate ratio of resin and hardener in a mixing cup. Stir thoroughly for several minutes until the mixture is entirely clear and there are no bubbles.
Step 3: Add Color Pigments
Once the resin is ready, separate it into different cups if you plan to create varying colors. Add your chosen pigments and stir until you reach your desired shade, reminiscent of ocean waters.
Step 4: Pour the Resin
Slowly pour the resin into the mold, using a stick to help guide the flow and create waves and patterns. You can also layer the colors if you prefer a multi-toned look.
Step 5: Insert Decorative Elements
Before the resin fully cures, place your decorative items like shells or sand into the resin. This will give your tray a 3-dimensional oceanic look. Ensure they are submerged but visible.
Step 6: Allow to Cure
Follow the instructions for curing times, generally allowing the resin to set in a dust-free environment.
Tips for the Best Result
- Avoid Air Bubbles: When mixing, stir gently to minimize bubbles.
- Layering: For a more dynamic look, pour layers of resin and allow partial curing between them.
- Use a Heat Gun: If bubbles arise, gently pass a heat gun over the surface to pop them.
- Secure Decor Well: Make sure decorative pieces are pressed into the resin to maintain their position.
- Keep Clean Tools: Clean your mixing tools right away to avoid resin build-up.
Customization / Variations
There are endless ways to customize your ocean-themed tray. Consider using different color combinations, or even adding small LED fairy lights for an enchanting glow. You could also use various shapes for the mold try circular or star-shaped trays. Experimenting with different decorative elements like dried flowers can also bring a unique touch to the project.
How to Display Your Finished Project
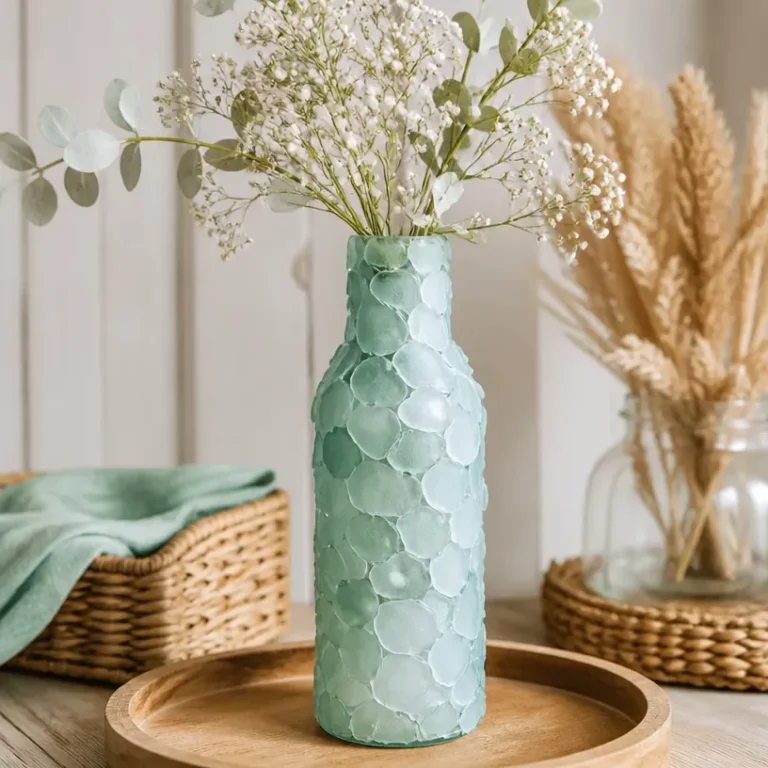
Once your tray is complete, consider displaying it in various ways. It can hold treasures from your beach walks, serve as a catch-all for keys, or simply showcase an arrangement of your favorite candles. This tray can fit perfectly on a coffee table or an entryway console. Enhancing its appeal is simple when it reflects your personal style, as seen in projects like sea glass vases.
Frequently Asked Questions
Frequently Asked Questions
Can I use any type of resin?
It’s best to use a clear casting resin for this project, as it cures hard and clear, perfect for displaying decorative items.
How long does the resin take to cure?
Curing times vary by brand, so always check the manufacturer’s instructions, but it is commonly around 24 hours for full hardness.
Can I use fresh flowers instead of shells?
Fresh flowers may not work well, as they won’t preserve properly in resin. Instead, opt for dried or pressed flowers for best results.
What if my resin has bubbles?
Use a heat gun or a torch to gently heat the resin surface to pop any bubbles before it fully cures.
How should I clean the tray?
Wipe gently with a damp cloth. Avoid using harsh chemicals as they may damage the resin finish.

Conclusion
In summary, crafting an ocean-themed resin-look tray allows you to create a beautiful centerpiece that is not only functional but visually stunning. The combination of colors and decorative elements can be tailored to your taste, making it a wonderful addition to any coastal decor. For additional inspiration, consider checking out ocean-inspired accent pieces like this ocean-inspired accent dish or exploring unique handmade offerings such as wood and resin boards on Etsy. Enjoy showcasing your creativity!
Ocean-Themed Resin-Look Tray
Ingredients
Method
- Ensure your silicone mold is clean and dry. Optionally, spray it with a mold release agent.
- Mix the appropriate ratio of resin and hardener in a mixing cup, stirring until clear and bubble-free.
- Separate the resin into different cups and add color pigments, stirring until the desired shade is reached.
- Pour the resin slowly into the mold, guiding the flow to create waves and patterns.
- Insert decorative elements like shells or sand into the resin before it cures, ensuring they are submerged but visible.
- Allow the resin to cure according to manufacturer's instructions, typically in a dust-free environment for around 24 hours.