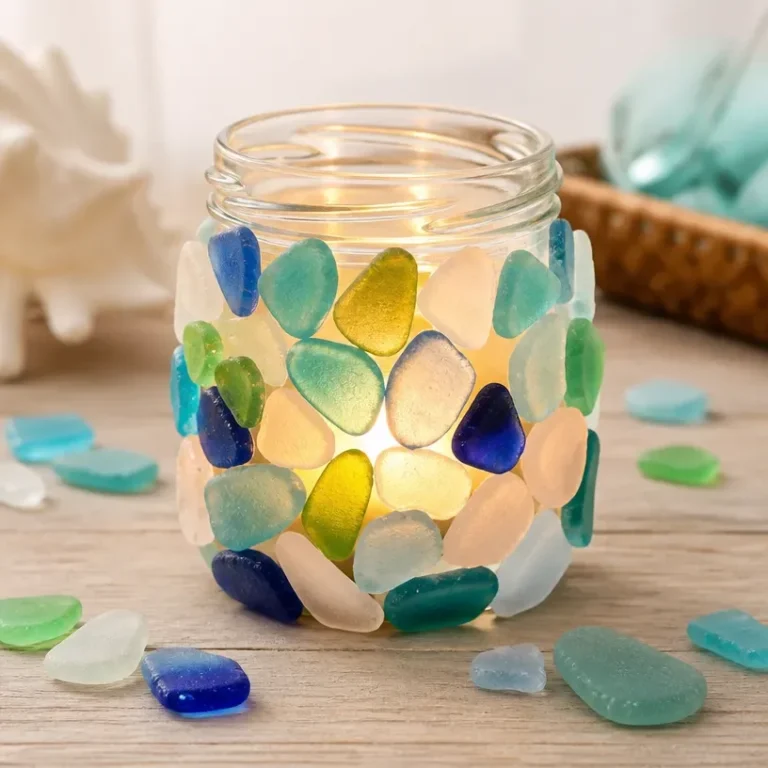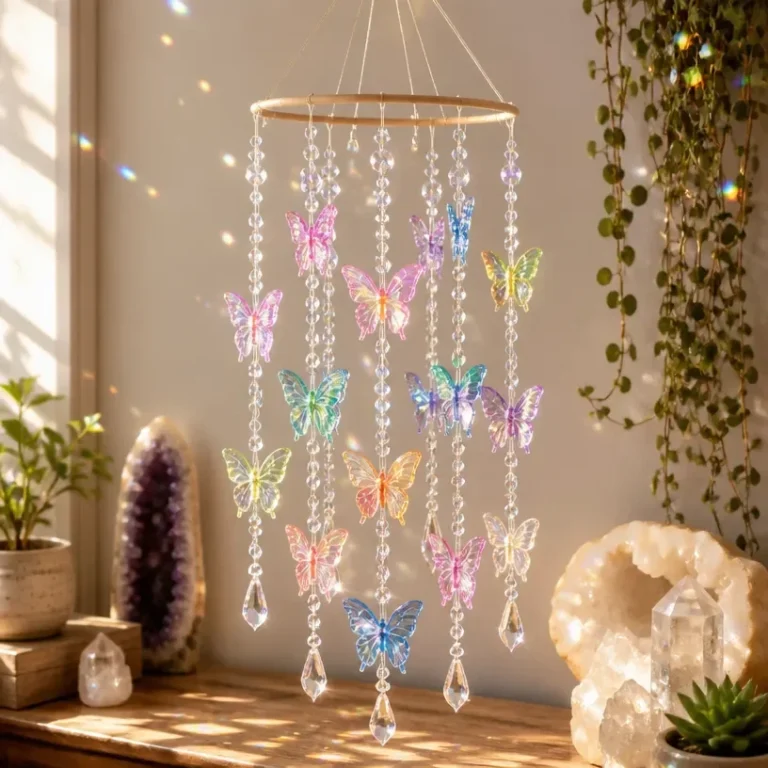
Creating a cozy and enchanting atmosphere in your home is easier with a DIY project like the Radiant Star Lantern. This beautiful night light serves as both a decorative piece and a functional light source, making it perfect for any room, whether you place it on a bedside table or a shelf in your living room. The warm, inviting glow it emits will transform the ambiance of your space, leaving a touch of magic wherever it’s displayed. You may also find How To Make A Glow In The Dark Rainbow Fairy Lantern For Night Light useful.
In this guide, you will learn how to craft your own Radiant Star Lantern using simple materials and techniques. Not only will this project enhance your home décor, but it also allows for personal customization, making each lantern unique to your style. Creating DIY glow décor can be a rewarding experience that adds charm to your living space.
Why You’ll Love This Project
Benefits of Crafting a Radiant Star Lantern
- Display-Worthy Design: The lantern’s intricate star patterns cast beautiful shadows and light, making it a stunning centerpiece.
- Approachable Technique: This project utilizes straightforward techniques that are perfect for both beginners and experienced crafters.
- Customizable Appearance: You can easily alter the colors and themes of your lantern to suit different seasons or personal preferences.
- Inexpensive Materials: The materials needed for this project are affordable and easily obtainable, making it budget-friendly.
- Perfect Gift Option: Handcrafted lanterns are not only beautiful but also make thoughtful gifts for friends and family.
Before You Begin
Before starting your Radiant Star Lantern project, ensure your workspace is well-protected from spills or scratches. Lay down a drop cloth or old newspaper to keep things tidy. It’s also wise to organize all your materials and tools for easy access as you work through each step. You may also find Diy Butterfly Jar Color Changing Glow Home Decor useful.
Materials You’ll Need
- Glass jar or vase serves as the body of the lantern.
- LED tea light candle provides safe illumination without fire hazards.
- Transparent or frosted glass paint used to create beautiful star designs on the jar.
- Painter’s tape helps secure the designs and create clean edges.
- Paintbrush or sponge for applying the paint smoothly.
- Star-shaped stencil for creating uniform star patterns.

You may also find Diy Flower Petal Candle Rings For Easy Home Decor useful.
Tools
- Scissors to cut painter’s tape or any other materials.
- Pencil for tracing the stencil on the jar if necessary.
- Ruler to measure and create uniform spacing for the stars.
How to Make the Project
Step 1: Prepare the Jar
Begin by cleaning your glass jar thoroughly with soap and water. Make sure it’s completely dry before proceeding. This will ensure that the paint adheres properly. You may also find Diy Rainbow Glow Flower Vase Modern Home Decor useful.
Step 2: Apply Painter’s Tape
Using painter’s tape, create sections on your jar where you want to paint stars. This will help in maintaining clean lines and a professional finish. Be creative with your layout for a more dynamic design.
Step 3: Paint the Stars
Using your star-shaped stencil, apply the transparent or frosted glass paint to each star section you’ve outlined with tape. Use a paintbrush or sponge for an even finish. Allow this layer to dry completely before removing the tape.
Step 4: Insert the LED Candle
Once the paint is dry and you have removed the painter’s tape, place the LED tea light candle inside the jar. The warm light will shine beautifully through the painted stars, creating a cozy glow.
Step 5: Display Your Lantern
You can finish the project by adding decorative elements around the base of the jar, such as twine or dried flowers, for extra flair. Your Radiant Star Lantern is now ready to light up your space!
Tips for the Best Result
- Ensure even coverage of paint to avoid noticeable brush strokes.
- If using multiple colors, let each layer dry fully before applying the next.
- For added safety, always use LED lights instead of traditional candles in your lantern.
- Experiment with different stencil designs for a variety of effects.
Customization / Variations
Consider using colored glass paints to suit different seasons or occasions, such as festive red and green for Christmas or pastel colors for spring. You could also modify the size of the jar for large display pieces or small tealight holders.
How to Display Your Lantern
Your Radiant Star Lantern can be displayed in numerous ways. It looks great on a mantel, as a part of a centerpiece on a dining table, or even as a whimsical addition to a child’s nightstand. Feel free to group several lanterns together to create a more dramatic lighting effect.

Frequently Asked Questions
Frequently Asked Questions
Can I use other types of paint?
While transparent glass paint is recommended for its clarity, acrylic paint can also work, but it may not be as transparent.
What if I make a mistake while painting?
If you make a mistake, wait for the paint to dry, then carefully scrape it off with a craft knife, and repaint that section.
Can I wash the lantern once it’s painted?
It’s best to hand wash your lantern gently, avoiding harsh scrubbing that could damage the paint.
How long will the paint last on the jar?
If properly handled, the paint can last a long time. However, avoid putting it in the dishwasher or submerging it for long periods.
Is this project suitable for kids?
Yes, with adult supervision, children can help with painting and assembling their own lanterns.

Conclusion
In conclusion, the Radiant Star Lantern project not only beautifies your space with captivating light but also offers an opportunity to express your creativity. Whether you choose to customize it with different colors or designs, this lantern will surely be a delightful addition to your home. To explore more enchanting decorative ideas, check out these Glowing Crystal Pillars with Healing Properties or consider adding a Mind-Glowing Galaxy Moon Lamp to complement your décor.

Radiant Star Lantern
Ingredients
Method
- Begin by cleaning your glass jar thoroughly with soap and water. Make sure it's completely dry before proceeding.
- Using painter's tape, create sections on your jar where you want to paint stars.
- Using your star-shaped stencil, apply the transparent or frosted glass paint to each star section you've outlined with tape.
- Allow this layer to dry completely before removing the tape.
- Once the paint is dry and you have removed the painter's tape, place the LED tea light candle inside the jar.
- Add decorative elements around the base of the jar, such as twine or dried flowers, for extra flair.
- Your Radiant Star Lantern is now ready to light up your space!