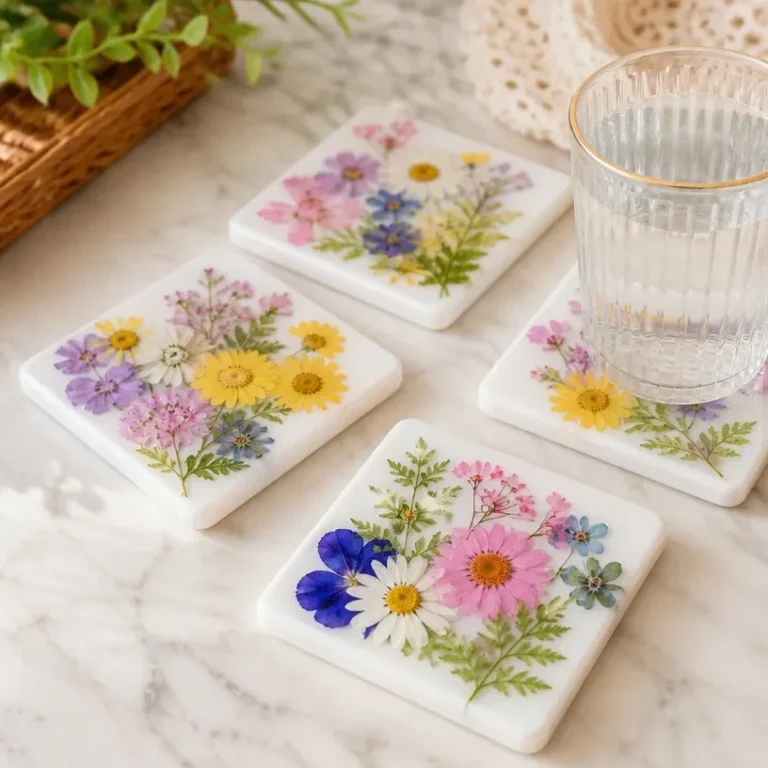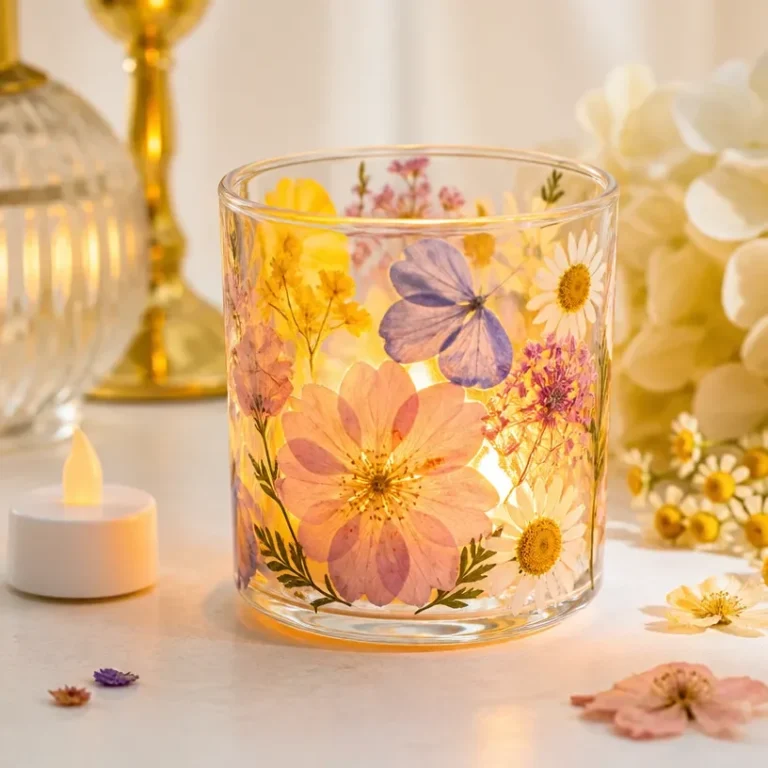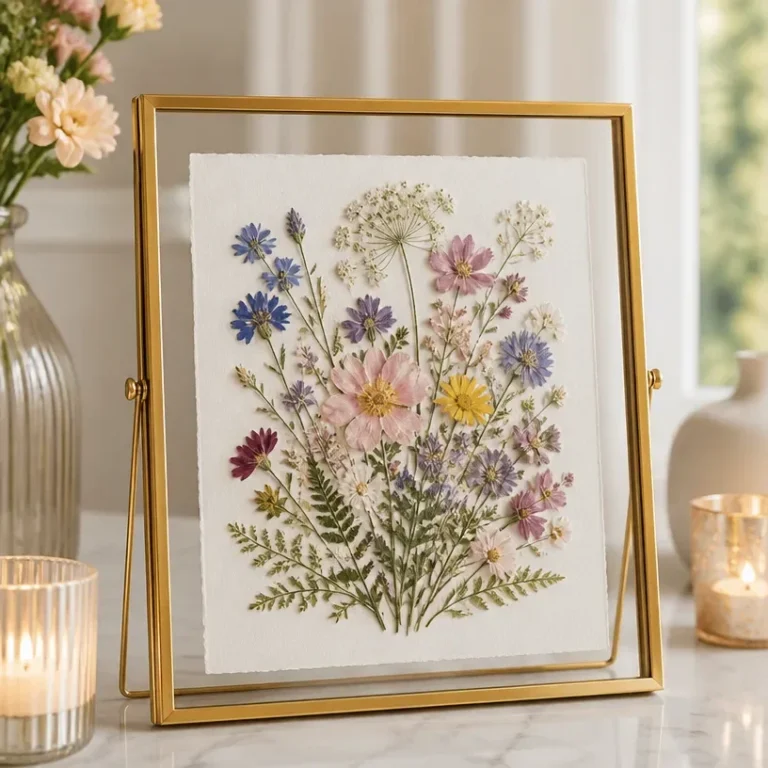
Creating a floral resin-effect ornament is a beautiful way to add a touch of nature and elegance to your home decor. This project combines pressed flowers with resin to produce a stunning decorative piece that catches the light and adds a splash of color to any room. Display it on a mantel, hang it in a window, or even use it as a thoughtful, personalized gift for a loved one. You may also find Diy 3D Floral Wall Art Home Decor useful.
The finished result is visually striking, showcasing unique floral designs encased in a glossy, durable surface that enhances your space’s aesthetic. With its contemporary appeal, this ornament not only brightens up your home but also serves as a cherished keepsake. You may also find Diy Flower Petal Candle Rings For Easy Home Decor useful.
Why This Project Works
Making your own floral resin-effect ornament is rewarding for several reasons: You may also find Diy Iridescent Celestial Ornament For Holiday Decor useful.
- Customizable Designs: You can select the flowers and colors to match your personal style and home decor.
- Artful Displays: The translucent quality of resin allows light to pass through, creating beautiful reflections and a warm ambiance.
- Approachable Technique: While it may seem intimidating, the steps are quite simple, making it suitable for crafters of all skill levels.
- Unique Gifting: This ornament makes for a meaningful handmade gift, perfect for any occasion, whether it’s a birthday, anniversary, or just to say “thinking of you.”
- Seasonal Decor: Change up the flowers and colors for different seasons or holidays, enhancing your home year-round.
Before You Begin
Before jumping into the project, take a moment to organize your workspace. Cover your surfaces to protect them from any spills or drips. Ensure you have all your materials easily accessible to streamline the process. Finally, work in a well-ventilated area, particularly if you are using a resin that requires ventilation to cure properly.

Materials You’ll Need
- Clear epoxy resin to create a glossy finish and encapsulate the flowers.
- Pressed flowers choose dried blooms for visual appeal and longevity.
- Silicone mold to shape your ornament.
- Mixing cups and sticks for blending the resin components.
- Gloves to protect your hands from resin.
- Drop cloth or newspaper to safeguard surfaces from spills.

Tools
- Craft knife for trimming any excess or unwanted pieces of flowers.
- Heat gun or lighter to remove air bubbles from the resin (optional).
- Measuring scale to ensure accurate resin-to-hardener ratios as per manufacturer’s instructions.
How to Make the Project
Step 1: Prepare the Flowers
Start by gathering your pressed flowers. If you don’t have any yet, you can easily press fresh flowers between heavy books or use a flower press. Ensure they are completely dried before using them in your ornament.
Step 2: Mix the Resin
In a mixing cup, measure the resin and hardener according to your manufacturer’s guidelines. Mix thoroughly until the solution is clear, ensuring no streaks remain.
Step 3: Pour the Resin
Carefully pour a thin layer of mixed resin into the silicone mold. This base layer will hold the flowers in place. Allow it to sit for a few minutes until it becomes slightly tacky.
Step 4: Arrange the Flowers
Gently place your pressed flowers onto the resin layer, positioning them as desired. Feel free to overlap flowers for a more dynamic look.
Step 5: Seal the Design
Cover the flowers with more resin, ensuring they are completely submerged. Tap the sides of the mold gently to help release any air bubbles that may have formed.
Step 6: Cure the Resin
Follow the manufacturer’s instructions to let the resin cure fully. This typically takes at least 24 hours, but may vary.
Step 7: Demold the Ornament
Once cured, carefully remove the ornament from the mold. If there are any edges that need smoothing, use a craft knife for clean-up.
Tips for the Best Result
- Ventilation: Always work in a well-ventilated area while using resin to avoid inhaling fumes.
- Precise Mixing: Follow the resin mixing instructions closely to achieve the best cure.
- Avoid Moisture: Ensure your flowers are completely dry to prevent any moisture from causing issues in the resin.
- Color Balance: Choose flowers that complement each other for enhanced visual appeal.
Customization / Variations
Feel free to experiment with different flower types and colors. You can create seasonal themes by using flowers that are in season or even incorporate small decorative elements like glitter to add extra sparkle and depth.
Ideas for Styling Your Handmade Decor
Your floral resin-effect ornament can serve several functions in home decor. Place it in front of a sunny window to take advantage of light play or use it as part of a centerpiece on your dining table. It can also transform into a personalized gift; simply customize it according to the recipient’s favorite flowers or colors.

Frequently Asked Questions
Frequently Asked Questions
Can I use fresh flowers instead of dried ones?
Yes, however, fresh flowers will not last as long and may cause the resin to remain cloudy.
How do I prevent bubbles in the resin?
Gently tapping the mold after pouring the resin can help release air bubbles. Using a heat gun or lighter on the surface can also help.
Can I change the size of the ornament?
Absolutely! You can use different molds to create larger or smaller ornaments.
What should I do if the resin gets sticky?
This usually means it hasn’t cured properly. Make sure to follow the manufacturer’s instructions on mixing, and ensure you’re working in the right temperature conditions.
How should I store my ornament?
Store it away from direct sunlight to prevent discoloration and avoid exposing it to harsh chemicals or moisture.
Conclusion
Creating a floral resin-effect ornament not only produces a stunning piece of decor but also allows you to incorporate your personal style and taste into your home. Consider customizing your ornament with different flowers for every season to refresh your decor regularly. For those looking for unique resin decorations, you might explore other projects like the opalescent celestial ornament or the glittering crystal icicle ornament to add more charm to your space.
For unique decorative ideas, you might find inspiration in the SafeSir Rattan Effect Resin Easter Bunny Figurines or a Gothic Skull Vase for a twist in your decor.

Floral Resin-Effect Ornament
Ingredients
Method
- Gather your pressed flowers. If you don’t have any yet, press fresh flowers between heavy books or use a flower press. Ensure they are completely dried before using them in the ornament.
- In a mixing cup, measure the resin and hardener according to your manufacturer’s guidelines. Mix thoroughly until the solution is clear, ensuring no streaks remain.
- Carefully pour a thin layer of mixed resin into the silicone mold. Allow it to sit for a few minutes until it becomes slightly tacky.
- Gently place your pressed flowers onto the resin layer, positioning them as desired. Feel free to overlap flowers for a more dynamic look.
- Cover the flowers with more resin, ensuring they are completely submerged. Tap the sides of the mold gently to help release any air bubbles that may have formed.
- Follow the manufacturer’s instructions to let the resin cure fully, which typically takes at least 24 hours, but may vary.
- Once cured, carefully remove the ornament from the mold. If there are any edges that need smoothing, use a craft knife for clean-up.