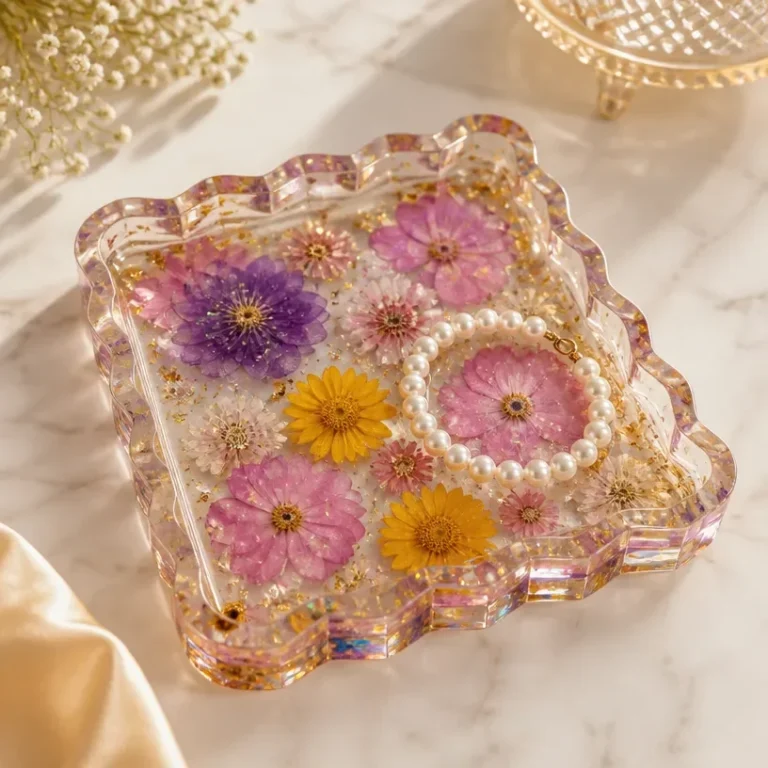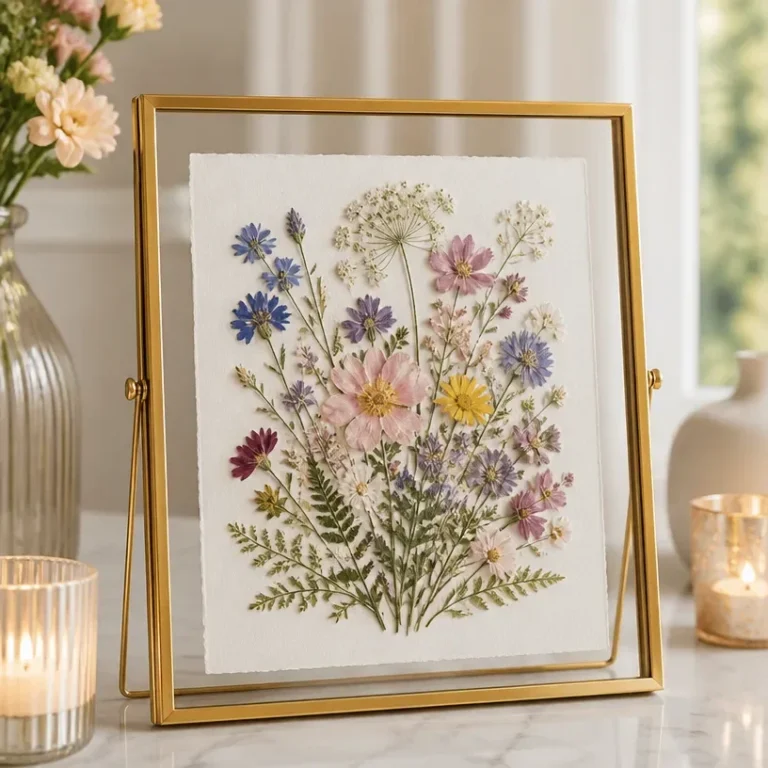
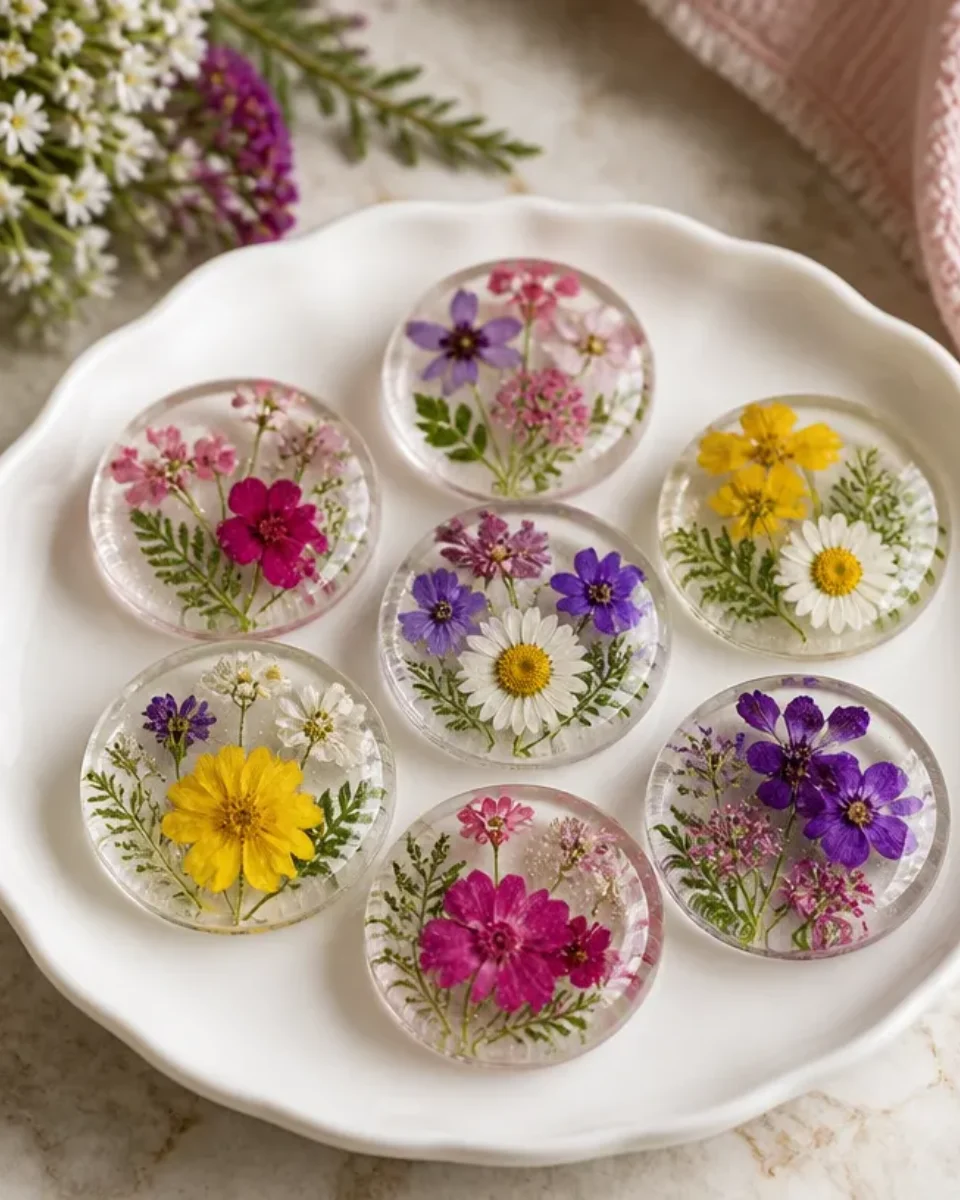
Creating a Floral Resin-Style Ornament for Home Decor brings a touch of nature and elegance into your living space. These stunning ornaments are visually appealing due to the vibrant colors and intricate floral designs embedded in the resin, making them perfect for hanging in windows, adorning your walls, or even gifting to loved ones. This decorative piece captures the beauty of the outdoors, transforming it into a unique artisan creation. You may also find How To Make Opalescent Celestial Ornament For Elegant Home Decor useful.
This DIY project not only enhances the aesthetic of your home but is also an approachable craft that offers a satisfying sense of achievement. With just a few materials and some time, you can craft a beautiful ornament that resonates with the beauty of nature. To get started, ensure you have all the necessary items on hand and prepare for a fun and rewarding experience. You may also find Diy 3D Floral Wall Art Home Decor useful.
Why You’ll Love This Project
Creating floral resin ornaments offers several advantages that make the process enjoyable and fulfilling: You may also find Diy Flower Petal Candle Rings For Easy Home Decor useful.
- Display-Worthy Result: The finished product is a stunning decoration that showcases your creativity.
- Customizable: You can personalize the ornament with different flowers, colors, and shapes to match your home decor.
- Simple Technique: The materials and methods used are familiar and straightforward, perfect for both beginners and seasoned DIY enthusiasts.
- Natural Beauty: Using real flowers adds a unique touch, bringing the beauty of nature inside.
- Gift Potential: Handmade ornaments make thoughtful gifts for friends and family during holidays or special occasions.
Before You Begin
Before you dive into the crafting process, there are some preparations you should consider: You may also find Diy Glittering Crystal Icicle Ornament For Winter Decor useful.
- Protect your work surface with a silicone mat or old newspapers to avoid any spills.
- Gather and organize all your materials to ensure a smooth workflow.
- Choose fully dried flowers to prevent any mold growth within the resin.
- Make sure to work in a well-ventilated area, especially when using resin, to avoid inhaling any fumes.
You may also find Diy Iridescent Celestial Ornament For Holiday Decor useful.
Materials You’ll Need
- Clear epoxy resin this will form the crystal-clear body of your ornament.
- Hardener necessary for curing the resin properly.
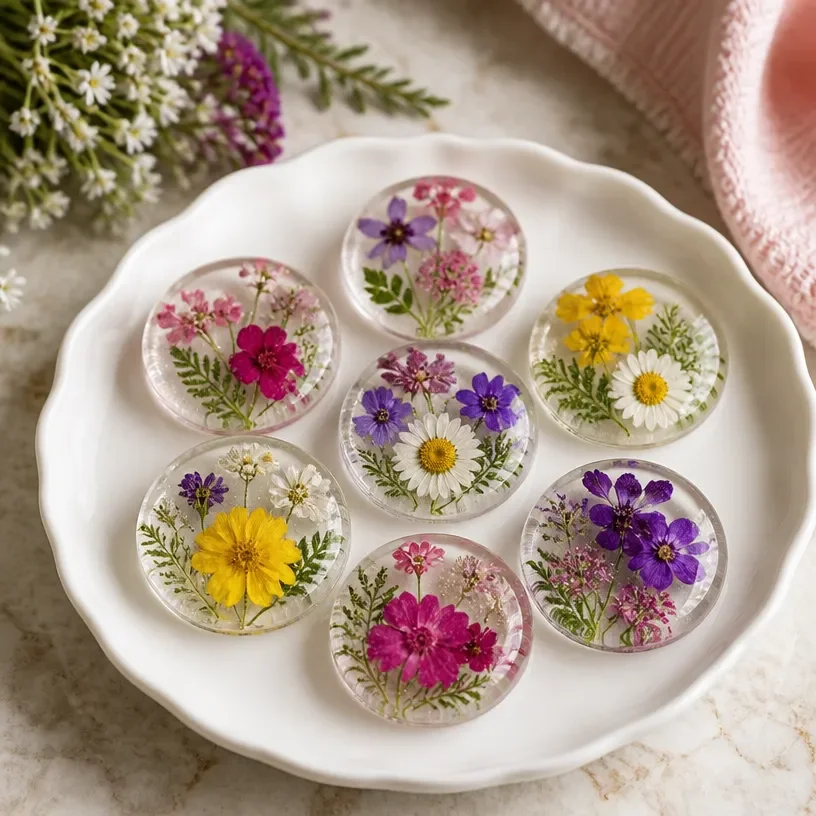
- Pressed flowers select your favorite flat, fully dried blooms for the decorative aspect.
- Mold a silicone mold in your desired shape will hold the resin.
- Mixing cups for combining resin and hardener.
- Stirring sticks to mix the epoxy thoroughly.
- Tape to secure the mold if necessary.
- Gloves to protect your hands during the process.
Tools
- Craft knife for trimming any excess resin or flowers.
- Heat gun or lighter useful for removing any bubbles from the surface of the resin.
- Scissors for cutting the flowers to fit within your mold.
How to Make the Project
Step 1: Prepare the Mold
Start by ensuring that your mold is clean and dry. If needed, you can lightly coat it with a mold release spray to make demolding easier later on.
Step 2: Mix the Resin
In a mixing cup, combine the clear epoxy resin with the hardener according to the manufacturer’s instructions. Remember to mix thoroughly for the best results.
Step 3: Pour the First Layer
Pour a small layer of the mixed resin into the mold. This layer should be just enough to cover the bottom.
Step 4: Arrange the Flowers
Once the first layer sets slightly (but is still tacky), carefully place your dried flowers into the resin. Arrange them to your liking, taking care not to overcrowd them for a clean finish.
Step 5: Add More Resin
After positioning your flowers, pour another layer of resin to cover them completely. Make sure to fill the mold as needed.
Step 6: Remove Bubbles
Utilize a heat gun or lighter to gently pass over the surface of the resin. This step helps to pop any bubbles that form during the pouring process.
Step 7: Let It Cure
Allow the resin to cure completely as per the manufacturer’s instructions. This can take several hours or up to a day, so patience is key.
Step 8: Demold and Finish
Once fully cured, carefully remove the ornament from the mold. If there are any rough edges, you can trim them away using a craft knife for a polished look.
Tips for the Best Result
- Select Flowers Wisely: Choose flowers that are naturally vibrant and maintain their color in resin. Smaller blooms often work better.
- Avoid Too Much Adhesive: Make sure that the flowers are adequately submerged within the resin to prevent any air pockets.
- Check for Air Bubbles: When using the heat gun, be careful not to overheat the resin, as it can become discolored.
- Temperature Matters: Ensure that you’re working in an environment conducive to resin curing; warmer temperatures often help with a smoother finish.
Customization / Variations
To add a personal touch to your floral resin ornament, consider varying the following:
- Color Palette: Experiment with different flower colors or even add food coloring to the resin.
- Flower Selection: Try using leaves or other botanical materials along with different floral varieties.
- Shape and Size: Use different molds to create various shapes and sizes of ornaments.
How to Display Your Finished Project
Once your floral ornament is complete, it can be beautifully displayed in several ways:
- Hanging: Use fishing line or decorative ribbon to hang the ornament in a window to catch the light.
- Wall Art: Incorporate your ornaments into a gallery wall along with other decor items.
- Gifting: These ornaments make wonderful personalized gifts for friends and family; simply package them in a decorative box for presentation.

Frequently Asked Questions
Frequently Asked Questions
Q: Can I use fresh flowers?
A: Fresh flowers can mold, so it’s best to use dried and pressed specimens for this project.
Q: How long does the resin cure?
A: Curing times can vary based on the product you use; always refer to the manufacturer’s instructions.
Q: What if my ornament has bubbles?
A: If bubbles form after pouring, gently passing a heat gun over the surface can help to pop them.
Q: Can I customize the size of the ornament?
A: Yes, you can use different molds to create varying sizes of ornaments.
Q: How do I store my finished ornaments?
A: Keep your ornaments dust-free by displaying them away from elements that could cause damage.
Conclusion
Creating a floral resin-style ornament is a rewarding way to combine crafting with nature’s beauty. The finished piece is not only visually captivating but also serves as a lovely display item or a thoughtful gift. By exploring various flowers and customization options, you can make each ornament unique.
For additional decor inspiration, consider checking these floral vases available on Amazon or explore stylish wall decor options like the 3D floral pattern home decor from SHEIN. Enjoy your DIY journey!

Floral Resin-Style Ornament
Ingredients
Method
- Start by ensuring that your mold is clean and dry. If needed, lightly coat it with a mold release spray to make demolding easier later on.
- In a mixing cup, combine the clear epoxy resin with the hardener according to the manufacturer’s instructions. Mix thoroughly.
- Pour a small layer of the mixed resin into the mold to cover the bottom.
- Once the first layer sets slightly but is still tacky, carefully place your dried flowers into the resin. Arrange them to your liking.
- Pour another layer of resin to cover the flowers completely.
- Use a heat gun or lighter to gently pass over the surface of the resin to pop any bubbles that form.
- Allow the resin to cure completely as per the manufacturer’s instructions, which can take several hours or up to a day.
- Once fully cured, carefully remove the ornament from the mold. Trim any rough edges with a craft knife for a polished look.