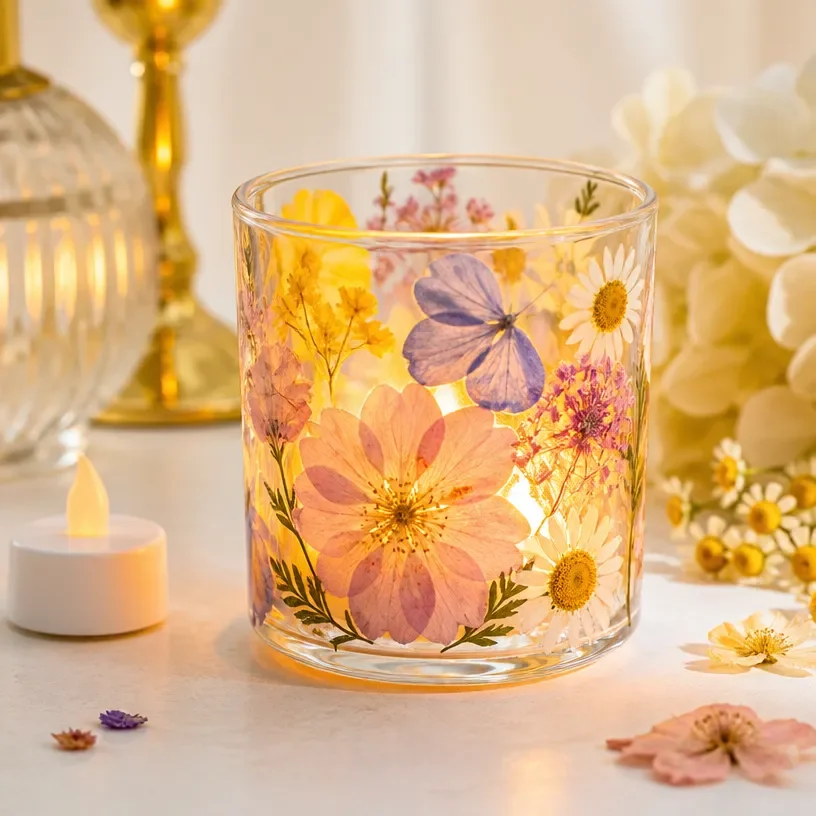
Creating a pressed flower glass candle holder is a wonderful way to bring nature indoors, adding a touch of elegance and a personal flair to your decor. The delicate beauty of pressed flowers combined with the warm glow of a candle creates a visually appealing centerpiece perfect for any occasion. Whether displayed on your dining table, a mantel, or gifted to a friend, this DIY project showcases both creativity and aesthetic charm.
The process is enjoyable and straightforward, making it an excellent craft for both beginners and seasoned DIY enthusiasts. Using simple materials, you can craft a stunning piece that accentuates your home’s natural beauty while providing a cozy ambiance.
Why You’ll Love This Project
There are several reasons why making a pressed flower glass candle holder is a delightful endeavor:
- Display-Worthy Result: The final product is not only functional but also a beautiful decorative piece that can brighten any space.
- Personal Touch: You can customize the colors and types of flowers used, making each candle holder unique and personally meaningful.
- Easy and Approachable Technique: The steps are simple and intuitive, ensuring even novice crafters can successfully create this project.
- Versatile Decoration: Perfect for various occasions, from romantic dinners to seasonal celebrations.
- Thoughtful Gifting Option: Handmade candle holders make thoughtful gifts, showcasing your effort and creativity.
Before You Begin
Before you dive into creating your pressed flower glass candle holder, prepare your workspace to ensure a smooth crafting process. Consider laying down a protective covering to guard against spills from the decoupage medium. Organize all materials and tools within easy reach, and ensure your pressed flowers are dry and ready for use. A clear vision of your design can help you select and arrange the flowers more effectively.
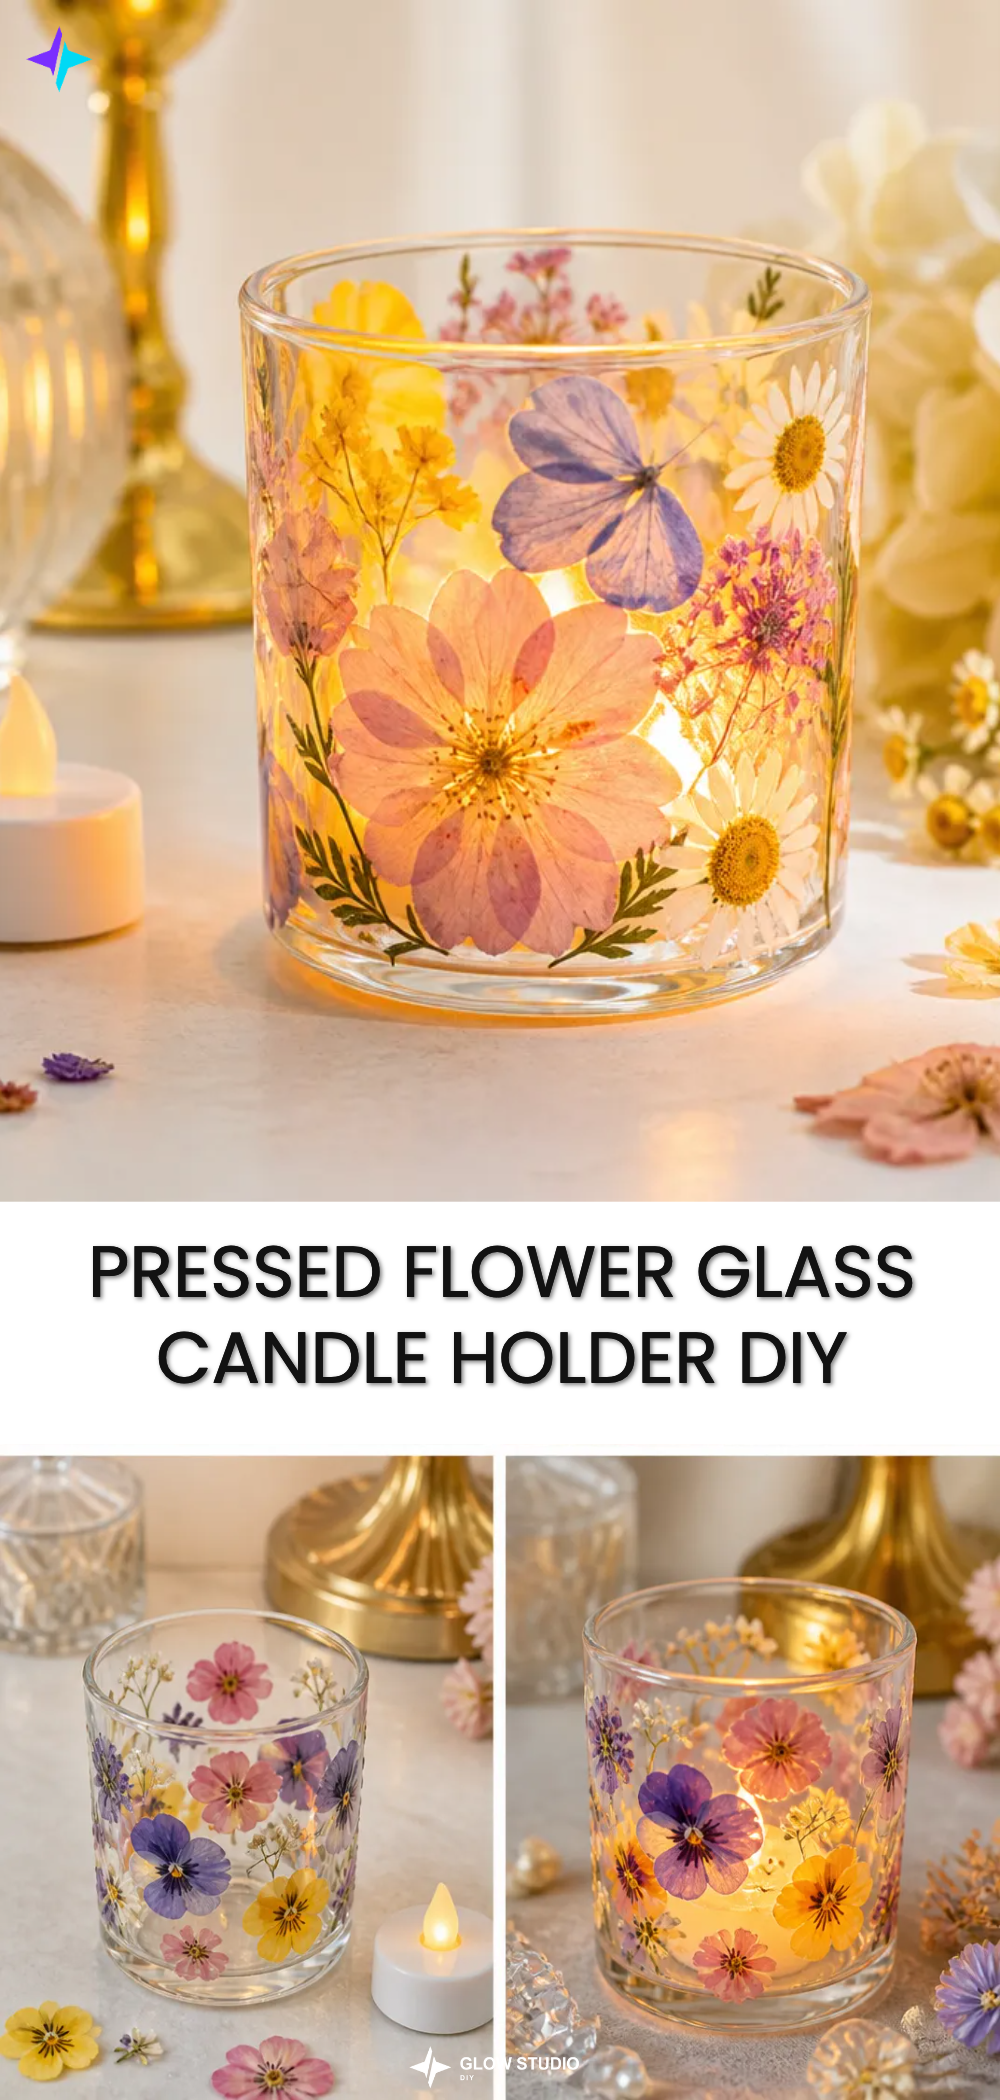
Materials You’ll Need
- Glass candle holder – the base for your project.
- Pressed flowers – choose aesthetically pleasing, flat, fully dried blooms.
- Transparent decoupage medium – used to adhere and seal the flowers onto the glass surface.
- Soft brush – helps in applying the decoupage medium evenly.
- LED tealight – a safe illuminant for your candle holder.
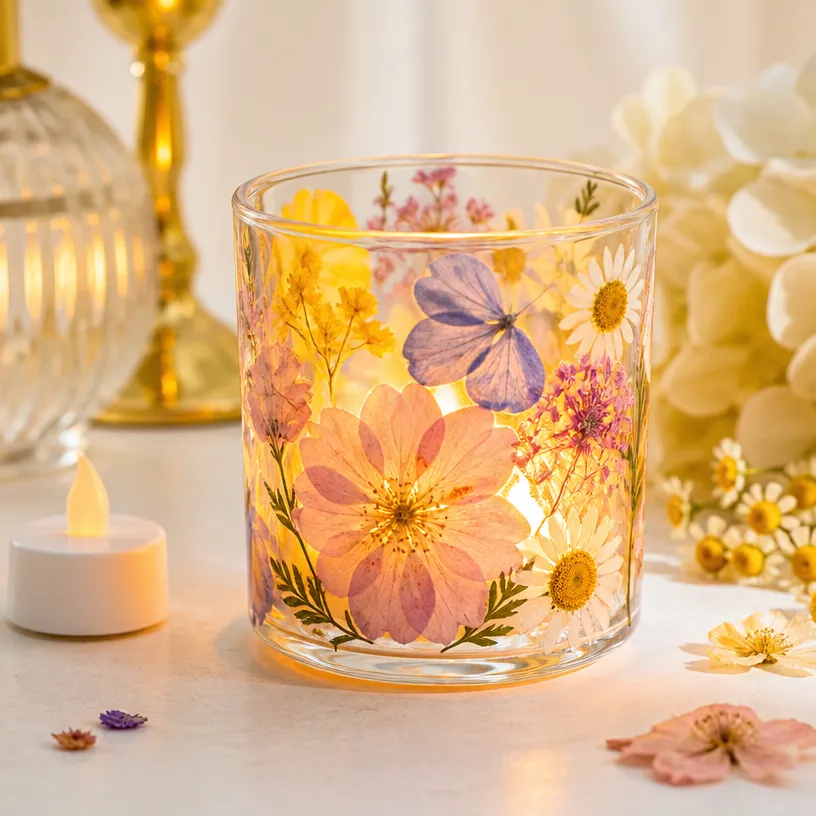
How to Make the Project
Step 1: Arrange the Pressed Flowers
Start by planning how you want to decorate your glass candle holder. Gently arrange your pressed flowers around the exterior in a way that is visually pleasing to you. Once you’re satisfied with the layout, use a soft brush to apply a thin layer of transparent decoupage medium over each flower, adhering them in place. Allow this layer to dry completely before moving on to the next step.
Step 2: Secure the Design
Once the pressed flowers are firmly attached and the decoupage medium has dried, coat the entire exterior of the candle holder with a thin layer of decoupage medium to seal the design completely. This adds durability and a polished finish to your project. Once dry, insert a battery-operated LED tealight into the candle holder to illuminate your beautifully designed craft safely.
Tips for the Best Result
- Choose Flowers Wisely: Select flowers with vibrant colors that complement each other for a more striking visual effect.
- Keep It Clean: Use just enough decoupage medium to secure the flowers without overwhelming them and creating a messy appearance.
- Dry Completely: Ensure each layer of medium dries fully before moving on to the next step to prevent smudging or shifting of flowers.
- Experiment with Layout: Try different arrangements of flowers before adhering to see what looks best and fits your style.
Customization / Variations
Feel free to personalize your candle holder further! Experiment with different flower types, colors, and arrangements to match your home decor or the seasons. You can even insert decorative elements like beads or ribbons to enhance its charm, making your craft truly unique.
Ideas for Styling Your Handmade Decor
Once completed, your pressed flower glass candle holder can be styled in various ways. Use it as a centerpiece on a dining table, place it on a bookshelf, or adorn a nightstand for a soothing illumination. For seasonal occasions, change the flowers used to reflect the holidays such as using autumn leaves for fall or flowers like daisies for spring.
Care and Storage
To keep your pressed flower glass candle holder looking its best, gently dust it with a soft cloth. Avoid exposing it to prolonged moisture, as this can affect both the flowers and the glass. If you plan to store it, ensure it is in a dry, protected area away from direct sunlight which could cause fading.
Frequently Asked Questions
Can I use fresh flowers instead of pressed ones?
Fresh flowers will not adhere properly without wilting or spoiling. It is best to use properly pressed flowers for the best results.
How can I press flowers perfectly?
To press flowers, place them between parchment paper and use a heavy book or a flower press. Leave them for several days until completely dried.
Is there a specific type of decoupage medium I should use?
A clear, water-based decoupage medium is ideal. Follow the manufacturer’s instructions regarding drying times and application methods.
How do I avoid excess adhesive on the glass?
Use a soft brush and apply the medium gently, coating only the flowers without saturating the glass surface.
Can I change the LED insert for a different size?
Yes, as long as the new LED tealight fits securely within your candle holder, feel free to change it based on your preference or seasonal decor.
Conclusion
In crafting your pressed flower glass candle holder, you have created a beautiful, unique piece that captures the essence of nature and offers an inviting glow. This project not only enhances your decor but can also become a cherished gift for a loved one. For more ideas and inspiration on similar designs, check out this guide on DIY Pressed Flower Candle Holders or explore this step-by-step tutorial for creating decorative glass jars with pressed flowers at Easy Pressed Flower Craft. Happy crafting!
Follow Glow Studio DIY for fresh DIY ideas & inspiration!
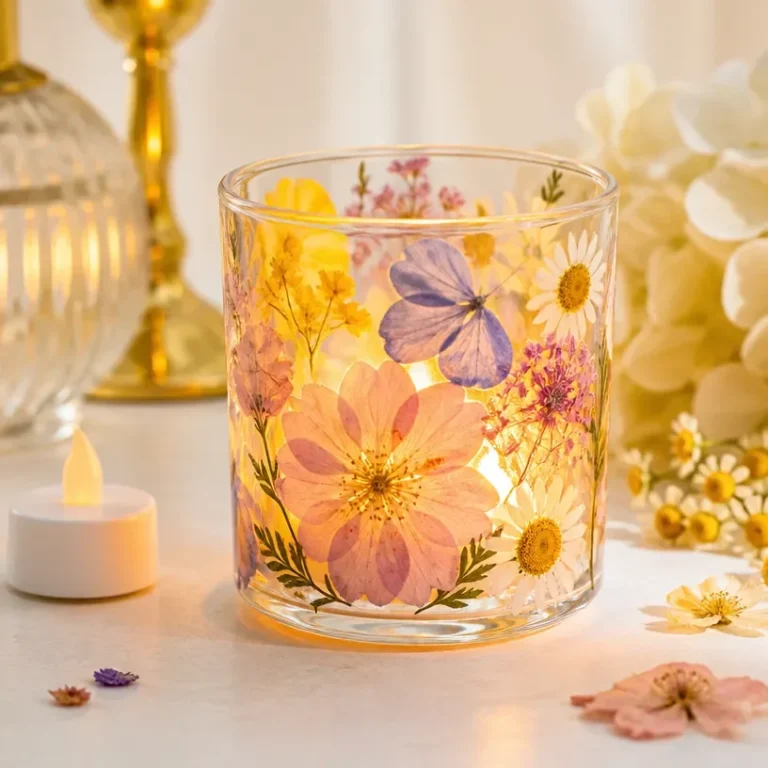
Pressed Flower Glass Candle Holder
Would you like to save this project?
By submitting you agree to receive this project and occasional emails. Unsubscribe anytime.
Materials
Materials
- 1 piece Glass candle holder the base for your project
- Assorted pieces Pressed flowers choose aesthetically pleasing, flat, fully dried blooms
- 1 bottle Transparent decoupage medium used to adhere and seal the flowers onto the glass surface
- 1 piece Soft brush helps in applying the decoupage medium evenly
- 1 piece LED tealight a safe illuminant for your candle holder
Directions
Creating the Candle Holder
- Start by planning how you want to decorate your glass candle holder. Gently arrange your pressed flowers around the exterior in a visually pleasing way.
- Once satisfied with the layout, use a soft brush to apply a thin layer of transparent decoupage medium over each flower, adhering them in place. Allow this layer to dry completely.
- Coat the entire exterior of the candle holder with a thin layer of decoupage medium to seal the design completely, adding durability and a polished finish.
- Once dry, insert a battery-operated LED tealight into the candle holder.
Last Step: Don’t forget to leave a rating and comment below! It helps other readers find the best DIY projects — and it helps us too!