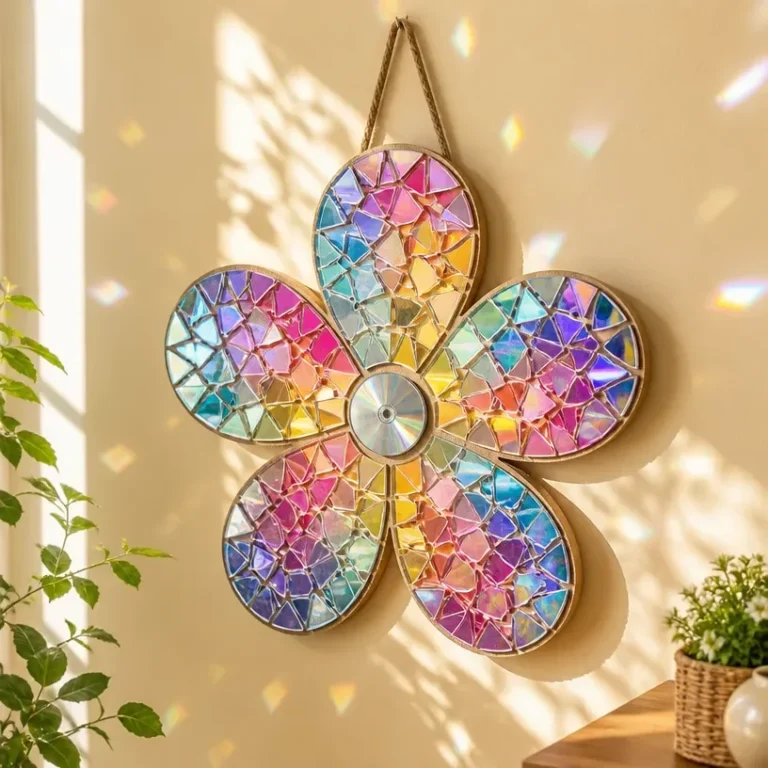
Creating beautiful wall art can significantly enhance the aesthetic of your home, and this DIY 3D Flower Wall Art using fruit foam nets is a stunning option. With its vibrant colors and layered textures, this artwork can become a focal point in any room, whether displayed in a living room, hallway, or even a child’s bedroom. It’s an engaging project that allows for personal creativity while remaining approachable for DIY enthusiasts of all skill levels. You may also find Diy Dried Flower Botanical Wreath For Wall Decor useful.
In this guide, you will discover how to make this delightful piece of art that not only celebrates nature’s beauty but also showcases your artistic flair. If you love incorporating natural elements into your decor, you might also enjoy exploring other projects like botanical pressed flower wall art, which beautifully complements this 3D flower creation.
Why You’ll Love This Project
Appeal of the Finished Result
- Visual Intrigue: The combination of colors and the 3D effect adds depth to your decor, offering a lively visual experience.
- Customizable: You can choose the flower colors and arrangements, allowing you to tailor the piece to suit your home’s color scheme or seasonal decor.
- Affordable Materials: Using materials like foam nets makes this project not only budget-friendly but also an excellent way to repurpose items you may already have.
Before You Begin
Preparing your workspace can help streamline the creative process. Start by protecting your surfaces with newspaper or a plastic covering to avoid any mess, especially when using glue or paint. Organizing your materials beforehand can also make your crafting experience smoother, ensuring that you have everything at your fingertips. You may also find Diy Artificial Sea Glass Vase For Coastal Decor useful.

You may also find Diy Pressed Flower Art Wall Art useful.
Materials You’ll Need
- Fruit foam nets these are the main material that provides shape to your flowers.
- Acrylic paint for adding color to your foam nets.
- Glue a strong adhesive for securing the flowers onto the backing.
- Canvas or thick paperboard serves as the base of your wall art.
- Scissors for trimming the foam nets into desired shapes.

Tools
- Paintbrush to apply the acrylic paint onto the foam nets.
- Hot glue gun for a quick and strong hold while assembling the flowers onto the base.
- Craft knife for precise cutting if needed.
How to Make the Project
Step 1: Prepare the Foam Nets
Start by cutting the fruit foam nets into petal shapes. You can create different sizes and shapes to mimic various types of flowers. The unique texture of the foam will add layers and depth to your artwork.
Step 2: Paint the Petals
Using an acrylic paint and a paintbrush, cover the foam petals in your selected colors. Allow them to dry completely before the next step to ensure a smooth application during assembly.
Step 3: Arrange the Flowers
Before gluing, play with the arrangement of your flowers on the canvas or paperboard. This helps you visualize the final layout and make adjustments as necessary. Feel free to layer the petals for a more dynamic look.
Step 4: Secure the Design
Once satisfied with the arrangement, use the hot glue gun to secure the flowers in place. Ensure each petal is firmly attached to avoid any pieces falling off later.
Step 5: Finishing Touches
After everything is glued down, check for any visible glue strings or excess that can be trimmed away. Ensure that all elements are securely in place and give your project a final assessment before displaying it.
Tips for the Best Results
- Layer Effectively: Stack the petals to create a rich 3D look, enhancing the depth of your art piece.
- Experiment with Colors: Don’t hesitate to mix contrasting colors for a bold statement or use soft pastels for a more delicate appearance.
- Allow Sufficient Drying Time: Make sure each layer of glue and paint dries completely before moving on to avoid smudges and shifts.
Customization / Variations
Consider changing up your project by using other materials such as dried flowers, or different types of foam or fabric. This can lead to a new look while maintaining the charm of the original concept. You might also experiment with different flower patterns or styles, such as a sunflower arrangement or a cluster of small daisies.
Ideas for Styling Your Handmade Decor
Once your flower art is complete, think about how to display it. This piece can serve as a lovely centerpiece above a mantel or as part of a gallery wall alongside other framed artworks, such as dried flower wreaths and prints. The vibrant colors and textures will enhance the overall decor of the space, creating a warm and inviting atmosphere.

Frequently Asked Questions
Can I use different types of foam?
Yes, you can experiment with various foam materials to achieve different textures and appearances for your flowers.
How do I hang the finished piece?
To hang your artwork, simply attach a picture hanger to the back of the canvas, ensuring it’s secure enough to hold the weight.
What if my flowers start to come off?
If you notice any flowers detaching, reapply glue carefully beneath the petal and hold it firmly until the glue sets.
Can I use real flowers instead?
While real flowers don’t have the same longevity, they can be used in a similar style if you apply a sealant or set them in resin for protection.
How can I store this artwork safely?
Store your artwork in a cool, dry place, preferably covered to avoid dust accumulation. Make sure it’s flat to prevent warping or bending.
Conclusion
In this DIY project, you’ve created a beautiful 3D flower wall art piece using fruit foam nets, adding a charming touch to your home decor. The vibrant and playful nature of this artwork can brighten up any space, perfect for showcasing your creativity. Consider varying the colors or styles of your flowers to create personalized gifts for loved ones. For more crafting materials, check out the Arts & Crafts Supplies section at Dollar Tree or explore ideas at Michaels for your next artistic project.

3D Flower Wall Art
Ingredients
Method
- Prepare the workspace by covering surfaces with newspaper or plastic to avoid mess.
- Organize all materials for a smoother crafting experience.
- Cut the fruit foam nets into petal shapes, creating various sizes and shapes.
- Using acrylic paint and a paintbrush, cover the foam petals in your selected colors.
- Allow the painted petals to dry completely.
- Arrange the flowers on the canvas or paperboard to visualize the final layout.
- Once satisfied with the arrangement, use a hot glue gun to secure the flowers in place.
- Check for any visible glue strings or excess, and trim them away.
- Assess the final piece for any loose flowers and secure them with glue.
- Consider how to display the artwork, possibly above a mantel or as part of a gallery wall.