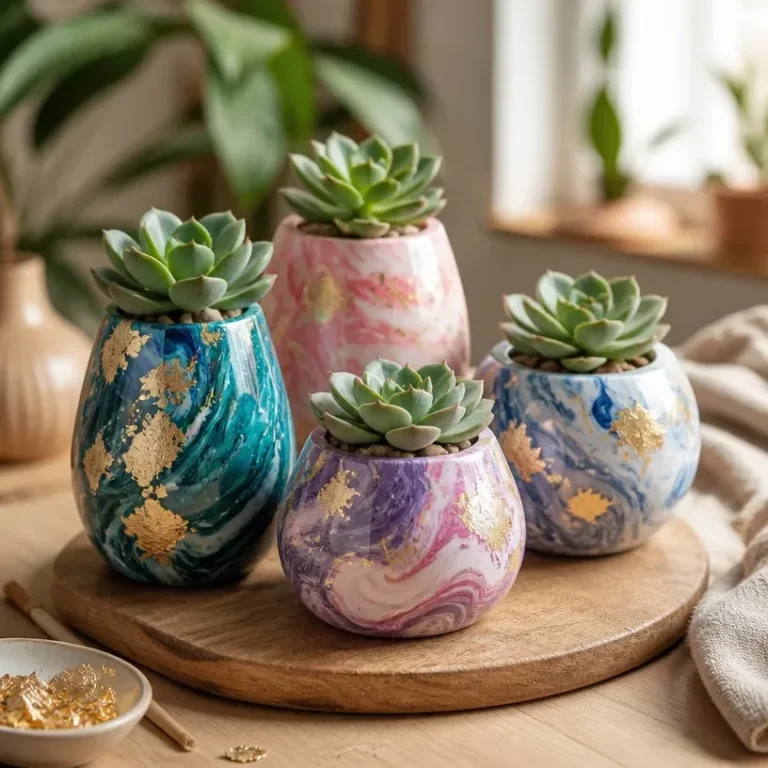
Creating a stunning holographic vase can elevate any room’s decor, adding a touch of luxury to your space. This project is perfect for those looking to showcase vibrant colors that reflect beautifully in the light. Imagine displaying this piece in your living room, dining table, or even gifting it to someone who appreciates contemporary home decor. You may also find Holographic Iridescent Flower Vase For Contemporary Home Decor useful.
The finished holographic vase captures light in enchanting ways, making it an eye-catching centerpiece that transforms ordinary settings into extraordinary ones. Follow along to discover how to bring this beautiful project to life! You may also find Diy Artificial Sea Glass Vase For Coastal Decor useful.
Why You’ll Love This Project
Benefits of the Holographic Vase
- Striking Visual Appeal: The holographic finish creates a dynamic effect that changes with the angle of light, offering a unique aesthetic.
- Approachable Technique: With simple materials and steps, this DIY project is accessible even for beginner crafters.
- Customization Options: You can adjust the color palette and materials used to suit your personal decor style.
- Inexpensive Materials: Most supplies can be found at craft stores or at home, making this project budget-friendly.
- Gift Potential: This stylish vase makes for a perfect handmade gift for friends or family.
Before You Begin
Make sure to prepare your workspace by covering surfaces with a drop cloth or old newspaper to protect against any spills. Organizing your materials ahead of time will help streamline the crafting process and reduce potential mess. You may also find Elegant Diy Crystal Orb Centerpiece Table Decor useful.

You may also find Holographic Iridescent Flower Vase Contemporary Decor useful.
Materials You’ll Need
- Clear glass vase provides a foundation for the holographic effect.
- Holographic adhesive creates the stunning reflective surface.
- Paintbrush for applying the adhesive evenly.
- Protective gloves to keep your hands clean while working.
- Sealer spray (optional) for an extra layer of protection once your project is finished.

Tools
- Craft knife useful for cutting any decorative elements you want to add, like stickers or designs.
- Sponge or cloth to clean the surface of the vase before application.
How to Make a Holographic Vase
Step 1: Prepare Your Vase
Start by cleaning the surface of your clear glass vase with soap and water. Ensure it is completely dry before moving forward, as any moisture can affect adhesion.
Step 2: Apply Holographic Adhesive
Using a paintbrush, evenly coat the exterior of the vase with the holographic adhesive. Make sure to cover all areas thoroughly for an even finish. Let the first layer set for the time recommended by the manufacturer.
Step 3: Create Texture (Optional)
For added dimension, you can use a sponge to dab on additional layers of the adhesive before the first layer fully cures. This will create a textured effect that enhances the holographic look.
Step 4: Let it Dry
Allow the vase to dry completely, following the manufacturer’s instructions regarding curing time. This step is crucial for achieving durability.
Step 5: Finish with Sealer Spray (Optional)
Once dry, consider applying a coat of clear sealer spray. This optional step will help protect the adhesive from scratches and wear, extending the life of your stunning vase.
Tips for the Best Result
- Ensure proper drying time: Rushing this step can lead to smudges or uneven surfaces.
- Experiment with angles: Test different light conditions to see how the holographic effect changes; it may inspire customization in colors or designs.
- Keep adhesives neat: Use painter’s tape if you want to keep certain areas of the vase clear.
Customization / Variations
Feel free to customize your holographic vase by using different shades of holographic adhesives or even adding decorative elements such as dried flowers inside. Creating a mixed media piece can highlight seasonal colors or themes that resonate with your style.
Ideas for Styling Your Handmade Decor
Once your holographic vase is complete, think about how to incorporate it into your home decor. You can:
- Place it on a dining table as a unique centerpiece.
- Use it to display dried flowers or LED fairy lights, enhancing its visual appeal.
- Pair it with other handmade pieces, such as the elegant DIY crystal orb centerpiece, to create a cohesive decor theme.
Frequently Asked Questions
Can I use any type of vase for this project?
Absolutely! While a clear glass vase works well, you can experiment with other materials as long as they’re compatible with adhesive.
How long does the adhesive take to dry?
This varies by brand, but generally, you should allow at least 2-4 hours for the adhesive to become touch dry, with full curing taking longer.
What if I mess up the adhesive application?
If you make mistakes, you can carefully peel the adhesive off, clean the area, and start again. A steady hand and patience are key.
Can I use fresh flowers in this vase?
You can use fresh flowers but be mindful to protect the interior surface. It’s best to use a liner or separate container for water to preserve the finish.
How should I store my finished vase?
Keep it in a cool, dry place away from direct sunlight to prevent any fading or damage to the holographic effect.

Conclusion
In creating your own holographic vase, you not only enhance your decor but also enjoy a rewarding crafting experience. This project allows for endless creativity and can be customized to fit your style preferences. If you’re looking for additional inspiration, consider checking out the beautiful Reimagine Discovery Large Dice Vase or a stylish Pink Glitter Vase on Etsy for more ideas in your decorating journey.

Holographic Vase
Ingredients
Method
- Prepare your workspace by covering surfaces with a drop cloth or old newspaper.
- Clean the surface of the clear glass vase with soap and water. Ensure it is completely dry.
- Using the paintbrush, evenly coat the exterior of the vase with the holographic adhesive.
- Let the first layer set for the time recommended by the manufacturer.
- Optional: Use a sponge to dab on additional layers for a textured effect.
- Allow the vase to dry completely, following the manufacturer's instructions.
- Optional: Once dry, apply a coat of clear sealer spray.