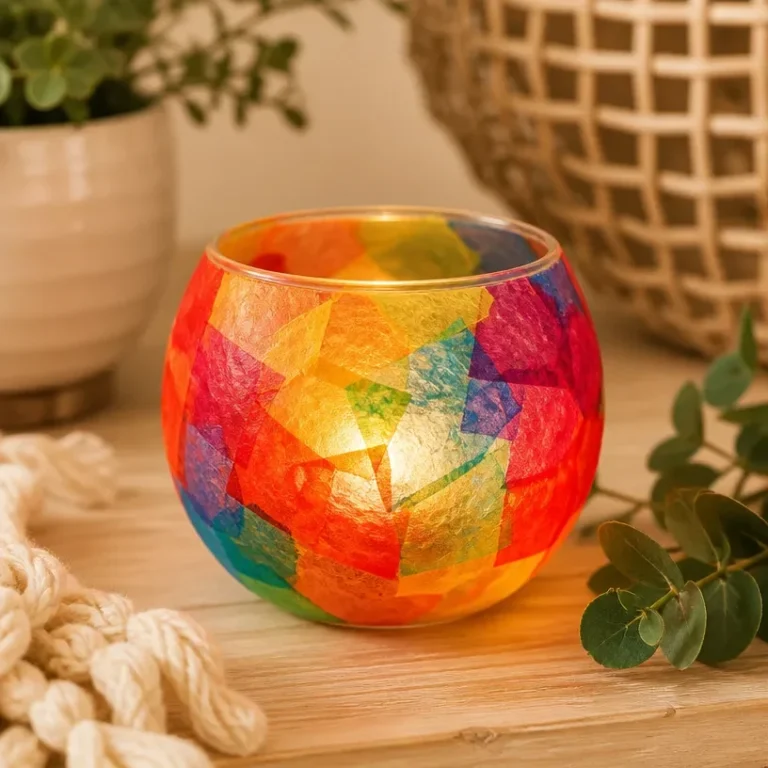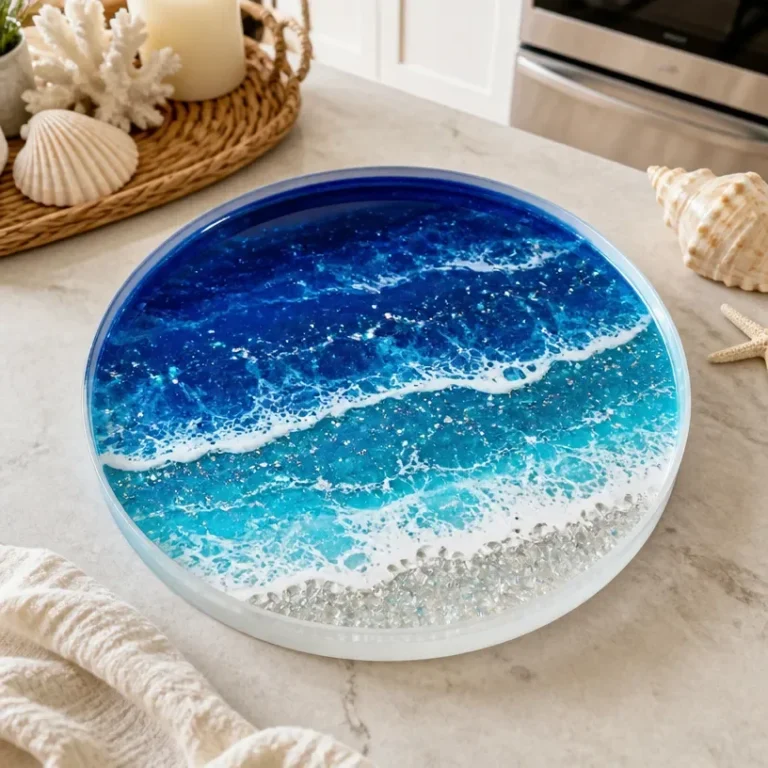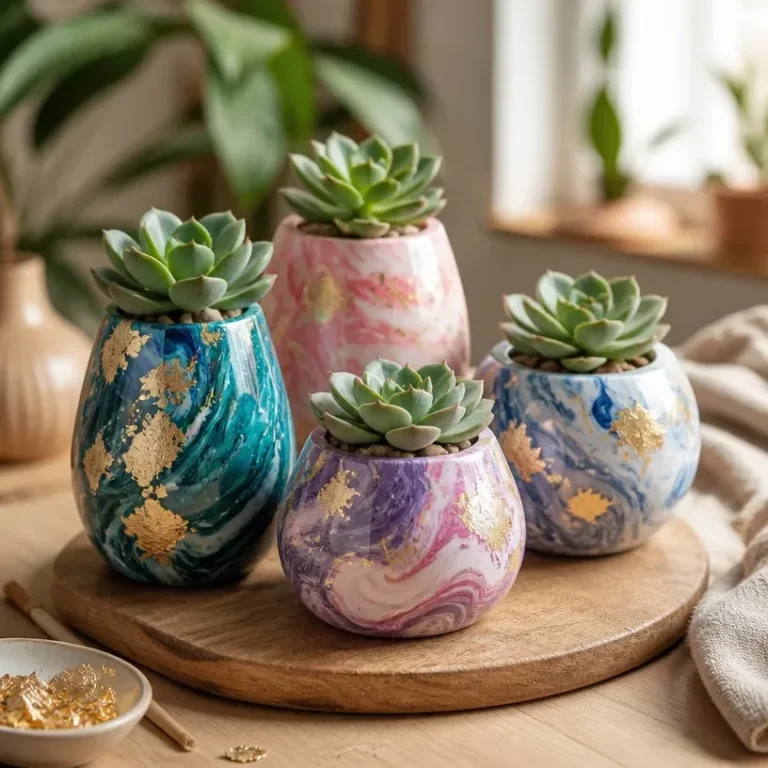
Creating a stunning holographic iridescent flower vase is a fantastic way to add a contemporary touch to your home decor. With its eye-catching shimmer and unique reflective qualities, this vase serves not only as a functional piece for displaying flowers but also as a captivating decorative element. You can showcase it on a coffee table, shelf, or even as a centerpiece at gatherings, where it will surely draw attention and brighten the space. You may also find Diy 3D Flower Wall Art Fruit Foam Nets Home Decor useful.
This project is approachable for crafters of all skill levels and uses materials that are easy to find. Plus, by following this guide, you’ll be able to make something beautiful that could easily enhance your living space. You may also find Diy Elegant Faux Sea Glass Vase Home Decor useful.
Why You’ll Love This Project
Creating this holographic vase has multiple benefits that make it a worthwhile endeavor: You may also find Diy Rainbow Holographic Bat Mobile Home Decor useful.
- Display-Worthy Result: The finished vase is not just functional; it’s an art piece that can significantly elevate any decor style.
- Unique Light Effects: The iridescent surface captures and reflects light beautifully, creating a dynamic visual experience depending on the lighting conditions.
- Personalization Potential: You can customize the colors and patterns to suit your home’s aesthetic, making it uniquely yours. If you’re interested in more DIY decor ideas, consider exploring how to create a decorative sea glass vase.
- Affordable Materials: Most materials are inexpensive and easily accessible, making this project budget-friendly.
- Gift Idea: This vase can be a heartfelt gift for friends or loved ones, especially when paired with dried or fresh flowers.
Before You Begin
Before diving into the crafting process, it’s essential to prepare your workspace and materials. Begin by protecting your surfaces with a drop cloth or newspaper to avoid any messes. Ensure your workspace is well-ventilated, especially if you’re using any glue or spray sealant. Gather all your materials so everything is within reach during the crafting process for a smoother workflow.

Materials You’ll Need
- Holographic vinyl This serves as the primary material for your vase’s iridescent effect.
- Glass vase Choose a clear vase to allow the holographic effect to shine.
- Spray adhesive This will help to secure the vinyl to the vase.
- Craft knife Essential for cutting the vinyl to the desired size and shape.
- Cutting mat Protects your work surface when cutting materials.

Tools
- Scissors For trimming any excess vinyl material.
- Ruler To measure and ensure accuracy when cutting.
- Pencil For marking measurements on the vinyl.
How to Make the Project
Step 1: Measure and Cut the Vinyl
Begin by measuring the height and circumference of your vase. Mark these measurements onto the holographic vinyl using a pencil. Use a craft knife or scissors to cut out the vinyl according to your measurements.
Step 2: Prepare the Vase
Before applying the vinyl, clean the surface of the glass vase to ensure that it adheres properly. Any dust or oil can affect the adhesion of the vinyl.
Step 3: Apply Spray Adhesive
Spray a light, even coat of adhesive onto the back of the cut vinyl piece. Make sure to do this in a well-ventilated area. Allow the adhesive to become tacky before proceeding to the next step.
Step 4: Attach the Vinyl
Carefully align the vinyl with the vase, starting at one edge. Gradually press the vinyl onto the vase, smoothing out any bubbles as you go. This step is crucial for achieving a professional-looking finish.
Step 5: Allow to Dry
Once the vinyl is securely attached to the vase, set it aside to dry according to the adhesive manufacturer’s instructions. This will help ensure that everything is bonded properly.
Tips for the Best Result
- Smooth Application: When applying the vinyl, work slowly to avoid bubbles. You can use a credit card to help smooth the surface.
- Customizing Colors: Consider experimenting with different colors of holographic vinyl for various effects. You can even create layered designs for a more complex look.
- Sealing the Finish: To protect your work, consider applying a clear sealant over the vinyl once it’s dry, which can enhance durability and shine.
Customization / Variations
Feel free to personalize your holographic vase with various colors or patterns. You could create designs with different shapes or even layer the vinyl in different colors to achieve a unique look. Additionally, using patterned holographic vinyl can provide an interesting twist.
How to Display Your Finished Project
This iridescent vase looks stunning alone or paired with your favorite flowers. Consider placing it in a sunny location where it can catch the light beautifully, or style it with other decorative items to create a cohesive look. For a seasonal display, you might enjoy placing dried flowers inside or crafting a complementary piece, like a botanical wreath for added flair.
Care and Storage
To maintain the beauty of your holographic vase, dust it gently when needed. Avoid placing it in damp areas to maintain the integrity of the adhesive and vinyl.

Frequently Asked Questions
What type of adhesive works best for the vinyl?
A spray adhesive specifically designed for use with vinyl works best. Ensure it provides a strong bond.
Can I use a plastic vase instead of glass?
Yes, you can use a plastic vase, but the results may differ in terms of reflectiveness and overall aesthetics.
What if I don’t have holographic vinyl?
You can use any decorative adhesive contact paper, but the iridescent effect will be lost.
How can I clean the vase without damaging the vinyl?
Wipe it gently with a damp cloth instead of submerging it in water to avoid damaging the vinyl.
Is this project suitable for beginners?
Absolutely! This project is accessible to beginners and can be completed with minimal tools and materials.
Conclusion
In this project, you’ve crafted a stunning holographic iridescent flower vase that is sure to enhance your home decor. The vibrant colors and shiny surface not only showcase the beauty of the flowers but also serve as a captivating art piece in any space. Consider gifting your creation or even exploring more beautiful DIY decor like a Reimagine Discovery Large Dice Vase for unique additions to your collection. If you want to explore something a bit different, check out this beautiful holographic vase on Etsy for inspiration!

Holographic Iridescent Flower Vase
Ingredients
Method
- Measure the height and circumference of your vase. Mark these measurements onto the holographic vinyl using a pencil.
- Cut out the vinyl according to your measurements using a craft knife or scissors.
- Clean the surface of the glass vase to ensure that the vinyl adheres properly.
- Spray a light, even coat of adhesive onto the back of the cut vinyl piece in a well-ventilated area.
- Allow the adhesive to become tacky before proceeding.
- Carefully align the vinyl with the vase, starting at one edge, and gradually press the vinyl onto the vase while smoothing out any bubbles.
- Set the vase aside to dry according to the adhesive manufacturer’s instructions.
- Consider applying a clear sealant over the vinyl once dry to enhance durability and shine.