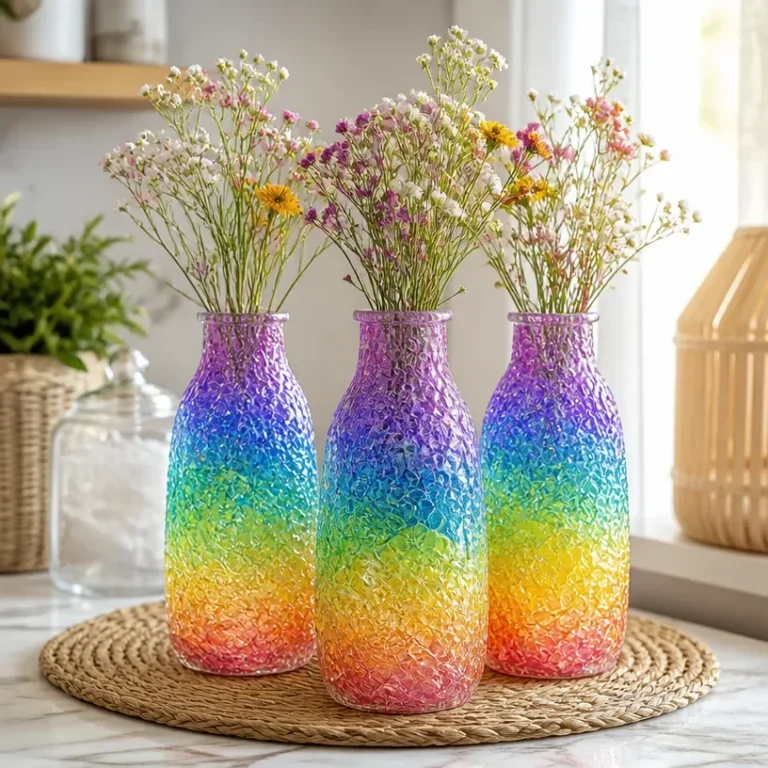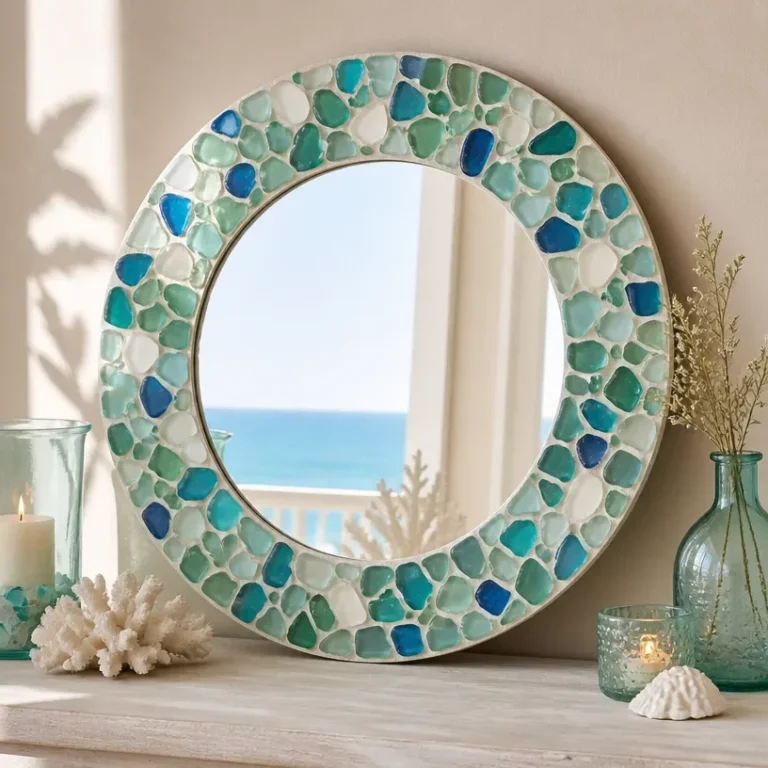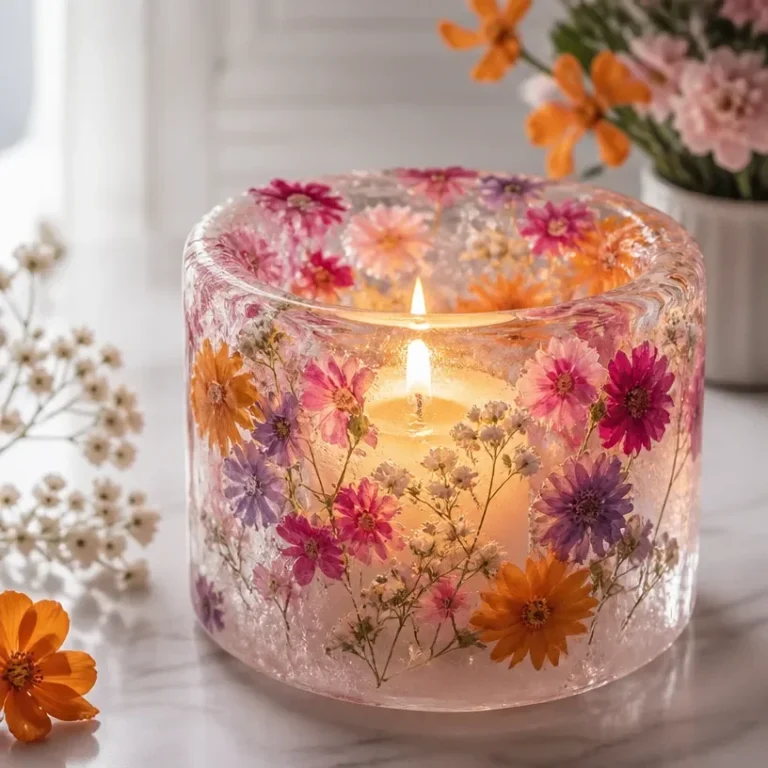
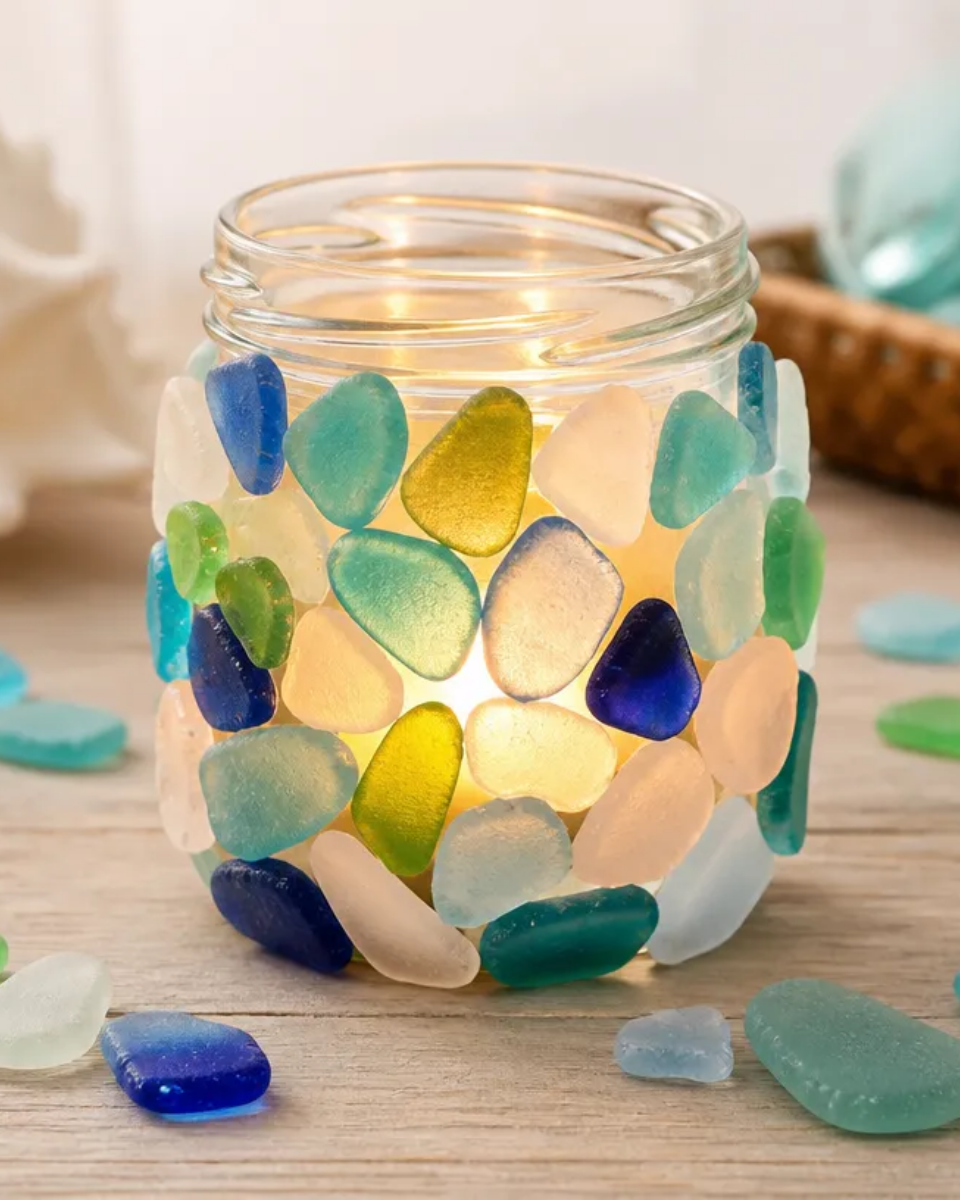
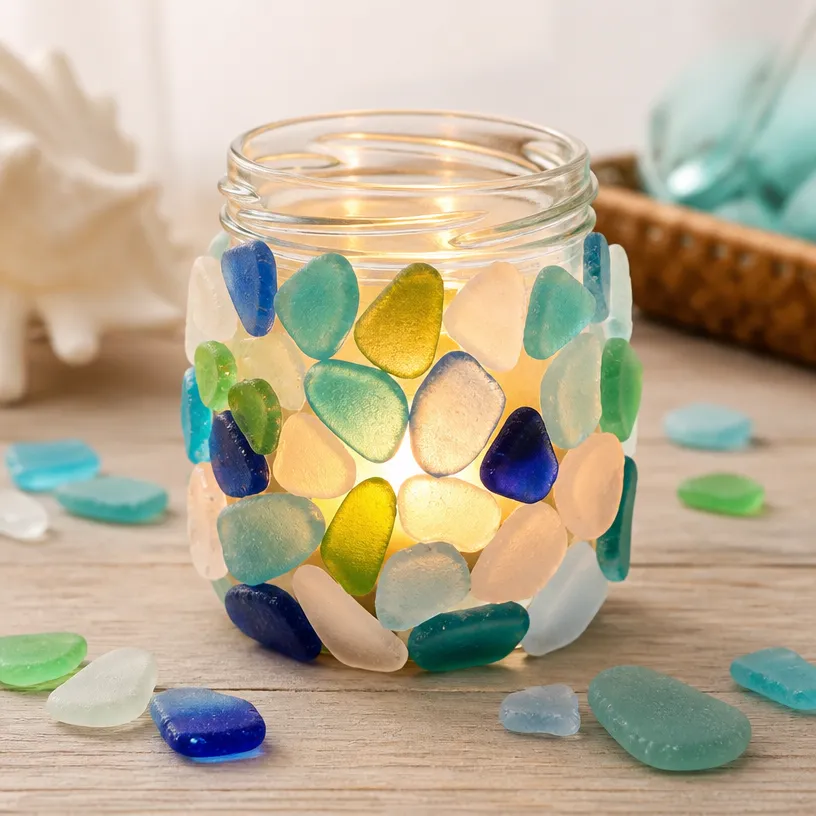
Creating a beautiful sea glass candle holder is a delightful DIY project that infuses a coastal charm into any space. The finished piece not only adds a touch of elegance but also brings a sense of tranquility with its soft, shimmering light. These candle holders are perfect for use on your dining table, as part of a cozy living room setup, or as elegant gifts for loved ones. You may also find Pressed Flower Glass Candle Holder Diy useful.
In this guide, you’ll learn how to craft your very own sea glass candle holder, utilizing simple materials and techniques. This project is ideal for both beginners and seasoned crafters alike, allowing you to embrace your creativity. You may also find Diy Elegant Faux Sea Glass Vase Home Decor useful.
Why You’ll Love This Project
Beautiful Display Piece
The stunning appearance of the finished project makes it a standout in any home décor setup. Each holder reflects light beautifully, creating an inviting atmosphere. You may also find Diy Ocean Blue Candle Holder Elegant Home Decor useful.
Customizable Colors
You have the freedom to choose your colors and patterns, allowing personalized touch to match your home aesthetic or seasonal themes. For inspiration, consider exploring options like this DIY artificial sea glass vase.
Simple Technique
The process is straightforward, making it approachable for everyone regardless of skill level. You’ll follow easy-to-understand steps that ensure success.
Gift Potential
Handmade items often hold more meaning than store-bought products. Creating these sea glass candle holders allows you to give thoughtful, personal gifts on special occasions.
Inexpensive Materials
You can easily find the materials required for this project at craft stores or even repurpose old glass containers, making it budget-friendly.
Before You Begin
Before diving into the project, take a moment to prepare your workspace. Ensure you protect your surfaces with newspaper or a crafting mat. Good lighting will also help you see details clearly while working.
Materials You’ll Need
- Clear glass container the base for the sea glass.
- Sea glass pieces either real or artificial, these add color and texture.
- Clear adhesive for securing glass pieces.
- A candle (LED recommended for safety) to place inside the holder.
Tools
- Craft knife for trimming any glass if necessary.
- Small brushes helpful for applying adhesive neatly.
How to Make the Project
Step 1: Prepare Your Workspace
Start by setting up your workspace with all necessary materials at hand. This will streamline your crafting process.
Step 2: Arrange the Sea Glass
Begin arranging your sea glass pieces around the clear glass container. Play with different designs until you find one that you love.
Step 3: Secure the Design
Once satisfied with the arrangement, use clear adhesive to secure each piece of sea glass to the container. Make sure to apply enough adhesive to hold them in place, but not so much that it seeps over the edges.
Step 4: Allow to Dry
Let the adhesive dry completely, following the manufacturer’s recommended drying time. This step is crucial to ensure your design holds well.
Step 5: Insert Candle
Once everything is securely in place, insert your chosen candle into the holder. An LED candle is a safe option that still provides beautiful illumination.
Tips for the Best Result
- Neat Adhesive Application: Use a small brush for a clean application of adhesive to avoid excess glue around the glass.
- Color Coordination: Try to choose sea glass that complements your existing home décor.
- Layering: Consider layering pieces for added texture and visual interest.
- Final Placement: Before adding the candle, double-check that the glass is securely attached and straighten any misaligned pieces.
Customization / Variations
- Color Palette: Experiment with seasonal colors like pastels for spring or rich hues for fall.
- Shape Variations: Use containers of different shapes and sizes for unique designs.
- Decorative Additions: Consider adding embellishments like jute twine or shells for a more personalized touch.
Ideas for Styling Your Handmade Decor
Once you’ve completed your sea glass candle holder, there are many ways to showcase it. Place it on your dining table during meals for a cozy ambiance or feature it on your coffee table as a conversation starter. Pair it with other handmade pieces, like a beach-themed candle tray, to create a cohesive coastal display.
Frequently Asked Questions
Can I use real sea glass?
Yes, real sea glass can add a unique and authentic touch to your candle holder, but it can also be more challenging to source.
How long does the adhesive take to dry?
This depends on the brand, but usually, allowing it to dry for at least 24 hours is best.
Can I adjust the size of the candle holder?
Absolutely! You can use different sizes of glass containers to create various designs.
What can I do if the sea glass doesn’t stick?
Ensure you’re using enough adhesive and allow sufficient drying time before moving the holder.
How can I customize the colors of sea glass?
You can paint clear glass pieces with glass paint to achieve your desired colors before arranging them.
What type of candle should I use?
For safety reasons, it’s recommended to use LED candles especially if you’re concerned about the heat from regular candles.
Conclusion
Creating a sea glass candle holder is a rewarding DIY project that enhances your home décor with a touch of coastal elegance. The beautiful, shimmering effect of the glass adds warmth and charm to any space. To further inspire your crafting journey, consider exploring how to craft a sea glass candle or another delightful DIY project. For additional ideas, check out the detailed guide on how to make a sea glass candle and a fantastic tutorial on a DIY sea glass candle holder.
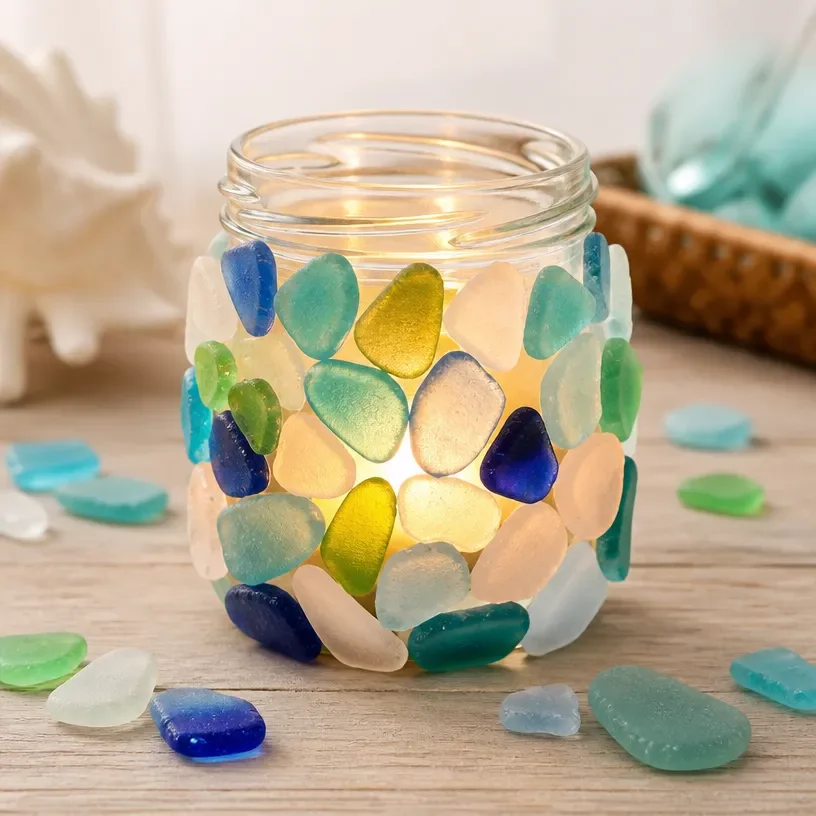
Sea Glass Candle Holder
Ingredients
Method
- Prepare your workspace with all necessary materials at hand, protecting surfaces with newspaper or a crafting mat.
- Arrange your sea glass pieces around the clear glass container, experimenting with different designs.
- Use clear adhesive to secure each piece of sea glass to the container, ensuring it holds well without overflowing.
- Allow the adhesive to dry completely following the manufacturer's recommended drying time.
- Once everything is in place, insert the chosen candle into the holder.