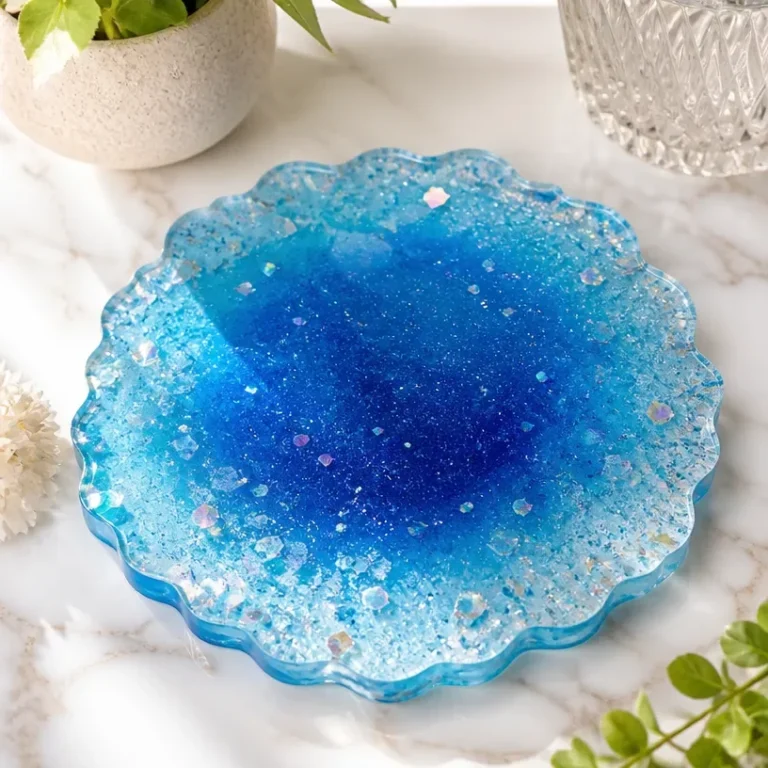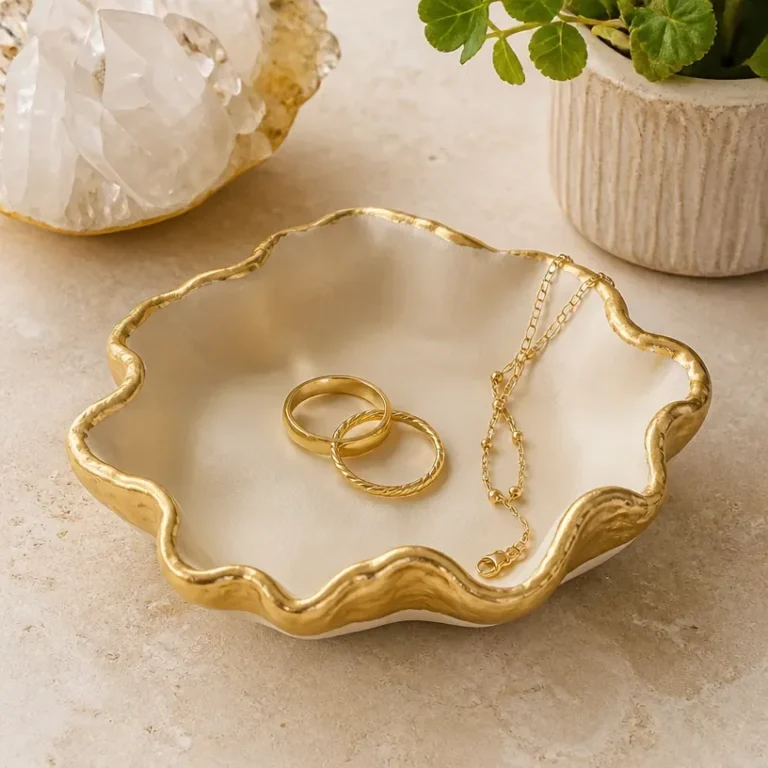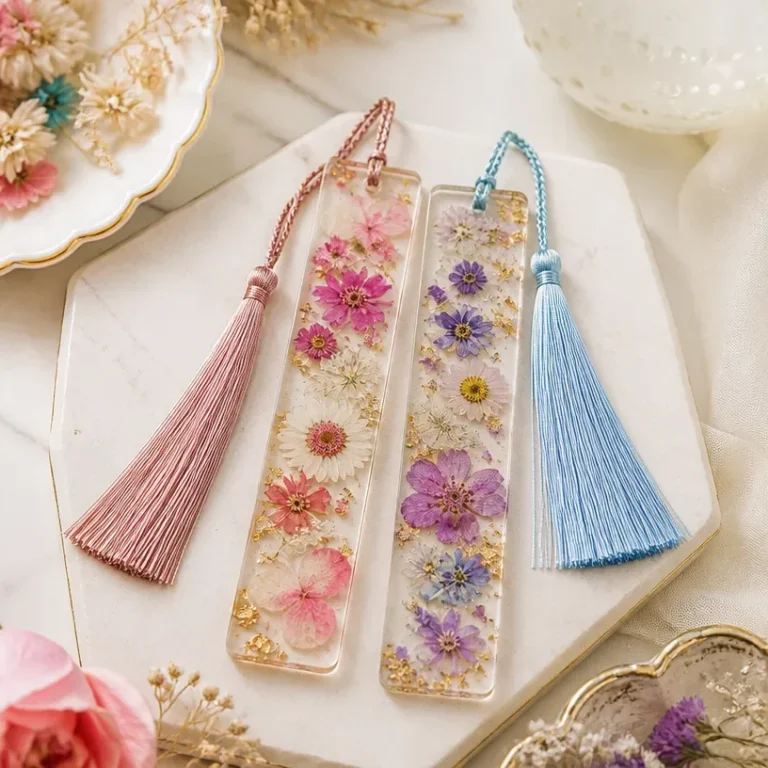
Creating beautiful home decor is easier than you might think, especially when making handmade ocean resin coasters. These stunning pieces not only bring a splash of color to your tabletops but also capture the tranquil essence of seaside moments, making them perfect for display or practical use. Whether you use them at home, in your office, or as gifts for loved ones, these coasters are unique additions to any space. You may also find Diy Artificial Sea Glass Vase For Coastal Decor useful.
In this project, we will guide you through the delightful process of crafting your own ocean resin coasters. This DIY project is approachable and allows for creativity, offering various color and design options to suit your style. By the end of this article, you’ll know how to make coasters that are visually striking and functional. You may also find Diy Resin Geode Art Faux Crystal Decor useful.
Why You’ll Love This Project
Engaging and Appealing Results
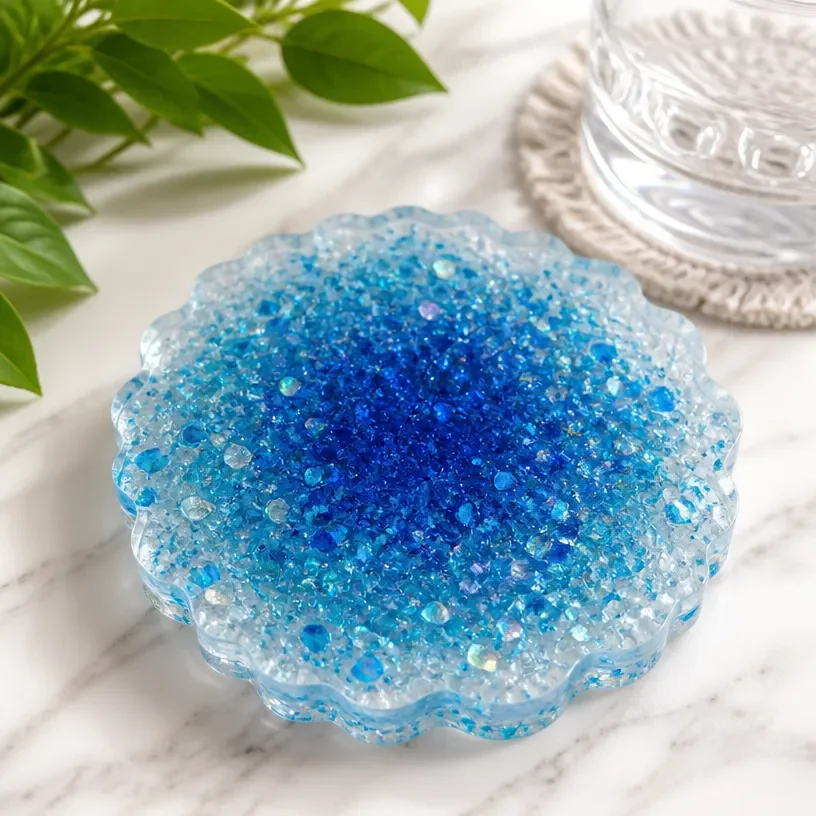
The finished ocean resin coasters are not only practical but also serve as beautiful decor elements. They encapsulate the hues of beach waves and sands, ideal for brightening up a dull surface. You may also find Resin Crystal Geode Coasters useful.
Customizable Designs
One of the benefits of this project is the ability to customize your coasters. You can experiment with different colors, shapes, and even materials. Mix in details like sand or small shells to enhance the coastal theme and create a personalized touch. You may also find Diy Artificial Sea Glass Vase Coastal Decor useful.
Inexpensive Materials
You don’t need to break the bank for this project! Most materials required for making ocean resin coasters are available at affordable prices, offering a way to create beautiful decor without overspending. You may also find Diy Botanical Pressed Flower Wall Art useful.
Great Gift Potential
Handmade coasters make thoughtful gifts that show care and creativity. You can personalize them by choosing colors that fit the recipient’s home decor or even adding special elements that have personal meaning.
Simple Technique
You don’t need prior crafting experience to succeed with this project. The process of working with resin can be somewhat forgiving, allowing you to develop your skills and refine your techniques without pressure.
Before You Begin
Before diving into this fun project, it’s essential to prepare your workspace and gather all necessary materials to ensure a smooth crafting experience. Start by protecting your work surface with a drop cloth, as resin can be messy. Ventilation is crucial, so work in a well-ventilated area or wear a mask to avoid inhaling fumes.
Make sure to organize all your materials beforehand, including resin, molds, and colorants. This preparation streamlines the crafting process and helps you focus fully on your creative vision.
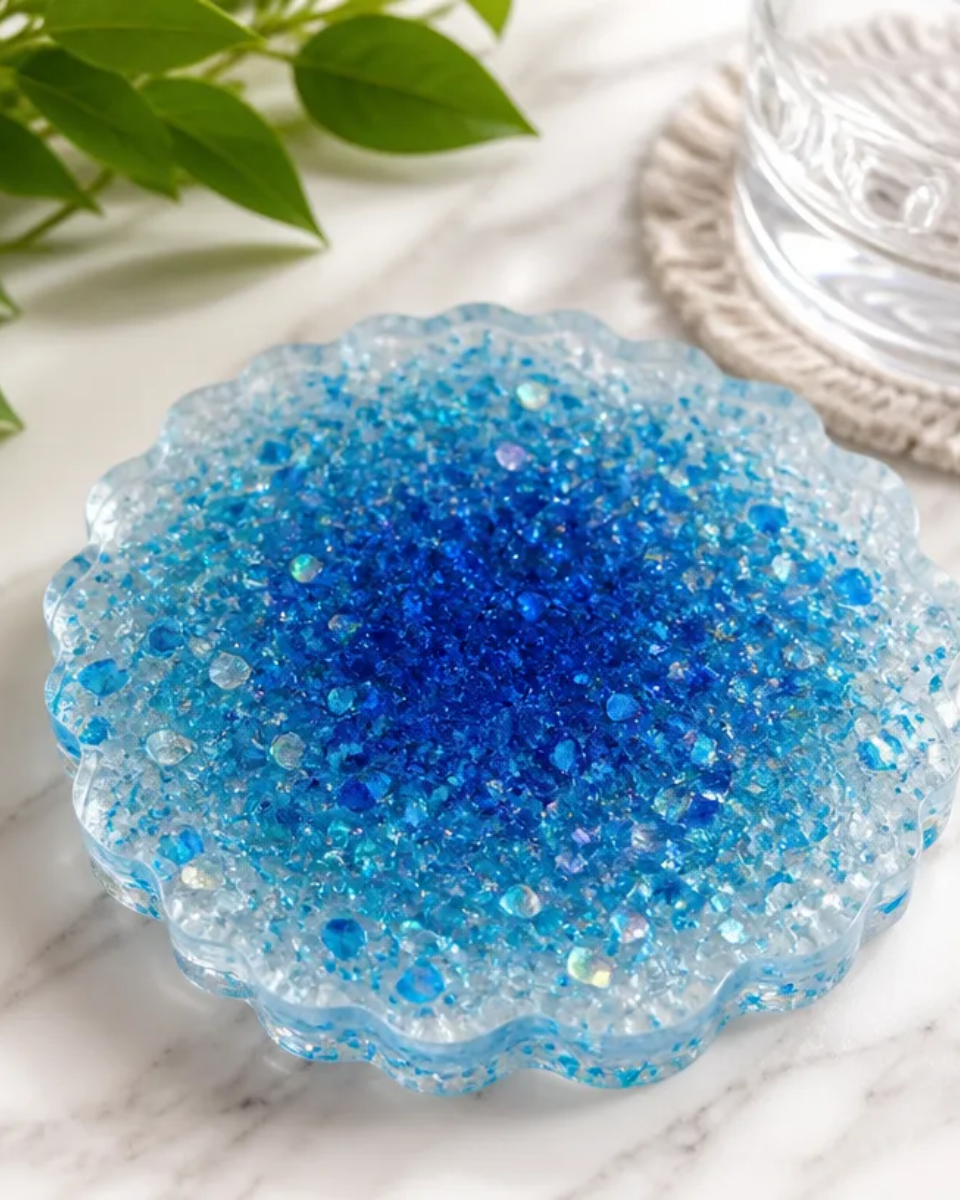
Materials You’ll Need
- Epoxy resin Base material for coasters.
- Resin hardener Works with resin to create a solid surface.
- Silicone coaster molds To shape your coasters.
- Acrylic paints or dye For coloring the resin to mimic ocean hues.
- Small shells or sand (optional) For added coastal texture.
- Mixing cups and stir sticks For combining resin and hardener.
- Heat gun or torch To remove air bubbles from the poured resin.
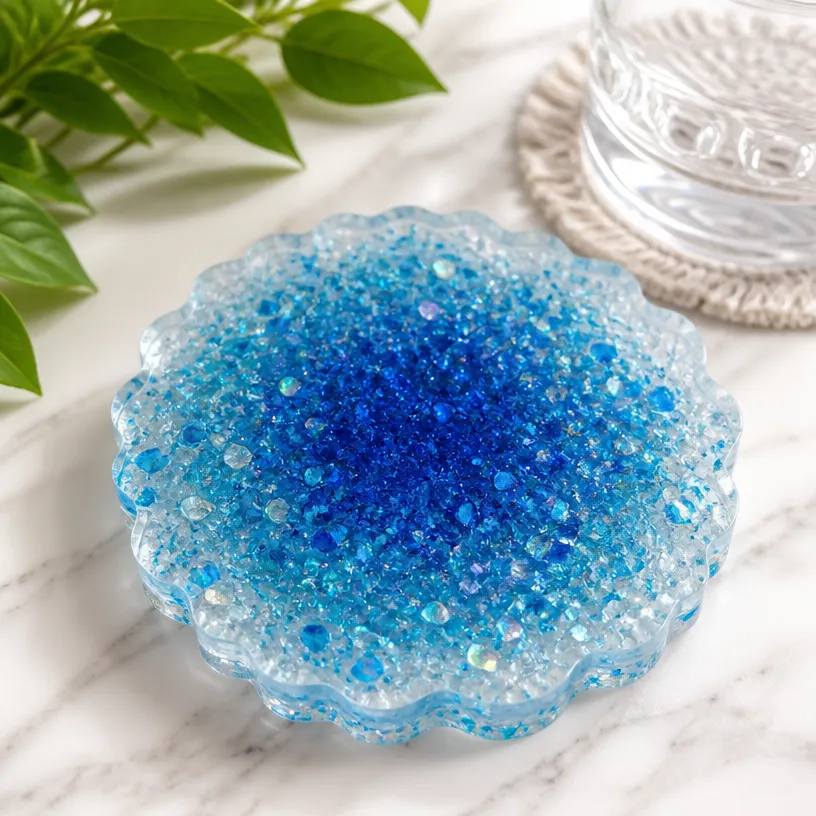
Tools
- Protective gloves Essential for safe handling of resin.
- Measuring scale For accurate resin-to-hardener ratios.
- Craft knife or scissors To trim any excess resin after curing.
- Drop cloth Recommended for protecting your workspace.
How to Make the Project
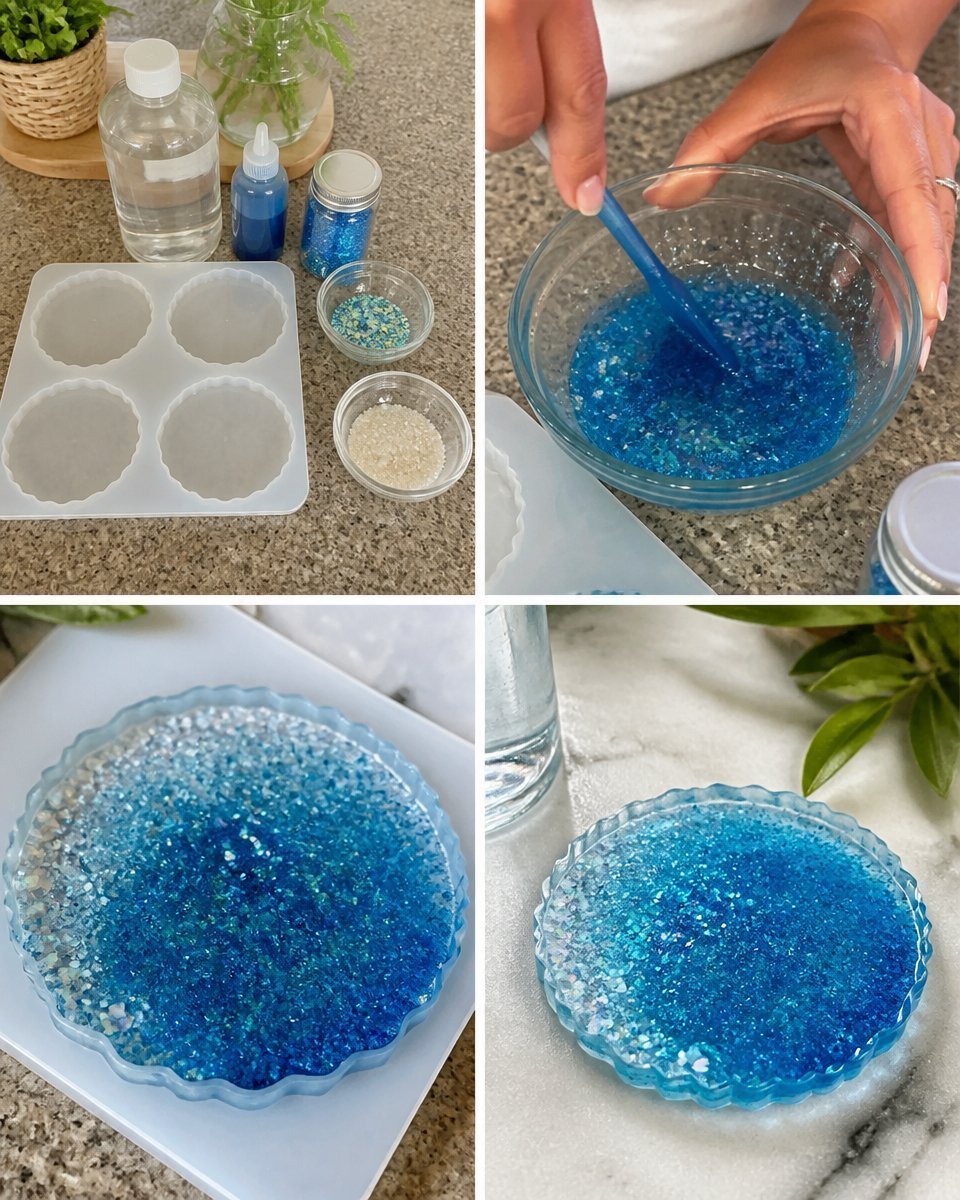
Step 1: Prepare the Molds
Start by ensuring your silicone molds are clean and dry. If you’re using any decorative elements like shells or sand, lay them out in the molds first, so they’re ready for the resin.
Step 2: Mix the Resin and Hardener
Following the manufacturer’s instructions, measure and mix the resin with the hardener in a clean mixing cup. Stir slowly to minimize the introduction of bubbles, and mix thoroughly until completely blended.
Step 3: Add Color
Once your resin is mixed, add your chosen acrylic paint or dye to achieve the desired ocean colors. Stir well to fully incorporate the color into the resin.
Step 4: Pour the Resin
Carefully pour the colored resin into the molds, filling them to the desired thickness. If you’re adding decorative elements, pour slowly to avoid disturbing them.
Step 5: Remove Bubbles
After pouring, use a heat gun or torch briefly over the surface to remove any air bubbles that may have formed in the resin. Be cautious not to overheat the resin, as this can cause it to cure improperly.
Step 6: Allow to Cure
Let the resin cure according to the manufacturer’s guidelines. Typically, this may take anywhere from a few hours to overnight. Ensure the molds remain undisturbed during this period.
Step 7: Demold and Finish
Once cured, gently remove the coasters from the molds. If necessary, trim any excess resin from the edges using a craft knife or scissors for a neat finish.
Tips for the Best Result
- Mix Thoroughly: Ensure the resin and hardener are mixed well to prevent tacky spots.
- Avoid Moisture: Keep your workspace dust-free and dry to avoid imperfections in the final product.
- Experiment with Layers: If you’re feeling creative, you can pour layers of different colors to create more depth.
- Test Your Materials: If using new colorants or additives, do a small test to see how they react with the resin.
Customization / Variations
To give your ocean resin coasters a personal touch, consider the following variations:
- Different Color Palettes: Experiment with various shades to create a more dramatic or subtle effect.
- Seasonal Themes: Use colors or elements that reflect different seasons, perfect for changing decor.
- Shape Variations: While round coasters are traditional, try experimenting with other shapes like squares or hexagons.
Ideas for Styling Your Handmade Decor
Once you’ve created your ocean resin coasters, think about how you want to showcase them. These coasters look stunning on coffee tables, dining sets, or side tables. They can also serve as a unique decorative piece when displayed on a coatrack or shelf. Their bright colors and textures can elevate the overall aesthetic of your space.
Frequently Asked Questions
Frequently Asked Questions
Can I use any resin for this project?
Not all resins are suitable for coasters, but epoxy resin works exceptionally well. Always check the manufacturer’s specifications and recommended applications.
How long will it take for the coasters to fully cure?
Curing times vary depending on the resin used but typically range from 24 to 72 hours. Always follow the manufacturer’s instructions for the best results.
What should I do if my coasters are sticky?
If your coasters are sticky, this may indicate an incomplete curing process. Check the resin’s instructions, and if necessary, you can either pour another layer on top or re-cast them.
Can I add flowers or leaves to my coasters?
Absolutely! Pressed flowers or leaves add a lovely natural touch. Just ensure they are completely dried and arranged neatly before pouring the resin.
Are these coasters suitable for hot drinks?
They are generally heat-resistant, but it’s best to avoid direct contact with hot liquids to preserve their quality and finish.
Conclusion
In this project, you’ve learned how to create stunning ocean resin coasters that enhance your home decor with their beauty. These coasters are not only unique but also provide functionality to your spaces. For those looking to expand their crafting repertoire, consider exploring the Beginner Resin Coaster Experience – Oceanic Woodstore for further techniques and tips, or browse for ready-made options like the Blue Ocean Resin Coasters if you prefer convenience. Happy crafting!
Ocean Resin Coasters
Ingredients
Method
- Prepare the workspace by covering surfaces with a drop cloth and ensuring good ventilation.
- Ensure your silicone molds are clean and dry. Arrange any decorative elements (like shells or sand) in the molds if using.
- Measure and mix the resin and hardener in a clean mixing cup, following manufacturer's instructions.
- Stir slowly to minimize bubbles and blend thoroughly.
- Add the chosen acrylic paint or dye to the mixed resin and stir well.
- Pour the colored resin into the molds, filling to the desired thickness and adding decorative elements as needed.
- Use a heat gun or torch to remove any air bubbles from the surface of the poured resin.
- Allow the resin to cure according to manufacturer guidelines, typically a few hours to overnight.
- Once cured, gently remove the coasters from the molds and trim any excess resin for a neat finish.