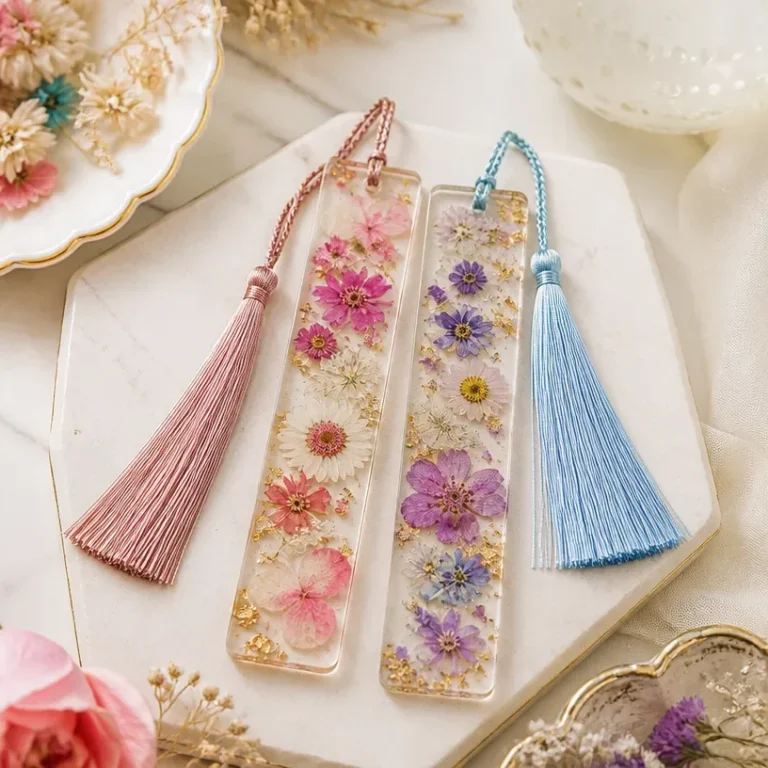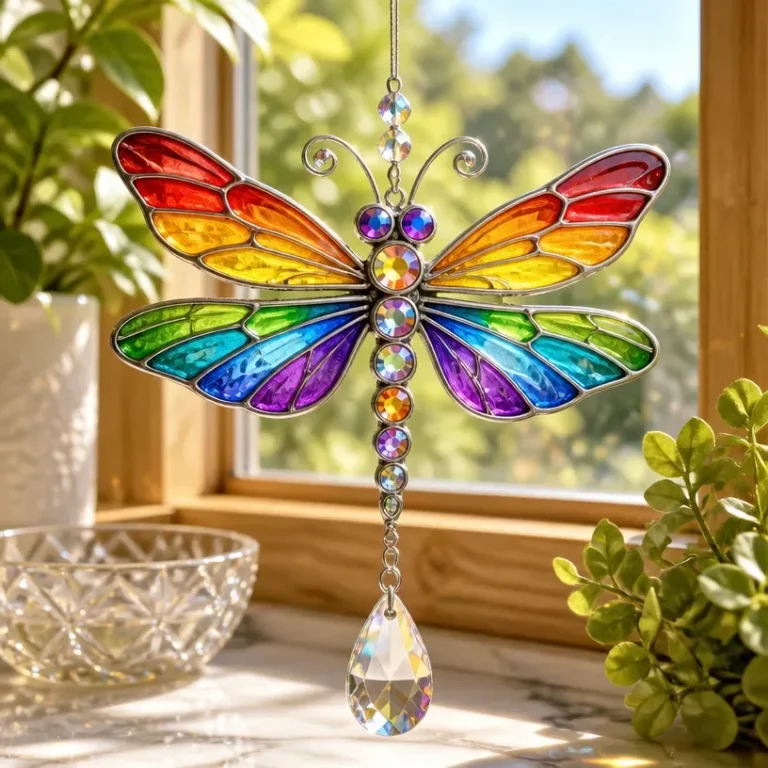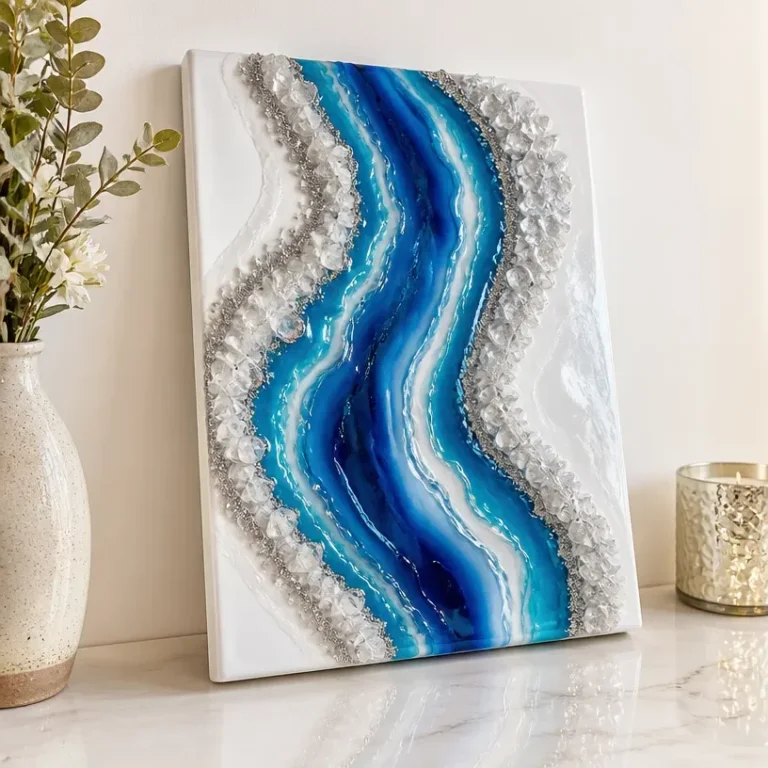
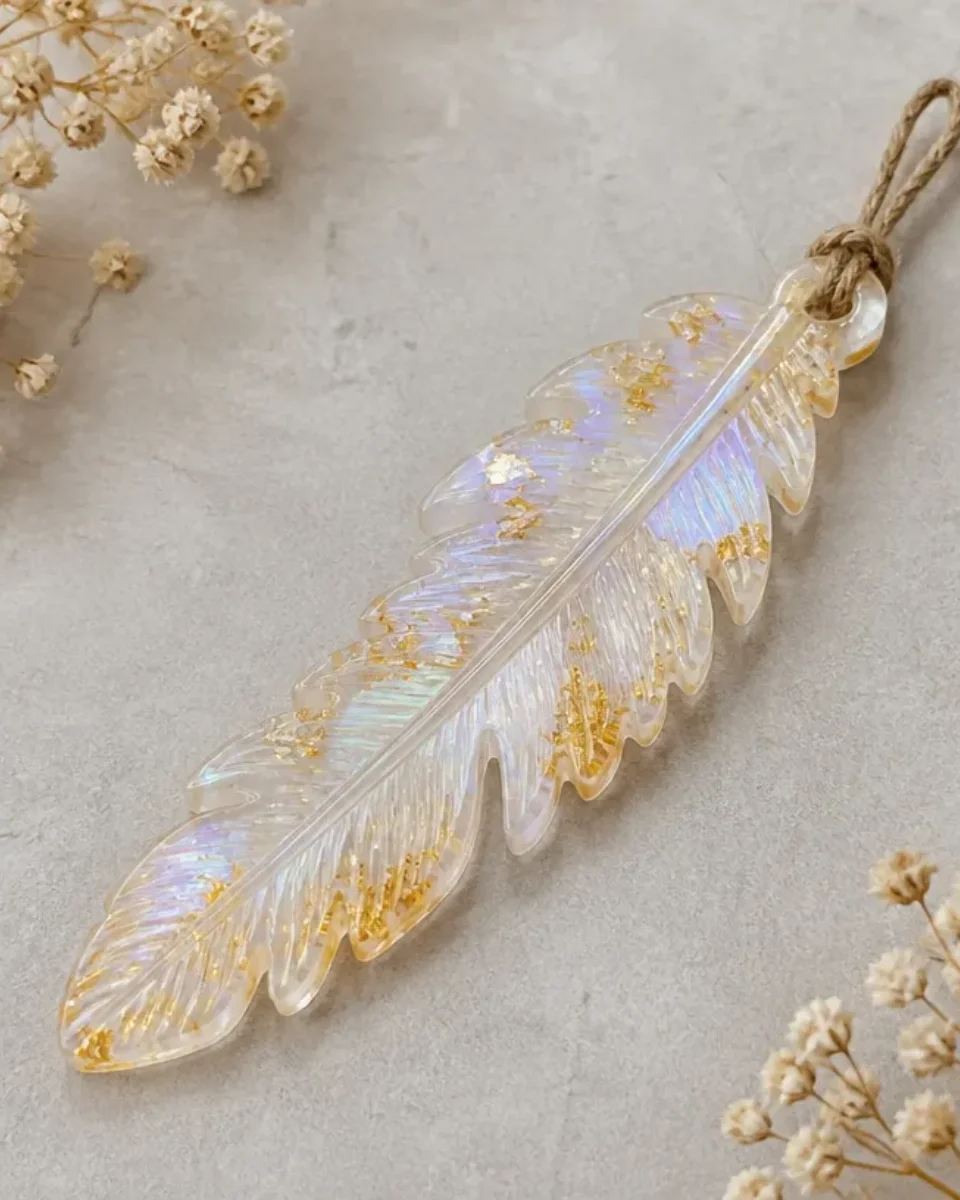
Your walls deserve a splash of beauty, and creating your own Resin Crystal Feather Wall Decor is an elegant way to achieve that! This unique piece combines the charm of nature with the modern aesthetic of resin art, delivering a visually stunning addition to your home. Ideal for display in living rooms, bedrooms, or even as a thoughtful handmade gift, this project allows for personal customization while ensuring a magnificent final result. You may also find Diy Resin Geode Art Faux Crystal Decor useful.
To get started on this delightful project, you’ll need to gather your materials and tools. If you’re motivated by beautiful suncatchers or intricate wall displays, you’ll find joy in this venture. For those seeking a similar aesthetic, consider checking out our guide on creating a sunburst mirror for captivating reflections.
Why You’ll Love This Project
The Benefits of Crafting Your Own Feather Decor
- Display-Worthy Design: The resin crystal feather design not only serves as decor but also as a striking conversation piece.
- Aesthetic Flexibility: You can easily customize colors and embellishments to match your existing decor or seasonal themes.
- Easy to Follow: This project is approachable even for beginners, making it a great introduction to resin art.
- Unique Gift Idea: Handmade items make for thoughtful gifts that show your care and creativity.
- Incorporating Natural Elements: The idea of using organic shapes and colors can enhance your home’s connection with nature.
Before You Begin
Before diving into this DIY project, ensure your workspace is prepared. Lay down a protective covering over your work surface to prevent damage from spills. It’s also essential to ventilate your crafting area to avoid inhaling any resin fumes. Proper preparation will lead to a more enjoyable and successful crafting experience. You may also find How To Make A Diy Crystal Sunburst Mirror For Wall Decor useful.
You may also find Crystal Hanging Plant Decor useful.
Materials You’ll Need
- Resin The main material needed to create the feather shape. Make sure to follow the manufacturer’s instructions for mixing.
- Color pigments Choose colors that resonate with your style. These will be mixed with the resin to achieve vibrant hues.
- Feather mold Used to shape the resin into a beautiful feather design.
- Glitter or crystals (optional) For adding shimmer and sparkle to your project.
- Mixing cups and sticks Essential for combining resin and pigments thoroughly.

Tools
- Protective gloves Keep your hands safe from resin during the crafting process.
- Craft knife Useful for trimming any uneven edges once your piece is solidified.
- Heat gun (optional) Can be used to remove bubbles from the resin surface.
How to Make the Project
Step 1: Prepare Your Mold
Start by cleaning your mold to ensure a smooth finish for the resin. Apply a thin layer of mold release agent to help with demolding later, if necessary.
Step 2: Mix the Resin
Carefully follow the manufacturer’s instructions for mixing the resin and hardener. Stir the mixture thoroughly to ensure there are no streaks. If desired, add your chosen pigments to the resin for color.
Step 3: Pour the Resin into the Mold
Slowly pour the prepared resin into the feather mold, taking care to fill all the nooks and crannies. If you are adding glitter or crystals, sprinkle them gently into the mold after pouring the resin.
Step 4: Remove Bubbles
Using a heat gun, carefully pass it over the surface of the resin to remove any trapped air bubbles. Keep the gun at a safe distance to avoid overheating the resin.
Step 5: Allow the Resin to Cure
Let your resin piece cure according to the instructions provided by the manufacturer. This usually takes at least 24 hours. Ensure it’s in a safe place away from dust and disturbance during this time.
Step 6: Demold and Finish
Once cured, gently remove your feather from the mold. If the edges are jagged, use a craft knife to trim them for a polished finish.
Tips for the Best Result
- Work in Small Batches: When mixing resin, start with a small amount to prevent waste if you make mistakes.
- Avoid Over-Mixing: Thorough mixing is crucial, but over-mixing can introduce bubbles. Stir slowly to minimize this.
- Temperature Control: Ensure the work environment is not too cold or too hot, as this can affect the curing process.
Customization / Variations
Feel free to explore different color palettes by mixing various pigments to achieve unique shades. You can also incorporate different materials into your resin, like pressed leaves or microbeads, to enhance the visual texture of the piece.
Ideas for Displaying Your Handmade Decor
Once complete, consider displaying your resin feather on a simple shelf or wall-mounted bracket to highlight its artistic beauty. Hanging it in a sun-catching spot can amplify its vibrant colors and intricate patterns. You might even style it alongside other handmade decor pieces, similar to those found in our guide on crystal suncatchers.
Frequently Asked Questions
Can I use different types of resin for this project?
Yes, as long as you follow the manufacturer’s instructions for mixing and curing, you can use epoxy or UV resin according to your preference.
What if my resin cracks during curing?
If your resin cracks, try to avoid applying too much heat while curing. Allow it to cure undisturbed, and ensure not to rush the process.
How do I store leftover resin?
Store leftover resin in a cool, dry place, sealed tightly to prevent it from hardening.
Can I add extra decorative elements?
Definitely! You can mix in natural elements like dried flowers or use embellishments on top of the cured resin to enhance the design.

Conclusion
Creating your Resin Crystal Feather Wall Decor is a fulfilling project that not only beautifies your space but also allows for personal creativity. This sleek piece can easily enhance your wall displays, bringing nature’s essence right into your home. If you’re looking to explore more unique decor options, consider incorporating additional items from Phillips Collection’s wall decor or find inspiration in an elegant resin lamp for a complete aesthetic upgrade!
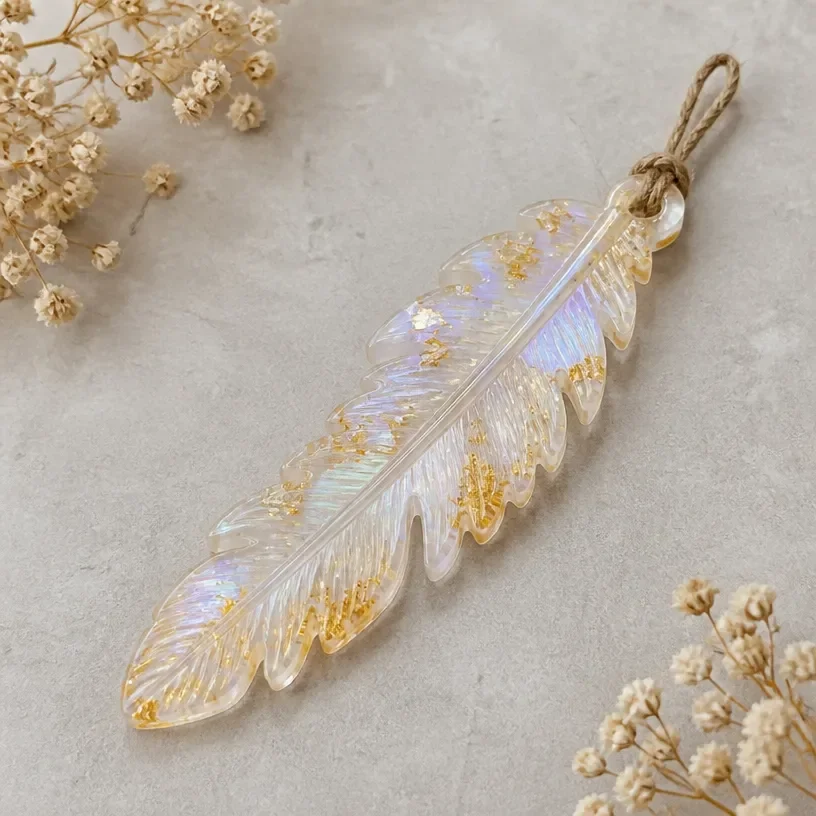
Resin Crystal Feather Wall Decor
Ingredients
Method
- Lay down a protective covering over your work surface to prevent damage from spills.
- Ventilate your crafting area to avoid inhaling any resin fumes.
- Step 1: Clean your mold and apply a thin layer of mold release agent.
- Step 2: Mix the resin according to the manufacturer's instructions and stir thoroughly.
- Step 3: Slowly pour the resin into the feather mold and sprinkle glitter or crystals if desired.
- Step 4: Use a heat gun to remove air bubbles from the resin surface.
- Step 5: Allow the resin piece to cure for at least 24 hours in a safe place.
- Step 6: Gently remove the cured feather from the mold and trim any uneven edges.