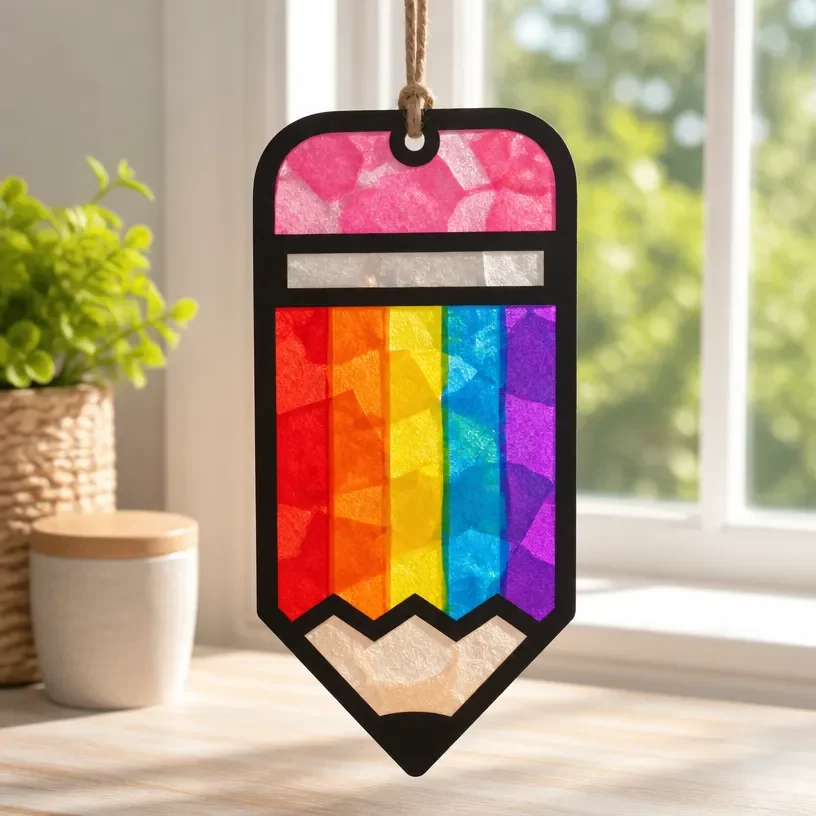
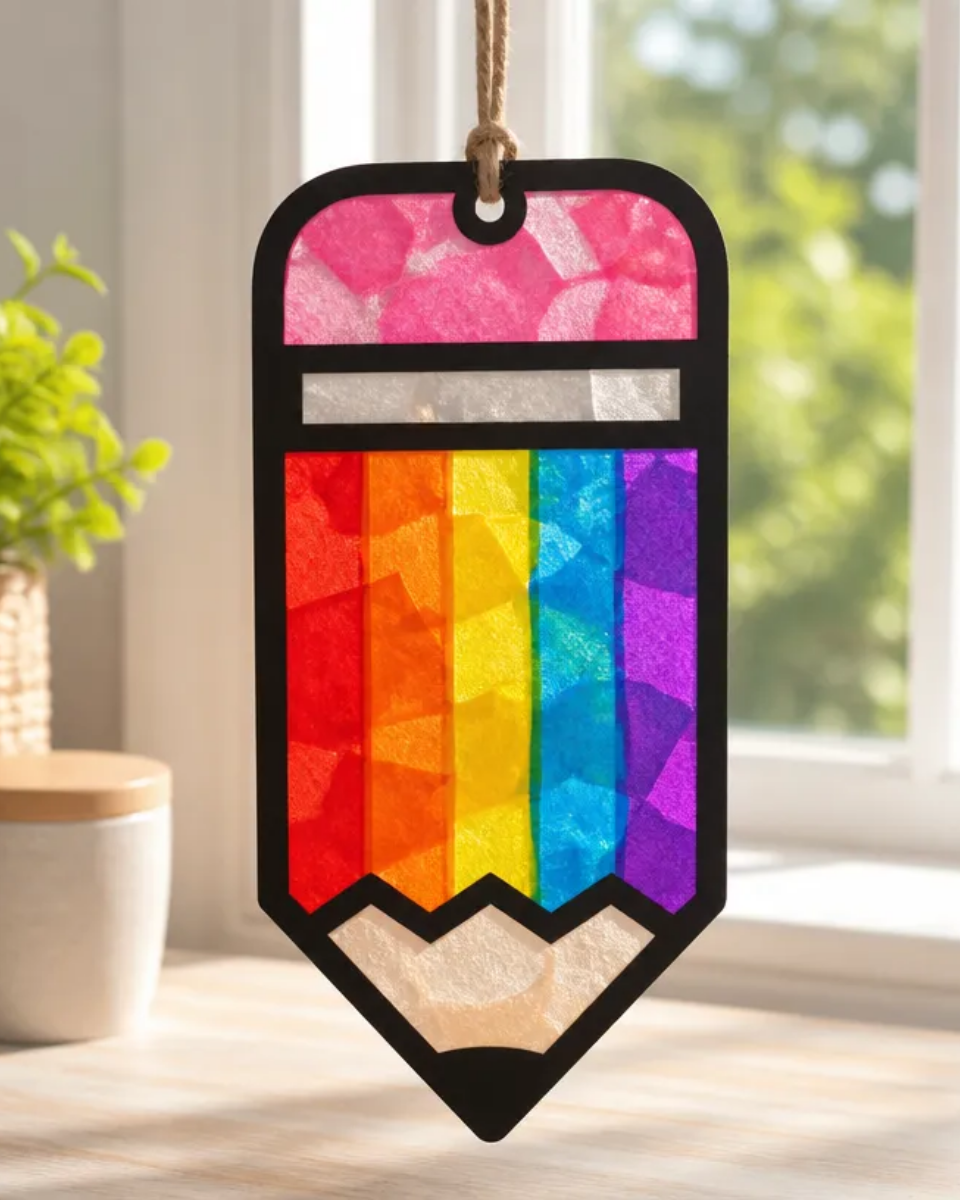
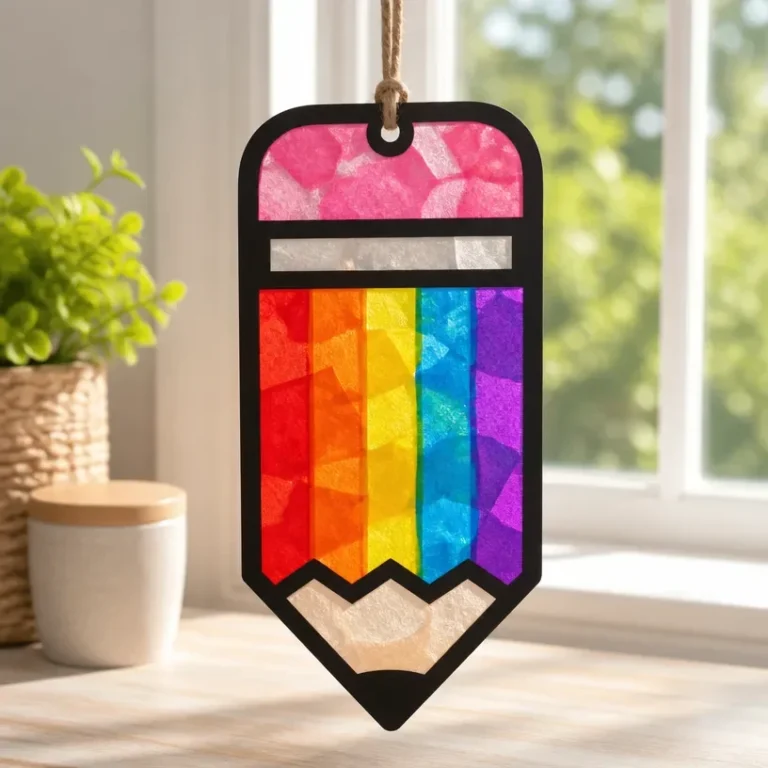
Crafting a Rainbow Stained Glass Pencil Suncatcher is a delightful project that not only allows you to add a splash of color to your space but also brings a touch of whimsy to your decor. The result is a beautiful suncatcher that captures and refracts light, creating vibrant rainbows that brighten up windows, classrooms, or any sunny nook. This project is perfect for both beginner and experienced crafters looking for an engaging and visually appealing decorative piece. You may also find Diy Rainbow Stained Glass Apple Suncatcher useful.
In this guide, we will walk you through the steps of creating your own Rainbow Stained Glass Pencil Suncatcher. You’ll enjoy the process of working with materials that mimic stained glass while feeling accomplished at the end with a handmade item that is beautiful enough to display proudly. For similar projects, check out our collection of stained glass suncatchers.
Why You’ll Love This Project
Crafting your own suncatcher has several unique benefits: You may also find Diy Crystal Rainbow Pencil Suncatcher Window Decor useful.
- Aesthetically Pleasing Finish: The finished suncatcher displays stunning colors that can enliven any space while adding artistic flair.
- Simple Techniques: Utilizing basic materials, you will find the techniques straightforward, making it suitable for crafters of all skill levels.
- Customizable Design: You can personalize your suncatcher with your favorite colors or even add small embellishments.
- Great for Gifts: This handmade project makes a thoughtful gift for teachers, friends, or family members, showcasing your creativity and care.
- Seasonal Decor: The vibrant colors and light-catching properties mean it’s a perfect addition to seasonal decorating, enhancing your space year-round.
Before You Begin
Before starting your project, it’s essential to prepare your workspace and materials. Ensure your work surface is covered with a protective layer, like a plastic tablecloth or old newspaper, to catch any spills from the adhesive. Additionally, gather all your materials in one area for easy access during crafting, which can streamline the process and prevent disruptions. You may also find Diy Faux Stained Glass Suncatchers Sunny Windows useful.
Now that you’re ready, let’s gather the materials needed for your Rainbow Stained Glass Pencil Suncatcher.
Materials You’ll Need
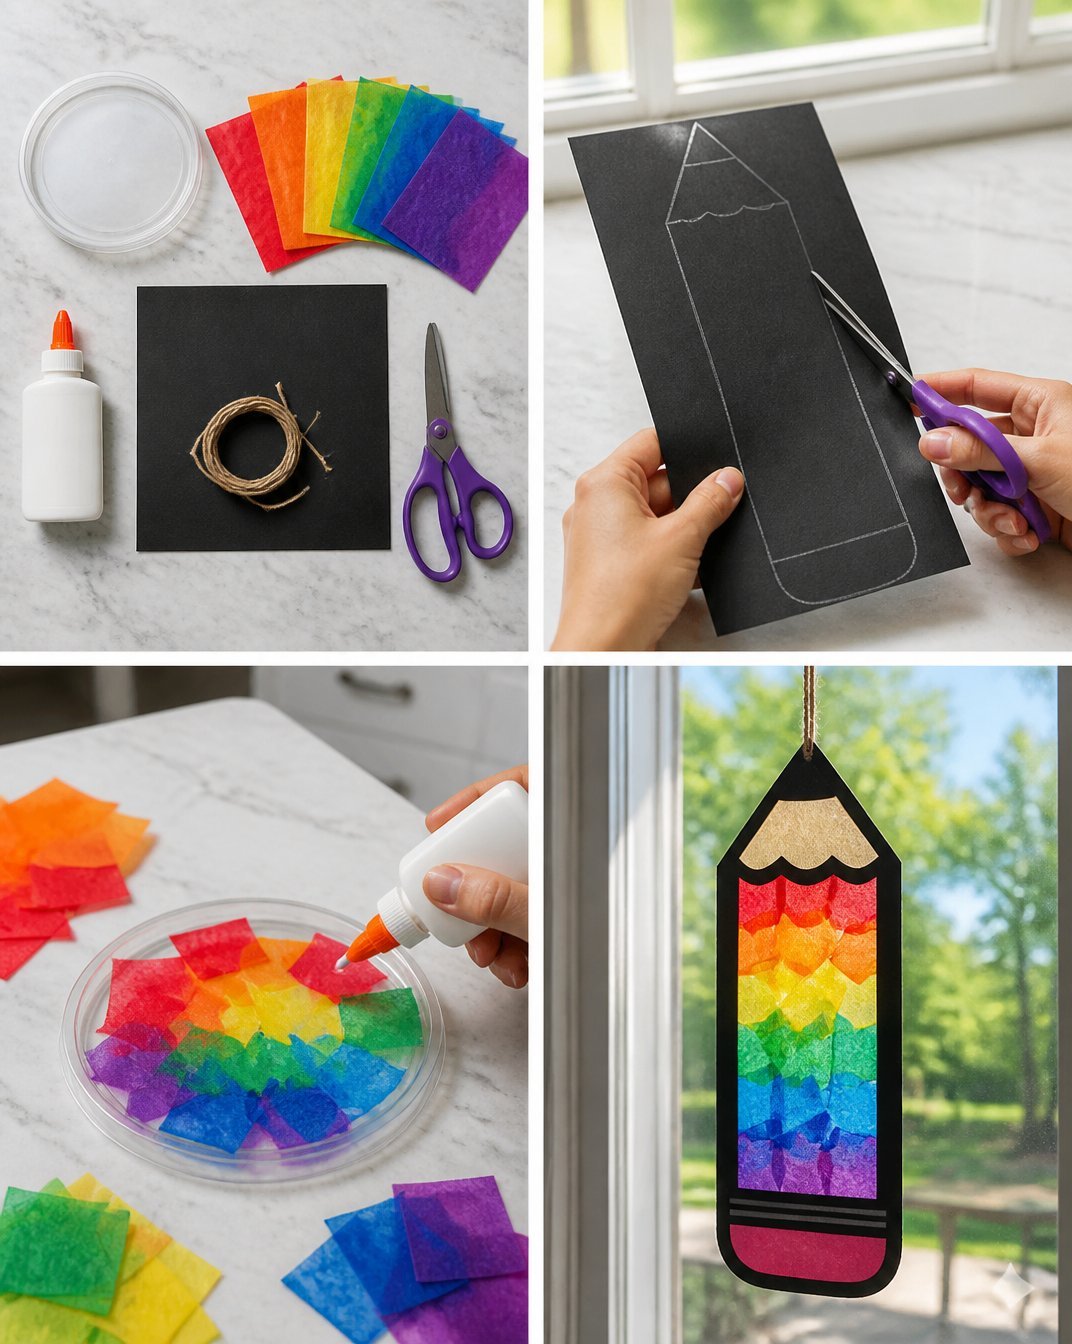
- Transparent colored sheets these will form the “glass” of your suncatcher.
- Black adhesive tape used to outline and divide colors, giving a stained glass effect.
- Craft knife for cutting the colored sheets into desired shapes.
- Cardboard or a sturdy base to act as the backing for your suncatcher.
- Scissors for making precise cuts if needed.
- Glue ensure it’s suitable for adhering plastic to other materials.
Tools
- Ruler to measure and cut straight lines.
- Cutting mat to protect your work surface when using a craft knife.
- Pencil for marking measurements on your materials.
How to Make the Project
Step 1: Prepare Your Design
Begin by sketching a simple pencil outline on your cardboard base. This will serve as the template for your suncatcher. Choosing playful vibrant colors for the pencil and possibly a rainbow effect at the tip can add an inviting touch.
Step 2: Cut Your Colored Sheets
Using your craft knife and ruler, cut out the colored sheets into the shapes you need for your pencil design. Be sure to have the width and height aligned with your drawn outline on the cardboard. You can find guidance on making simple suncatchers in our detailed guide.
Step 3: Adhere the Tape
Next, use the black adhesive tape to outline the sections on your cardboard base and separate the colors. Ensure the tape is pressed down firmly to secure, as it assists in creating that stained-glass appearance.
Step 4: Fill in the Colors
Carefully fill in the different sections of your outline with the colored sheets. Start from the bottom and work your way up to ensure no colors accidentally mix.
Step 5: Finish and Hang
After your suncatcher is fully assembled, allow it to dry completely before considering your next steps. When dry, use a string or suction cup hook to hang it in a window where it can catch the sunlight beautifully.
Tips for the Best Result
- Be Precise with Your Cuts: Ensure all shapes are cut accurately for a neater finish.
- Take Your Time with Adhesive Application: Apply the glue evenly to avoid messy edges or clumping.
- Experiment with Color Blending: For a unique look, try layering the edges of colors ever so slightly.
- Check the Fitting of Pieces: Before gluing, position all pieces to see how they fit together. Adjust as needed.
Customization / Variations
While this project provides a fantastic starting point, feel free to explore personal customization. Consider adjusting the color palette to match specific seasonal themes or personal preferences. You might also experiment with different shapes like hearts, stars, or floral designs to create entirely unique suncatchers that reflect your style.
How to Display Your Suncatcher
Displaying your Rainbow Stained Glass Pencil Suncatcher is an essential part of this project’s enjoyment. Hang it in a spot where sunlight can filter through, such as windows in living rooms, classrooms, or play areas. You can also consider placing it in a decorative frame for added appeal or giving it as a unique gift for teachers or friends.
Frequently Asked Questions
Can I use other types of adhesive?
Yes, just ensure that whatever adhesive you choose is suitable for use with plastic materials.
What if the colored sheets don’t stick well?
Make sure your base is clean and dry before adhering colored sheets. You might need to use a stronger adhesive than the one suggested.
Can I use real stained glass pieces instead?
While real stained glass would create a lovely aesthetic, it requires specialized tools and safety precautions due to fragility.
How can I clean my stained glass suncatcher?
To clean, gently wipe the surface with a damp cloth and avoid harsh chemicals to prevent damage.
Are there any other shapes I can make?
Absolutely! Feel free to experiment with various designs, such as animals or other whimsical items, while ensuring they still fit the basic techniques outlined in this project.
Conclusion
In summary, creating your own Rainbow Stained Glass Pencil Suncatcher is a fun and rewarding project that adds a delightful pop of color to any space. Not only does it allow for creativity and customization, but it also serves as a wonderful decorative item that you can proudly display. If you’re looking for further inspiration, check out this color activity by Mombrite or find charming gift ideas like a stained glass pencil for teachers on Etsy to complement your crafting journey!
Follow Glow Studio DIY for fresh DIY ideas & inspiration!
Rainbow Stained Glass Pencil Suncatcher
Would you like to save this project?
By submitting you agree to receive this project and occasional emails. Unsubscribe anytime.
Materials
Materials
- 5 sheets Transparent colored sheets These will form the 'glass' of your suncatcher.
- 1 roll Black adhesive tape Used to outline and divide colors.
- 1 piece Cardboard or a sturdy base To act as the backing for your suncatcher.
- 1 piece Craft knife For cutting the colored sheets.
- 1 pair Scissors For making precise cuts if needed.
- 1 bottle Glue Ensure it's suitable for adhering plastic to other materials.
Tools
- 1 piece Ruler To measure and cut straight lines.
- 1 piece Cutting mat To protect your work surface.
- 1 piece Pencil For marking measurements on your materials.
Directions
Preparation
- Cover your work surface with a protective layer.
- Gather all your materials in one area for easy access.
Crafting Steps
- Step 1: Begin by sketching a simple pencil outline on your cardboard base.
- Step 2: Using your craft knife and ruler, cut the colored sheets into the shapes needed for your pencil design.
- Step 3: Use the black adhesive tape to outline the sections on your cardboard base.
- Step 4: Fill in the sections of your outline with the colored sheets, starting from the bottom.
- Step 5: Allow your suncatcher to dry completely before hanging it in a sunny spot.
Last Step: Don’t forget to leave a rating and comment below! It helps other readers find the best DIY projects — and it helps us too!