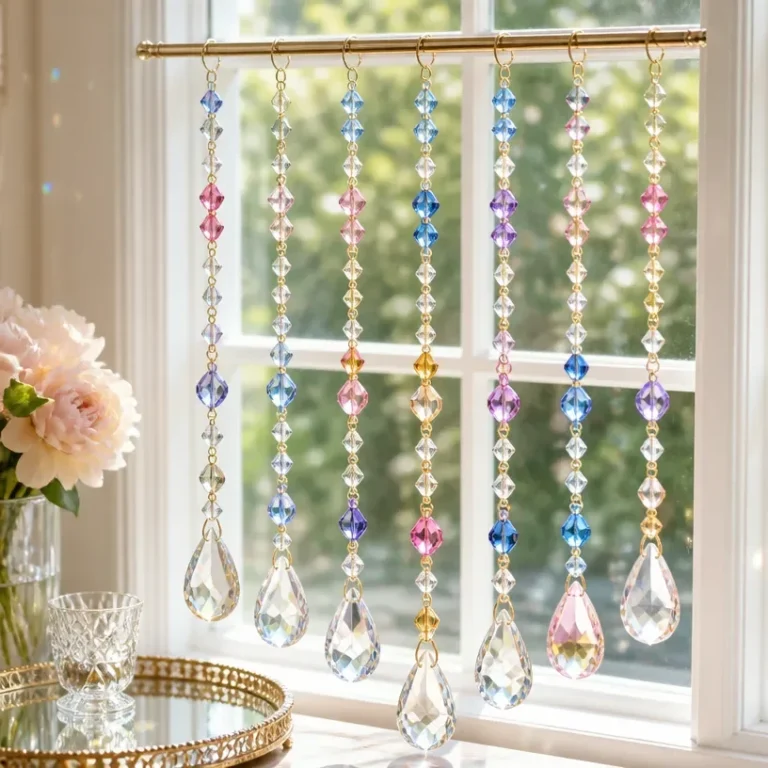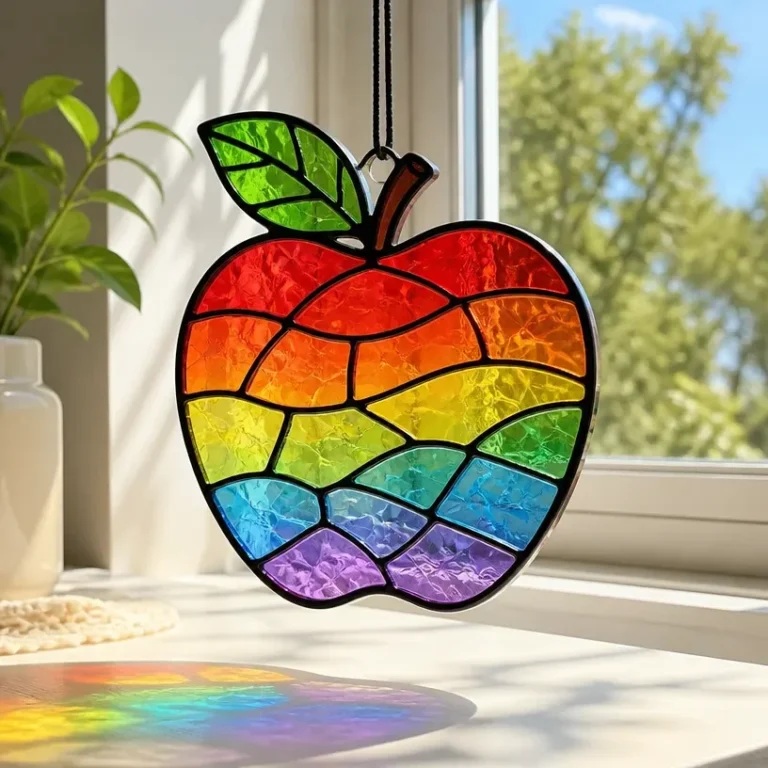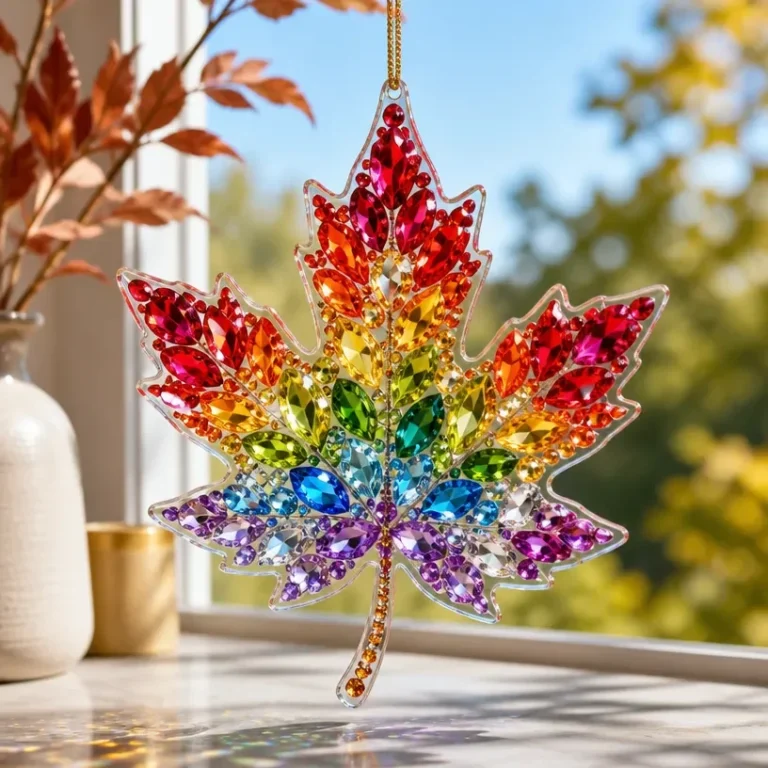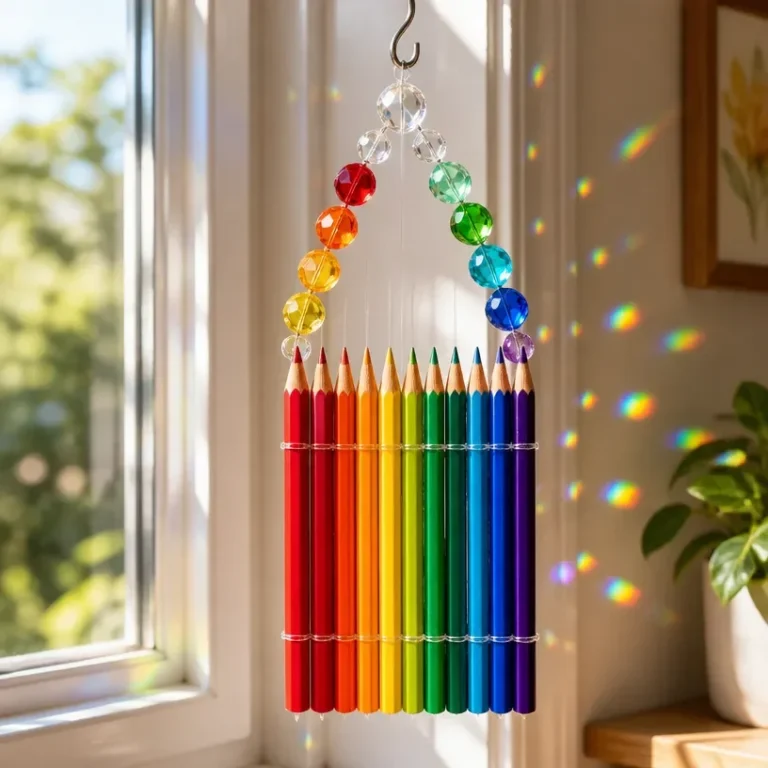
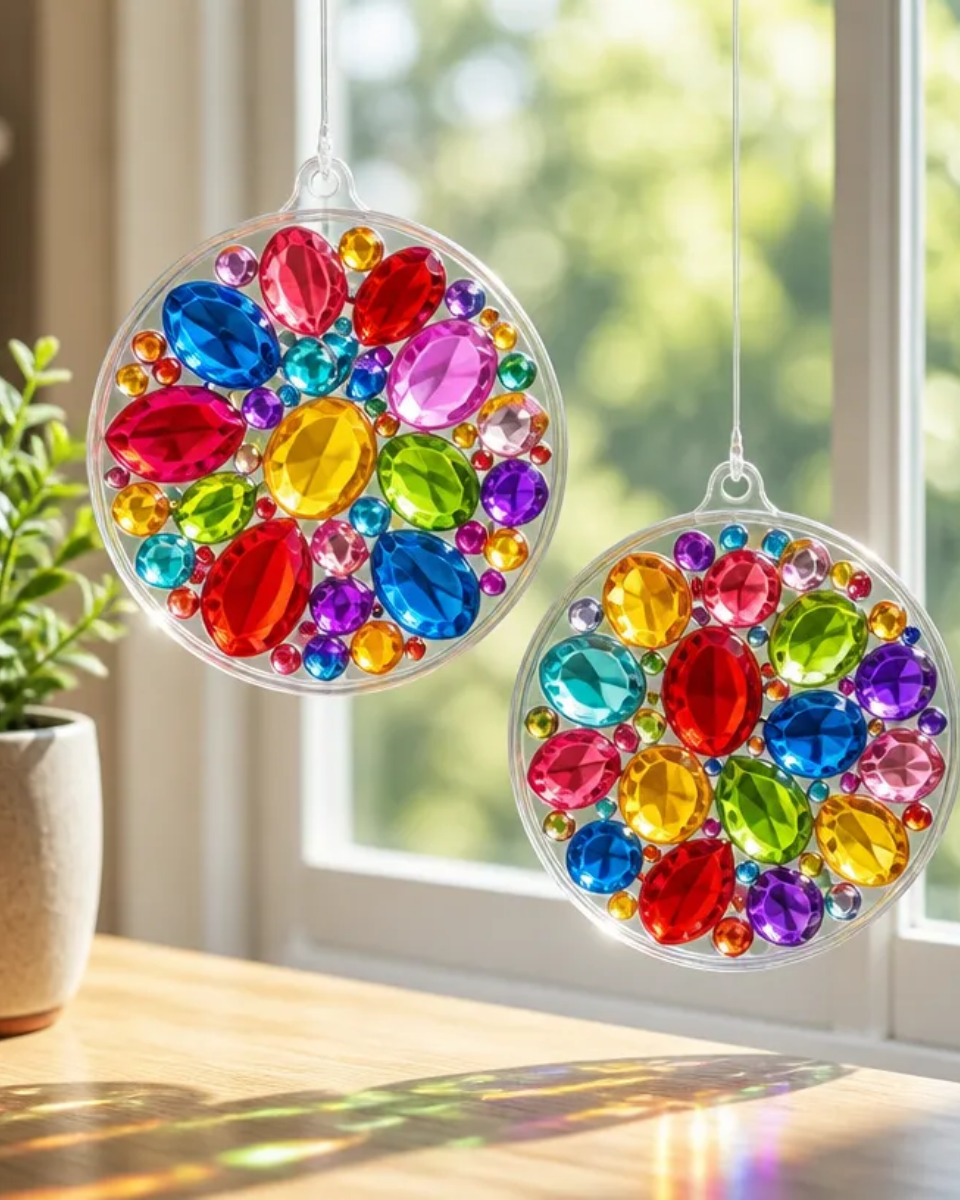
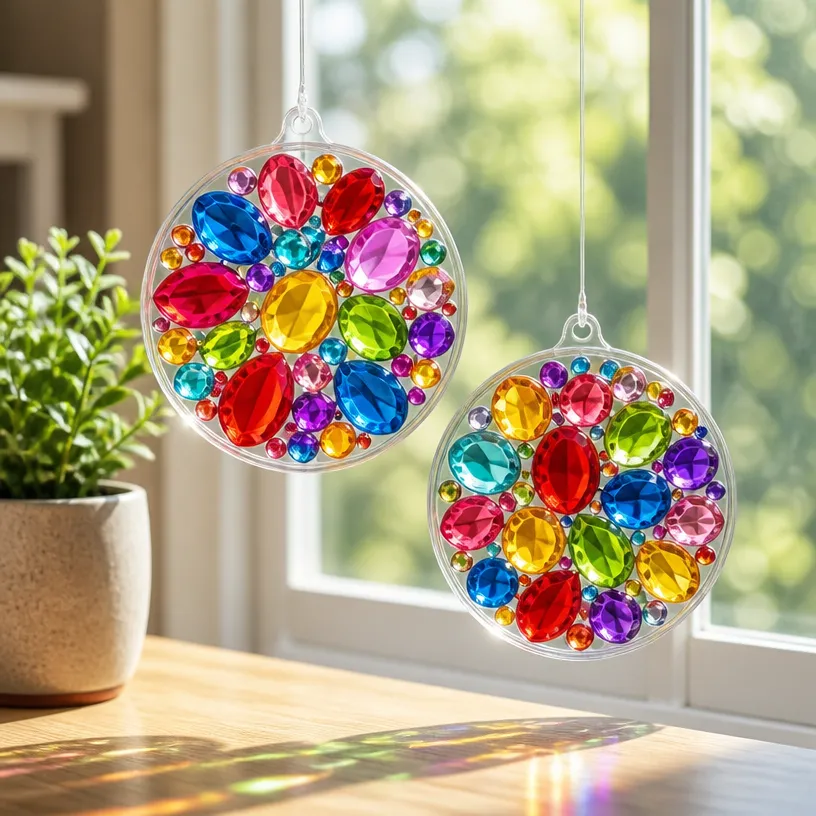
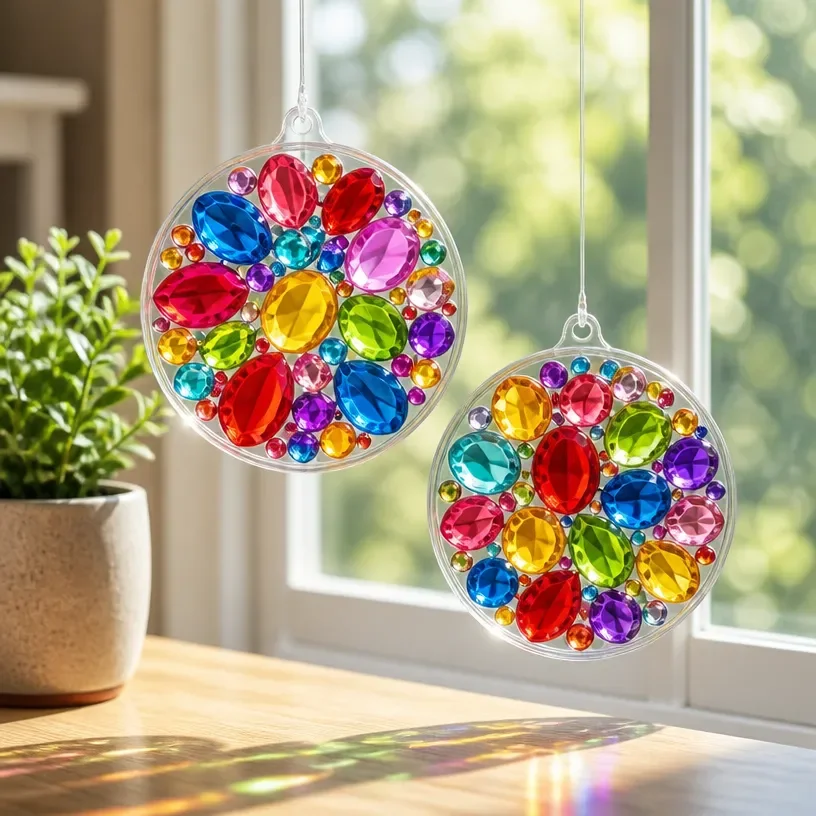
Creating stained glass suncatchers for windows allows you to infuse beauty and color into your living space. These delightful DIY projects reflect light in ways that can brighten any room, making them ideal for hanging in windows or displaying as part of your home decor. When sunlight streams through these vibrant pieces, they create stunning patterns and a warm atmosphere that can positively impact your mood. You may also find Diy Vibrant Stained Glass Candle Lantern For Stylish Home Decor useful.
In this guide, we will walk you through the steps to craft beautiful stained glass suncatchers. Utilizing a few basic materials, you’ll be able to create unique pieces that capture your personal style. Incorporating these suncatchers into your home can also serve as a fun gift idea for friends and family. You may also find Diy Sea Glass Mosaic Mirror For Coastal Wall Decor useful.
Why You’ll Love This Project
Beautiful Display
One of the main reasons to make stained glass suncatchers is their aesthetic appeal. Each piece is a colorful decoration that can enhance any room by projecting beautiful patterns on walls and ceilings when the sun hits them. You may also find Diy Dried Flower Botanical Wreath For Wall Decor useful.
Personalized Touch
By choosing your own colors and designs, you can easily customize your suncatchers to match your home decor or your personal style. This makes the project not only creative but also deeply personal.
Inexpensive Materials
You don’t need to break the bank to create something beautiful. Most materials needed for this project are easy to find and reasonably priced, allowing you to create several suncatchers without overspending.
Simplistic Techniques
Crafting these suncatchers is a straightforward process that even beginners can manage. The techniques used in this project can also be applied to other lovely projects, such as faux stained glass suncatchers.
Great for Gifting
Handmade creations make memorable gifts. A personalized suncatcher can be an exceptional present for housewarmings, birthdays, or any special occasion.
Before You Begin
Before diving into this project, it’s essential to gather your materials and prepare your workspace. Make sure to protect your work surface with a layer of newspaper or a craft mat. Organizing your materials will save time and ensure a more enjoyable crafting experience.
Materials You’ll Need
- Clear acrylic discs forms the transparent base for your design.
- Glass paints provide color and adhere well to the acrylic surface.
- Brushes for applying paints and creating designs.
- Adhesive to secure different elements together.
- Hanging cord or wire for displaying your finished suncatcher.
Tools
- Scissors for trimming any additional elements.
- Palette or mixing board useful for mixing colors.
- Drop cloth to protect surrounding surfaces from paint spills.
How to Make the Project
Step 1: Design Your Suncatcher
Begin by sketching your design on paper. Consider what colors you want to use and how you want the final piece to look.
Step 2: Prepare the Acrylic Base
Using your clear acrylic discs, determine how many you will need based on the size of your design. Clean them thoroughly to ensure proper paint adhesion.
Step 3: Paint Your Design
Using the glass paints, start applying your design to the acrylic discs. Use brushes to create lines, shapes, and color gradients. Allow your painted design to dry completely before proceeding to the next step.
Step 4: Secure the Elements
Once your design is dry, use adhesive to attach any additional elements or layers. This could be more acrylic pieces or decorative touches like beads.
Step 5: Attach the Hanging Mechanism
Once everything is secure, attach your hanging cord or wire to the top of the suncatcher. Make sure it’s resilient enough to hold the weight of the suncatcher when displayed.
Tips for the Best Result
- Work in Layers: If your design includes multiple colors, allow each layer to dry before adding the next one. This prevents colors from bleeding into each other.
- Keep It Neat: Avoid excess paint on the edges to achieve a clean finish. A steady hand will help maintain sharp lines.
- Experiment with Colors: Don’t hesitate to mix shades to create a more personalized look.
- Test Your Hanging Method: Before finalizing the hanging element, hold it up to ensure it hangs straight and is balanced.
Customization / Variations
You can personalize your suncatcher by changing the color palette or incorporating themed elements, like autumn leaves for a seasonal look. The shape of your acrylic discs can also vary consider using hearts for a romantic touch, or stars for a festive feel.
How to Display Your Suncatcher
Once completed, find the perfect spot to showcase your stained glass suncatcher. Windows are ideal as they allow maximum light exposure. However, you can also mount them on walls using adhesive hooks or incorporate them into existing decor setups like shelf displays.
Frequently Asked Questions
Can I use regular paint for this project?
It’s best to use glass paints specifically designed for such surfaces, as they adhere better and provide a glossier finish.
What should I do if the paint runs or smudges?
If this occurs, you can gently wipe off the affected area while the paint is still wet. If dry, sanding it down lightly might help before reapplying.
How can I ensure my suncatcher hangs properly?
When attaching your hanging mechanism, test it by holding it up and adjusting to ensure balance before finalizing.
Can I create larger pieces?
Absolutely! Just consider the weight and use supporting structures if needed.
Is it safe to use glass and acrylic under sunlight?
Yes, both materials can generally handle sunlight, but always check the specific product guidelines.
Conclusion
Making stained glass suncatchers for windows is a beautiful project that can brighten up any space and bring a personal touch to your home. Once you’ve completed your stunning suncatcher, consider exploring other DIY ideas such as vibrant stained glass candle lanterns for fully unique decor pieces. To expand your collection further, you might want to look into amazing options available such as handcrafted stained glass suncatchers for added variety and visual appeal. Happy crafting!
Stained Glass Suncatchers
Ingredients
Method
- Sketch your design on paper, deciding on colors and final look.
- Clean the clear acrylic discs thoroughly to ensure proper paint adhesion.
- Using glass paints, apply your design to the acrylic discs with brushes. Allow to dry completely.
- Once dry, use adhesive to attach any additional elements or layers.
- Attach your hanging cord or wire securely to the top of the suncatcher.