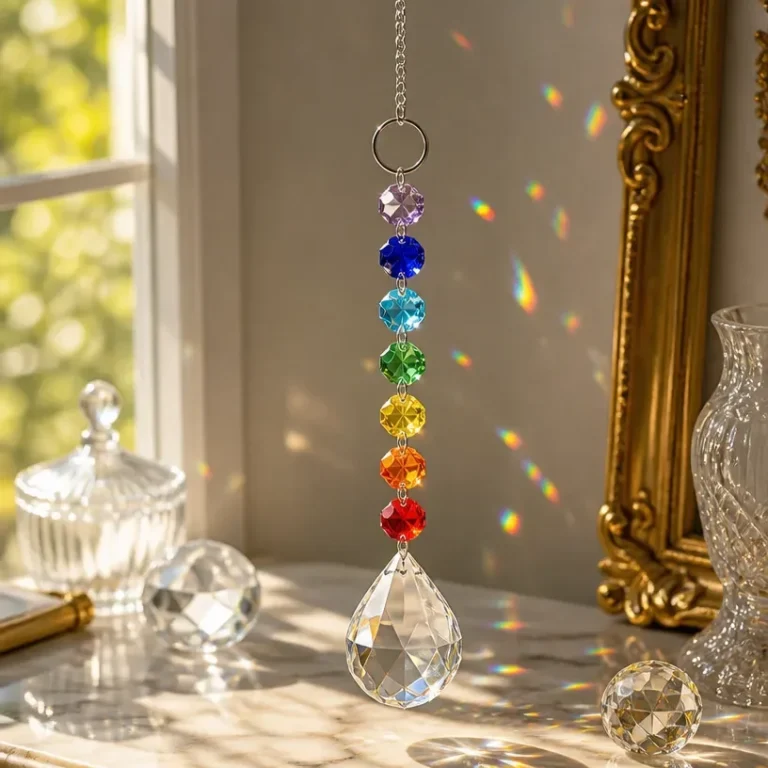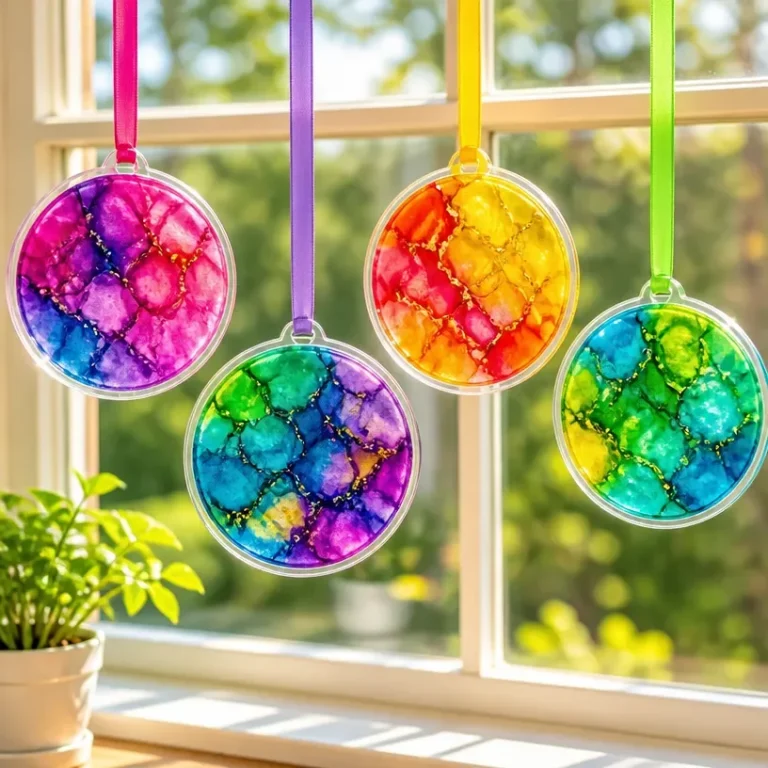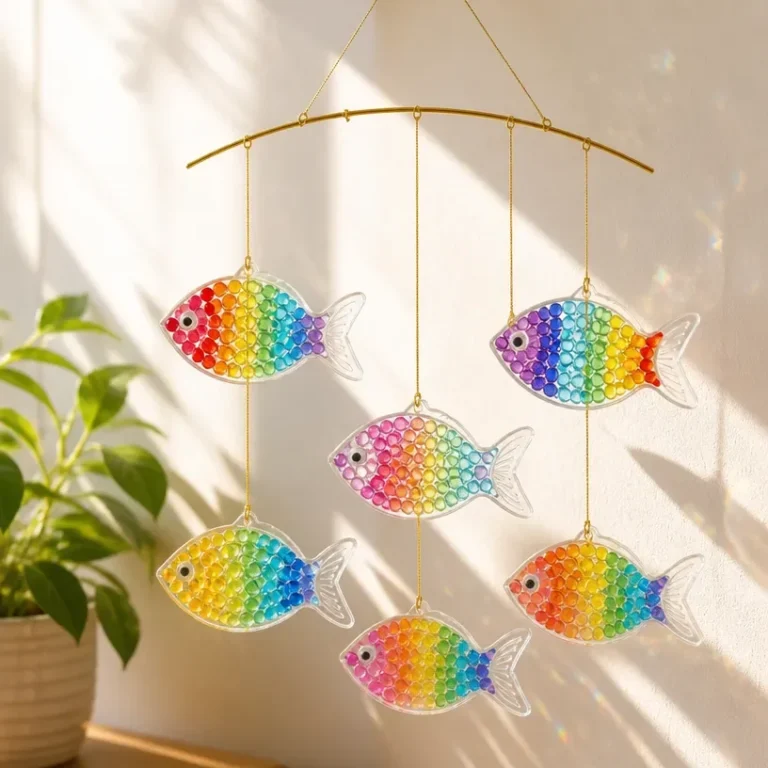
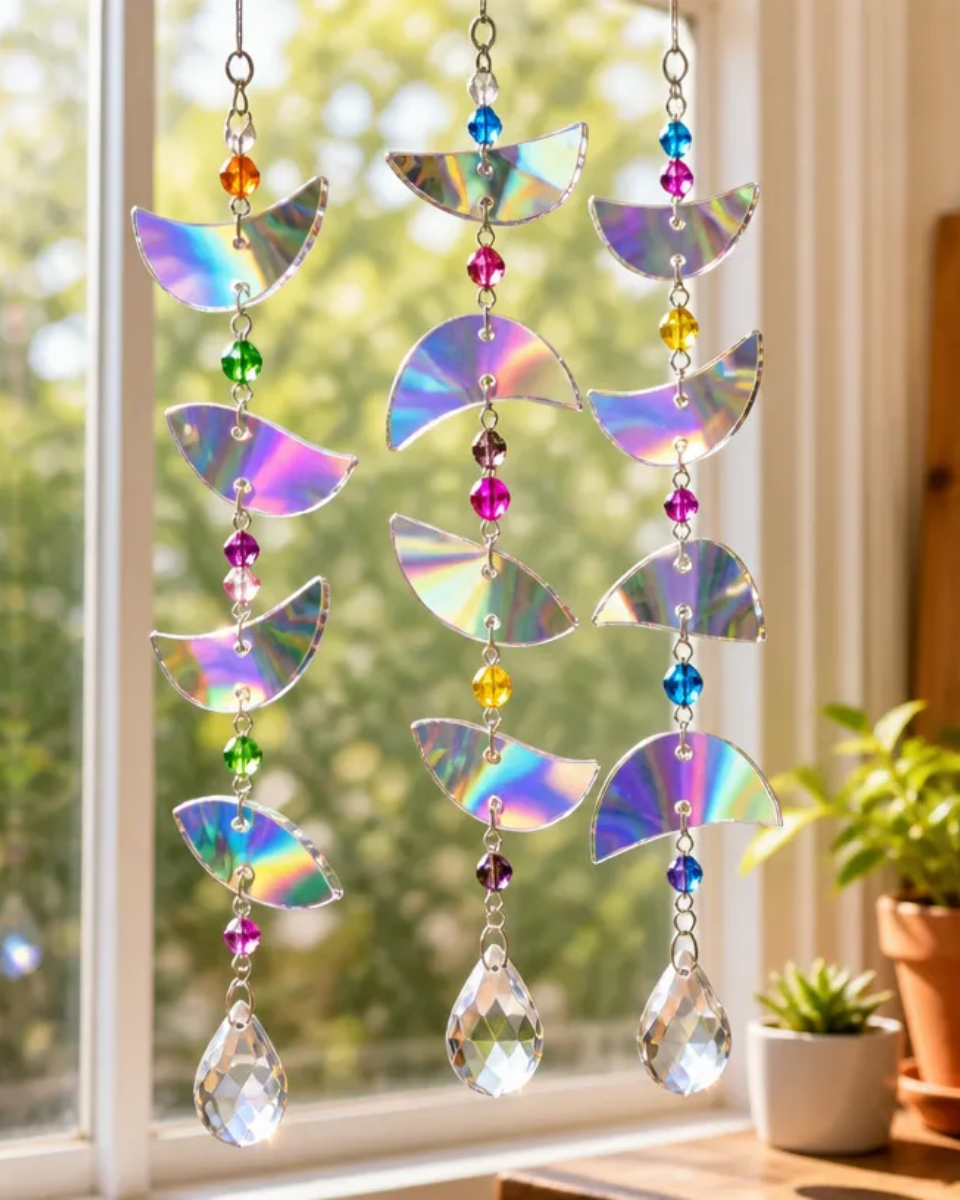
Creating your own DIY stained glass suncatchers with glue is a delightful way to brighten up any space. These vibrant pieces catch the light beautifully, producing colorful reflections that dance around your room. They can be displayed in windows, hanging from ceilings, or even used as décor in beautiful outdoor spaces. You may also find How To Make A Diy Crystal Sunburst Mirror For Wall Decor useful.
This project is not only visually appealing but also quite approachable, allowing crafters of all skill levels to bring a touch of artistry into their home. With just a few materials and some creativity, you can create stunning suncatchers to showcase the beauty of light in your environment. If you’re looking for a similar project, consider trying faux stained glass suncatchers for a fun twist.
Why You’ll Love This Project
The Benefits of Creating Stained Glass Suncatchers
- Display-Worthy Art: These suncatchers are not just crafts; they are beautiful pieces of art that can enhance your home decor.
- Light and Reflection: The interplay of light and the colors from the stained glass will create a magical ambiance in any space.
- Customizable: You can choose colors that match your decor or create seasonal designs, making it a project you can revisit throughout the year.
- Inexpensive Materials: Many of the supplies required are budget-friendly, making this a great project for crafters on any budget.
- Gift Potential: Handmade gifts always have a special touch, and these suncatchers make for thoughtful, personal presents for friends and family.
Before You Begin
Before starting, it’s essential to prepare your workspace for a smooth crafting experience. Make sure to protect your work surface with a drop cloth or newspaper, as glue can be messy. Organize your materials and ensure your glass pieces are clean to guarantee good adhesion. Additionally, working in a well-ventilated area will help dissipate any fumes from the adhesive as you create your project. You may also find How To Make A Pressed Flower Floating Glass Frame useful.
You may also find Diy Vibrant Stained Glass Candle Lantern For Stylish Home Decor useful.
Materials You’ll Need
- Clear glass this will be your base, allowing light to pass through beautifully.
- Colored glue choose your favorite colors to mimic the look of stained glass.
- Cardboard or a wooden base used to support your design.
- Paintbrush for applying the glue if needed.
- Scissors to cut glass pieces to the desired sizes and shapes.
Tools
- Pencil to sketch your design on the cardboard.
- Ruler for measuring and ensuring straight edges.
How to Make DIY Stained Glass Suncatchers
Step 1: Design Your Pattern
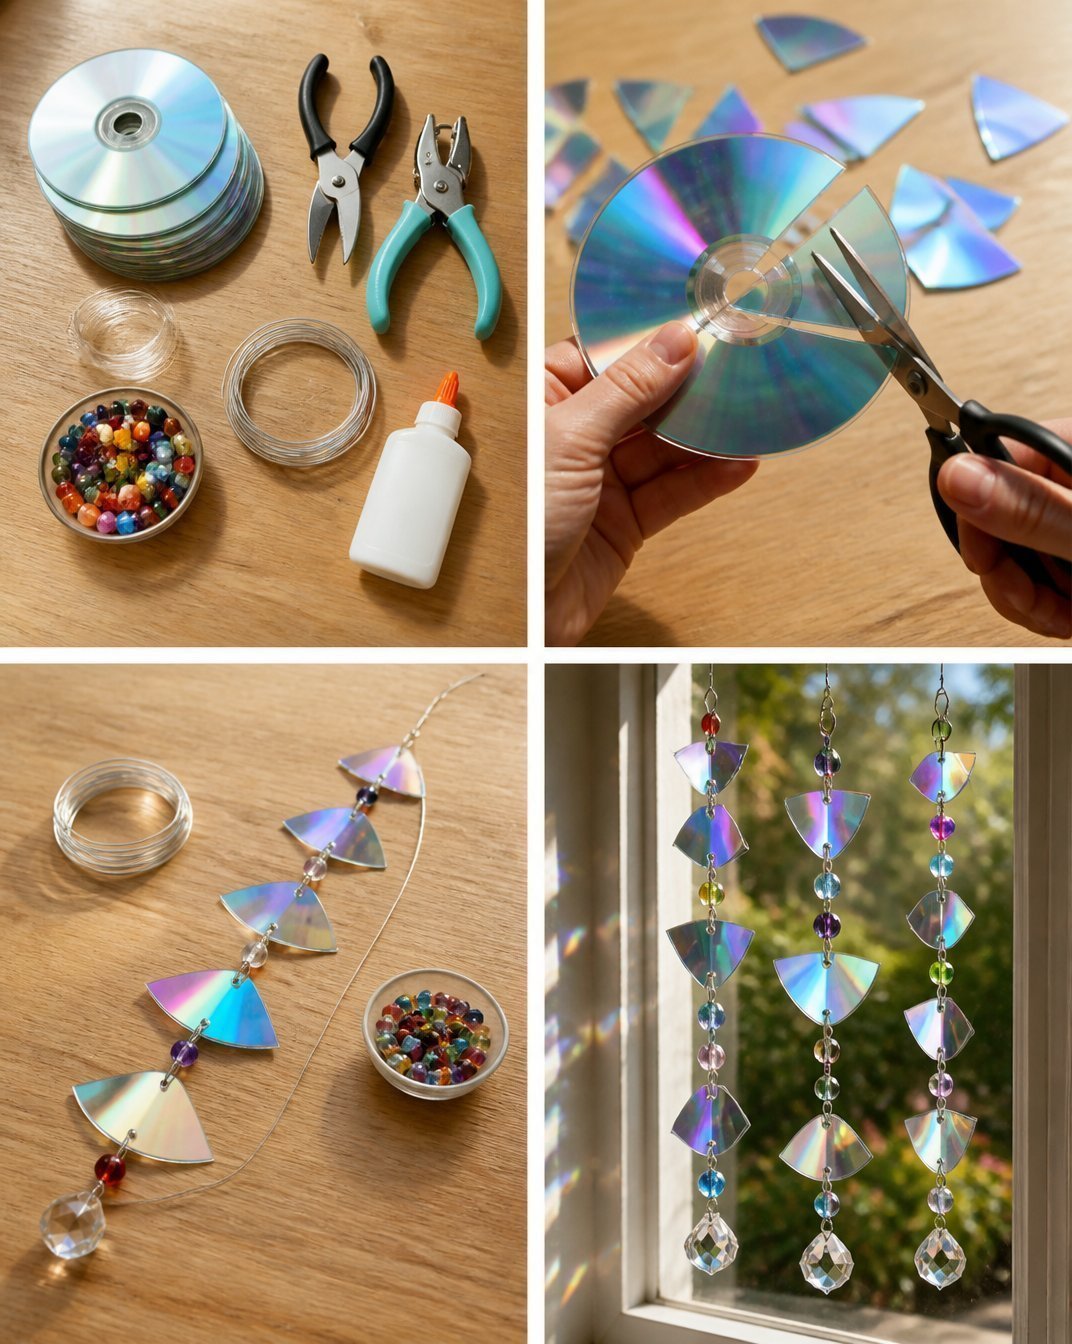
Begin by sketching your desired design on the cardboard or wooden base. Consider geometric shapes or flowing designs inspired by natural elements. This serves as your guideline for arranging the glass pieces.
Step 2: Cut and Arrange Glass Pieces
Carefully cut your glass into shapes that match your design outline. Lay them out on your base to see how they fit together. Ensure they are snug, but allow slight gaps for glue coverage.
Step 3: Secure the Glass Pieces
Using your colored glue, start gluing each piece in place. Apply enough adhesive to secure the pieces but be cautious not to add excess that may ooze out and create a mess. Check your manufacturer’s instructions for drying times to ensure everything adheres properly.
Step 4: Allow It to Dry
Once all glass pieces are glued down, allow the entire piece to dry completely. This is crucial for the durability of your suncatcher. Follow the manufacturer’s curing instructions, as these can vary based on the type of glue you use.
Step 5: Prepare for Hanging
After your suncatcher is dry, you can add a hanging element. Use string, ribbon, or twine to create a loop at the top for easy display. Make sure it’s securely fastened to withstand the weight.
Tips for the Best Result
To enhance your suncatcher crafting experience, consider these helpful tips:
- Placement Strategy: Think about where you’ll hang your suncatcher to maximize exposure to sunlight.
- Finishing Touches: Once finished, assess the piece for any rough edges or glue spills and clean up as needed for a polished look.
- Color Balance: Choose complementary colors so that the finished product maintains aesthetic appeal.
- Drytime: Don’t rush the drying process; patience will yield better results in the end.
Customization / Variations
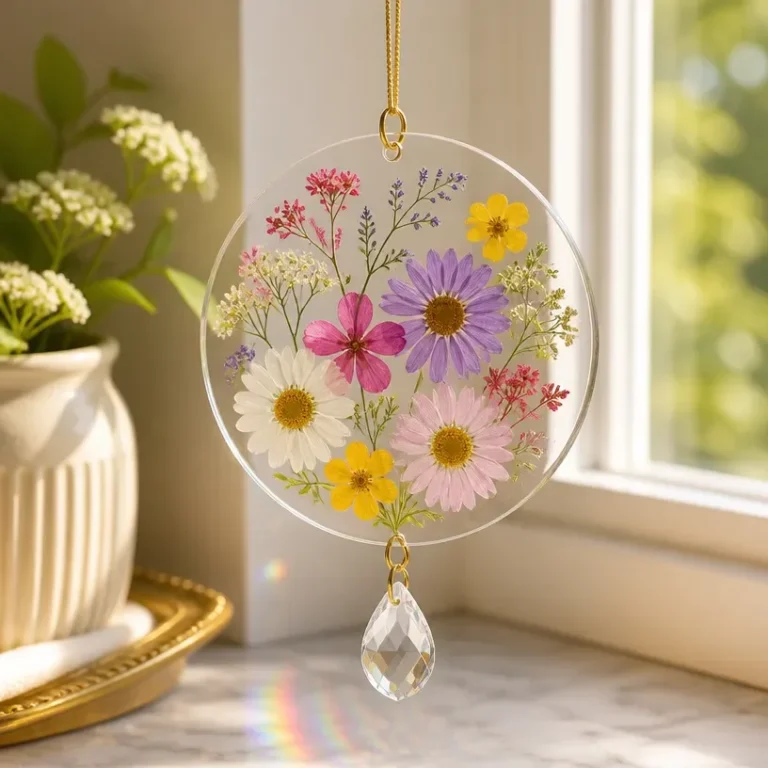
You can customize your suncatcher in numerous ways. Think about different color palettes that resonate with your personal style or seasonal themes. Incorporating pressed flowers can be an exciting variation to consider, much like in this pressed flower floating glass frame project.
How to Display Your Suncatcher
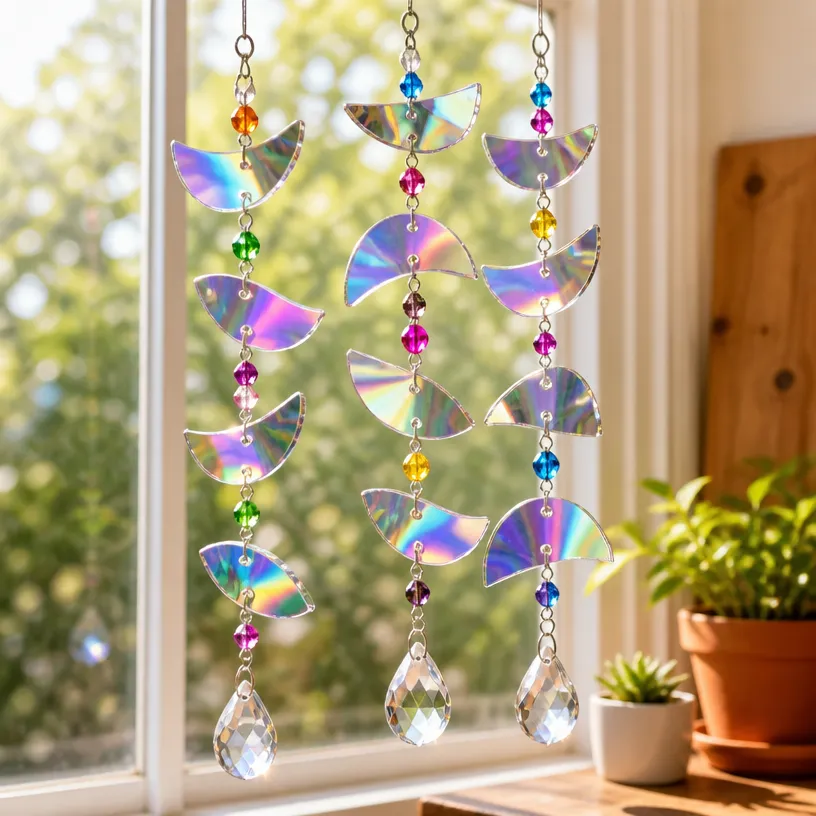
Once completed, display your beautiful stained glass suncatcher prominently. Sticking it in a sunny window allows it to shine and show off its colors best. Alternatively, consider hanging it in a spot where it can catch light without obstructions.
Frequently Asked Questions
Frequently Asked Questions
Can I use regular glass for this project?
Yes, but ensure it’s cut safely and has smooth edges to prevent injury.
What if my colored glue doesn’t stick?
Ensure you’re using clean surfaces, and check that you’re using the correct type of adhesive for glass.
Can I use this technique with other materials?
Definitely! Experiment with different materials such as acrylic sheets or even clear plastic.
How do I store my suncatcher?
Keep it in a cool, dry place, ideally wrapped or covered to prevent scratches.
What should I do if the glass breaks?
Carefully clean the area and dispose of any broken glass, replacing pieces as needed.
Conclusion
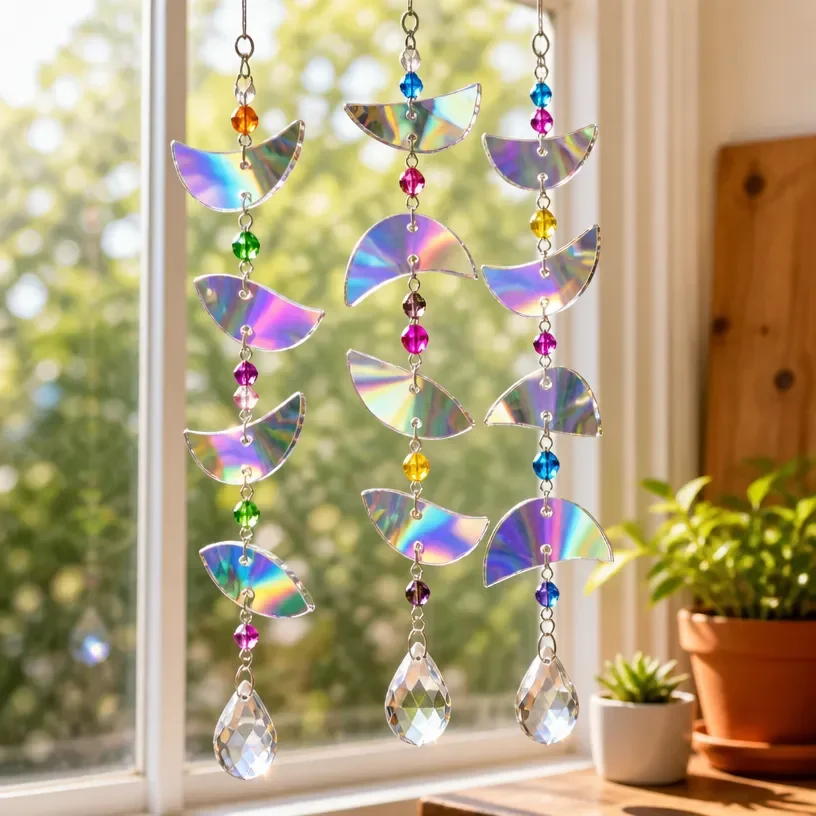
Making your own DIY stained glass suncatchers can transform ordinary light into stunning displays of color and creativity. The beauty of these handcrafted pieces lies in their ability to illuminate your space with warmth and charm. For additional inspiration, don’t forget to check out the DIY suncatcher ideas or explore how to create black glue stained glass for a different artistic twist!
DIY Stained Glass Suncatchers
Ingredients
Method
- Begin by sketching your desired design on the cardboard or wooden base. Consider geometric shapes or flowing designs inspired by natural elements.
- Carefully cut your glass into shapes that match your design outline. Lay them out on your base to see how they fit together.
- Using your colored glue, start gluing each piece in place. Apply enough adhesive to secure the pieces but be cautious not to add excess.
- Allow the entire piece to dry completely following the manufacturer’s instructions for drying times.
- After your suncatcher is dry, create a loop at the top for hanging using string, ribbon, or twine.