Go Back
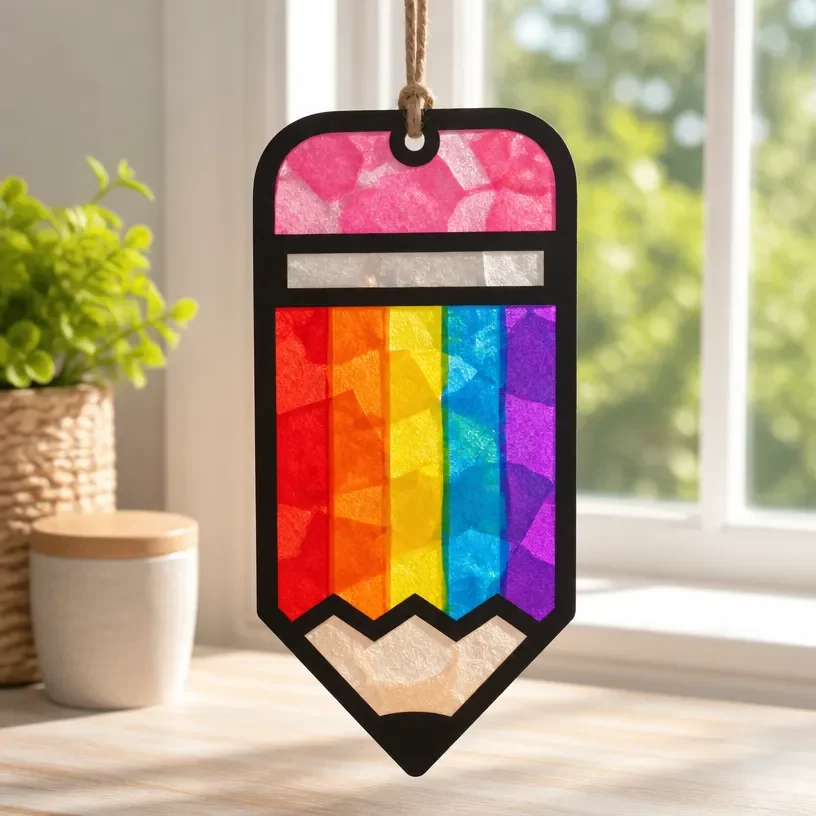
DIY rainbow stained glass pencil suncatcher tutorial

Rainbow Stained Glass Pencil Suncatcher

A delightful project that allows you to create a vibrant stained glass effect suncatcher, perfect for brightening up any space.
Prep Time 30 minutes
Total Time 30 minutes
Servings: 1 suncatcher
Course: Craft
Cuisine: DIY

Ingredients
  

Materials
  • 5 sheets Transparent colored sheets These will form the 'glass' of your suncatcher.
  • 1 roll Black adhesive tape Used to outline and divide colors.
  • 1 piece Cardboard or a sturdy base To act as the backing for your suncatcher.
  • 1 piece Craft knife For cutting the colored sheets.
  • 1 pair Scissors For making precise cuts if needed.
  • 1 bottle Glue Ensure it's suitable for adhering plastic to other materials.
Tools
  • 1 piece Ruler To measure and cut straight lines.
  • 1 piece Cutting mat To protect your work surface.
  • 1 piece Pencil For marking measurements on your materials.

Method
 

Preparation
  1. Cover your work surface with a protective layer.
  2. Gather all your materials in one area for easy access.
Crafting Steps
  1. Step 1: Begin by sketching a simple pencil outline on your cardboard base.
  2. Step 2: Using your craft knife and ruler, cut the colored sheets into the shapes needed for your pencil design.
  3. Step 3: Use the black adhesive tape to outline the sections on your cardboard base.
  4. Step 4: Fill in the sections of your outline with the colored sheets, starting from the bottom.
  5. Step 5: Allow your suncatcher to dry completely before hanging it in a sunny spot.

Notes

Ensure all shapes are cut accurately and apply glue evenly. Experiment with color blending and check the fitting of pieces before gluing.