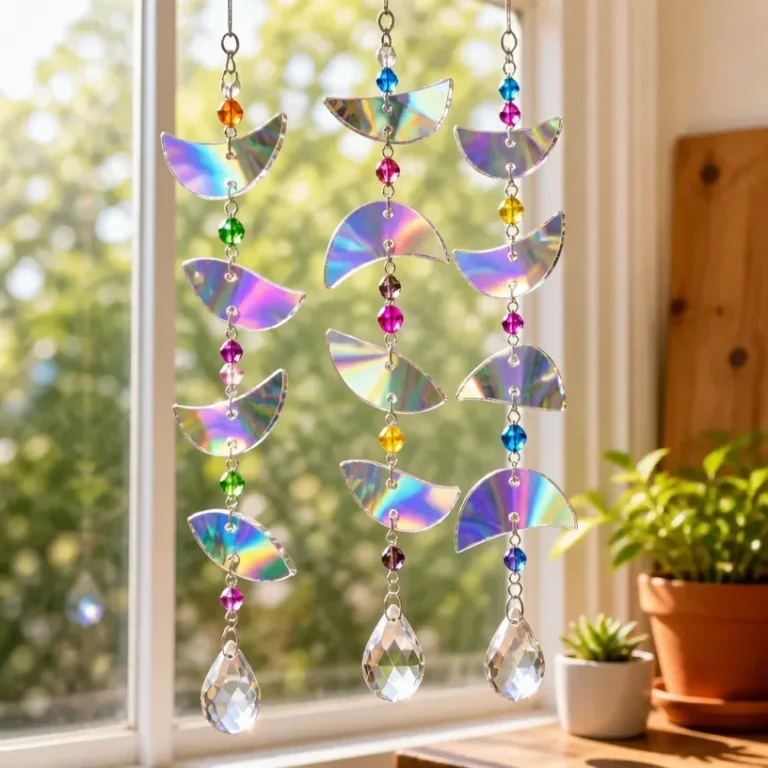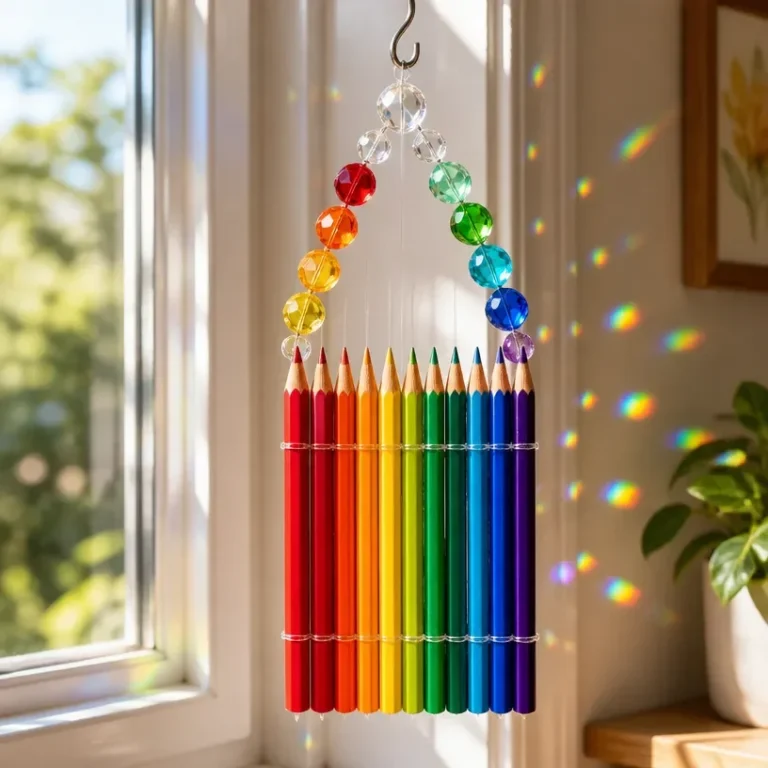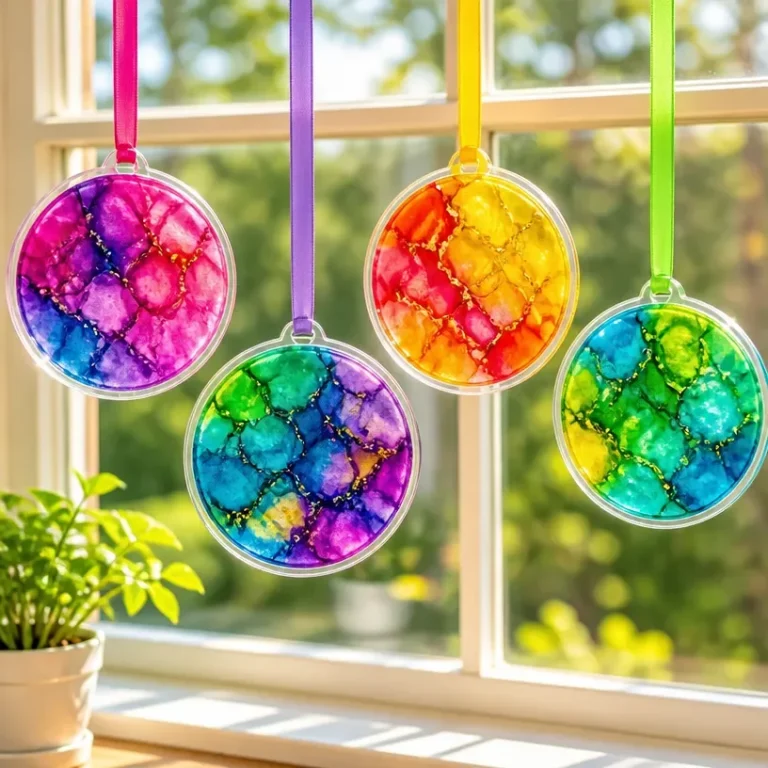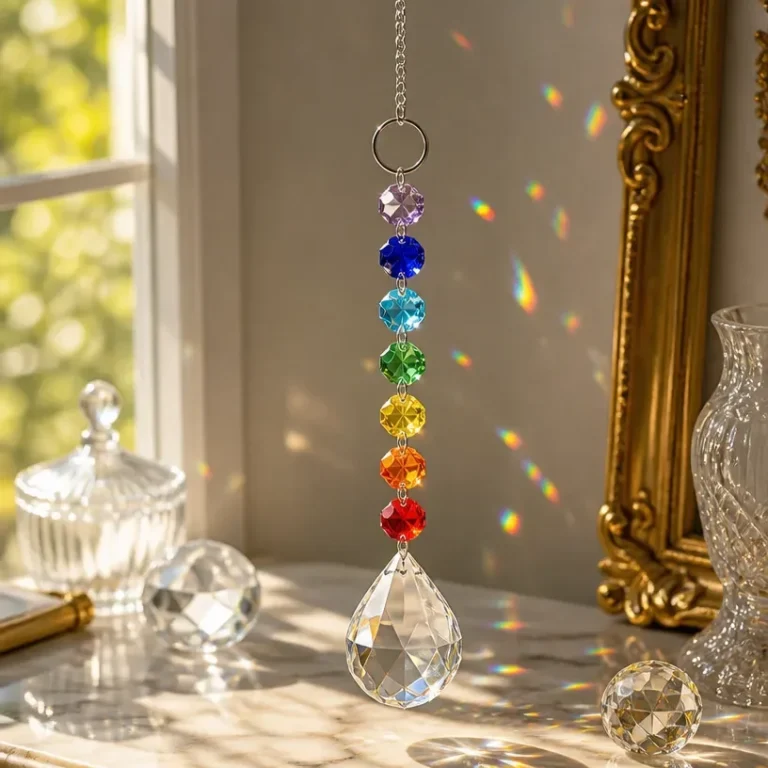
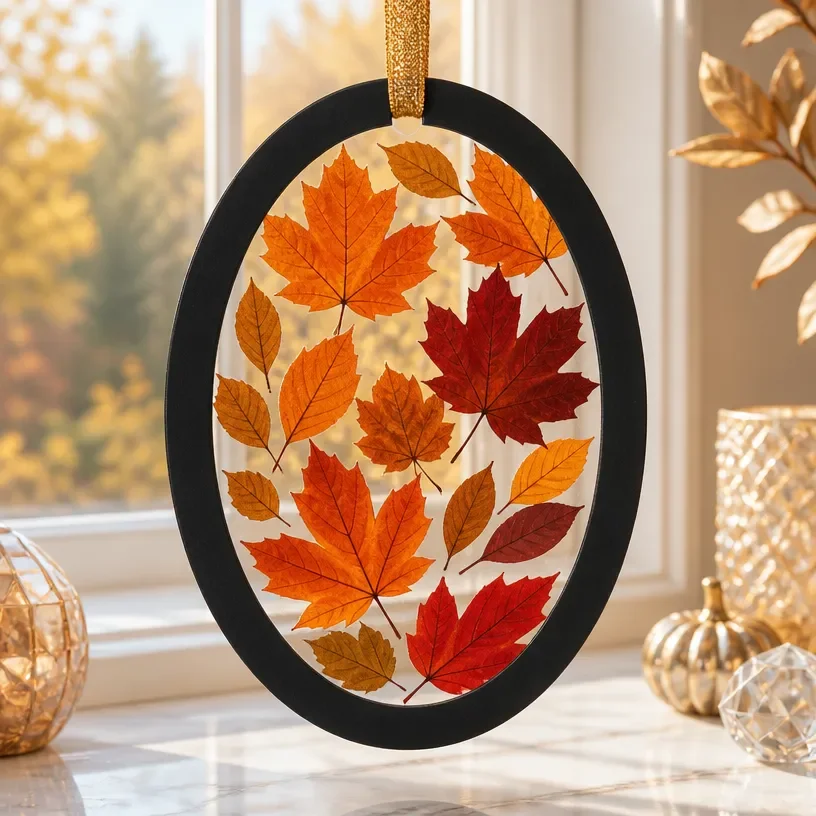
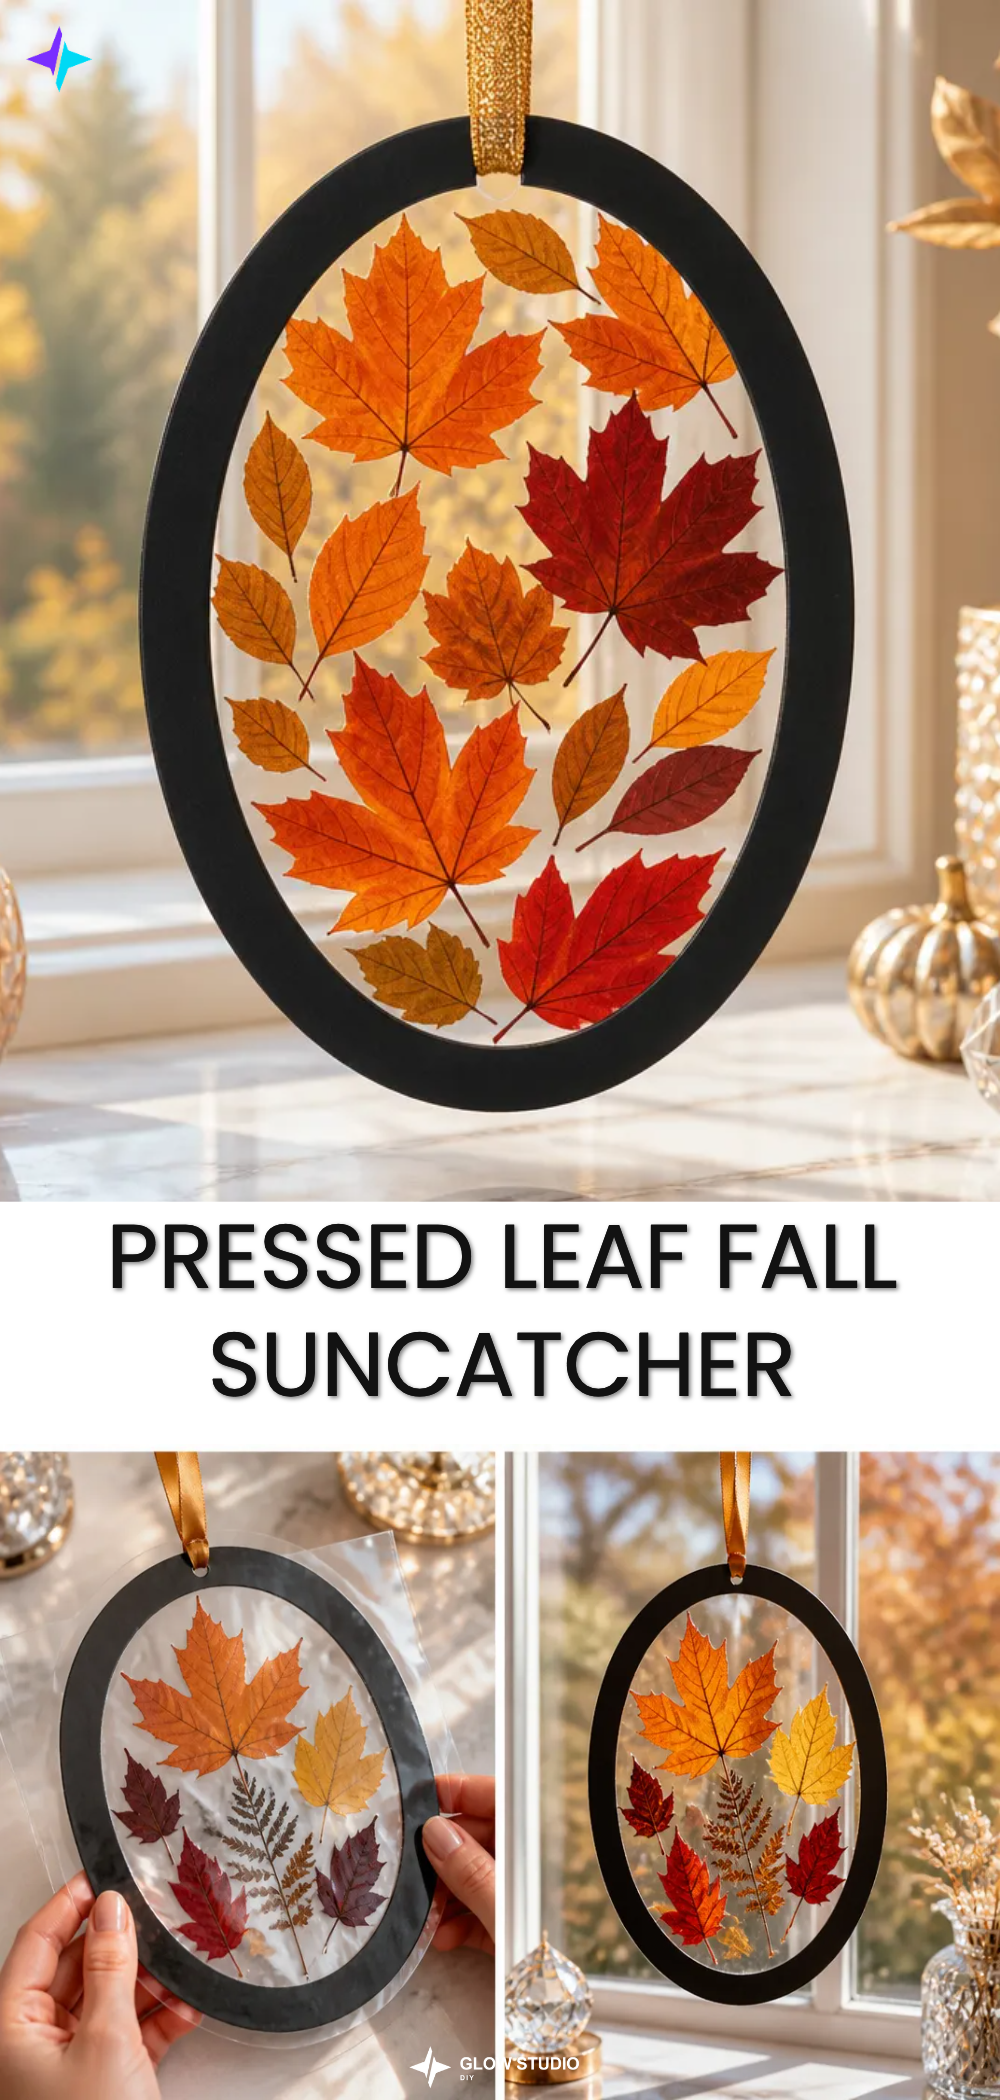
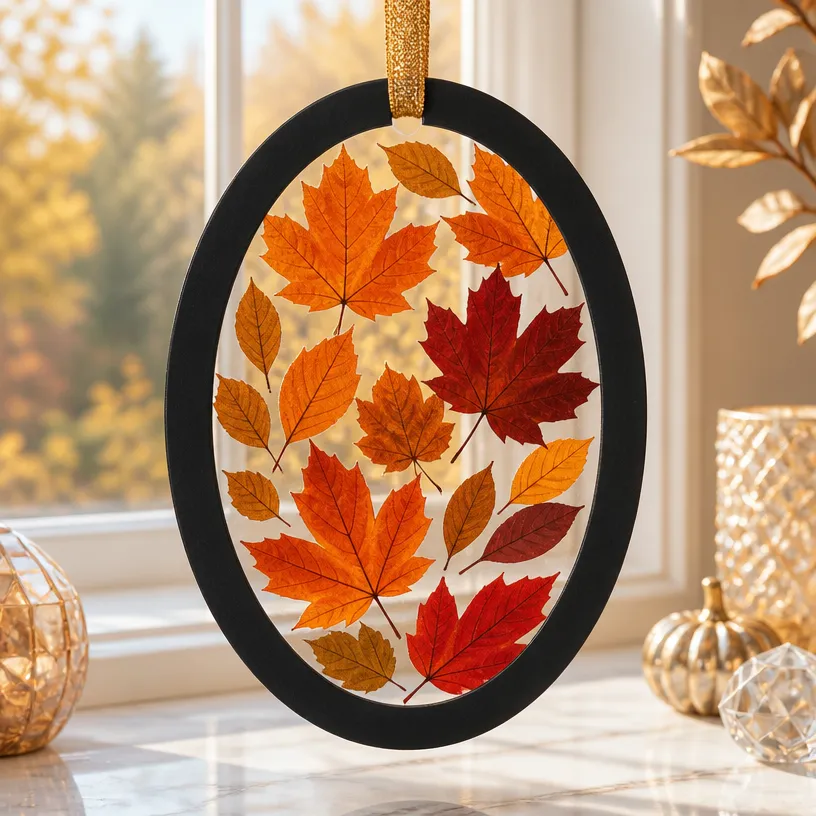
Creating a pressed leaf fall suncatcher is a delightful way to celebrate the beauty of autumn with DIY decor. This project captures the vibrant colors of fall leaves, transforming them into a stunning piece that can elegantly hang in your window, casting beautiful patterns of light into your space as the sunlight shines through.
This suncatcher not only serves as a beautiful visual accent but also connects you with nature by showcasing the local flora you’ve pressed and preserved. With just a few simple materials, this project is both achievable and enjoyable for anyone looking to add a seasonal touch to their home.
Why You’ll Love This Project
Elevate Your Decor
The pressed leaf fall suncatcher creates eye-catching reflections and adds a natural element to your living space.
Personal Touch
By selecting your favorite leaves, you can customize each suncatcher to reflect your personal style or seasonal themes.
Inexpensive and Accessible
The materials needed are affordable and readily available, making this a budget-friendly craft that still looks elegant.
Simple Crafting Technique
This easy-to-follow project requires minimal crafting experience, making it accessible even for those just starting out with DIY crafts.
Before You Begin
To enjoy a smooth crafting experience, consider organizing your materials beforehand. Ensure your workspace is protected, as the sticky nature of contact film can cause messes. If you’re pressing leaves yourself, allow them to dry completely to maintain their integrity for your suncatcher.
Materials You’ll Need
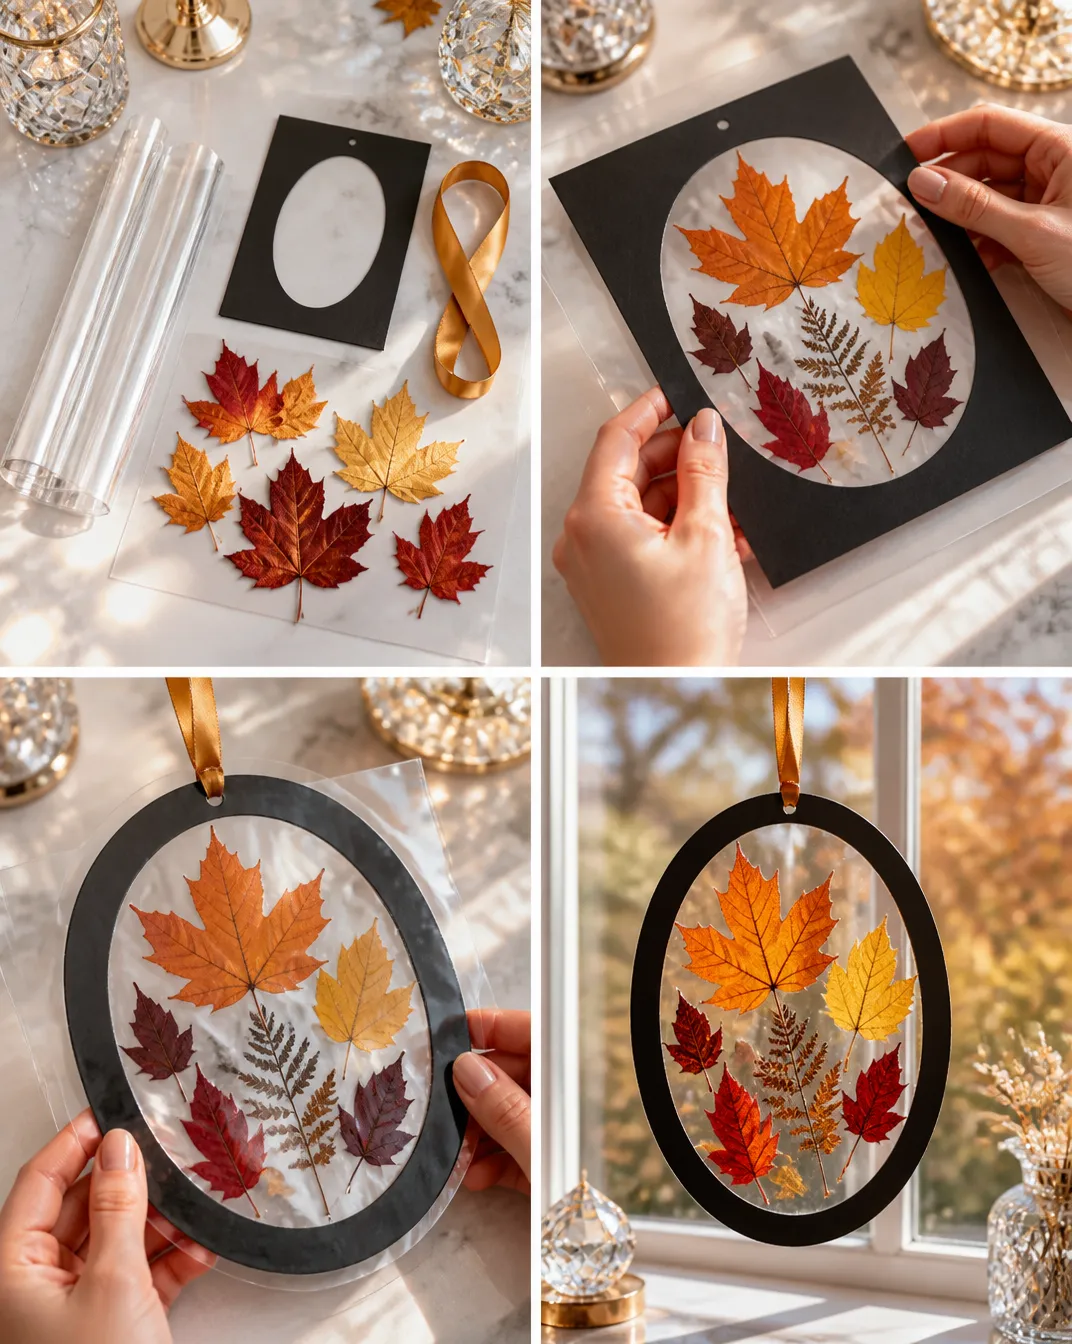
- Clear contact film or transparent craft sheets forms the main body of your suncatcher.
- Pressed autumn leaves choose a variety that appeals to you for added color.
- Dark cardstock provides a contrasting background to highlight the leaves.
- Hanging ribbon for displaying your finished piece.
Tools
- Scissors for cutting the contact film and cardstock to size.
How to Make the Project
Step 1: Create a Decorative Frame
Start by cutting the dark cardstock into your desired frame shape. This frame will house your pressed leaves, so make sure it is a size that will comfortably display them.
Step 2: Arrange the Pressed Leaves
Carefully place your dried leaves inside the transparent center of the contact film. Arrange them as you desire, considering the colors and shapes to create an attractive composition.
Step 3: Seal the Design
Once you’re satisfied with the arrangement, lay another piece of clear contact film over the leaves to securely seal them in place. Press down gently but firmly to avoid any wrinkles.
Step 4: Trim Neatly
Using scissors, trim any excess contact film around your suncatcher to achieve a clean finish. This will help your piece look sharp and polished.
Step 5: Hang It Against a Window
Finally, attach a piece of hanging ribbon to the top of your suncatcher and display it in a sunny window. Enjoy the beautiful light display it creates!
Tips for the Best Result
- Choose leaves that are fully dried to prevent any wilting or discoloration over time.
- Avoid applying excessive adhesive when sealing the design to reduce the risk of it seeping out of the edges.
- Position your suncatcher where it will receive plenty of direct sunlight to enhance the colors and patterns created by the leaves.
Customization / Variations
Feel free to experiment with different color palettes by using leaves from various trees, or mix in other pressed flowers to broaden the spectrum of colors. You could also try different frame shapes to create a more unique look.
How to Display Your Suncatcher
In addition to window displays, consider hanging your pressed leaf suncatcher from door frames or in front of mirrors for added light reflection. It could also make a thoughtful handmade gift for friends or family who appreciate nature and art.
Frequently Asked Questions
Frequently Asked Questions
Can I use fresh leaves instead of pressed ones?
Fresh leaves will not hold up as well in the suncatcher, as they may wilt within a few days. Always use fully dried leaves.
How do I press leaves correctly?
Place your leaves between sheets of parchment paper and stack heavy books on top to ensure they dry flat.
What if I want to make a larger suncatcher?
You can easily scale up your design by using larger sheets of contact film and more leaves, just adjust the size of your frame accordingly.
Can I clean my suncatcher?
Dust gently with a soft cloth, being careful not to damage the pressed leaves.
How long will my suncatcher last?
If cared for properly, your suncatcher can last for several seasons, but it’s best displayed out of direct moisture to maintain its appearance.
Conclusion
Creating a pressed leaf fall suncatcher is a beautiful way to bring the essence of autumn into your home decor. This project not only captures the season’s colors but also results in a unique piece that can enhance any room. For further inspiration on nature-based crafts, check out this guide to making striking autumn leaf suncatchers or explore this resource on fall leaf suncatchers crafts. Enjoy personalizing your creation as you celebrate the beauty of nature!
Follow Glow Studio DIY for fresh DIY ideas & inspiration!
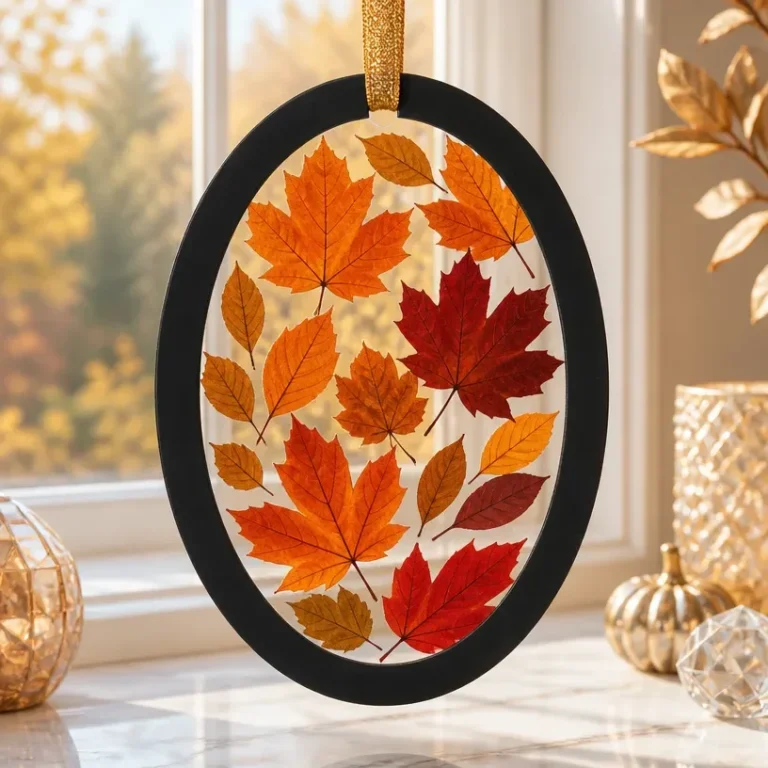
Pressed Leaf Fall Suncatcher
Would you like to save this project?
By submitting you agree to receive this project and occasional emails. Unsubscribe anytime.
Materials
Materials
- 1 roll Clear contact film or transparent craft sheets Forms the main body of your suncatcher.
- Variety Pressed autumn leaves Choose a variety that appeals to you for added color.
- 1 sheet Dark cardstock Provides a contrasting background to highlight the leaves.
- 1 piece Hanging ribbon For displaying your finished piece.
Tools
- 1 pair Scissors For cutting the contact film and cardstock to size.
Directions
Creating the Suncatcher
- Step 1: Create a Decorative Frame - Cut the dark cardstock into your desired frame shape.
- Step 2: Arrange the Pressed Leaves - Carefully place your dried leaves inside the transparent center of the contact film.
- Step 3: Seal the Design - Lay another piece of clear contact film over the leaves to seal them.
- Step 4: Trim Neatly - Trim any excess contact film around your suncatcher.
- Step 5: Hang It Against a Window - Attach a piece of hanging ribbon and display your suncatcher in a sunny window.
Last Step: Don’t forget to leave a rating and comment below! It helps other readers find the best DIY projects — and it helps us too!