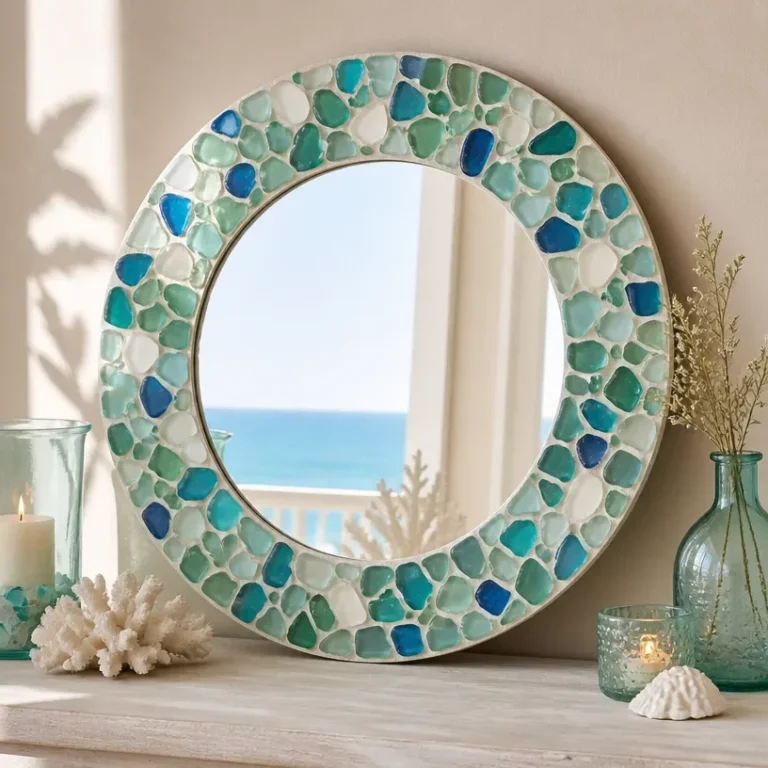
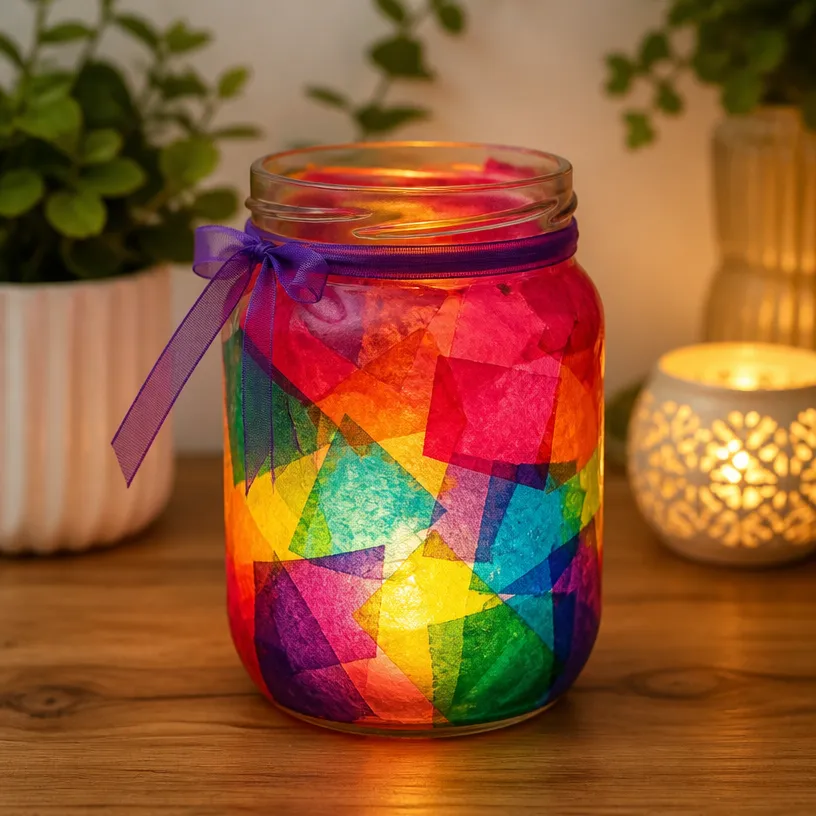
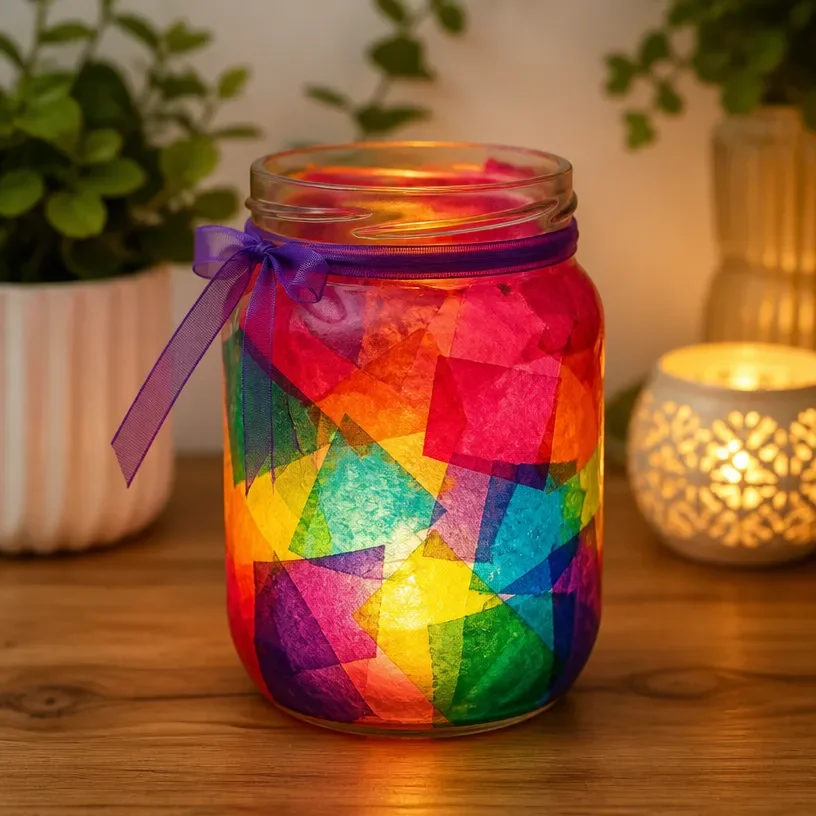
Create a stunning vibrant stained glass candle lantern that adds an artistic touch to your home décor. The radiant colors of the glass will capture the light beautifully, creating a warm and inviting atmosphere for any space. This lantern is not only a delightful feature for your own home, but it also makes for a thoughtful handmade gift. You may also find Diy Sea Glass Mosaic Mirror For Coastal Wall Decor useful.
Ready to dive into this beautiful DIY project? Let’s explore how to construct your own stained glass lantern step by step. You may also find Diy Dried Flower Botanical Wreath For Wall Decor useful.
Why You’ll Love This Project
Benefits of Making a Stained Glass Lantern
- Eye-catching Design: The unique look of stained glass instantly elevates the aesthetic of any room.
- Customizable: You can choose colors and patterns that suit your taste or complement your existing décor.
- Gift Potential: Handmade gifts add a personal touch, making this lantern an excellent option for birthdays, holidays, or housewarming parties.
- Approachable Technique: This project is suitable for beginners, providing a fun and creative hands-on experience.
- Warm Lighting: The lantern creates a soft glow that enhances your space, perfect for cozy nights indoors.
Before You Begin
Before starting your project, it’s important to prepare your workspace and materials. Make sure to protect your work surface with a craft mat or newspaper, and consider wearing gloves when handling glass to avoid any sharp edges. Organizing your materials will help keep the crafting process smooth and enjoyable. You may also find Diy Sea Glass Mosaic Mirror Coastal Decor useful.
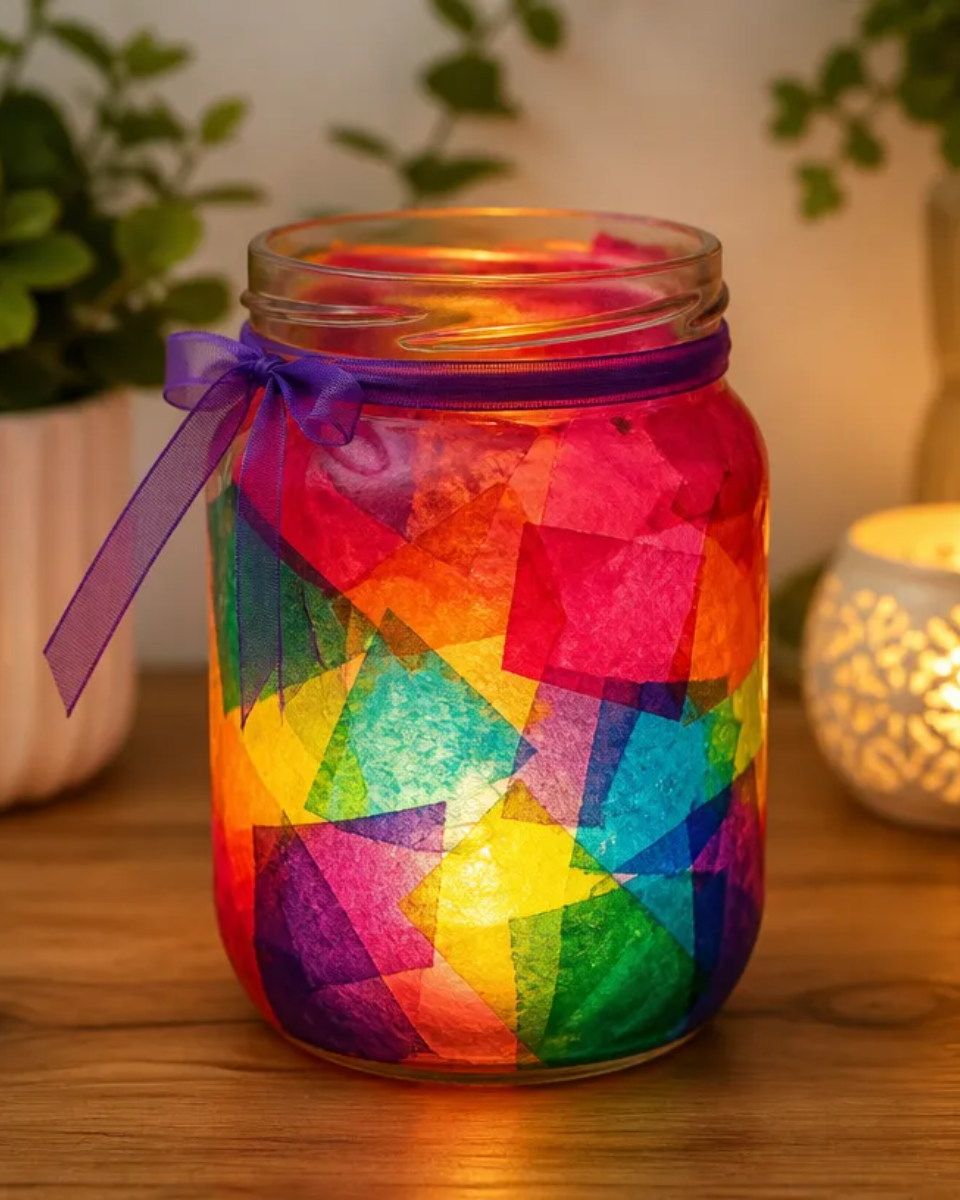
You may also find Dried Flower Glass Lantern useful.
Materials You’ll Need
- Colored glass pieces these will form the body of your lantern, so choose vibrant hues.
- Copper foil tape used to adhere the glass pieces together.
- Flux helps the solder to easily bond to the copper foil.
- Lead-free solder ideal for joining glass pieces without harmful effects.
- Soldering iron a tool to melt the solder to connect the glass pieces.
- Small candles or LED tea lights to illuminate your lantern safely.
- Glass cutter for shaping your glass pieces into desired sizes.
Tools
- Safety glasses to protect your eyes while cutting glass.
- Ruler for measuring and cutting precise sizes.
- Pencil to mark glass before cutting.
- Soldering stand to hold the soldering iron when not in use.
How to Make the Project
Step 1: Prepare Your Glass Pieces
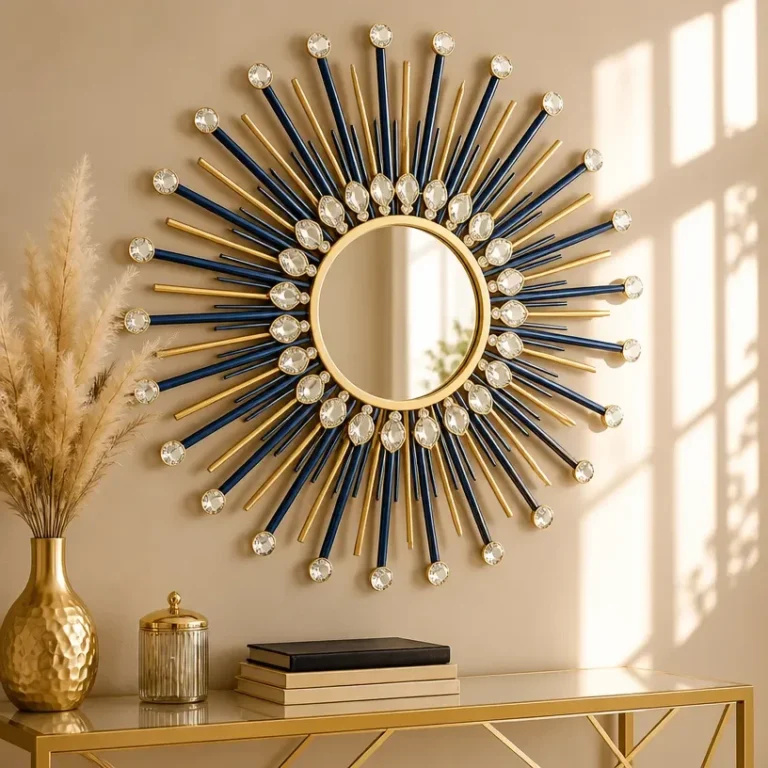
Begin by measuring and cutting your colored glass into pieces of various shapes and sizes, ensuring they will fit together to create a cohesive pattern. Use the ruler for accuracy, and mark the glass lightly with a pencil. You may also find How To Make A Diy Crystal Sunburst Mirror For Wall Decor useful.
Step 2: Arrange Your Design
Before adhering the glass, lay out the pieces on your work surface in the desired shape of the lantern. This step is crucial as it allows you to visualize the final product and make adjustments if needed.
Step 3: Apply Copper Foil
Once satisfied with your arrangement, carefully wrap the edges of each glass piece with copper foil tape. This tape will provide a surface for the solder to adhere to. Make sure to smooth the tape down firmly.
Step 4: Solder the Pieces Together
Heat your soldering iron and apply solder to the seams where the glass meets. Work steadily and allow the solder to flow evenly along the copper foil. This step will ensure your lantern holds together securely.
Step 5: Build the Structure
As you piece together your lantern, consider the shape – whether it’s a simple box or an intricate design. Secure the base, add walls, and finish with a top. Use additional solder to reinforce corners where necessary.
Step 6: Finish and Clean
After the lantern is fully assembled, you can clean up any excess solder with a damp cloth. Allow the piece to cool completely before using it.
Tips for the Best Result
- Take Your Time: Soldering can be tricky, so don’t rush through this step.
- Work in a Well-Ventilated Area: Proper ventilation is important when soldering due to fumes.
- Use LEDs for Safety: For a safer option, consider using LED tea lights rather than traditional candles.
Customization / Variations
This stained glass lantern project can be customized in countless ways. Consider experimenting with different colors that align with seasonal themes, or add textured glass for a more dynamic finish. You can also create different shapes or designs, depending on your personal style and preferences.
How to Display Your Finished Project
Display your vibrant stained glass lantern on a mantle, table, or as part of centerpieces for special occasions. If you are using LED lights, it’s safe to place the lantern anywhere without worrying about fire hazards.
Care and Storage
To ensure your lantern remains beautiful, dust it gently with a soft cloth. If you’ve used any natural elements, avoid prolonged moisture and store the lantern carefully during off-seasons to prevent damage.
Frequently Asked Questions
What kind of glass can I use for this project?
You can use any colored glass, including stained or opaque types. Just ensure the glass is suitable for cutting.
How do I fix cracks in the glass?
If you have minor cracks, you can sometimes use solder to seal them. However, if the glass is significantly damaged, it’s best to replace that piece.
Can I use regular candles instead of LED lights?
While you can use regular candles, ensure the lantern is placed in a secure area to avoid any fire hazards.
How do I clean the lantern?
Use a damp cloth to wipe down the exterior. Avoid harsher chemicals which may damage the glass.
Can I use this project outdoors?
Yes, but be cautious of moisture and ensure that the lanterns are made with weather-resistant materials if you plan to leave them outside.
Conclusion
In this project, you’ve created a vibrant stained glass candle lantern that not only serves as a functional piece but also highlights your crafting skills. The rich colors and beautiful design make it a stunning addition to your home decor or a unique handmade gift. For more inspiration, check out beautiful stained glass pieces available at Etsy and seek creative outdoor lanterns like a solar lantern option on Amazon. Enjoy showcasing your new creation!
Stained Glass Candle Lantern
Ingredients
Method
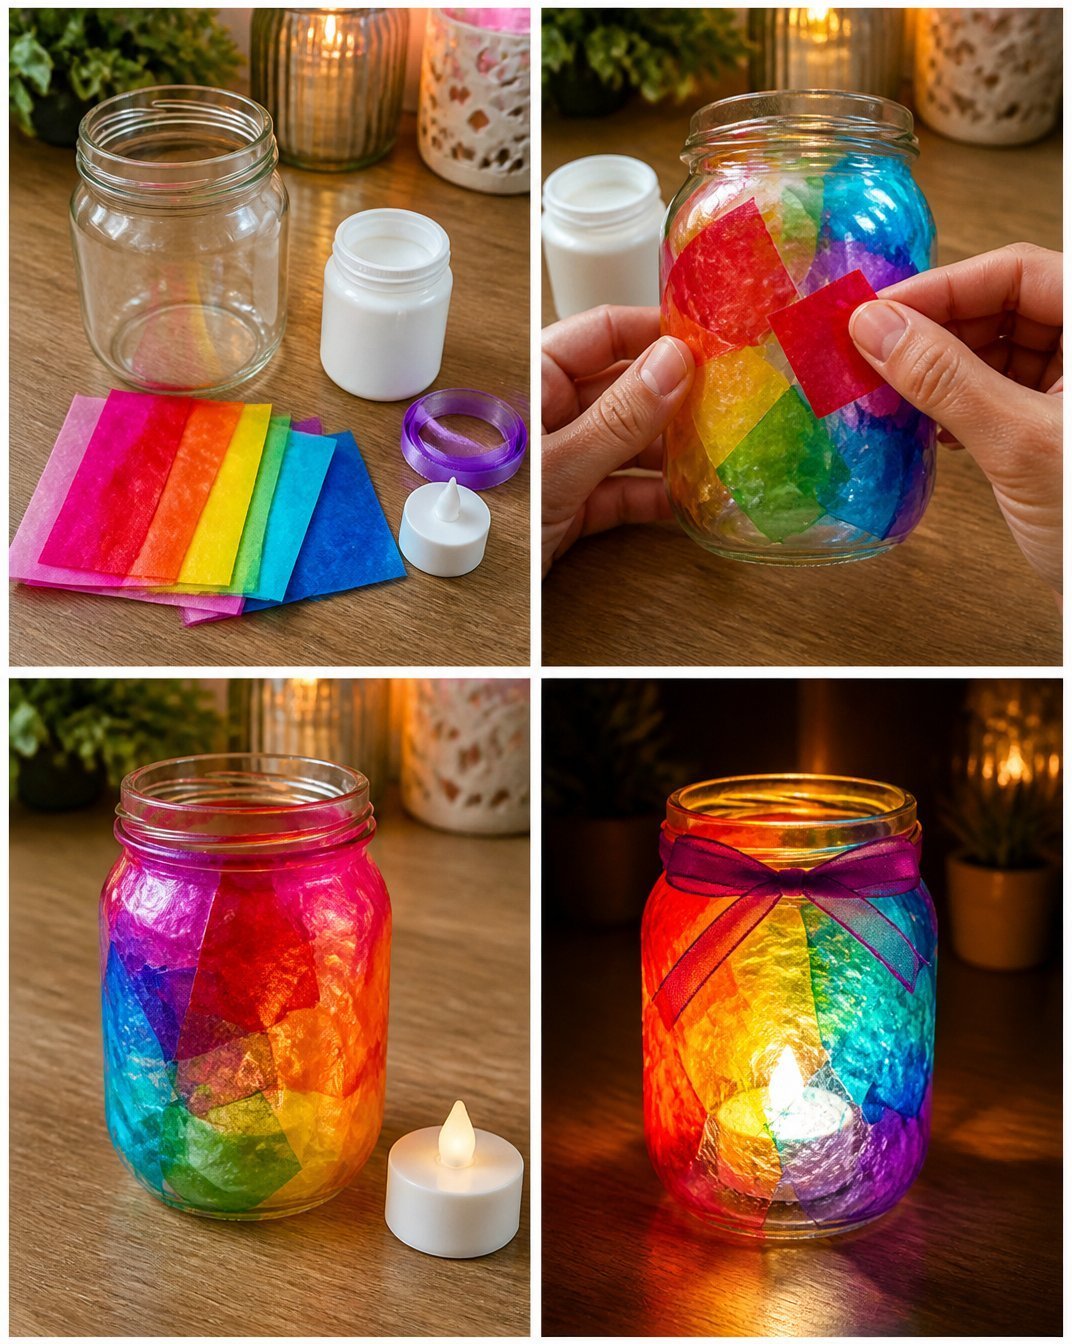
- Begin by measuring and cutting your colored glass into pieces of various shapes and sizes.
- Lay out the pieces on your work surface in the desired shape of the lantern.
- Wrap the edges of each glass piece with copper foil tape.
- Heat your soldering iron and apply solder to the seams where the glass meets.
- Piece together your lantern and ensure it holds securely using additional solder.
- Clean up any excess solder with a damp cloth and allow the piece to cool.