Snowflake Crystal Ornament for Holiday Decor
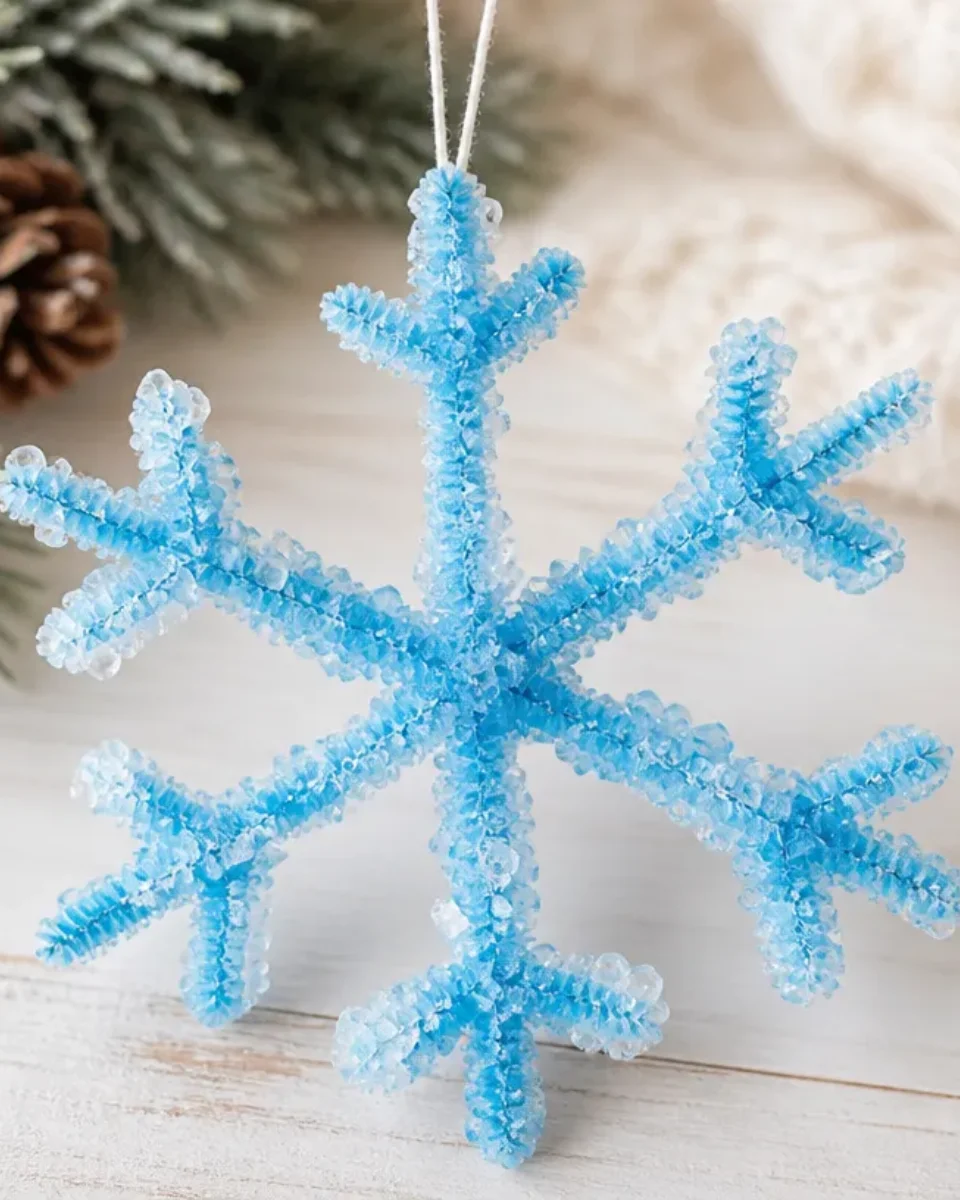
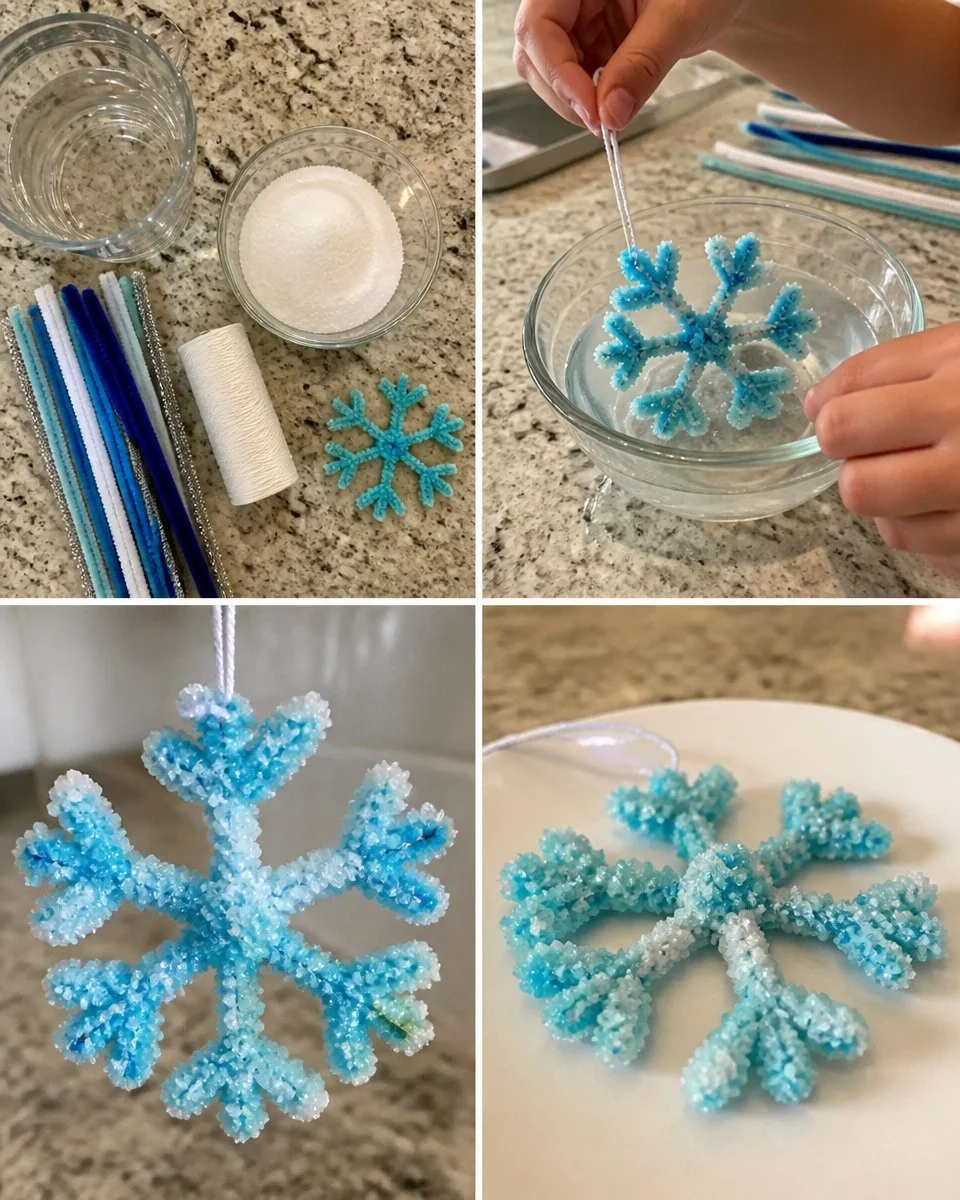
Creating a stunning Snowflake Crystal Ornament for your holiday decor adds a touch of elegance to your seasonal decorations. This ornament not only sparkles beautifully in the light but also evokes the magic of winter. It can be displayed on your Christmas tree, in windows, or used creatively as table decor. You may also find Diy Glittering Crystal Icicle Ornament For Winter Decor useful.
This DIY project is approachable and provides a visually appealing finished product that you can proudly showcase or gift. Using simple materials and a few steps, you will be able to bring a little winter wonderland into your home. For those interested in other festive DIY decorations, you might enjoy making a crystal snowflake ornament to complement your decor.
Why You’ll Love This Project
Reasons to Create Your Own Crystal Ornament
- Display Worthy: The finished ornament is a stunning addition to both holiday decor and year-round displays.
- Unique Design: Customize colors and shapes to create a one-of-a-kind piece that reflects your personal style.
- Inexpensive Materials: You can achieve a high-end look without breaking the bank, using easily sourced items.
- Fun Crafting Experience: It’s a delightful activity to share with family, making it an ideal project for holiday gatherings.
- Gift Potential: This ornament makes a lovely and personalized gift for friends and family during the holiday season.
Before You Begin
Before diving into the project, set up your workspace to ensure a smooth crafting experience. Protect your working surface with a drop cloth or newspaper, especially if you will be using adhesive. Gather all your materials and tools beforehand for easy access. You may also find Diy Crystal Firework Ornament Christmas Decor useful.
You may also find Diy Glistening Snowflake Ornament Crystal Accent useful.
Materials You’ll Need
- Clear acrylic crystals the main material for creating your snowflake ornament.
- Craft wire used for structural support and hanging.
- Beads decorative elements to enhance the visual appeal of the snowflake.
- Hot glue gun and glue sticks for securing the components together.
- Ruler to measure lengths and ensure symmetry in design.
Tools
- Wire cutters for trimming the craft wire to size.
- Needle-nose pliers helpful for bending and twisting the wire.
How to Make the Project
Step 1: Prepare Your Craft Wire
Cut several pieces of craft wire into lengths of approximately 5-6 inches. These will serve as the framework for your snowflake ornament.
Step 2: Shape the Snowflake
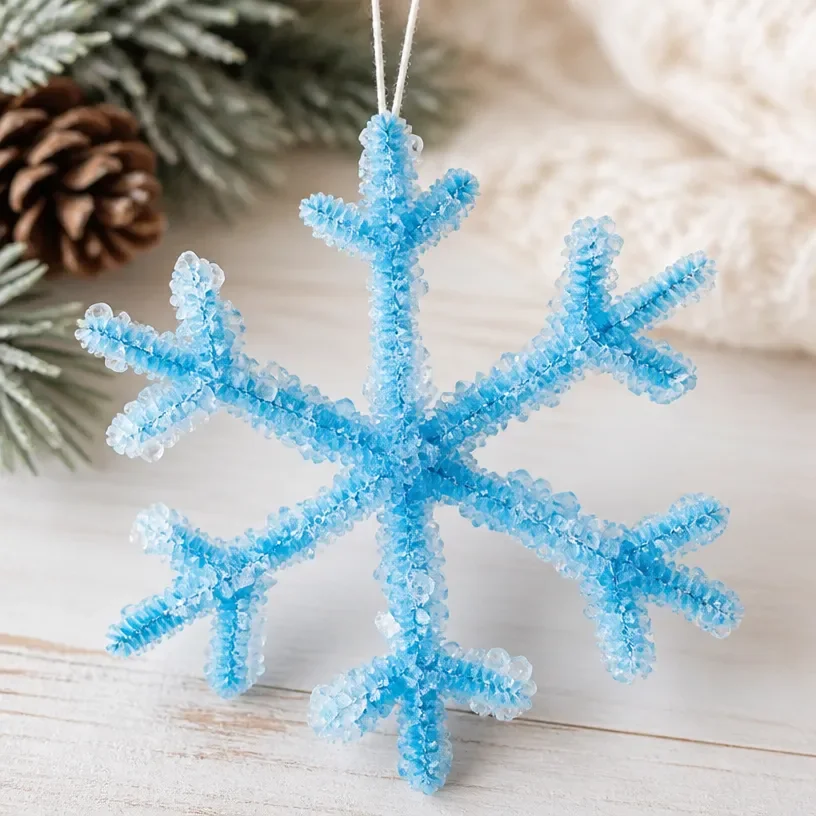
Using the needle-nose pliers, bend each wire piece into a snowflake shape. Experiment with the design to create a unique look, ensuring the ends overlap slightly for better adhesion.
Step 3: Secure with Hot Glue
Once you are satisfied with the shapes, apply a small amount of hot glue where the wires overlap to secure them in place. Allow the glue to dry completely before moving on to the next step.
Step 4: Add Crystals and Beads
Carefully attach your clear acrylic crystals to the wire frame, using additional hot glue to secure them in place. You can create a stunning effect by alternating the placement of crystals and beads across the snowflake.
Step 5: Create a Hanging Loop
To finish, attach a piece of wire or use a pre-made ornament hook to create a loop at the top of your ornament for hanging.
Tips for the Best Result
- Symmetry Matters: Pay attention to the balance of the design; having similar lengths and spacing will create a more professional look.
- Be Careful with Glue: Avoid excessive glue as it can create unsightly bumps. Use just enough to secure the pieces without excess spilling out.
- Finishing Touches: Once everything is glued and dried, consider adding a clear varnish spray for extra shine and to protect the surface.
Customization / Variations
Feel free to personalize your snowflake ornament by using beads in different colors or sizes, adjusting the wire shapes, or even incorporating other materials like glitter for an extra sparkle. For additional holiday decor, you can check out other DIY projects like the crystal sparkle firework ornament.
Ideas for Displaying Your Finished Project
You can elegantly display your snowflake crystal ornament in various ways:
- Hang it in windows where sunlight can catch and reflect off the crystals.
- Use it as part of a festive centerpiece on your dining table.
- Gift it as a heartfelt homemade present this holiday season.
Care and Storage
To keep your snowflake ornament looking beautiful, avoid exposing it to prolonged moisture and dust it gently with a soft cloth. If you store it away after the holiday season, use a protective box to prevent any damage.
Frequently Asked Questions
Can I use different materials instead of acrylic crystals?
Yes, you can experiment with other decorative elements like glass beads or even small ornaments to customize your design.
How do I hang the ornament securely?
Make sure to create a sturdy loop with wire or use a strong ornament hook designed for hanging.
What if I don’t have a hot glue gun?
If you don’t have a hot glue gun available, a strong craft adhesive can also work, just keep in mind that drying times may vary.
Can this ornament withstand outdoor conditions?
This ornament is best suited for indoor display, as prolonged exposure to outdoor elements may damage it.
How can I add color to my ornament?
You can paint the crystals or beads with glass paint for a colorful effect.
What is the best way to store the ornament after the holidays?
Wrap it in tissue paper and place it in a sturdy box to prevent any breakage during storage.
Conclusion
Creating a Snowflake Crystal Ornament adds a stunning touch to your holiday decor, capturing the beauty of winter serenity. The sparkling crystals and unique design not only elevate your seasonal aesthetics but also make for a lovely gifting idea. For additional inspiration, consider exploring more decorations such as the Holiday Decor Crystal Snowflake Ornament, or browse the 21 pcs Christmas Decorations for even more festive options!
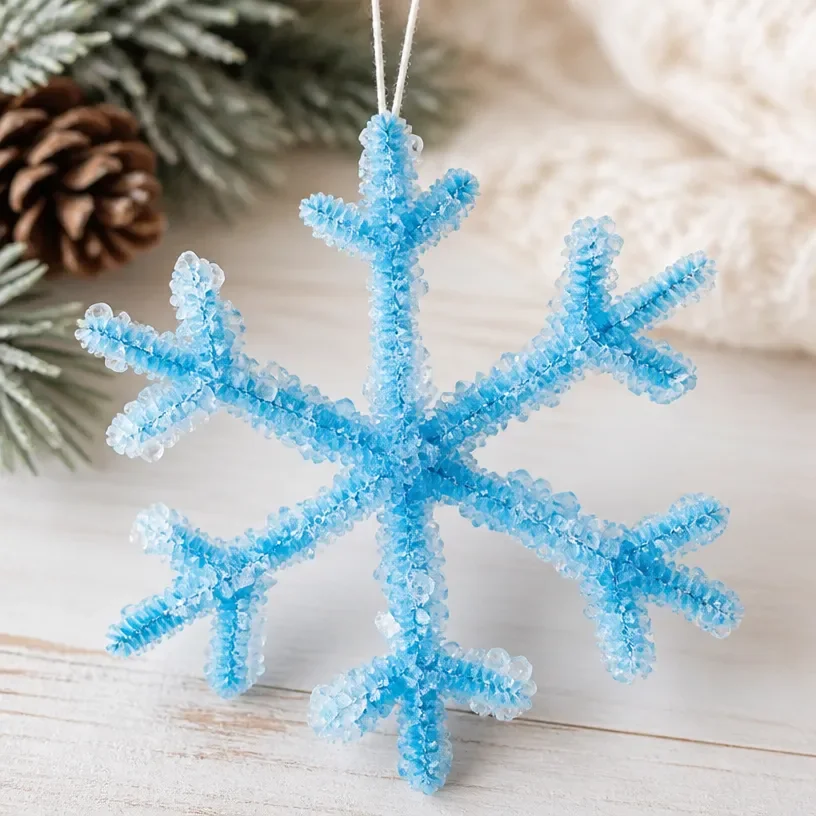
Snowflake Crystal Ornament
Ingredients
Method
- Cut several pieces of craft wire into lengths of approximately 5-6 inches to form the framework.
- Using needle-nose pliers, bend each wire into a snowflake shape, ensuring ends overlap slightly.
- Apply hot glue to the overlaps to secure the wires in place and allow them to dry.
- Attach clear acrylic crystals to the wire frame using additional hot glue, alternating their placement with beads for effect.
- Create a hanging loop using extra wire or a pre-made ornament hook.