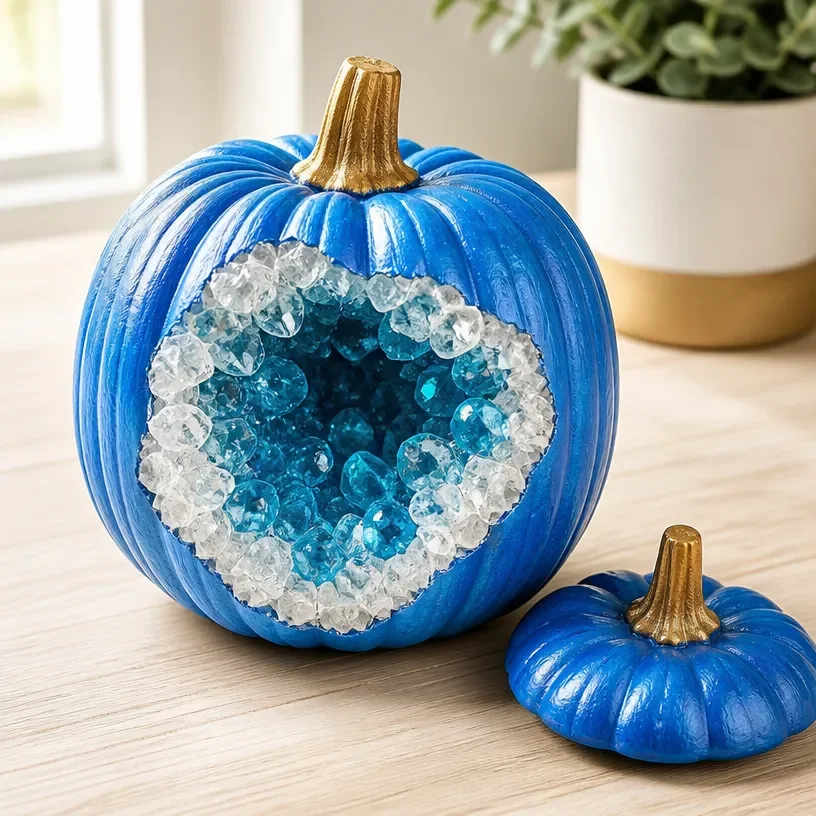
Creating a beautiful and enchanting Blue Crystal Pumpkin Geode for Halloween adds a unique touch to your seasonal decor. This eye-catching decoration not only captures the essence of autumn but also features a stunning crystal-inspired design that sparkles in the light. Display it on your porch, as part of a festive centerpiece, or as an inviting autumn decor piece indoors. You may also find Crystal Hanging Plant Decor useful.
As you embark on this project, you’ll discover that making your own geode pumpkin is a rewarding and enjoyable process. This DIY provides the opportunity to incorporate creativity using vibrant colors and materials that resonate with your personal style. For those who appreciate unique decor, mastering such crafts can lead to breathtaking results, like stunning crystal sunburst mirrors or beautiful hanging plant decor. You may also find Diy Crystal Sunburst Mirror Wall Decor useful.
Why You’ll Love This Project
Creating your own Blue Crystal Pumpkin Geode comes with several appealing benefits: You may also find How To Make A Diy Crystal Sunburst Mirror For Wall Decor useful.
- Display-Worthy Result: The striking design of the finished project makes it a perfect centerpiece for any room or setting.
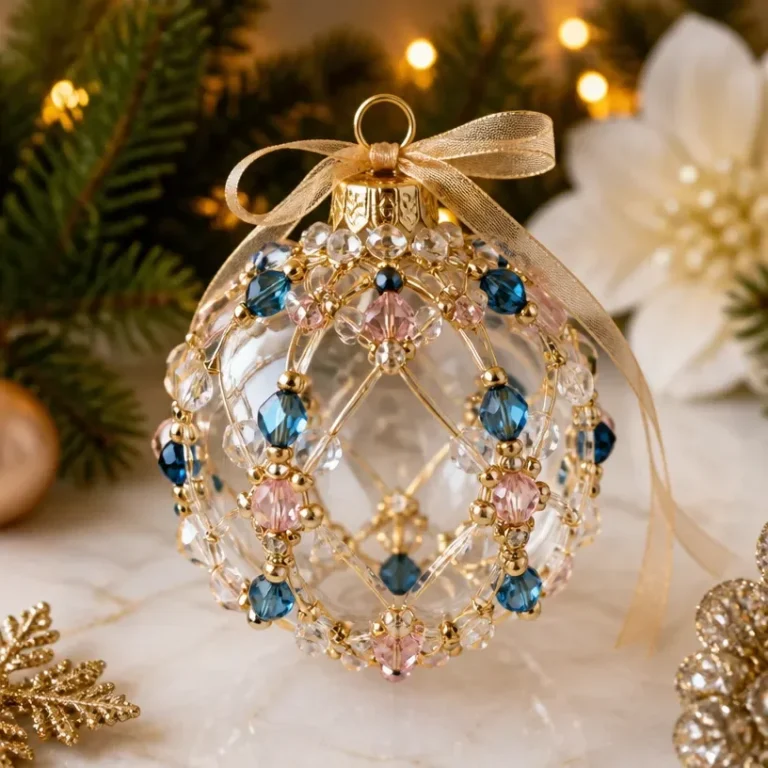
- Customizable Colors: You can personalize the hues to match your existing decor or seasonal themes, just like when creating beautiful crystal beaded Christmas ornaments.
- Inexpensive Materials: This project requires common materials, ensuring that crafting your own stunning decor won’t break the bank and can be suitable for crafting groups or families.
- Seasonal Appeal: The pumpkin shape allows this project to be perfect not only for Halloween but also for fall decor, making it a versatile piece you can enjoy throughout the season.
- Engaging Process: The hands-on nature of this craft is both fun and therapeutic, allowing for easy customization and exploration of your creativity.
Before You Begin
Preparing your workspace and gathering materials are essential steps to ensure a smooth crafting experience. Here are a few tips to get you started:
- Protect Your Work Surface: Use a drop cloth or old newspapers to protect your table from spills and messes.
- Organize Your Materials: Lay out all the necessary materials before starting to keep the process efficient.
- Ventilation: Ensure your working area is well-ventilated, especially if you are using any adhesives or resins.
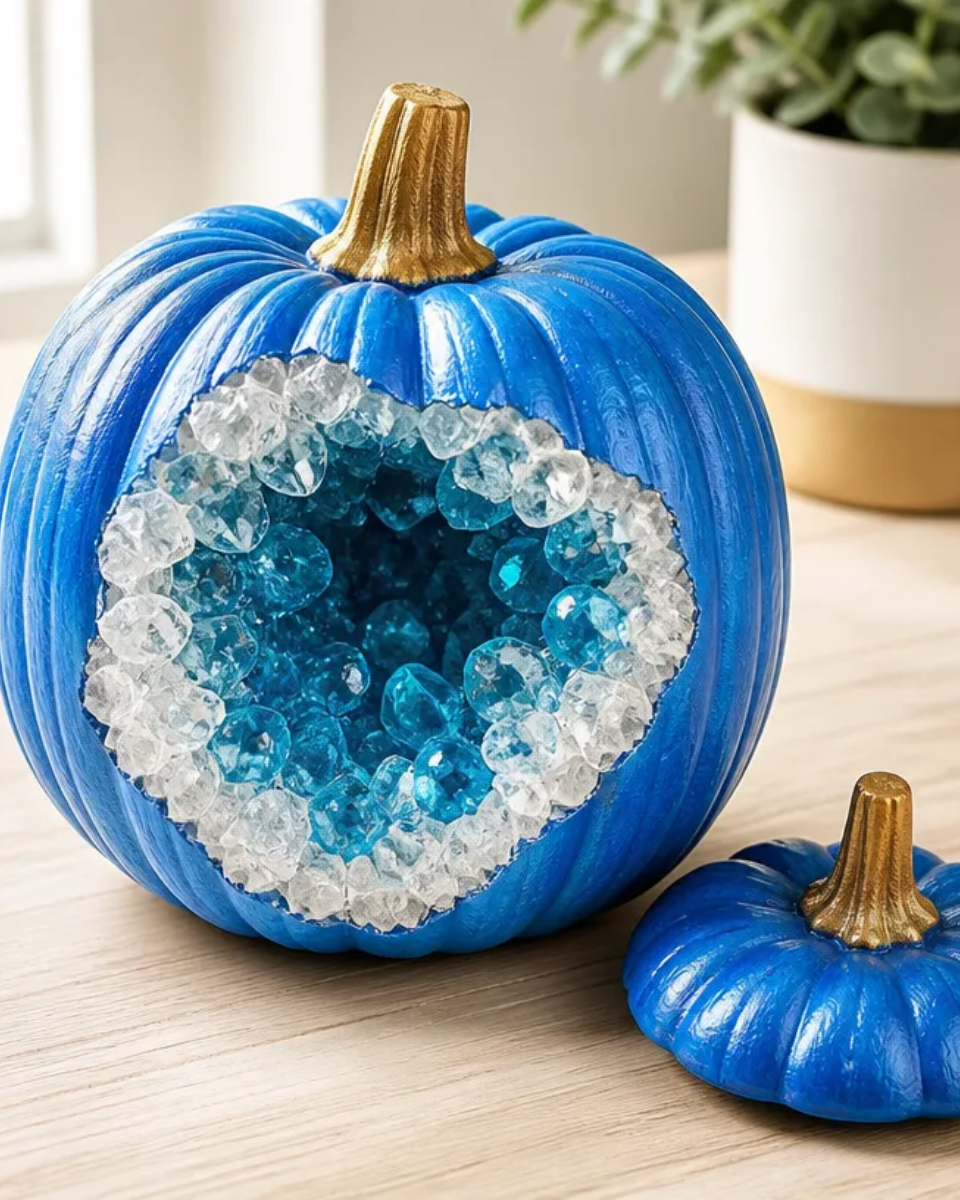
Materials You’ll Need
- Pumpkin base Choose a faux or real pumpkin, depending on your preference for durability.
- Crystal-like resin This will form the stunning geode-like layer.
- Blue pigment For coloring the resin.
- Clear glass beads or crushed quartz To simulate crystalline structures.
- Adhesive Ensure it’s suitable for your pumpkin material, especially if you’re using a natural pumpkin.
- Protective gloves Keep your hands safe while working with resin.
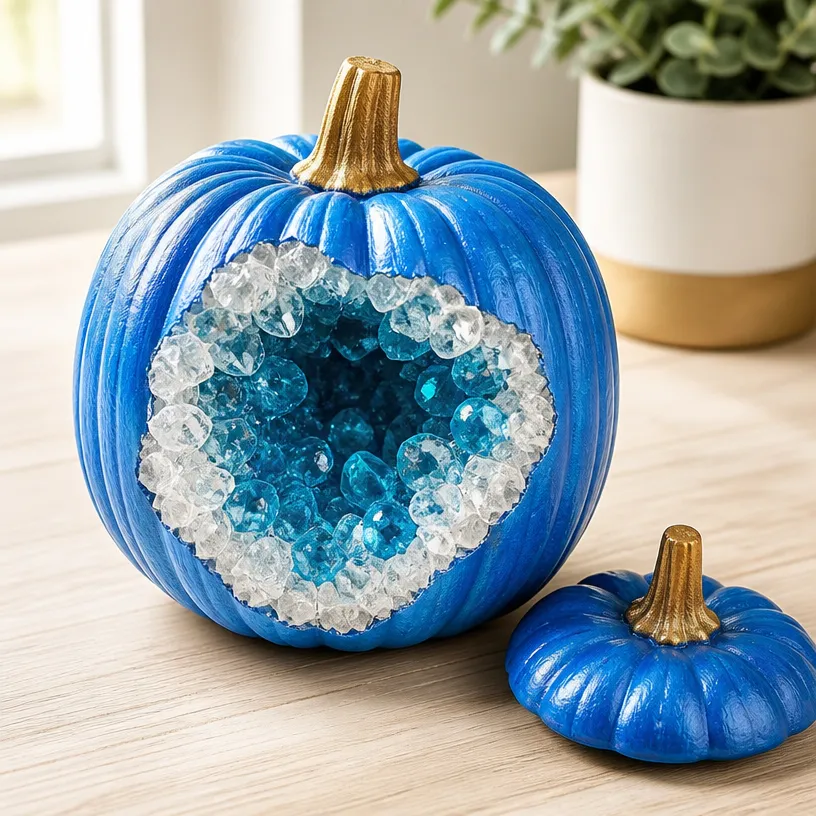
Tools
- Craft knife For opening or shaping the pumpkin if needed.
- Mixing cups and sticks For preparing the resin and pigments.
- Brushes To apply the resin smoothly and evenly.
How to Make the Project
Step 1: Prepare the Pumpkin
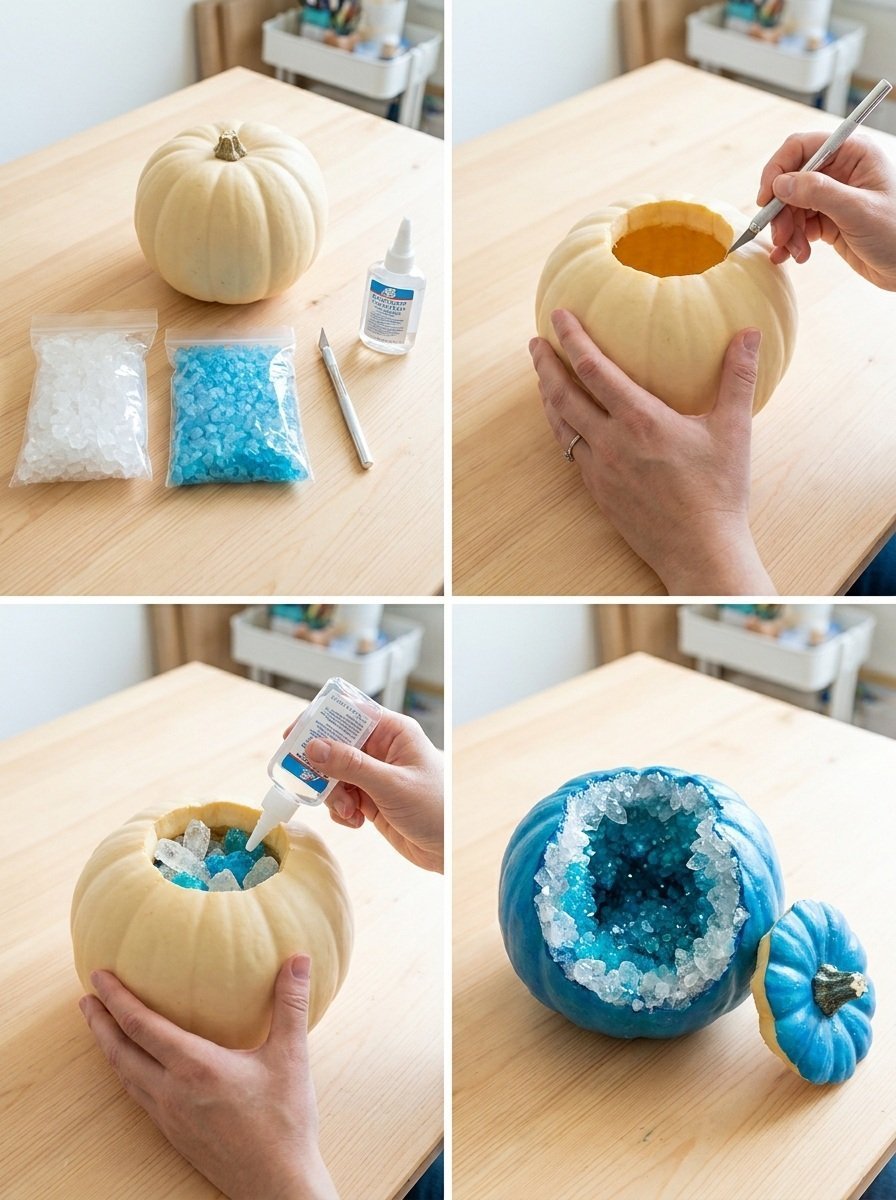
Start with clean, dry pumpkins. If using a real pumpkin, carefully cut a hole at the top to allow for pouring the resin later. If using a faux pumpkin, you may skip this step but be sure it’s ready for decoration.
Step 2: Mix the Resin
Follow the manufacturer’s instructions to mix your crystal-like resin with blue pigment. Ensure a smooth consistency; this may require careful stirring over a few minutes.
Step 3: Apply the Resin
Using a brush, apply the resin mixture over the area where you want the geode effect to appear. Ensure it covers well, creating waves that mimic natural stones.
Step 4: Add Glass Beads
While the resin is still wet, sprinkle clear glass beads or crushed quartz over the resin layer. This will help create the look of shimmering crystals, enhancing the geode effect.
Step 5: Allow to Cure
Set your pumpkin aside in a well-ventilated area, allowing the resin to cure completely according to the manufacturer’s instructions. This usually takes a few hours to overnight, depending on the product.
Step 6: Final Touches
Once the resin is fully cured, you can add any extra details or touch-ups with additional paint or resins if desired. Consider integrating a glitter effect for an extra sparkle, reminiscent of a resin crystal geode coaster.
Tips for the Best Result
- Work Quickly: Resin can start to set fairly quickly, so be prepared to work fast during the application process.
- Avoid Overlapping Beads: To keep a natural, spread-out look, avoid clustering the glass beads together excessively.
- Practice Patience: Allow for full curing time to prevent any unwanted clumping or texture issues.
Customization / Variations
Feel free to customize your Blue Crystal Pumpkin Geode in several ways:
- Experiment with colors other than blue, perhaps choosing rich purples or striking reds for different seasonal appearances.
- Add metallic elements like gold or silver glitter to give it an upscale finish.
- Create a smaller version using mini pumpkins for a layered display effect.
Displaying Your Finished Project
Once completed, your Blue Crystal Pumpkin Geode can be displayed in various ways:
- Position it on your front porch to greet visitors with style, embodying the spirit of the season.
- Use it as a centerpiece at your Halloween dinner table, adding elegance to your festive setting.
- Pair it with other decorative pieces, such as decorative leaves or lights, to create a stunning autumn vignette that encapsulates seasonal beauty.
Frequently Asked Questions
Frequently Asked Questions
Q: Can I use a real pumpkin for this project?
A: Yes, you can, but keep in mind it may not last as long as a faux pumpkin. Make sure to use adequate sealing if it’s real.
Q: What types of resin are best for beginners?
A: Epoxy resin is popular for beginners as it’s easy to work with and offers clear finish results.
Q: How do I prevent the resin from bubbling?
A: Mixing the resin slowly and ensuring there’s no moisture on your materials can reduce the chances of bubbles.
Q: How should I store my geode pumpkin?
A: Store in a cool, dry place away from direct sunlight to maintain the colors and integrity of the resin.
Q: Can I embellish the pumpkin further?
A: Absolutely! Feel free to add additional decorative elements or intricate designs once the resin is set.
Q: Is it possible to change the color of the resin?
A: Yes, you can use various pigments or dyes to change the resin color according to your preference.
Conclusion
In this project, you’ve learned how to create a stunning Blue Crystal Pumpkin Geode that will certainly light up your Halloween decorations. This unique piece not only brightens your home but also serves as a creative expression of your personal style during the fall season. To explore more beautifully crafted items, visit Gedoes on Etsy for inspiration, or find enchanting decor elements like the H&D HYALINE & DORA Crystal Cat Figurine on Amazon. Enjoy showcasing your handmade creation!
Follow Glow Studio DIY for fresh DIY ideas & inspiration!
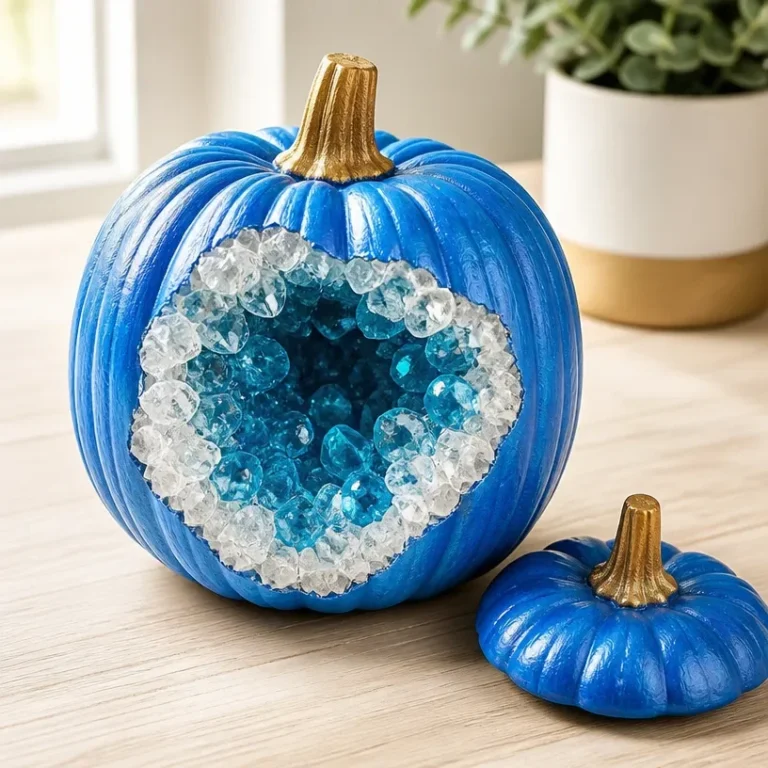
Blue Crystal Pumpkin Geode
Would you like to save this project?
By submitting you agree to receive this project and occasional emails. Unsubscribe anytime.
Materials
Main Materials
- 1 piece Pumpkin base (faux or real) Choose according to your preference for durability.
- 1 cup Crystal-like resin For forming the stunning geode-like layer.
- 1 tbsp Blue pigment To color the resin.
- as needed Clear glass beads or crushed quartz To simulate crystalline structures.
- 1 tube Adhesive Ensure it’s suitable for your pumpkin material.
- 1 pair Protective gloves To keep your hands safe while working with resin.
Directions
Preparation
- Start with clean, dry pumpkins. If using a real pumpkin, carefully cut a hole at the top to allow for pouring the resin later.
- If using a faux pumpkin, skip this step but ensure it’s ready for decoration.
Mixing and Application
- Follow the manufacturer's instructions to mix your crystal-like resin with blue pigment to achieve a smooth consistency.
- Using a brush, apply the resin mixture over the area where you want the geode effect to appear, ensuring it creates waves that mimic natural stones.
Adding Crystals
- While the resin is still wet, sprinkle clear glass beads or crushed quartz over the resin layer to enhance the geode effect.
Curing
- Set your pumpkin aside in a well-ventilated area, allowing the resin to cure completely according to the manufacturer’s instructions.
- This usually takes a few hours to overnight.
Finishing Touches
- Once the resin is fully cured, add any extra details or touch-ups with additional paint or resins if desired.
- Consider integrating a glitter effect for extra sparkle.
Last Step: Don’t forget to leave a rating and comment below! It helps other readers find the best DIY projects — and it helps us too!