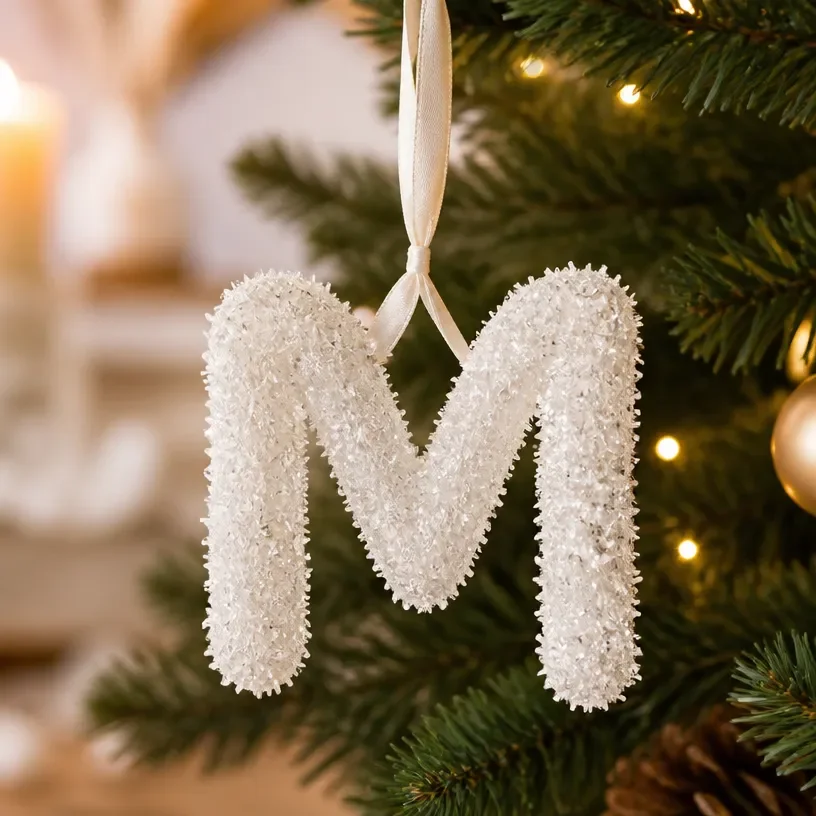
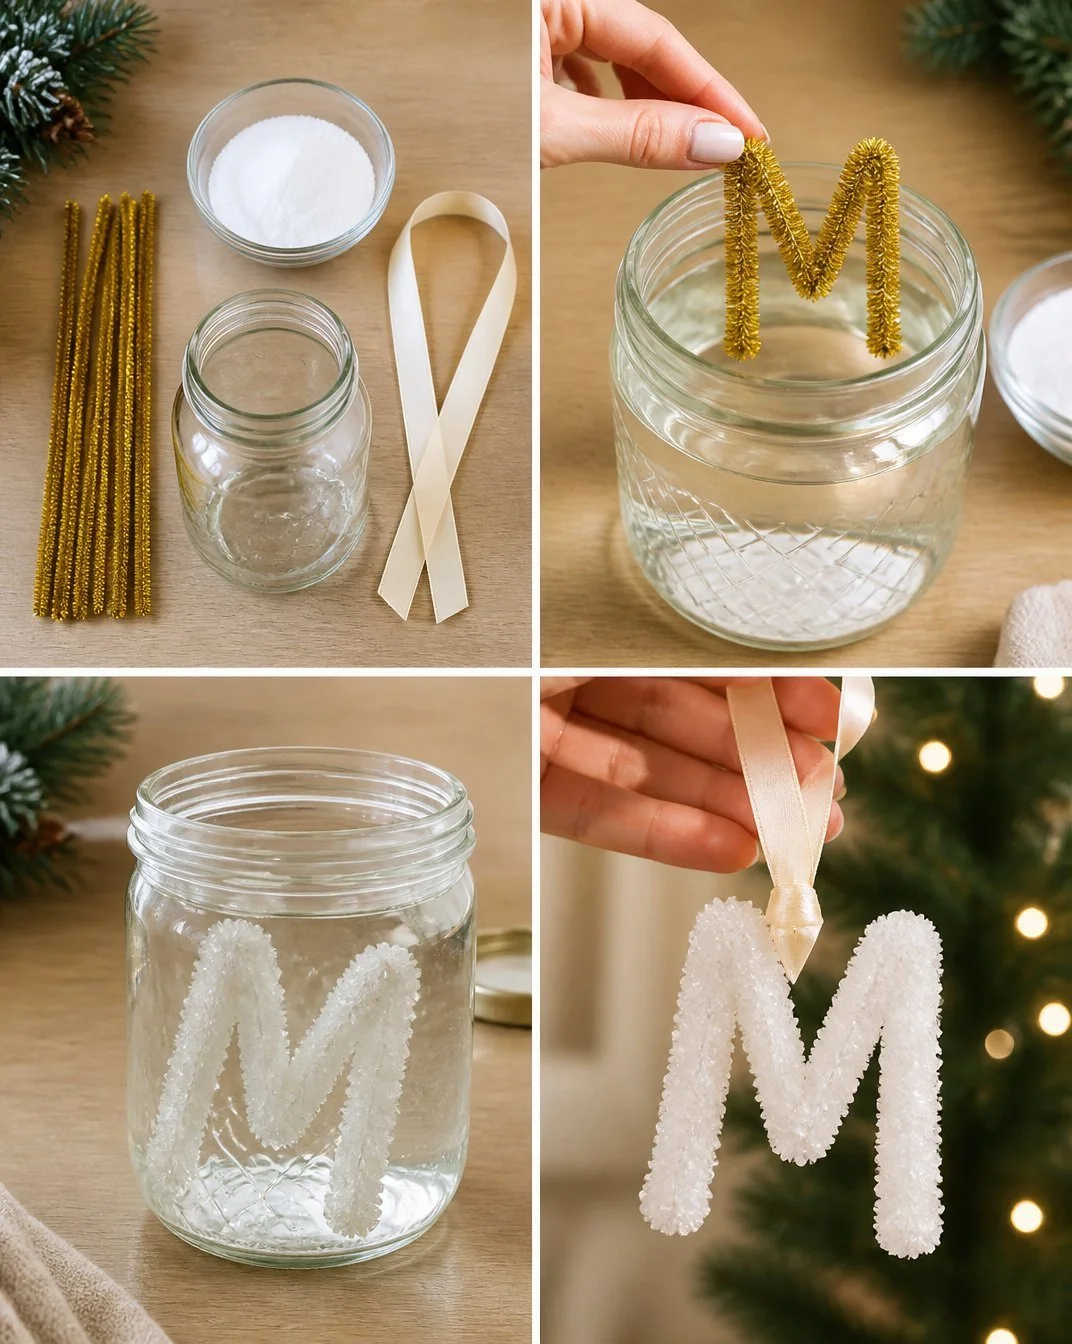
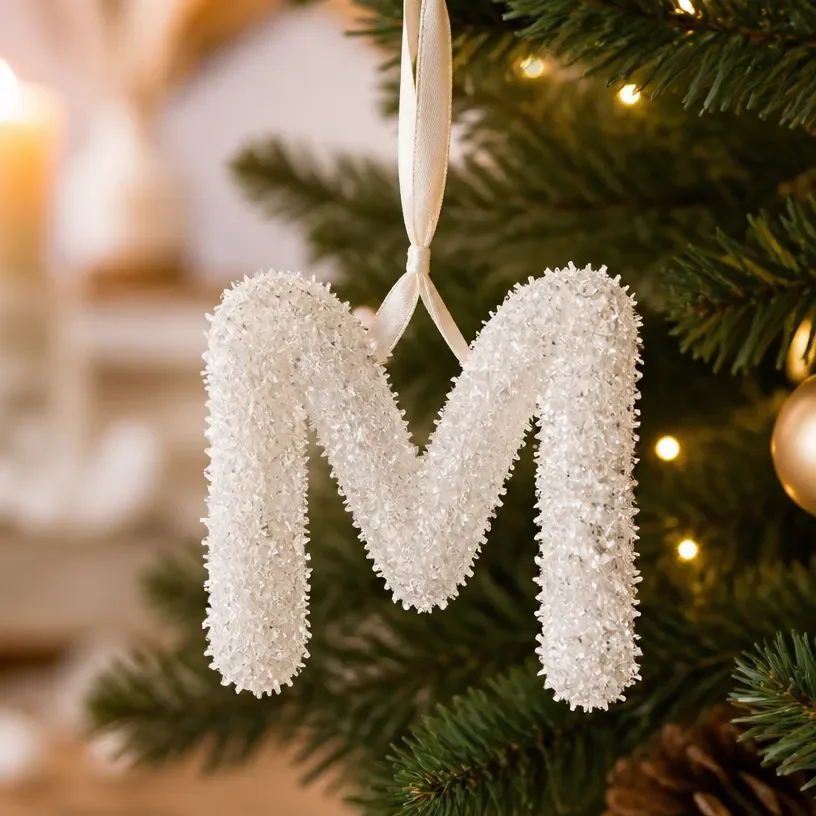
Creating a Personalized Crystal Letter Ornament for Christmas Tree is a delightful way to add a personal touch to your seasonal decor. These ornaments not only shine beautifully when the light hits them but also make for meaningful gifts or keepsakes. Hang them on your Christmas tree to bring an extra sparkle or use them as decorative elements in your home. You may also find Diy Crystal Firework Ornament Christmas Decor useful.
In this project, you’ll learn how to craft your own stunning ornaments customized with initials or favorite letters, utilizing a combination of crystals and clear acrylic. This versatile craft is perfect for both experienced DIYers and those just starting out. If you’re intrigued by ideas for sparkling crystal decor, check out this crystal beaded Christmas ornament for additional inspiration.
Why You’ll Love This Project
A Unique Personal Touch
Creating custom ornaments allows you to express your creativity while ensuring each ornament is one-of-a-kind. Whether for family members or close friends, the personal touch of a letter can make all the difference. You may also find Diy Glittering Crystal Icicle Ornament For Winter Decor useful.
Stunning Visual Appeal
The combination of acrylic and crystals creates a captivating effect that glimmers in the light. These ornaments perfectly capture and reflect light, making them an eye-catching addition to any tree or decor setup. You may also find Personalized Crystal Monogram Ornament useful.
Ideal for Various Occasions
Not only are these ornaments perfect for the Christmas season, but they can also be used throughout the year as decorative pieces. Imagine them hanging in a window or as part of a year-round display in your home. You may also find Diy Crystal Snowflake Ornament Winter Decor useful.
Before You Begin
Before you dive into crafting your personalized ornament, it’s important to prepare your workspace. Make sure your work surface is clean and protected to prevent any scratches or damage. Organizing your materials beforehand will help streamline your crafting process. Remember to follow all safety precautions when handling tools and materials.
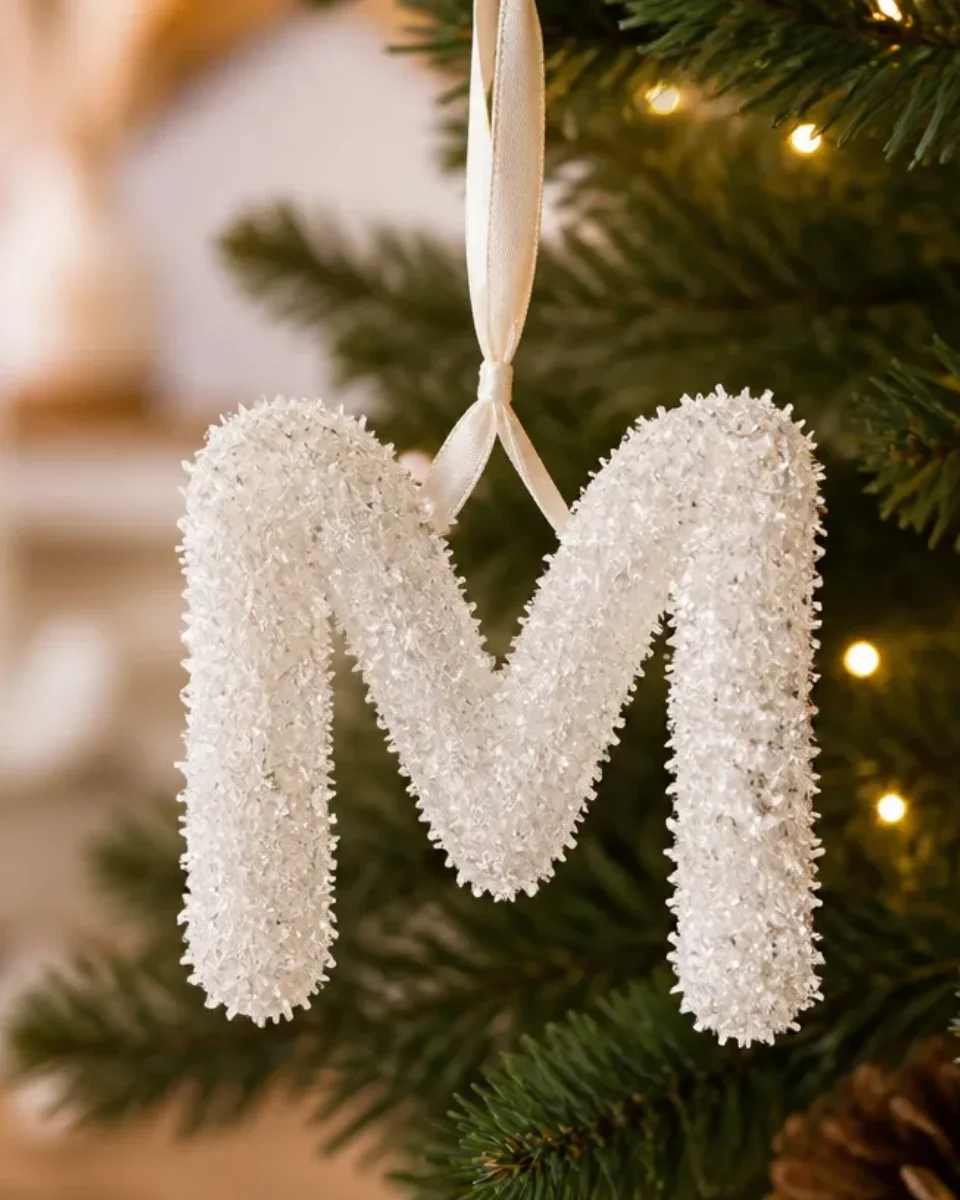
Materials You’ll Need
- Clear acrylic sheets these will form the base of your ornament.
- Crystal charms or beads for added sparkle and personalization.
- Strong adhesive to securely bond the pieces.
- Ribbon or string for hanging your ornament.
- Scissors or a craft knife for cutting your acrylic.
- Drill (optional) to create holes in the acrylic for hanging.
Tools
- Craft knife to cut the acrylic to the desired shape.
- Ruler for measuring dimensions accurately.
- Hole punch or drill if you prefer having perforated holes for hanging.
How to Make the Project
Step 1: Design Your Ornament
Decide on the letter you wish to feature and sketch out your design on a piece of paper. Keep the size in mind to ensure it fits within your desired aesthetic.
Step 2: Cut the Acrylic
Using the craft knife, carefully cut out your letter from the clear acrylic sheet. Ensure you make precise cuts for a clean finish.
Step 3: Attach the Crystals
Lay out the crystal charms or beads on the acrylic letter. Use a strong adhesive to attach them, ensuring they are secure. You might want to follow the manufacturer’s instructions for the best results.
Step 4: Create a Hanging Hole
If you want to hang your ornament, carefully use a drill or hole punch to make a small hole in your ornament. This is where your ribbon or string will go.
Step 5: Final Assembly
Once everything is dry and secure, thread your ribbon or string through the hole and tie it in a loop for hanging. Your ornament is now complete and ready to shine!
Tips for the Best Result
- Use a steady hand: When cutting the acrylic, maintain a steady hand for cleaner edges.
- Allow proper drying time: Ensure that the adhesive dries completely before hanging; this will help prevent any falling decorations.
- Experiment with placements: Try different configurations with your crystals before permanently securing them to see what looks best.
Customization / Variations
Feel free to explore different color palettes for your crystals or even different letter shapes. Seasonal colors can enhance the overall aesthetic, making these ornaments suitable for a variety of occasions beyond Christmas.
How to Display Your Finished Project
These personalized crystal letter ornaments can be displayed on a Christmas tree, hung in your windows, or placed on shelves as part of a festive arrangement. They also make thoughtful gifts for friends and family, bringing a personal touch to their holiday decor.
Frequently Asked Questions
Frequently Asked Questions
Q: Can I use different materials instead of acrylic?
A: Yes, you can experiment with other clear materials like glass, though exercise caution as they may require different handling.
Q: How do I clean the ornaments after making them?
A: Gently dust with a soft cloth to keep them sparkling without scratching the surface.
Q: What if I don’t have crystals?
A: You can use other decorative elements like glitter or beads to personalize your project.
Q: Is it safe to drill acrylic?
A: Yes, but always use a suitable drill bit and make sure to work carefully to avoid cracking.
Q: How can I store my ornaments when not in use?
A: Store them in a padded box or tissue paper to prevent scratches or damage.
Conclusion
Creating a Personalized Crystal Letter Ornament for Christmas Tree not only results in a beautiful and customizable decoration but also brings a heartfelt element to your holiday celebration. Consider the various techniques highlighted in this project to further enhance your creations. For those looking to buy pre-made options, check out these personalized Christmas tree ornaments or adorable options like personalized letter name ornaments. Enjoy the process and happy crafting!
Personalized Crystal Letter Ornament
Ingredients
Method
- Decide on the letter you wish to feature and sketch out your design on a piece of paper.
- Using the craft knife, carefully cut out your letter from the clear acrylic sheet.
- Lay out the crystal charms or beads on the acrylic letter.
- Use a strong adhesive to attach the crystals, ensuring they are secure.
- If you want to hang your ornament, carefully use a drill or hole punch to make a small hole.
- Once everything is dry and secure, thread your ribbon or string through the hole and tie it in a loop for hanging.