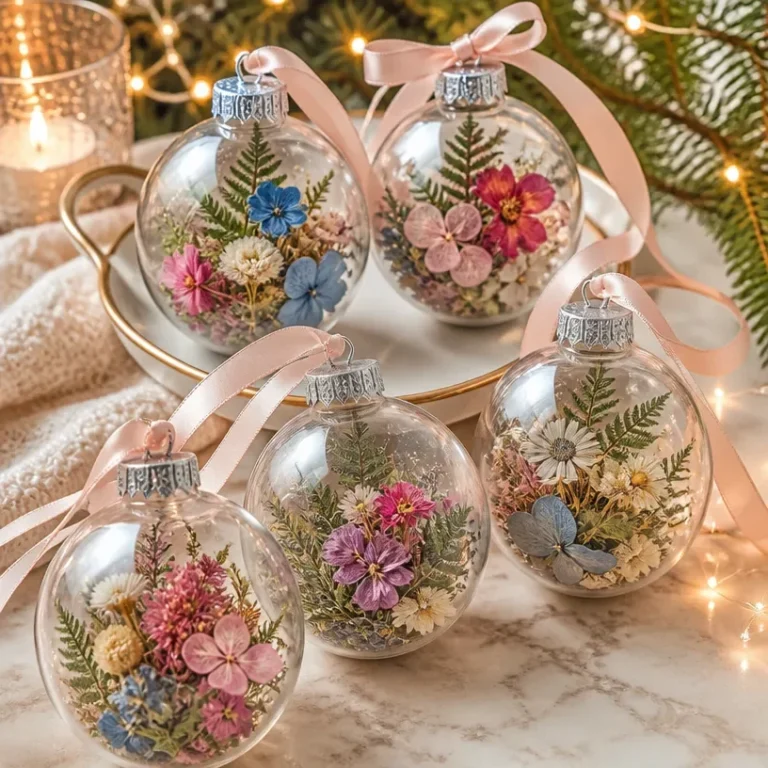
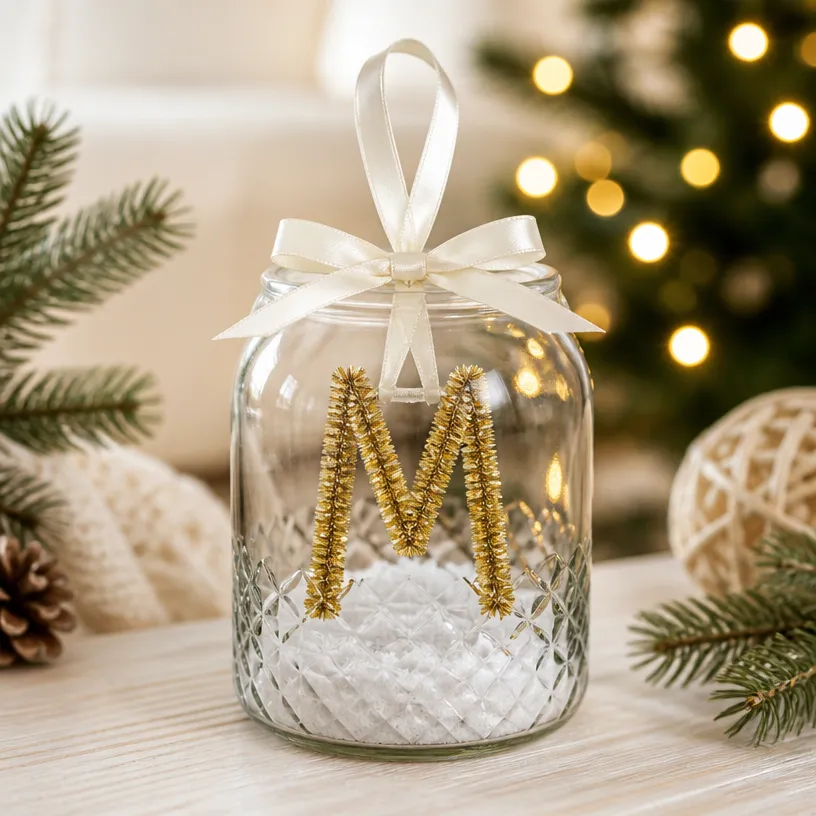
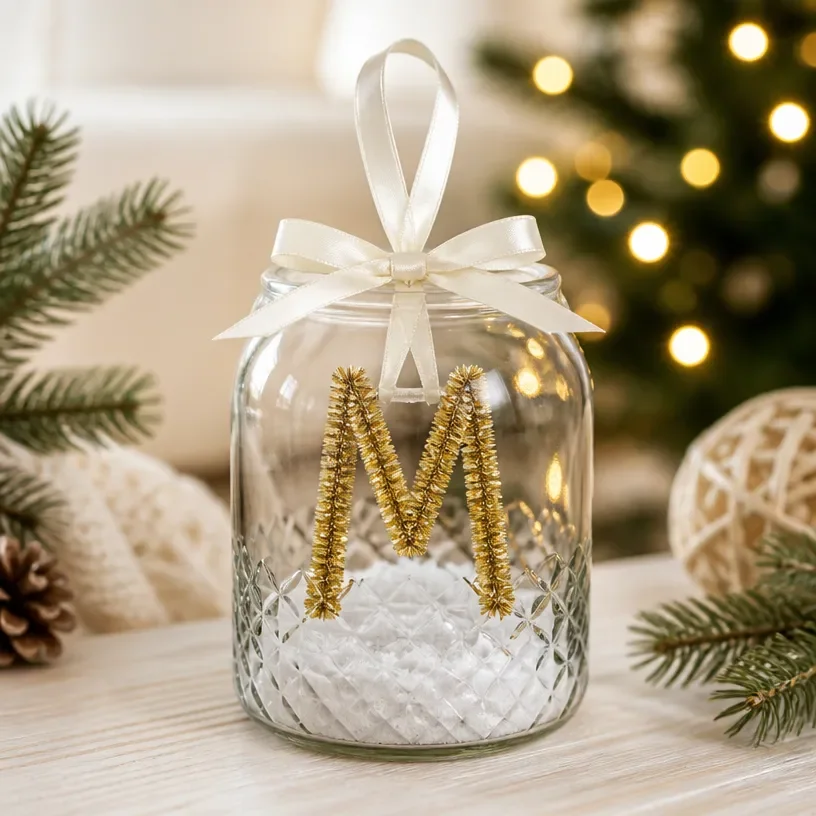
Creating a personalized crystal monogram ornament not only adds elegance to your holiday decor but also serves as a cherished keepsake. The shimmering clarity of crystal combines beautifully with your initials to create a sophisticated piece. This ornament can be displayed on your tree, hung in a window to catch the light, or given as a meaningful gift, showcasing both your creativity and thoughtfulness, similar to the inspiring designs found in DIY elegant home decor projects.
The steps to make your very own personalized ornament are remarkably simple, and the results will be nothing short of stunning. In this guide, you’ll find everything you need to know to successfully create a beautiful crystal monogram ornament. You may also find Diy Crystal Firework Ornament Christmas Decor useful.
Why You’ll Love This Project
There are many reasons to love making a crystal monogram ornament: You may also find Diy Crystal Sparkle Firework Ornament Holiday Decor useful.
- Customizable: You can personalize the ornament with initials, making it unique to you or the recipient.
- Eye-Catching Design: The play of light through the crystal adds depth and richness, creating an enchanting effect.
- Versatile Use: This ornament is perfect for holiday displays, as a Gift, or even everyday decor, fitting seamlessly into any setting.
- Approachable Technique: The process is straightforward and requires no advanced crafting skills, making it accessible for everyone.
- Gift Potential: A personalized ornament is a thoughtful gift for weddings, anniversaries, or housewarming parties.
Before You Begin
To create a stunning crystal monogram ornament, preparation is key. Make sure to protect your work surface to avoid scratches or damage from crafting tools. Gather all your materials and organize them neatly within reach to streamline the crafting process. Pre-clean the glass surface where your monogram will be applied to ensure a smooth and clean finish. You may also find Crystal Hanging Plant Decor useful.

Materials You’ll Need
- Clear acrylic disc forms the transparent base for your ornament.
- Transfer tape for carefully applying your monogram.
- Permanent adhesive vinyl used for creating the initials on the ornament.
- Weeding tool to remove excess vinyl after cutting.
- Ribbon or twine for hanging the ornament once completed.
Tools
- Cricut or similar cutting machine for precise cutting of vinyl.
- Scissors to cut the ribbon or twine to your desired length.
- Scraper tool to apply the vinyl smoothly onto the acrylic disc.
How to Make the Project
Step 1: Design Your Monogram
Begin by designing your monogram in a graphic design software or using a Cricut design program. Choose a font style that resonates with your aesthetics. Remember, the clearer the design, the easier it will be to cut.
Step 2: Cut the Vinyl
Using your cutting machine, load the permanent adhesive vinyl and cut out your monogram design. Ensure the settings are appropriate for the thickness of the vinyl.
Step 3: Weed the Vinyl
Once cut, use your weeding tool to carefully remove the excess vinyl, leaving only the monogram on the backing.
Step 4: Apply Transfer Tape
Cut a piece of transfer tape larger than your monogram, and carefully place it over the vinyl. Press down to ensure it adheres well.
Step 5: Stick the Monogram onto the Acrylic Disc
Align the applied monogram over the center of the acrylic disc. Use the scraper tool to press it down firmly, ensuring there are no air bubbles.
Step 6: Remove the Transfer Tape
Slowly peel away the transfer tape, ensuring the vinyl stays attached to the acrylic.
Step 7: Attach Ribbon for Hanging
Cut your chosen ribbon or twine to your desired length and tie it securely to the top of the ornament for hanging.
Project Tips
- Placement Matters: Before applying your vinyl, visualize where you want it on the disc to ensure it’s centered and straight.
- Avoid Excess Adhesive: Using just enough adhesive will help keep your ornament looking neat and polished.
- Test the Adhesive: If unsure about the vinyl sticking properly, do a small test before applying to the entire ornament.
- Drying Time: Allow the ornament to sit for a while after you’ve completed the application to ensure everything is fully set.
Customization / Variations
Consider customizing your ornament further with seasonal decorations. For example, you could choose a festive color palette of red and green, or go for a winter wonderland silver and blue theme. You can also experiment with different shapes, such as stars or hearts, to make the design even more special.
How to Display Your Finished Project
Your personalized monogram ornament can be beautifully displayed on your Christmas tree alongside other handmade decorations, such as a crystal beaded Christmas ornament. Alternatively, use it as a charming window ornament to catch sunlight or place it in a decorative bowl during off-seasons, making it a versatile piece for celebration.
Care and Storage
To ensure the longevity of your ornament, dust it gently with a soft cloth to keep it sparkling. Avoid exposing it to prolonged moisture and store it in a safe, dry place during off-seasons to prevent any potential damage.

Frequently Asked Questions
Frequently Asked Questions
1. Can I use regular vinyl instead of adhesive vinyl for this project?
While regular vinyl can be used, adhesive vinyl is recommended for a longer-lasting bond with the acrylic.
2. What if I made a mistake while applying the vinyl?
If you make a mistake, gently peel the vinyl back and carefully reposition it. Ensure no residue is left before reapplying.
3. Can I add additional decorations after applying the monogram?
Yes, you can embellish your ornament with additional decorations like small charms or glitter if desired.
4. What’s the best way to hang my ornament?
Using a ribbon or twine tied securely at the top is the easiest and most aesthetic way to hang your monogram ornament.
Conclusion
Creating your personalized crystal monogram ornament provides not only a stunning decorative item but a project filled with personalized meaning, celebrating your unique style. Consider expanding your ornament collection with beautifully personalized designs like those found at Waterford’s engraved crystals or exploring more gift ideas like personalized glass ornaments. Enjoy the crafting process as much as the stunning result!
Crystal Monogram Ornament
Ingredients
Method
- Begin by designing your monogram in a graphic design software or using a Cricut design program. Choose a font style that resonates with your aesthetics.
- Using your cutting machine, load the permanent adhesive vinyl and cut out your monogram design. Ensure the settings are appropriate for the thickness of the vinyl.
- Once cut, use your weeding tool to carefully remove the excess vinyl, leaving only the monogram on the backing.
- Cut a piece of transfer tape larger than your monogram, and carefully place it over the vinyl. Press down to ensure it adheres well.
- Align the applied monogram over the center of the acrylic disc. Use the scraper tool to press it down firmly, ensuring there are no air bubbles.
- Slowly peel away the transfer tape, ensuring the vinyl stays attached to the acrylic.
- Cut your chosen ribbon or twine to your desired length and tie it securely to the top of the ornament for hanging.