Go Back
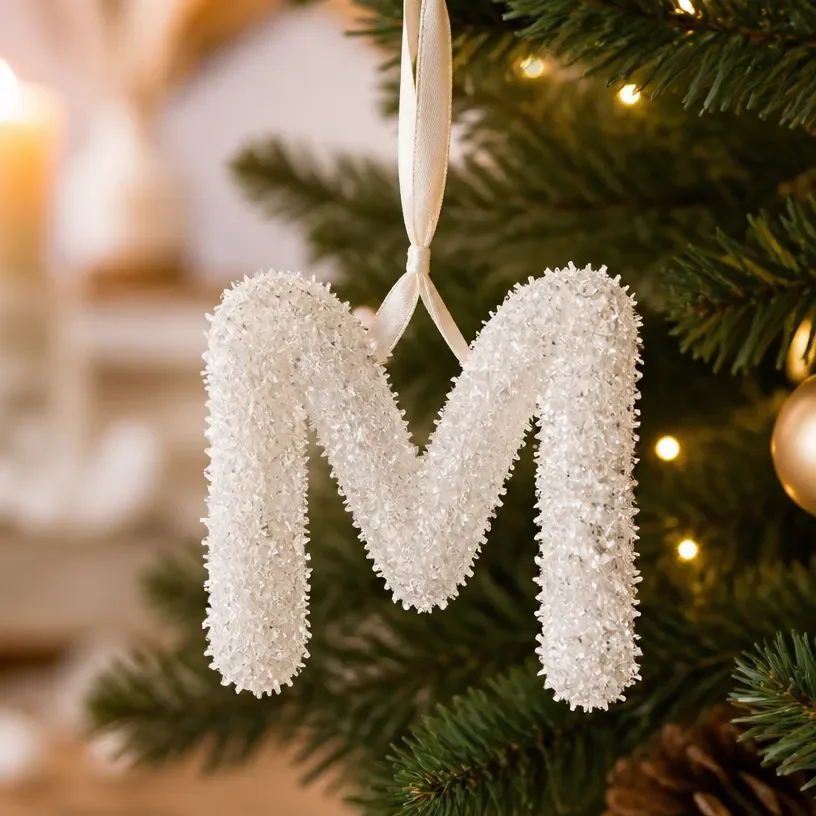
DIY personalized crystal letter ornament for Christmas tree decoration

Personalized Crystal Letter Ornament

Create stunning personalized crystal letter ornaments for your Christmas tree using acrylic sheets and crystal charms, bringing a unique touch to your holiday decor.
Prep Time 30 minutes
Total Time 30 minutes
Servings: 1 ornament
Course: Craft, Decorating
Cuisine: Crafts, DIY

Ingredients
  

Materials
  • 1 sheet Clear acrylic sheets These will form the base of your ornament.
  • As needed pieces Crystal charms or beads For added sparkle and personalization.
  • 1 tube Strong adhesive To securely bond the pieces.
  • 1 length Ribbon or string For hanging your ornament.
  • 1 each Scissors or craft knife For cutting your acrylic.
  • 1 each Drill (optional) To create holes in the acrylic for hanging.
Tools
  • 1 each Craft knife To cut the acrylic to the desired shape.
  • 1 each Ruler For measuring dimensions accurately.
  • 1 each Hole punch or drill If you prefer having perforated holes for hanging.

Method
 

Preparation
  1. Decide on the letter you wish to feature and sketch out your design on a piece of paper.
  2. Using the craft knife, carefully cut out your letter from the clear acrylic sheet.
  3. Lay out the crystal charms or beads on the acrylic letter.
  4. Use a strong adhesive to attach the crystals, ensuring they are secure.
  5. If you want to hang your ornament, carefully use a drill or hole punch to make a small hole.
  6. Once everything is dry and secure, thread your ribbon or string through the hole and tie it in a loop for hanging.

Notes

Use a steady hand when cutting the acrylic for cleaner edges. Ensure that the adhesive dries completely before hanging to prevent falling decorations. Feel free to explore different crystal colors and letter shapes for customization.