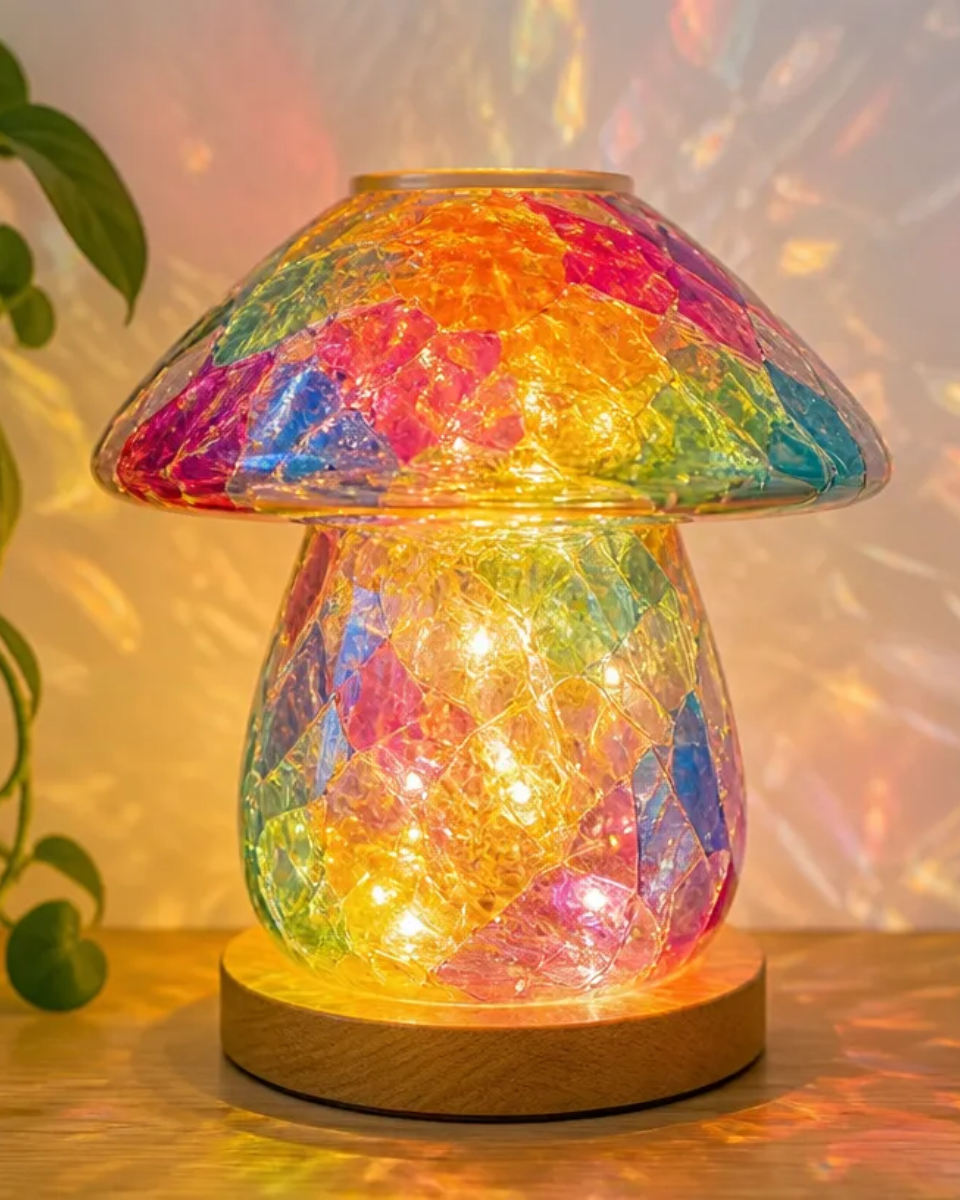
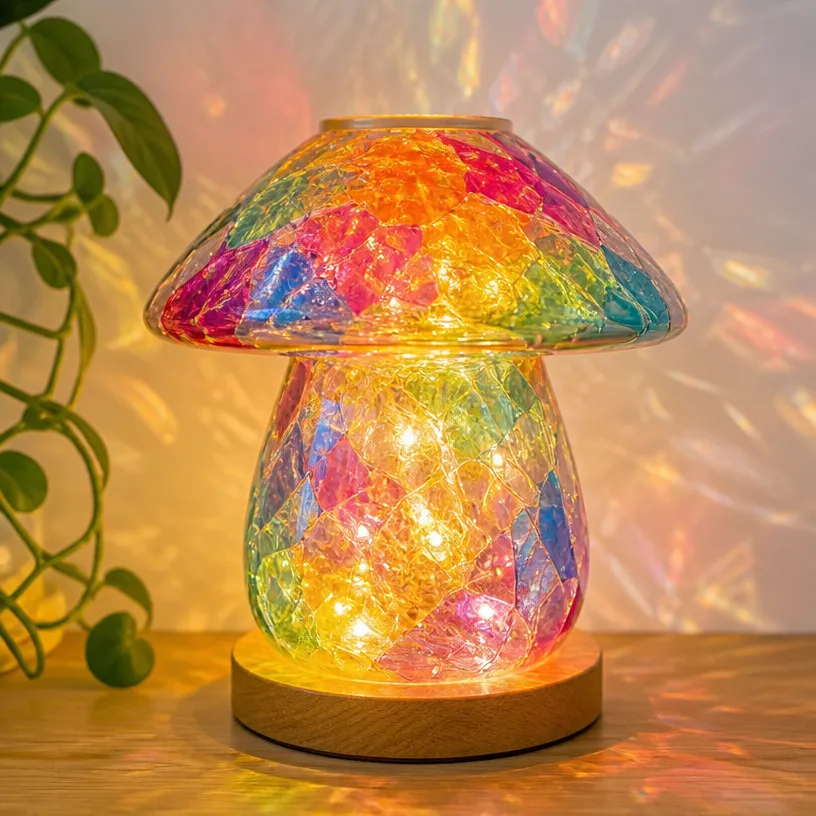
The Rainbow Crystal Mushroom Lantern is a stunning decorative piece that introduces a splash of color and whimsy to any room. With its vibrant hues reflecting light in enchanting patterns, it becomes a captivating focal point. Whether placed on a bedside table, used as a centerpiece, or displayed in a window, this lantern will spark joy and inspiration in your space. You may also find Diy Beach Themed Candle Tray Rainbow Glass Gems useful.
Creating this beautiful lantern is not only a rewarding project; it also provides a unique opportunity to personalize your home decor. By following these straightforward steps, you’ll be well on your way to making a piece that’s not just functional but also a striking work of art. To explore similar creative projects, consider checking out our guide on how to create a glow-in-the-dark lantern.
Why You’ll Love This Project
Why This Project Works
- Display-Ready: The Rainbow Crystal Mushroom Lantern is visually stunning and ready to be showcased in your home.
- Beautiful Light Effects: As the light passes through the colored glass, it creates delightful patterns that dance on your walls.
- Customizable Design: You can choose colors and designs to match your home’s decor or your personal style.
- Approachable Technique: This project is simple enough for both beginners and seasoned DIYers, allowing everyone to create something beautiful.
- Gift Potential: Handmade items make thoughtful gifts, especially when you can tailor them to the recipient’s taste.
Before You Begin
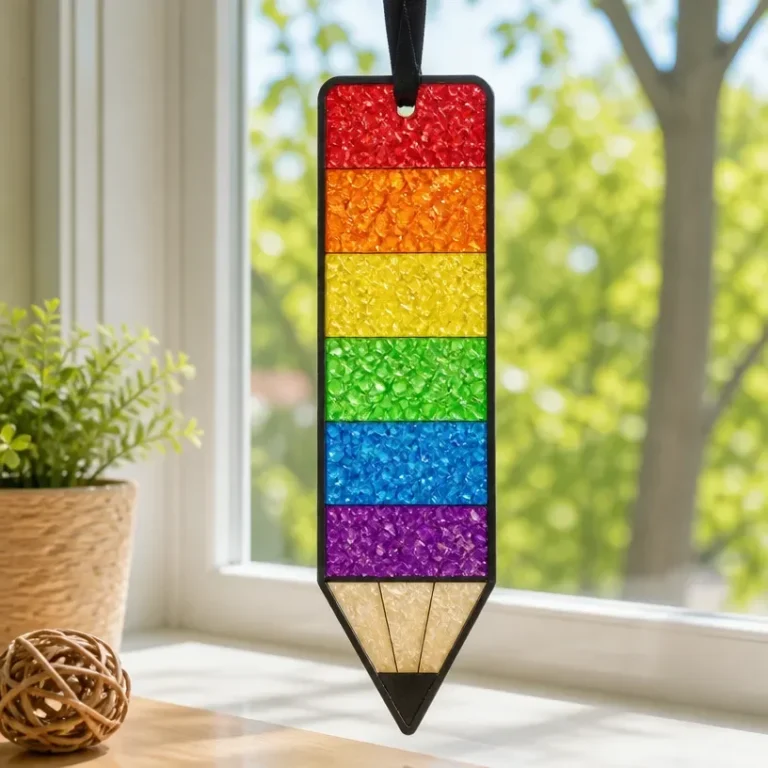
Before diving into this vibrant project, take a moment to prepare your workspace. Cover your work surface with a protective covering to avoid any scratches or spills. Organize all materials within easy reach to streamline the crafting process. If you’re using glass, ensure it is clean and free of dust for the best results. Good lighting is essential, as it will help you see your work clearly and make precise adjustments as needed. You may also find Diy Crystal Rainbow Pencil Suncatcher Window Decor useful.
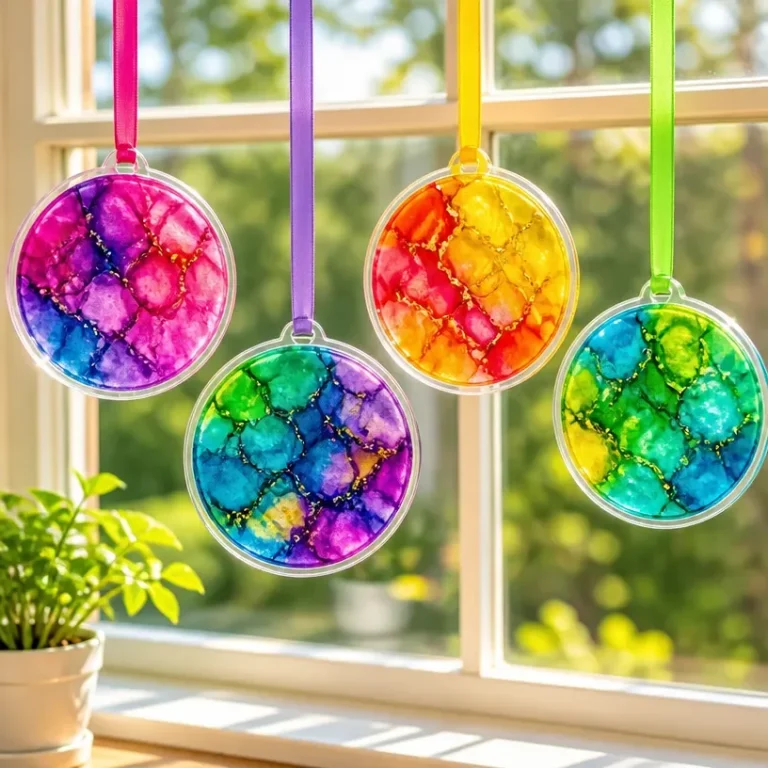
You may also find Diy Pink Crystal Unicorn Suncatcher For Clear Glass Window Decor useful.
Materials You’ll Need
- Colored glass sheets these will form the lantern’s body and create beautiful light reflections.
- LED tea light provides safe illumination without the risk of fire.
- Glass paint markers for adding designs and personal touches to the glass.
- Sturdy base a wooden or metal base to stabilize the lantern.
- Adhesive a suitable glue for glass to ensure everything stays securely attached.
Tools
- Scissors for cutting the colored glass into shape.
- Craft knife to ensure precise cuts in the glass sheets.
- Paintbrush for applying any additional paints or sealants if needed.
- Protective gloves to keep your hands safe while handling glass and adhesives.
How to Make the Project
Step 1: Prepare the Glass
Begin by cutting your colored glass sheets into the desired shapes for the lantern. You can create rounded or angular designs, depending on your vision. Use the craft knife carefully to avoid injuries.
Step 2: Create the Base
Secure your sturdy base to a flat surface. This base will provide stability for the lantern and ensure it stands upright. If you wish, you can paint or decorate the base to match your glass design.
Step 3: Attach the Glass
Using adhesive, carefully attach the glass pieces to your base, ensuring they are arranged in an aesthetically pleasing manner. Hold each piece in place for a moment to allow the adhesive to set.
Step 4: Add Personal Touches
Use the glass paint markers to add unique designs or patterns to the exterior of the glass. This step allows you to customize the lantern according to your style or the decor of your room.
Step 5: Insert the LED Tea Light
Once the adhesive has fully dried and the paint has cured, place the LED tea light inside the lantern. This will help illuminate the glass pieces and create that stunning reflective effect.
Step 6: Display Your Lantern
Find the perfect location to display your newly crafted Rainbow Crystal Mushroom Lantern. Consider placing it near a window or in a well-lit room where its beauty can shine through.
Tips for the Best Result
- Plan Your Design: Before cutting the glass, sketch out your design on paper to visualize the final look.
- Clean Glass: Ensure that all glass surfaces are free of dust or fingerprints to maintain clarity and brilliance.
- Use a Level Surface: When attaching your glass pieces, make sure you’re working on a level surface to ensure everything aligns properly.
- Let It Cure: Follow the adhesive’s curing instructions for best results, allowing sufficient time for it to set and dry completely.
- Avoid Excess Adhesive: Use just enough adhesive to hold the glass pieces securely; excess glue can be unsightly and difficult to remove.
Customization / Variations
Feel free to experiment with different color palettes and designs! Try using shades that match your existing home decor, or consider seasonal themes, like warm colors for fall or bright pastels for spring. You can also experiment with different sizes of the lantern to suit various spaces in your home.
Ideas for Styling Your Handmade Decor
The Rainbow Crystal Mushroom Lantern can be styled in numerous ways consider using multiple lanterns of varying sizes for an eclectic look or pairing it with similar DIY projects, such as a suncatcher to enhance the light-reflecting effect.
Care and Storage
To maintain your lantern’s beauty, dust it gently with a soft cloth periodically. Avoid placing it in damp areas, as moisture may affect both the paint and the adhesive. If you seasonally display this lantern, store it carefully away from direct sunlight to prevent any color fading.

Frequently Asked Questions
Q1: What materials can I use for the lantern?
You can experiment with various colored glass sheets, or even use upcycled glass items like jars or bottles.
Q2: How do I secure the glass pieces?
Using a high-quality adhesive specifically made for glass is essential in ensuring a stable structure.
Q3: Can I use a real candle instead of an LED light?
If you choose to use a real candle, ensure it is safely placed inside and never left unattended.
Q4: What should I do if the glass breaks during crafting?
Always wear protective gloves while handling glass. If breakage occurs, clean up the pieces carefully and dispose of them in a safe manner.
Q5: How can I customize the colors used in the lantern?
Consider using a variety of colored glass sheets or adding colored accents with paint markers to match your individual style.
Conclusion
The Rainbow Crystal Mushroom Lantern is a delightful addition to your home decor, providing both beauty and light. This project not only brightens your space but also allows for creativity and personalization. For additional inspirations, consider the beautiful lighting options available on platforms like Amazon or unique decorative pieces from Etsy. Enjoy showcasing your lovely creation to friends and family!

Rainbow Crystal Mushroom Lantern
Ingredients
Method
- Prepare your workspace by covering the surface to avoid scratches or spills.
- Organize all materials within easy reach.
- Ensure all glass is clean and free of dust.
- Make sure you have good lighting to work clearly.
- Step 1: Begin by cutting your colored glass sheets into the desired shapes.
- Step 2: Secure your sturdy base to a flat surface.
- Step 3: Using adhesive, carefully attach the glass pieces to your base.
- Step 4: Use glass paint markers to add unique designs on the glass.
- Step 5: Insert the LED tea light inside the lantern once the adhesive has dried.
- Step 6: Find the perfect location to display your lantern.