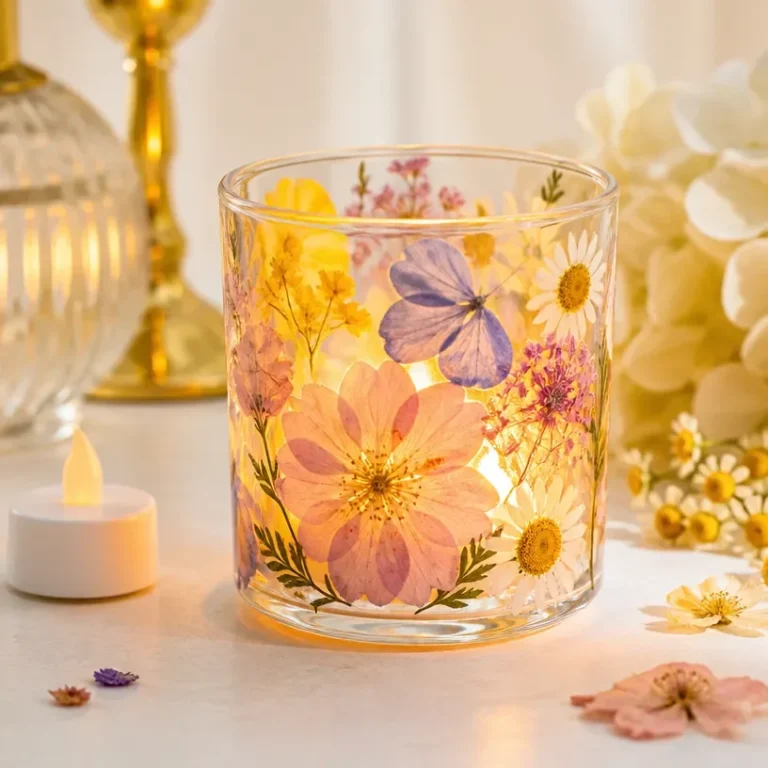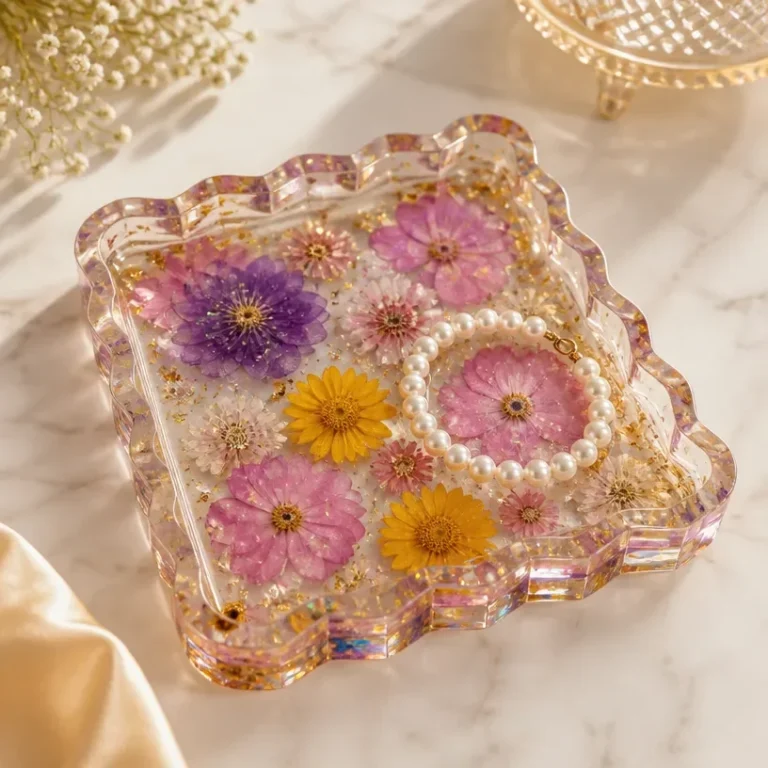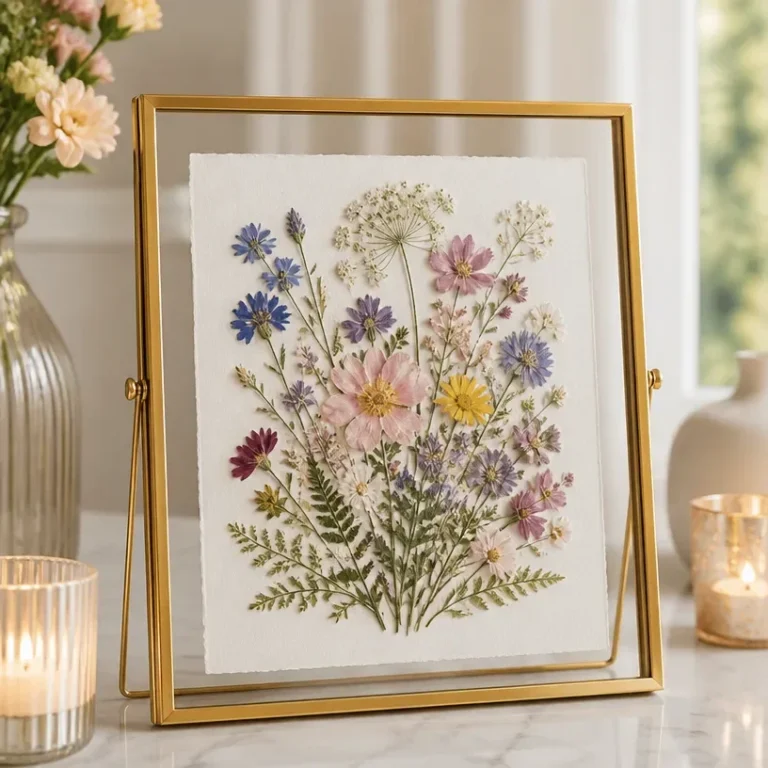
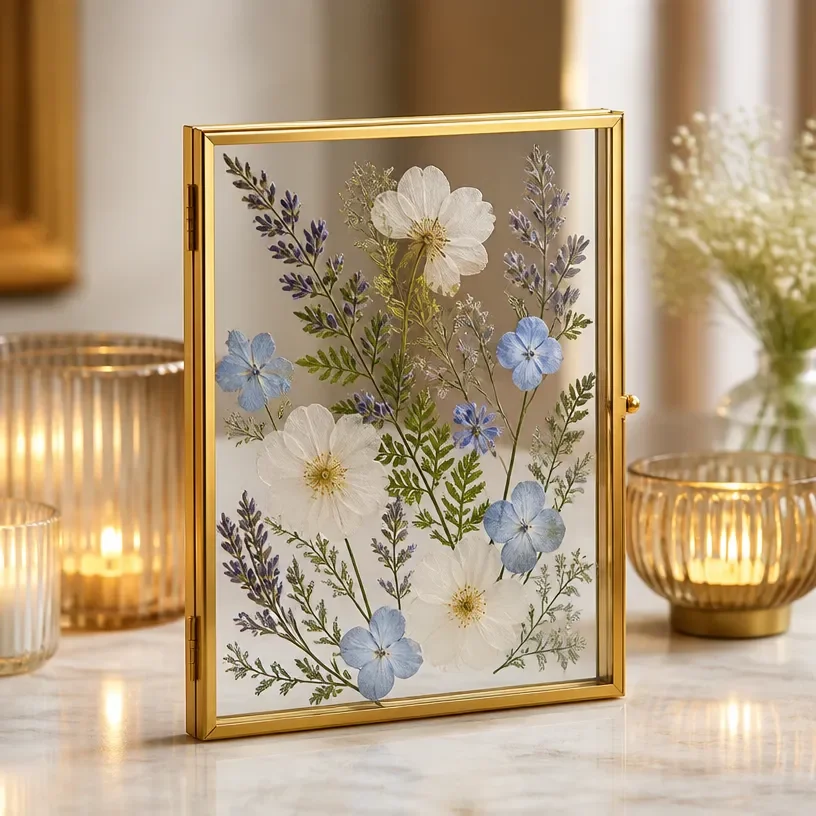
Pressed Flower Floating Glass Frame
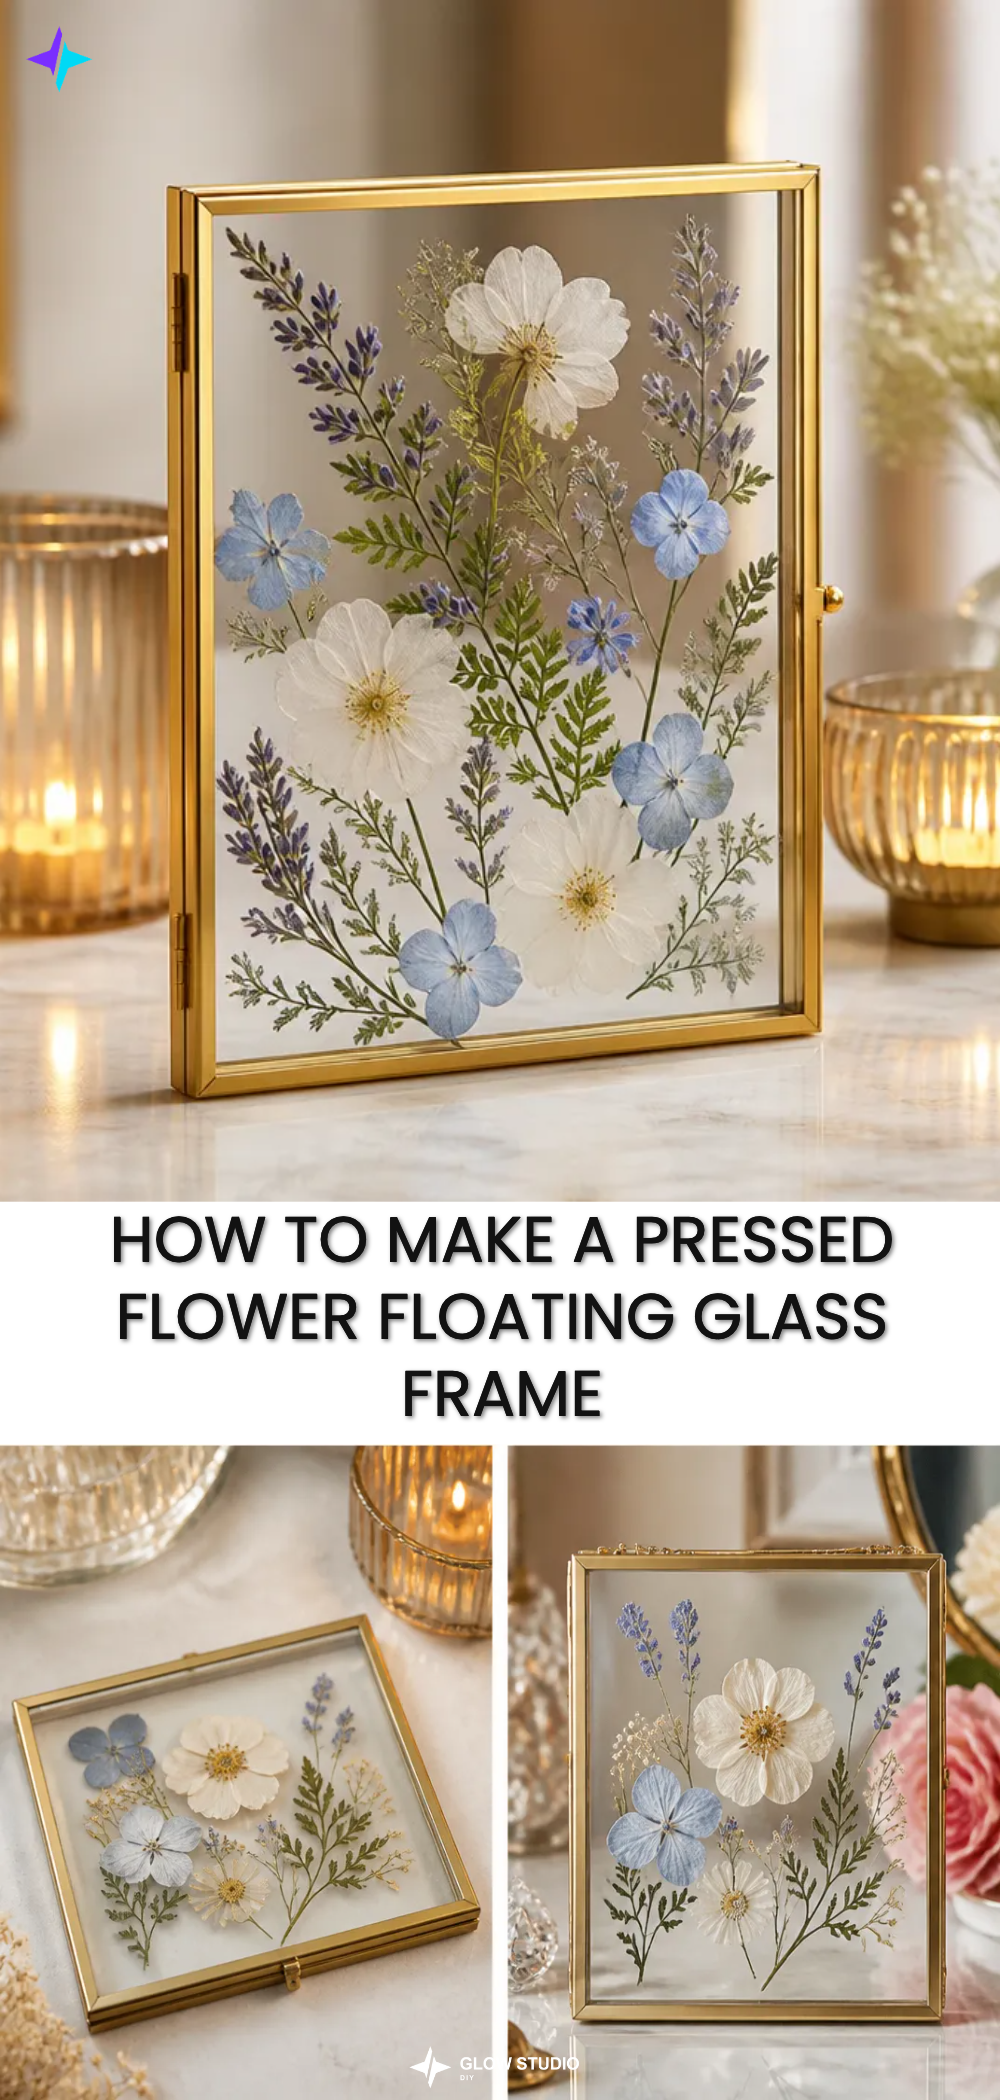
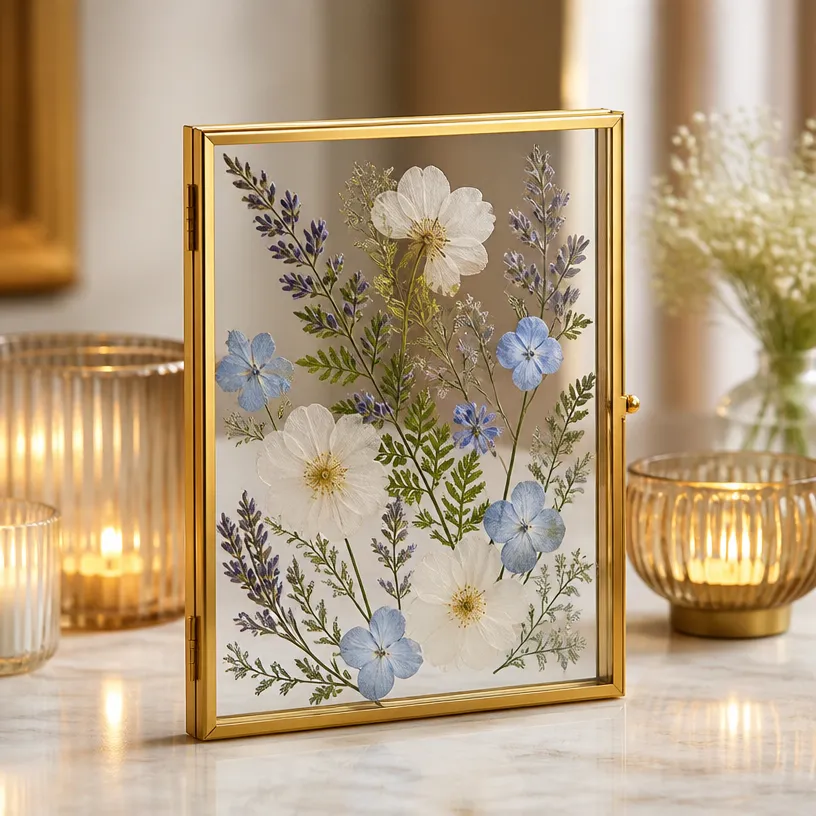
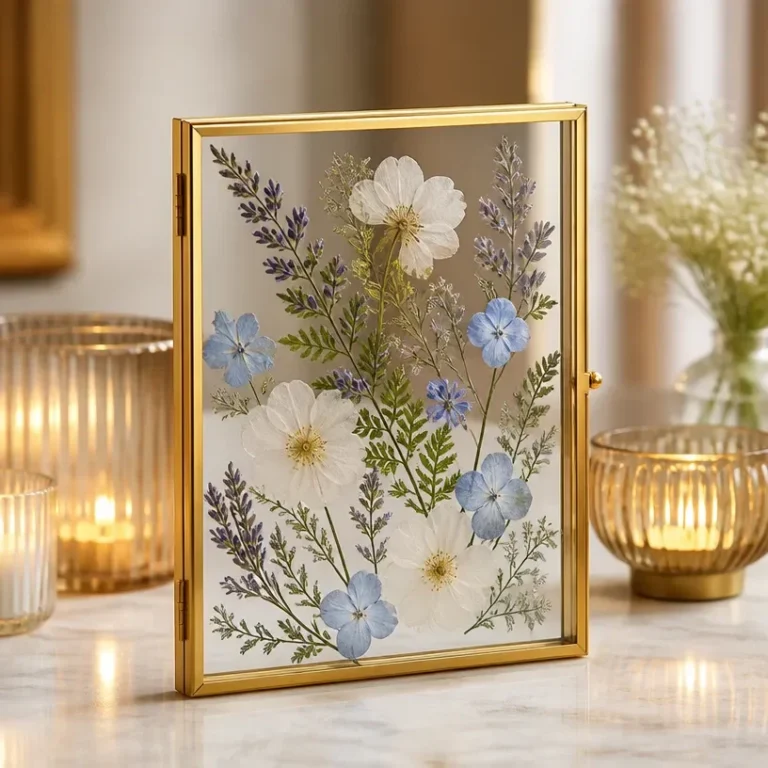
Creating a pressed flower floating glass frame is a beautiful way to preserve nature and bring a touch of the outdoors into your home. This DIY project allows you to showcase vibrant pressed flowers and greenery in an aesthetically pleasing manner, making it a perfect addition to your decor. Whether displayed on a wall or a shelf, the finished piece becomes a lovely focal point in any room.
Gather your materials and get ready to transform some dried botanicals into stunning decorative art!
Why You’ll Love This Project
There are numerous reasons to enjoy making a pressed flower floating glass frame:
- Display-worthy Result: The final piece is visually stunning and adds a touch of nature to any space.
- Approachable Technique: This project is beginner-friendly and doesn’t require complex techniques.
- Customizable Colors: You can choose flowers and greenery that match your personal style or home decor.
- Gift Potential: A handmade piece makes a thoughtful, personalized gift for friends and family.
- Inexpensive Materials: Most materials are easy to find and won’t break the bank.
Before You Begin
To ensure a smooth crafting experience, consider the following preparations:
- Protect Your Work Surface: Lay down a protective layer to avoid any mess during your project.
- Organize Your Materials: Have all your materials ready and within reach to streamline the process.
- Clean the Glass: Wipe the glass panels with a microfiber cloth to remove any dust or smudges before assembling.
Materials You’ll Need
- Floating glass frame
- Pressed flowers
- Dried greenery
- Tweezers
- Small amount of clear adhesive
Tools
No specific tools are necessary for this project beyond your materials.
How to Make the Project
Step 1: Arrange the Pressed Flowers
Begin by placing your pressed flowers and dried greenery between the two glass panels of the frame. Take your time arranging them in a way that is visually interesting and aesthetically pleasing.
Step 2: Secure the Design
Using the tweezers, gently adjust any delicate pieces and secure them with a small amount of clear adhesive where necessary. This step is crucial to ensure that your design stays intact once the frame is closed.
Step 3: Close the Frame
Carefully close the floating glass frame, ensuring that your botanicals are properly positioned within. Check that everything is secure before moving on.
Step 4: Display Your Creation
Now that your frame is complete, find a beautiful spot to display it as botanical wall or shelf decor. It can serve as a stunning centerpiece to highlight your pressed flowers.
Project Tips
- Placement: Take your time to arrange the flowers before sealing them.
- Neat Finishing: Use minimal adhesive to avoid any visible glue around the edges.
- Handle with Care: Be gentle with delicate pieces to avoid damage during assembly.
Customization / Variations
Feel free to customize your pressed flower frame with various flower selections, colors, and even the shape of the frame. You can create seasonal themes or match it with your home decor style.
How to Display Your Finished Project
Your pressed flower floating glass frame can be displayed on a shelf, side table, or mounted on a wall. Group it with other botanical art or leave it standalone for a clean and elegant look.
Frequently Asked Questions
Can I use fresh flowers instead of dried ones?
Fresh flowers won’t stay preserved, so it’s best to use fully dried flowers for this project.
How should I store my materials?
Store pressed botanicals in a cool, dry place to prevent moisture damage until you’re ready to use them.
What if my flowers are too thick for the frame?
Consider trimming the flowers to ensure they fit well between the glass panels without putting too much pressure on the glass.
Can I customize the size of my frame?
Yes! You can choose any size of floating glass frame that suits your design preferences.
How do I fix any smudges on the glass?
Wipe the glass gently with a soft, dry cloth to remove any fingerprints or dust.
Conclusion
In this project, you’ve created a beautiful pressed flower floating glass frame that showcases the elegance of nature. This eye-catching decor piece not only enhances your home but also allows for endless customization. If you’d like to explore different frame options, check out a selection of glass frames for pressed flowers. For further inspiration on turning your pressed flowers into art, visit this helpful guide on DIY pressed flower art. Happy crafting!
Follow Glow Studio DIY for fresh DIY ideas & inspiration!
Pressed Flower Floating Glass Frame
Would you like to save this project?
By submitting you agree to receive this project and occasional emails. Unsubscribe anytime.
Materials
Materials
- 1 unit Floating glass frame
- 1 bunch Pressed flowers Choose your favorite colors
- 1 bunch Dried greenery
- 1 unit Tweezers For adjusting delicate pieces
- small amount unit Clear adhesive Used to secure the flowers
Directions
Assembly Steps
- Begin by placing your pressed flowers and dried greenery between the two glass panels of the frame.
- Using the tweezers, gently adjust any delicate pieces and secure them with a small amount of clear adhesive where necessary.
- Carefully close the floating glass frame, ensuring that your botanicals are properly positioned within.
- Find a beautiful spot to display the completed frame as botanical wall or shelf decor.
Last Step: Don’t forget to leave a rating and comment below! It helps other readers find the best DIY projects — and it helps us too!