Sea Glass Wave Suncatcher
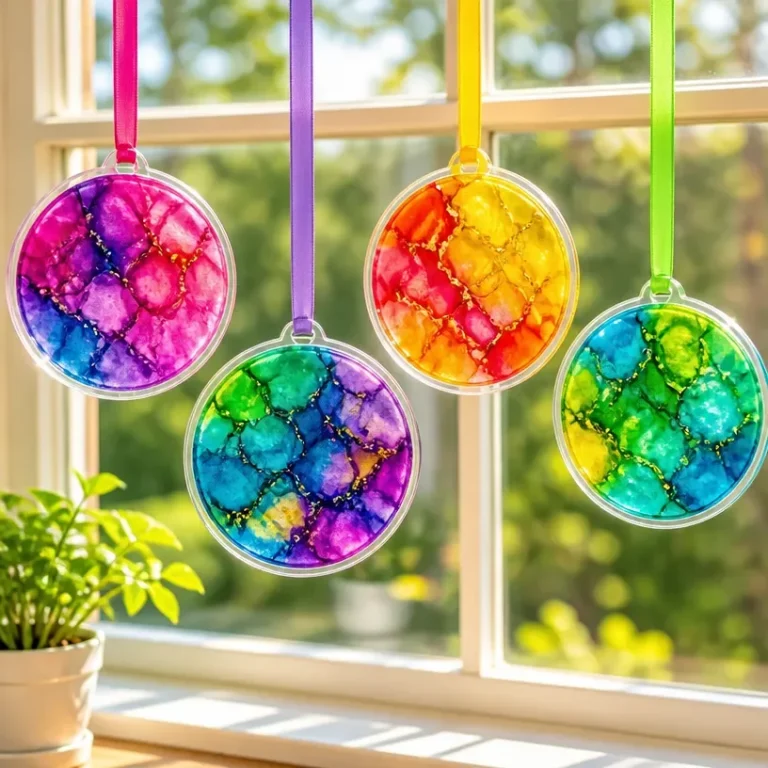
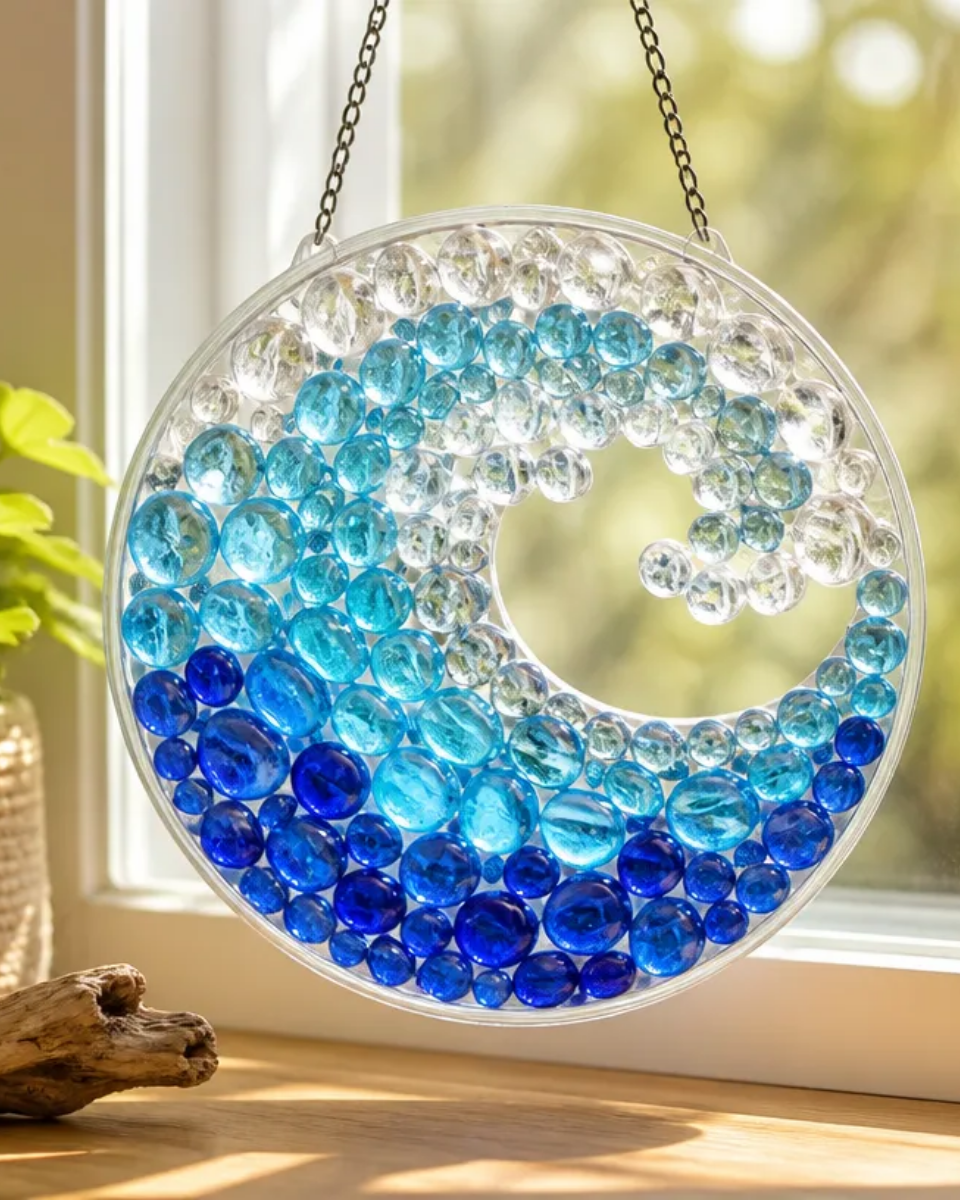
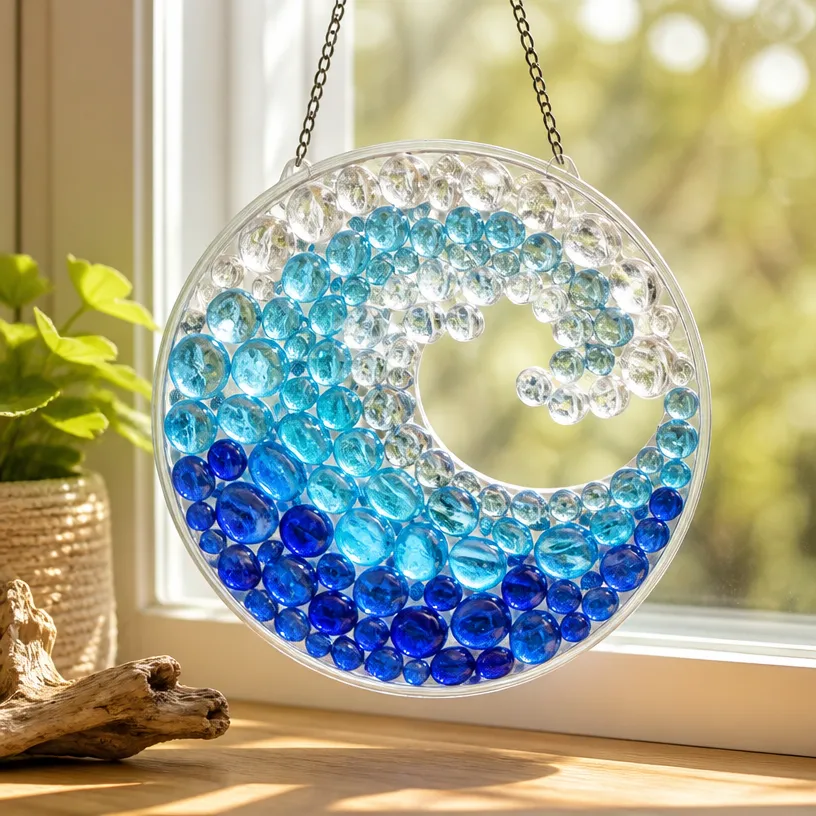
Creating a stunning sea glass wave suncatcher is an excellent way to bring a touch of shimmering, coastal charm into your home. This project captures the beauty of the ocean, allowing sunlight to dance through the vibrant colors of the glass, creating mesmerizing reflections and light patterns. You’ll find that this piece can be elegantly displayed in any window, serving as a delightful reminder of the sea’s tranquility. You may also find Diy Elegant Faux Sea Glass Vase Home Decor useful.
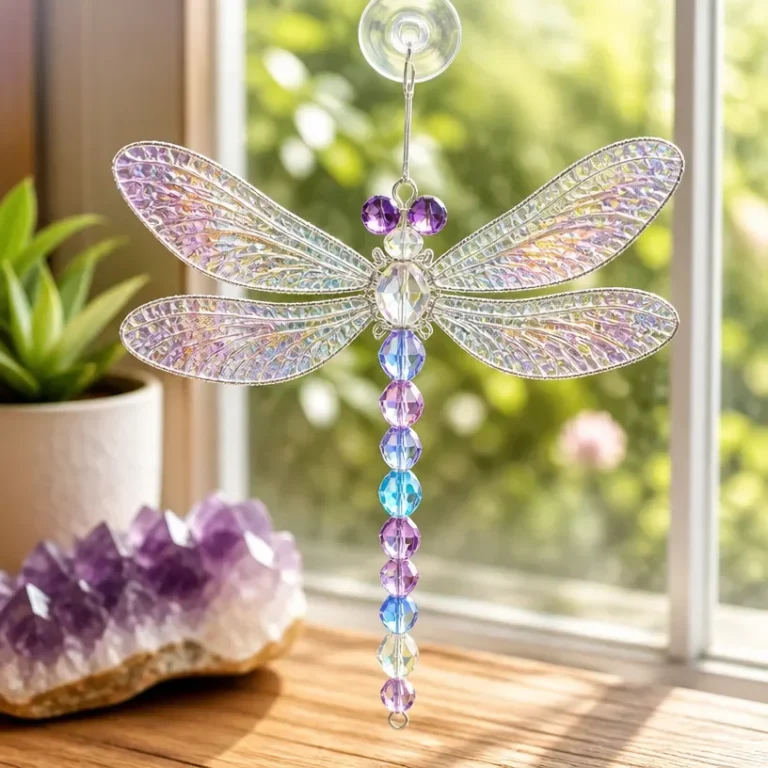
Enjoying a sun-catcher like this one not only enhances your decor but also provides a fulfilling experience as you craft a unique piece of art that reflects your personal style. If you’re interested in other glass-related projects, consider exploring how to make crystal glass suncatchers for a different yet equally captivating result.
Why You’ll Love This Project
Benefits of Making Your Own Sea Glass Suncatcher
- Display Worthy: The vibrant colors and intricate designs make this suncatcher a standout piece in any room, enhancing your decor beautifully.
- Beautiful Light Effects: As sunlight filters through the glass, it creates stunning patterns that can brighten up dull spaces.
- Customizable Design: You have the freedom to choose colors and shapes that resonate with you, allowing for a truly personal touch.
- Inexpensive Materials: Sourcing materials for this project won’t break the bank, making it an accessible crafting option for everyone.
- Creative and Fun: Engaging in DIY projects like this allows for creativity and relaxation, making it a rewarding way to spend your time.
Before You Begin
Preparing for your sea glass wave suncatcher will help streamline the crafting process. Begin by protecting your work surface with newspaper or a silicone mat to catch any adhesive spills. Organize your materials, ensuring that all pieces of sea glass are clean and dry. Having your tools readily available will also minimize disruption while you’re working. You may also find Diy Faux Stained Glass Suncatchers Sunny Windows useful.
You may also find Diy Rainbow Sea Glass Vases Coastal Decor useful.
Materials You’ll Need
- Colored sea glass choose various shades of blue, green, and clear for a beautiful oceanic effect.
- Acrylic adhesive will hold your sea glass pieces securely to your base.
- Transparent base (acrylic or glass) serves as the foundation for your suncatcher.
- String or wire for hanging your finished piece.
- Protective gloves to ensure safety while working with adhesive and sharp glass edges.
Tools
- Scissors for cutting the string or wire.
- Paintbrush helpful for applying adhesive evenly.
- Ruler to measure your materials for a neat finish.
How to Make a Sea Glass Wave Suncatcher
Step 1: Design Your Layout
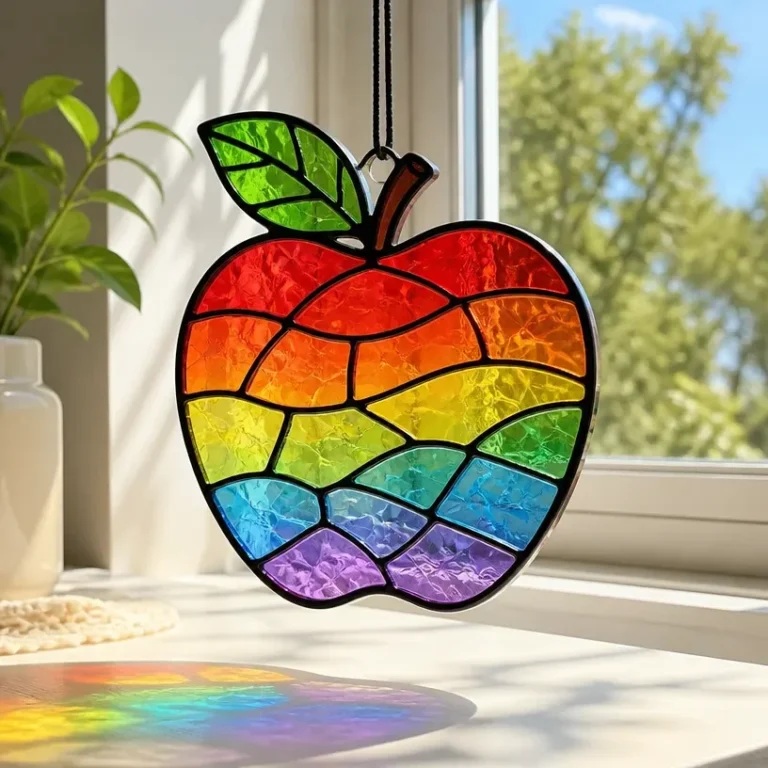
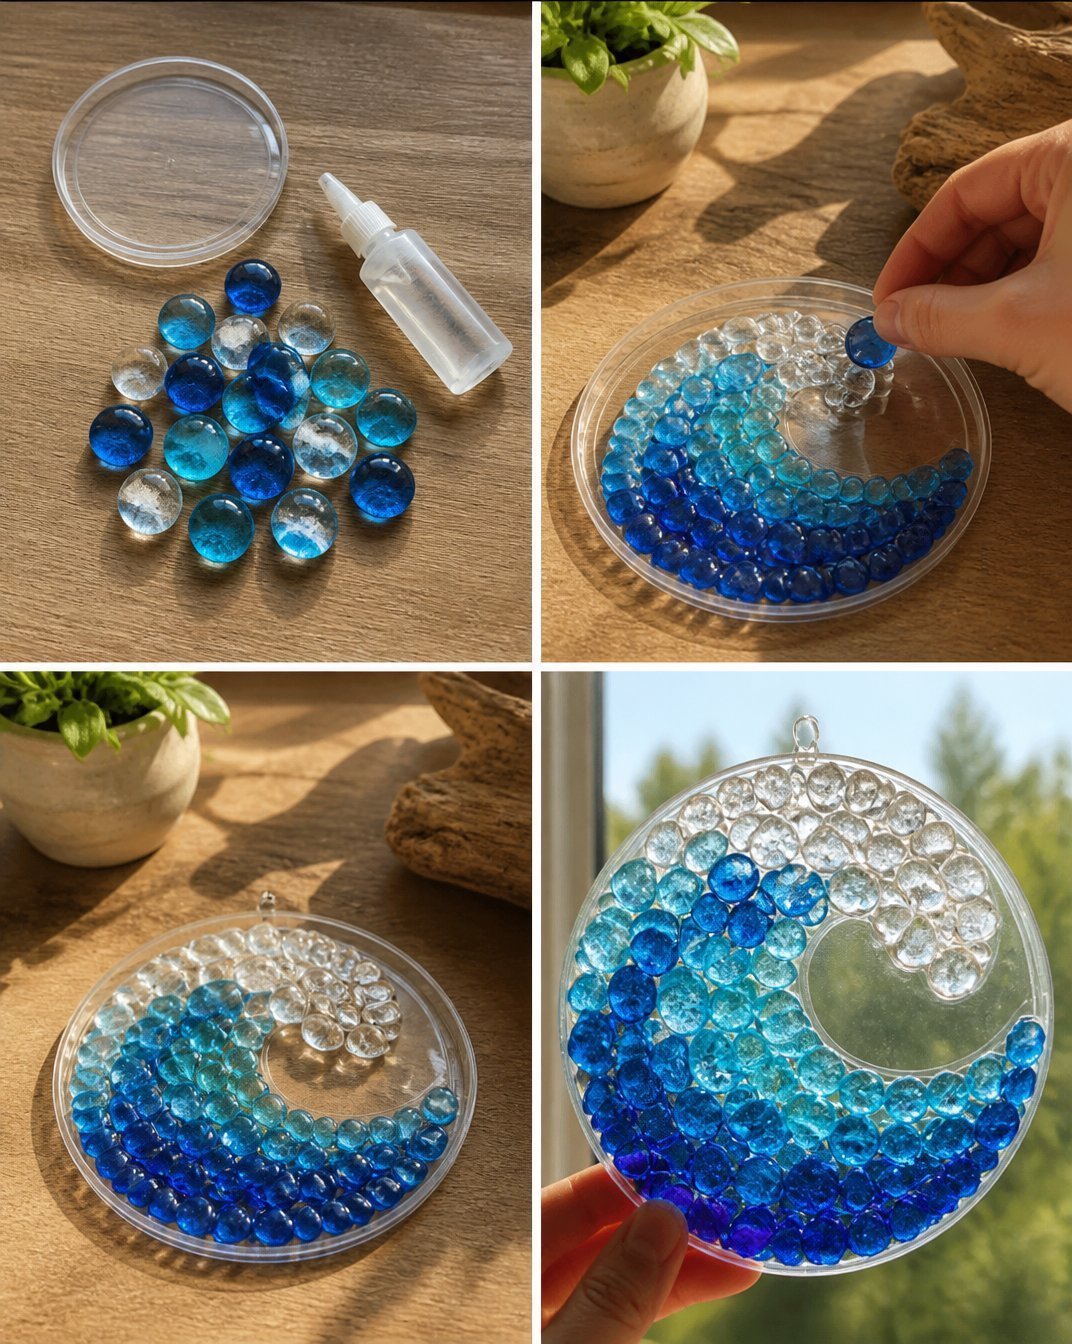
Begin by arranging your sea glass pieces on the transparent base. Play around with different arrangements until you find a wave pattern that you love. This will serve as your design template. You may also find Diy Rainbow Stained Glass Apple Suncatcher useful.
Step 2: Secure Your Design
Once you’re satisfied with the layout, use acrylic adhesive to secure the pieces in place. Be sure to apply enough adhesive so that each piece is firmly attached, but avoid excess that might spill over.
Step 3: Allow to Dry
After securing the glass pieces, allow your suncatcher to dry completely, following the manufacturer’s instructions on the adhesive packaging.
Step 4: Attach Hanging Mechanism
After the adhesive has cured, cut a piece of string or wire to your desired length for hanging. Attach it securely to the top of your suncatcher.
Step 5: Display Your Creation
Choose a sunny window to hang your suncatcher, where it can catch the light and create beautiful reflections around your space.
Tips for the Best Result
- Placement: Choose a window that gets ample sunlight for the best light effects.
- Alignment: Ensure your sea glass pieces are aligned properly as you secure them to avoid an uneven look.
- Finishing Touches: Wipe any excess adhesive off the glass with a damp cloth before it dries to achieve a clean finish.
- Balance Colors: When working with different colors, spread out similar shades across the design for a harmonious look.
- Handling Glass: Always be cautious when handling glass pieces, particularly if they have sharp edges.
Customization / Variations
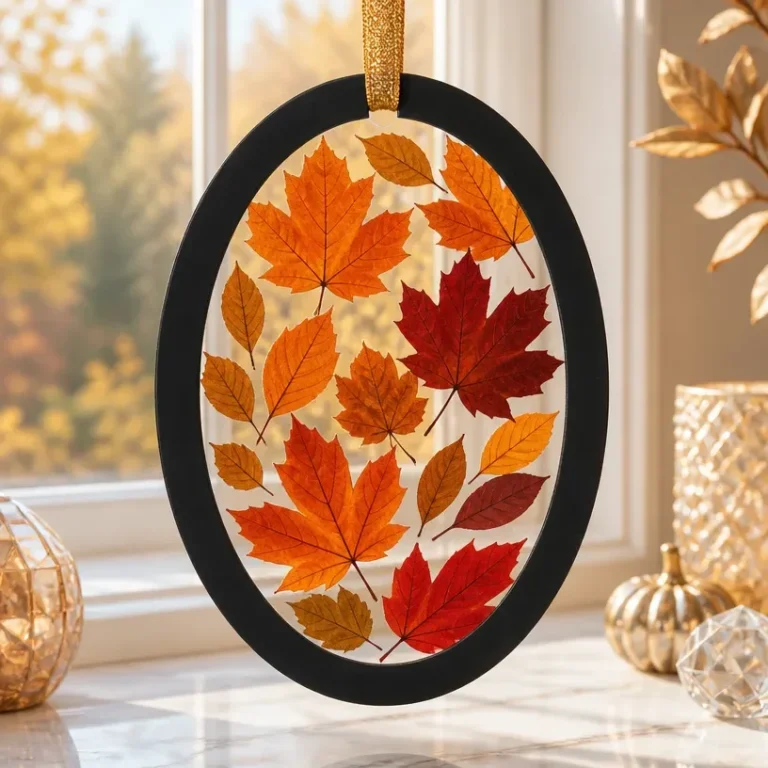
Feel free to mix and match colors based on your decor preferences. For a more festive touch, consider using seasonal colors, like autumn hues or spring pastels. You can also try different shapes for your base, such as circles or stars, to reflect your personal style even further.
How to Display Your Finished Project
Your finished sea glass wave suncatcher can be displayed in a variety of ways. Hang it in windows where sunlight directly strikes to maximize the light’s interaction with the glass. You could also consider using it as a part of a seasonal display or gifting it to a friend who loves coastal decor.
Frequently Asked Questions
Can I use regular glass instead of sea glass?
While regular glass can be used, sea glass has a unique texture and appearance that makes it particularly stunning as a suncatcher.
How do I clean the sea glass?
Rinse the sea glass in warm, soapy water and dry thoroughly before use to ensure a clean finish.
What should I do if the adhesive doesn’t hold?
Ensure you’re using a strong adhesive suitable for glass and check if each piece has enough adhesive applied.
Can this project be adapted for different sizes?
Yes! You can easily scale the size of your base and the sea glass pieces to create a larger or smaller version of the suncatcher.
How do I store my suncatcher when not in use?
Keep it in a safe, dry place away from heavy objects to avoid chipping or breaking it.
Conclusion
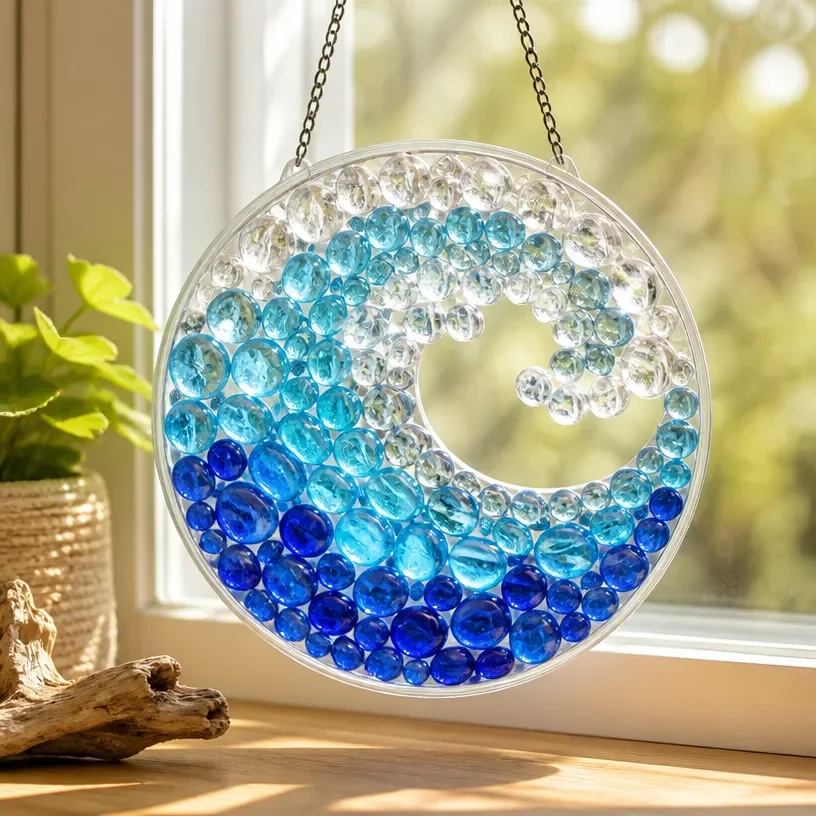
In conclusion, this DIY sea glass wave suncatcher not only adds beauty to your home but also serves as a meaningful project that you can customize to reflect your personal tastes. Embrace the opportunity to create something uniquely yours that will capture the enchanting effects of sunlight. For those who appreciate beautifully crafted decor, take a moment to explore similar products, such as the Blue Sea Turtle & Crushed Glass Wave Art available on Etsy, or discover decorative options like the WEBEEDY DIY Sea Glass Suncatcher Ornament on Amazon for inspiration!
Sea Glass Wave Suncatcher
Ingredients
Method
- Protect your work surface with newspaper or a silicone mat.
- Organize your materials and ensure all pieces of sea glass are clean and dry.
- Begin by arranging your sea glass pieces on the transparent base to create a wave pattern you love.
- Once satisfied with the layout, use acrylic adhesive to secure each piece in place.
- Allow the suncatcher to dry completely, following the adhesive manufacturer's instructions.
- After drying, cut a piece of string or wire and attach it securely for hanging.
- Hang your suncatcher in a sunny window to catch light and create beautiful reflections.