Go Back
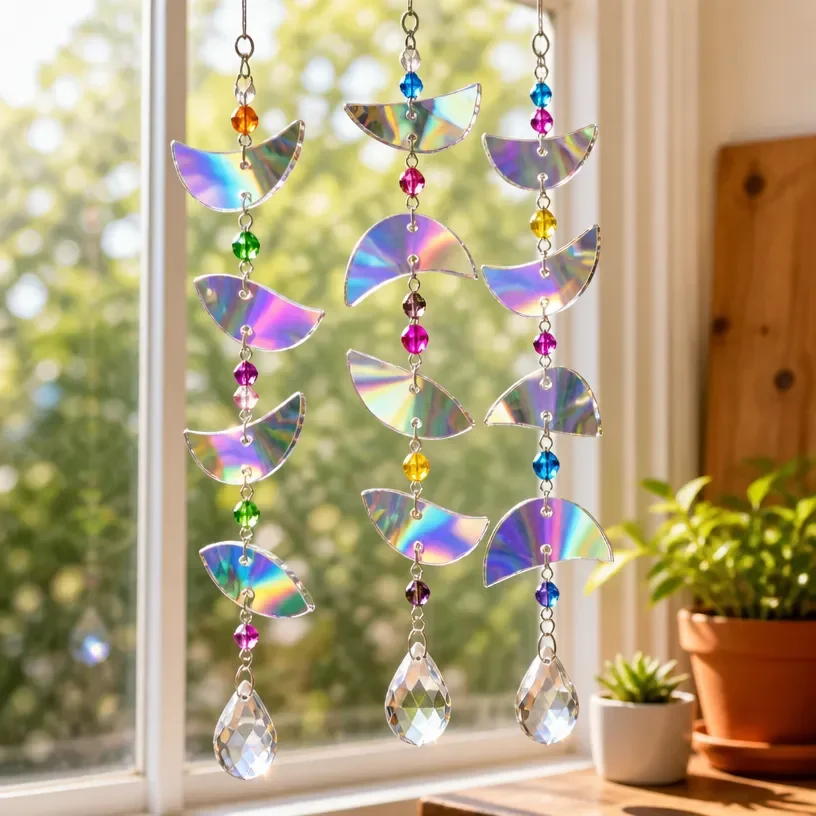
DIY stained glass suncatchers made with glue reflecting colorful sunlight.

DIY Stained Glass Suncatchers

Create vibrant stained glass suncatchers with colored glue to brighten up your space and showcase beautiful reflections.
Prep Time 30 minutes
Total Time 2 hours
Servings: 1 suncatcher
Course: Crafts, Home Decor
Cuisine: DIY

Ingredients
  

Materials
  • 1 piece Clear glass This will be your base, allowing light to pass through beautifully.
  • various colors Colored glue Choose your favorite colors to mimic the look of stained glass.
  • 1 piece Cardboard or a wooden base Used to support your design.
  • 1 piece Paintbrush For applying the glue if needed.
  • 1 piece Scissors To cut glass pieces to the desired sizes and shapes.
Tools
  • 1 piece Pencil To sketch your design on the cardboard.
  • 1 piece Ruler For measuring and ensuring straight edges.

Method
 

Design
  1. Begin by sketching your desired design on the cardboard or wooden base. Consider geometric shapes or flowing designs inspired by natural elements.
Cutting
  1. Carefully cut your glass into shapes that match your design outline. Lay them out on your base to see how they fit together.
Securing
  1. Using your colored glue, start gluing each piece in place. Apply enough adhesive to secure the pieces but be cautious not to add excess.
Drying
  1. Allow the entire piece to dry completely following the manufacturer’s instructions for drying times.
Hanging
  1. After your suncatcher is dry, create a loop at the top for hanging using string, ribbon, or twine.

Notes

To enhance your suncatcher crafting experience, think about placement for maximum sunlight exposure, use complementary colors, and allow adequate drying time for best results.