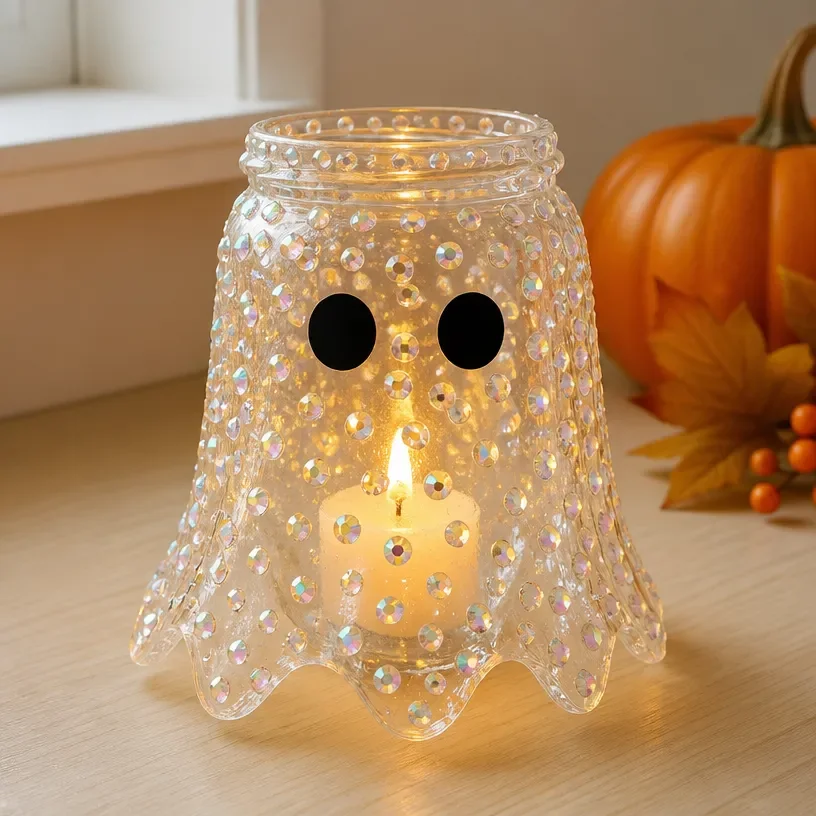
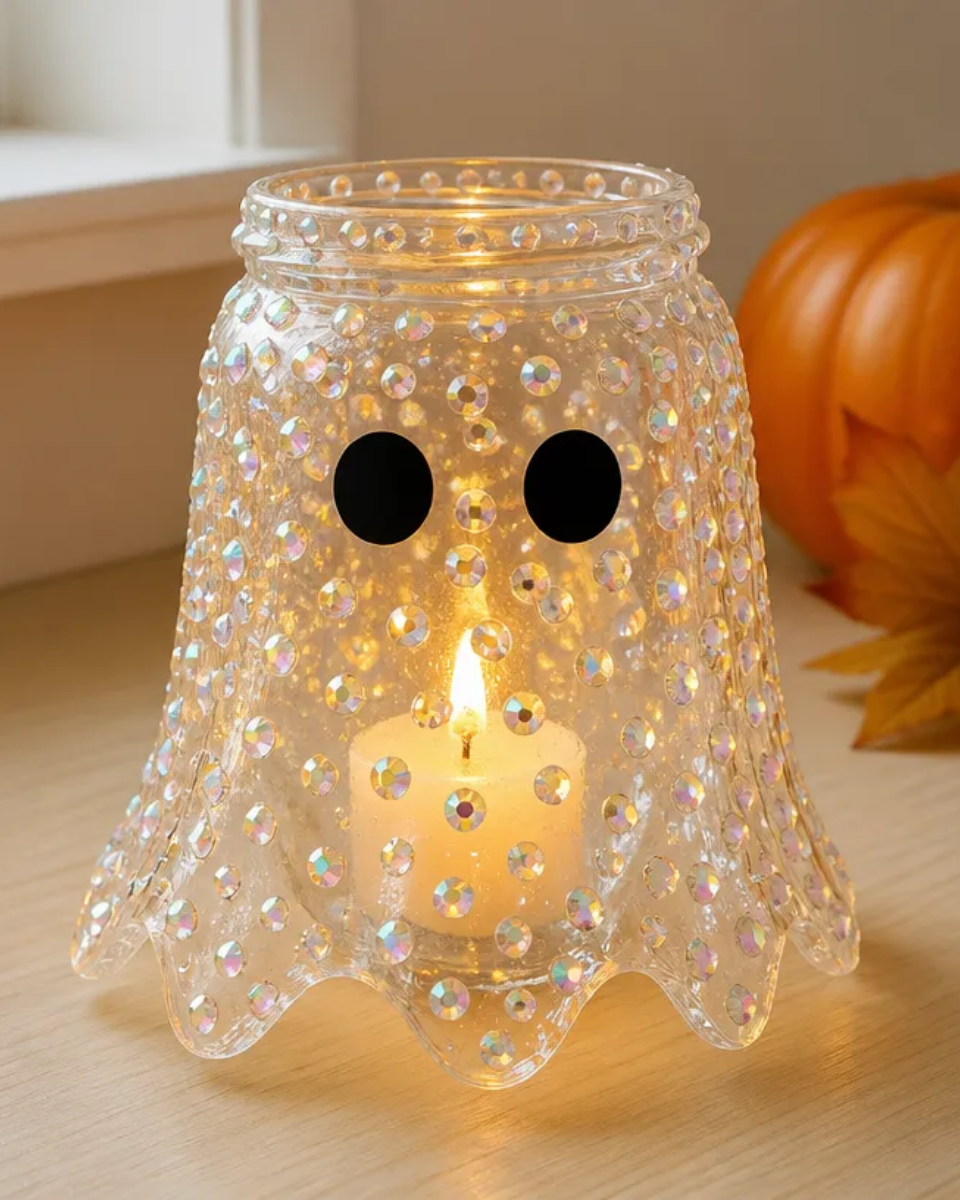
Creating a Spooky Cute Crystal Ghost Lantern for Halloween Decor is a delightful way to bring a touch of whimsy to your seasonal celebrations. This charming lantern combines the elegance of crystal with the eeriness of Halloween, making it a perfect accent for your home, whether you display it on a table, a window sill, or as part of your outdoor decor. You may also find Diy Vibrant Stained Glass Candle Lantern For Stylish Home Decor useful.
Using simple materials and accessible crafting techniques, this project results in a stunning display piece that casts beautiful reflections and adds a magical glow to your space. Plus, it’s a fun activity that can be enjoyed by crafters of all ages! You may also find How To Make A Diy Crystal Sunburst Mirror For Wall Decor useful.
Why You’ll Love This Project
The Perfect Halloween Decor
- Unique Aesthetic: The crystal elements catch and refract light beautifully, creating a visually appealing decorative piece.
- Customizable: You can easily adjust the color scheme or design to align with your personal style or seasonal theme.
- Inexpensive Materials: Most of the materials needed are accessible and budget-friendly, making this a cost-effective project.
- Engaging Craft: This hands-on activity provides a sense of accomplishment and a great opportunity to bond with family or friends.
- Versatile Display Options: The finished lantern looks stunning indoors and outdoors, adding a playful touch to parties or gatherings.
Before You Begin
Before diving into this project, it is helpful to set up your workspace to ensure a smooth crafting experience. Start by protecting your surface with a mat or newspaper to guard against spills. It’s also wise to gather all your materials beforehand, ensuring you can focus on the creative process without interruptions. You may also find Crystal Hanging Plant Decor useful.
You may also find Diy Crystal Sunburst Mirror Wall Decor useful.
Materials You’ll Need
- Clear glass lantern serves as the base for your ghostly decor.
- Acrylic paint (white) for painting the lantern’s exterior.
- Black marker used to create facial features on the ghost.
- Battery-operated LED fairy lights to illuminate the lantern safely.
- Crystal embellishments adds sparkle and reflects light.
Tools
- Paintbrush for applying acrylic paint.
- Scissors to trim any embellishments as needed.
How to Make the Project
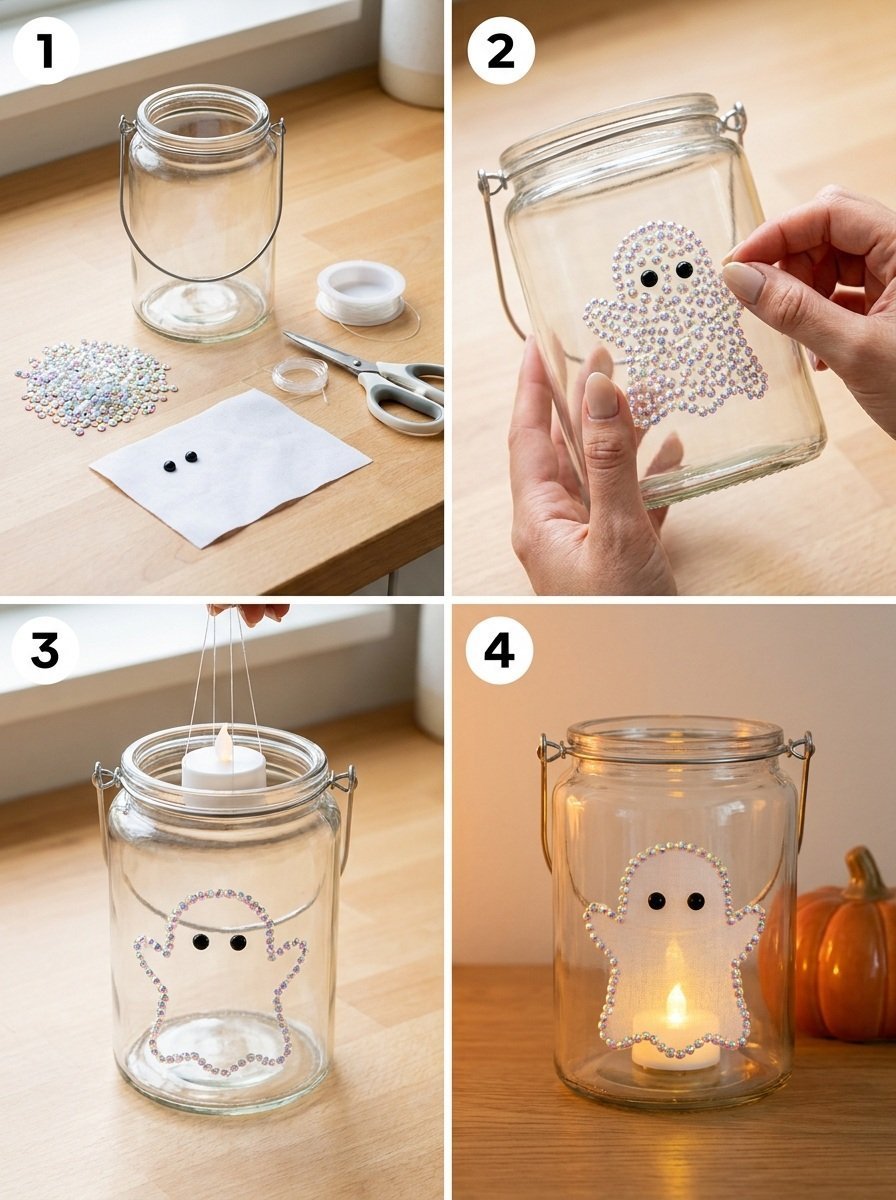
Step 1: Paint the Lantern
Begin by painting the exterior of the clear glass lantern with white acrylic paint. For consistency, it’s best to apply two coats, allowing the first coat to dry before adding the second. You may also find Diy Dried Flower Botanical Wreath For Wall Decor useful.
Step 2: Create the Ghost Face
Once the lantern is dry, use the black marker to draw a spooky yet cute ghost face on the front. Feel free to get creative with different expressions to give each lantern a unique character.
Step 3: Add the Lights
Carefully place the battery-operated LED fairy lights inside the lantern. Ensure the battery pack is positioned at the back for easy access to turn the lights on and off.
Step 4: Decorate with Crystals
Finally, embellish the lantern with the crystal adornments around the base or hanging from the handle. This will enhance the lantern’s sparkle and create an enchanting effect when lit.
Step 5: Display Your Lantern
Your spooky cute lantern is now ready! Choose a prominent spot to showcase your craftsmanship, whether as a centerpiece for your Halloween table or a glowing outdoor accent.
Tips for the Best Result
- Layer Your Paint: Ensure your paint dries thoroughly between coats to prevent smudging.
- Light Placement: Place the LED lights in a way that maximizes their visibility from outside.
- Experiment with Crystals: Try different placements for the crystal embellishments to see what configuration works best visually.
Customization / Variations
Feel free to customize your crystal ghost lantern according to your style preferences. You can add colorful lights for a brighter aesthetic or use different crystal shapes to create additional effects. For a more seasonal touch, consider adding ribbons or faux leaves that match the autumn colors.
Ideas for Styling Your Handmade Decor
This lantern can bring that festive flair to your home. You might want to arrange several lanterns in various sizes on a table, mixing in elements like pumpkins or hay bales for an inviting fall display. Alternatively, hang them in clusters near your entryway to delight guests and trick-or-treaters alike.
Frequently Asked Questions
Can I use a regular candle instead of LED lights?
To ensure safety, it’s best to use battery-operated LED lights as they create no flame and are suitable for enclosed lanterns.
How do I remove the paint if I make a mistake?
If you make an error with the paint, you can use rubbing alcohol and a paper towel to gently scrub it off without damaging the glass.
Can I display the lantern outdoors?
Yes, but make sure to protect it from direct exposure to harsh weather. Place it in a sheltered area if displayed outside.
What if I don’t have acrylic paint?
If acrylic paint is not available, you can use spray paint designed for glass surfaces for a consistent finish.
How do I store the lantern when not in use?
Keep the lantern in a safe, dry place to prevent damage, and avoid stacking heavy objects on top of it.
Conclusion
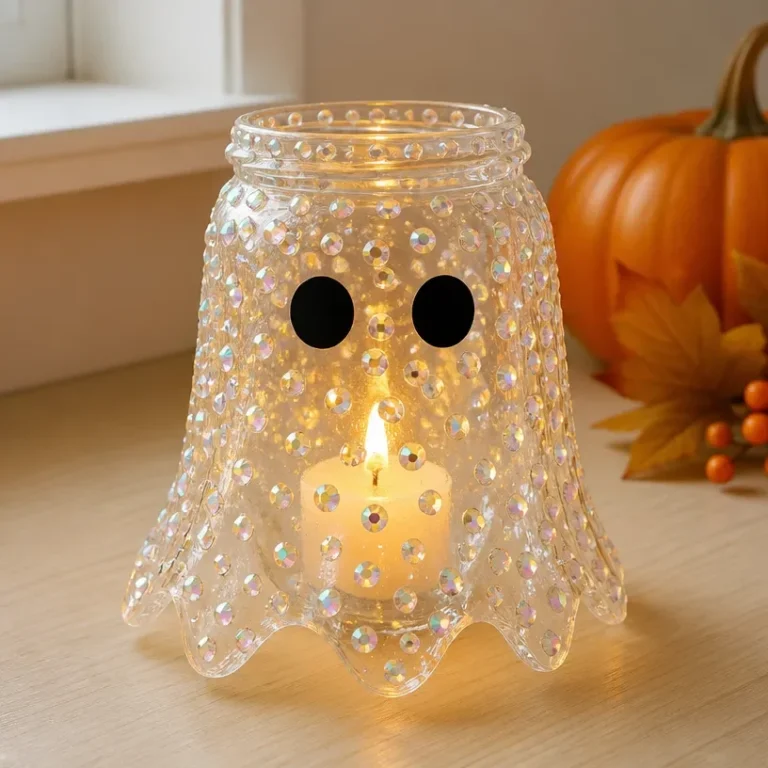
Creating a Spooky Cute Crystal Ghost Lantern is not only a fun and engaging DIY project, but it also results in a beautiful piece of decor that adds enchanting illumination to your Halloween festivities. Adjust the colors and features to match your aesthetic, and consider gifting these delightful lanterns to friends and family.
For additional ideas and inspirations, you might enjoy exploring these decorative options: Ghost Lanterns on Amazon or check out this guide for more crafting ideas: Simple DIY Ghost Lanterns to Light Up Halloween Nights.
Follow Glow Studio DIY for fresh DIY ideas & inspiration!
Crystal Ghost Lantern
Would you like to save this project?
By submitting you agree to receive this project and occasional emails. Unsubscribe anytime.
Materials
Materials
- 1 piece Clear glass lantern Serves as the base for your ghostly decor.
- 1 bottle Acrylic paint (white) For painting the lantern's exterior.
- 1 piece Black marker Used to create facial features on the ghost.
- 1 set Battery-operated LED fairy lights To illuminate the lantern safely.
- various pieces Crystal embellishments Adds sparkle and reflects light.
Tools
- 1 piece Paintbrush For applying acrylic paint.
- 1 piece Scissors To trim any embellishments as needed.
Directions
Crafting Steps
- Begin by painting the exterior of the clear glass lantern with white acrylic paint. Apply two coats, allowing the first coat to dry before the second.
- Once dry, use the black marker to draw a spooky yet cute ghost face on the front.
- Carefully place the battery-operated LED fairy lights inside the lantern, ensuring the battery pack is positioned at the back for easy access.
- Embellish the lantern with crystal adornments around the base or hanging from the handle for extra sparkle.
- Display your lantern prominently as a centerpiece or outdoor accent.
Last Step: Don’t forget to leave a rating and comment below! It helps other readers find the best DIY projects — and it helps us too!