Go Back
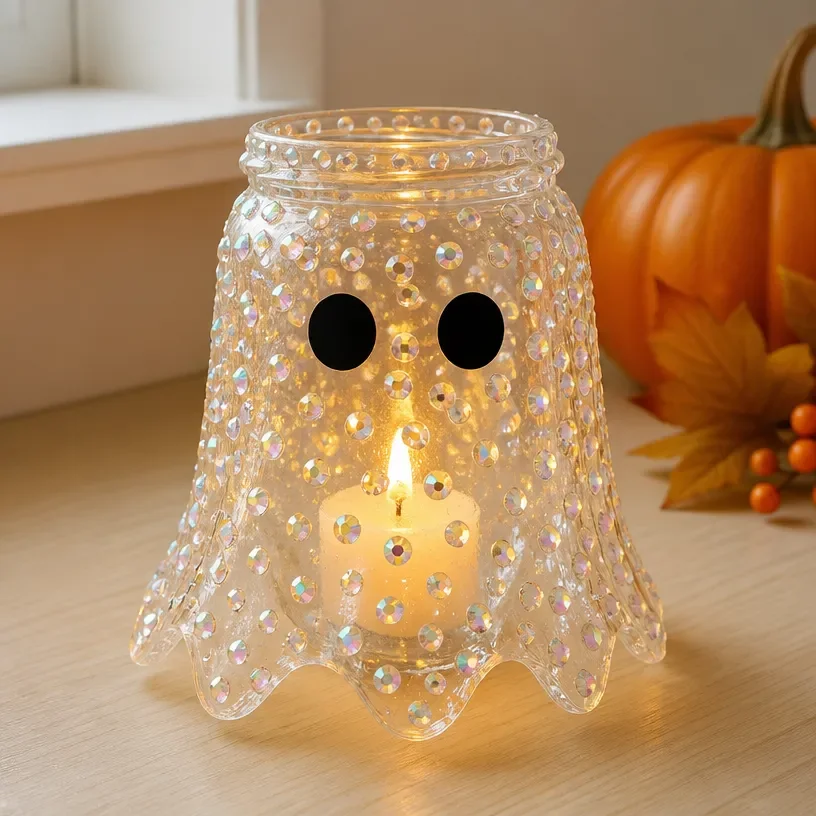
DIY spooky cute crystal ghost lantern for Halloween decoration

Crystal Ghost Lantern

Create a whimsical crystal ghost lantern that adds enchanting illumination to your Halloween decor.
Prep Time 30 minutes
Total Time 30 minutes
Servings: 1 lantern
Course: Craft, Decoration
Cuisine: DIY, Seasonal

Ingredients
  

Materials
  • 1 piece Clear glass lantern Serves as the base for your ghostly decor.
  • 1 bottle Acrylic paint (white) For painting the lantern's exterior.
  • 1 piece Black marker Used to create facial features on the ghost.
  • 1 set Battery-operated LED fairy lights To illuminate the lantern safely.
  • various pieces Crystal embellishments Adds sparkle and reflects light.
Tools
  • 1 piece Paintbrush For applying acrylic paint.
  • 1 piece Scissors To trim any embellishments as needed.

Method
 

Crafting Steps
  1. Begin by painting the exterior of the clear glass lantern with white acrylic paint. Apply two coats, allowing the first coat to dry before the second.
  2. Once dry, use the black marker to draw a spooky yet cute ghost face on the front.
  3. Carefully place the battery-operated LED fairy lights inside the lantern, ensuring the battery pack is positioned at the back for easy access.
  4. Embellish the lantern with crystal adornments around the base or hanging from the handle for extra sparkle.
  5. Display your lantern prominently as a centerpiece or outdoor accent.

Notes

Ensure paint dries thoroughly to prevent smudging. Experiment with crystal placements for visual appeal. Use battery-operated LED lights for safety.