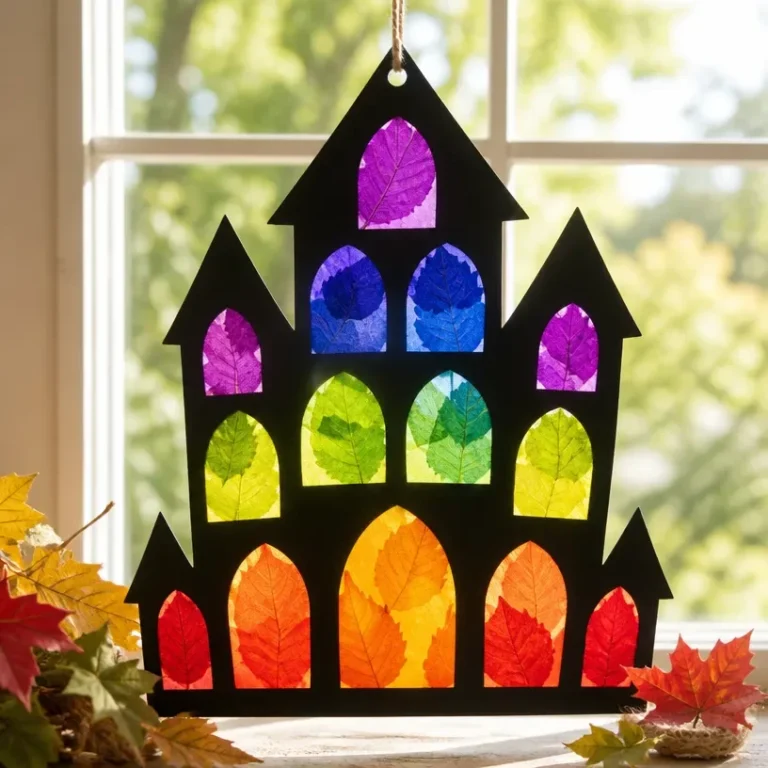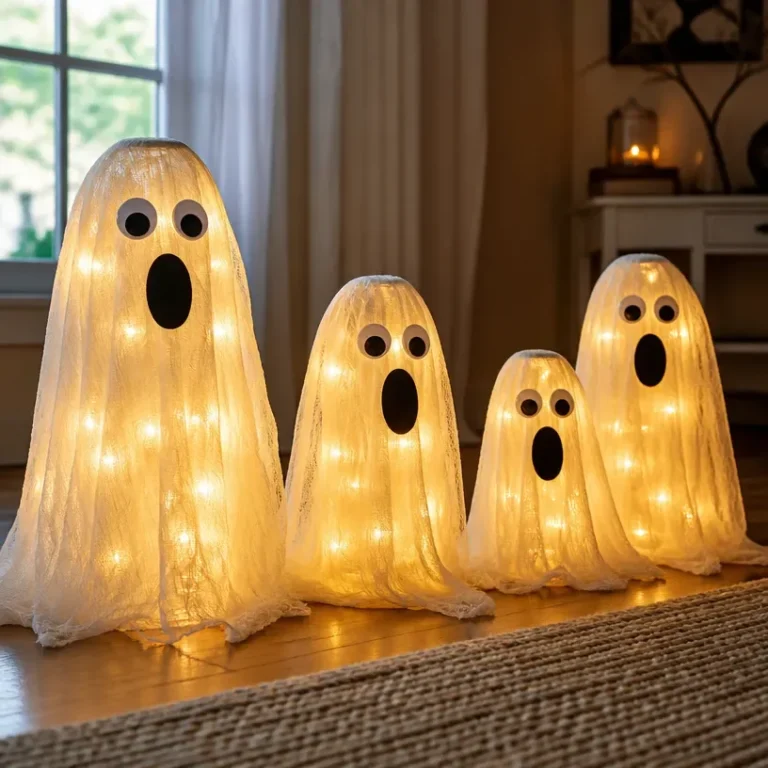
Transform your home decor this season with stunning crystal pumpkin decor, perfect for showcasing during fall gatherings or Halloween parties. The sparkling effect of the crystals not only adds a touch of elegance, but it also creates beautiful reflections of light. Display these eye-catching centerpieces on dining tables, mantels, or as part of a festive entryway. You may also find Rainbow Crystal Pumpkin Suncatcher Fall Decor useful.
Creating your own crystal pumpkin decor is not just fun; it’s a rewarding project that allows you to customize each piece to match your style. This guide will walk you through the steps, helping you achieve a gorgeous finished product that friends and family will admire. For those who love seasonal decorations, consider incorporating additional elements with our DIY blue crystal pumpkin geode Halloween decor project.
Why You’ll Love This Project
Benefits of Making Crystal Pumpkin Decor
- Visually Striking Finish: The interplay of light and crystals creates a beautiful focal point in any room.
- Customizable Colors and Designs: You can personalize the pumpkins to reflect your unique style or seasonal themes.
- Perfect for Gift Giving: Handmade decor pieces always make thoughtful gifts for friends and family.
- Inexpensive Materials: Create beautiful decor without breaking the bank, as many of the supplies are affordable.
- Approachable Technique: This project is suitable for crafters of all skill levels, ensuring a successful experience for everyone.
Before You Begin
To prepare for your crystal pumpkin project, it’s essential to have a clean and organized workspace. Lay down a protective covering to prevent any damage from adhesives or paint. Ensure that your materials are clean; for glass pumpkins, a quick wipe with a glass cleaner will ensure a clear and radiant finish. Consider gathering all materials beforehand to streamline the crafting process and keep everything in its place. You may also find Crystal Beaded Christmas Ornament useful.
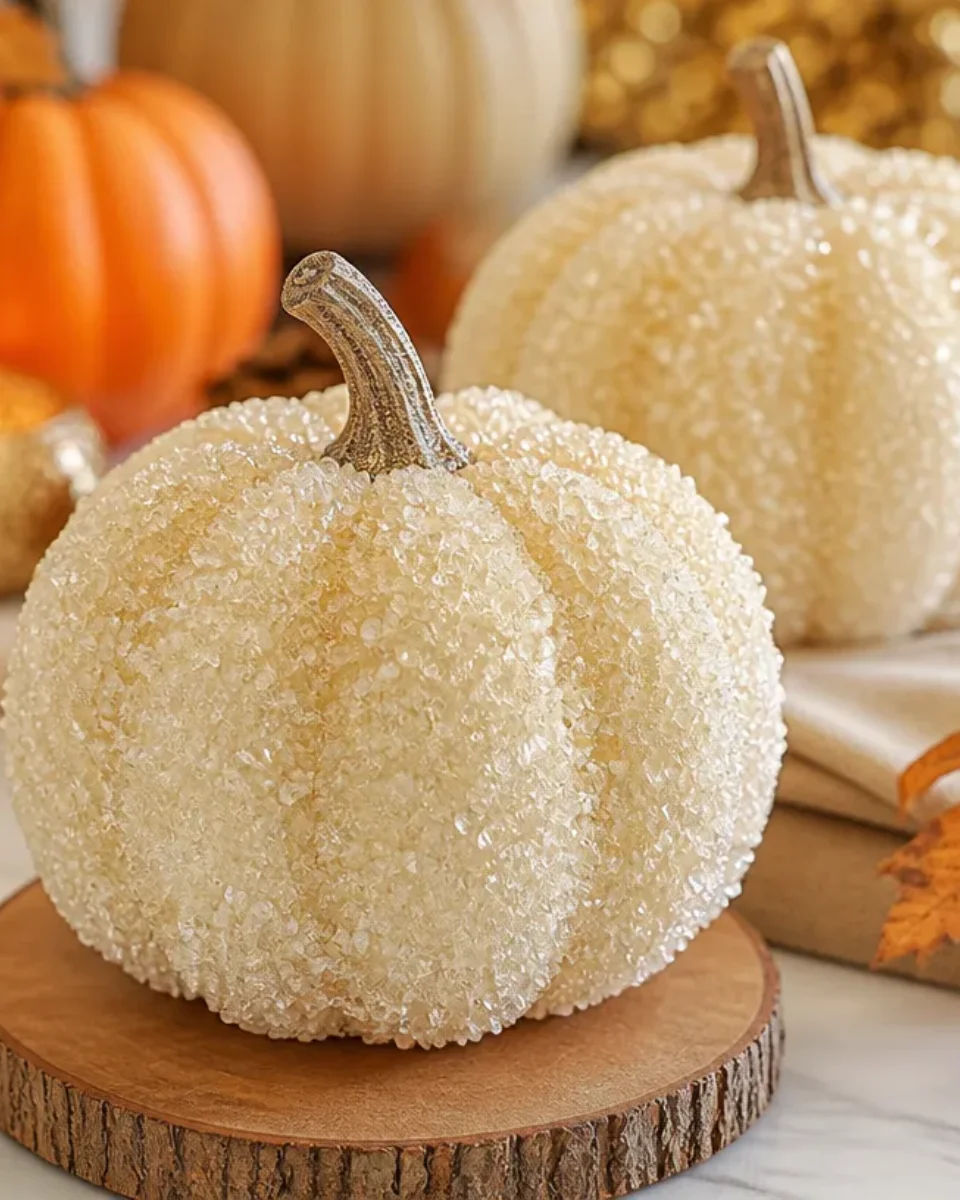
You may also find Crystal Hanging Plant Decor useful.
Materials You’ll Need
- Glass pumpkins these serve as the base for your sparkling decor.
- Crystal beads choose various sizes and colors to enhance the visual appeal.
- Craft glue or resin adheres the crystals securely to the pumpkin.
- Paintbrush for applying glue evenly to the surface.
- Tweezers helpful for placing smaller crystal pieces accurately.
- Sealer (optional) to protect your finished piece from wear and dirt.

Tools
- Scissors to trim any excess materials.
- Pipe cleaners or floral wire (optional) for creating decorative tendrils or additional elements.
How to Make the Project
Step 1: Clean Your Glass Pumpkin
Start by making sure your glass pumpkin is clean. Use a glass cleaner to wipe away any dust or fingerprints. Allow it to dry completely to ensure that the glue adheres properly. You may also find Crystal Lotus Prism Mirror Frame Diy Elegant Home Decor useful.
Step 2: Apply the Adhesive
Using your paintbrush, apply a thin layer of craft glue or resin over the areas where you want to place the crystals. Make sure to work in small sections to prevent the glue from drying out before adding the beads.
Step 3: Place the Crystals
Carefully use tweezers to place the crystal beads onto the glued areas. Mix colors and sizes for a more dynamic look, focusing on creating an aesthetically pleasing pattern.
Step 4: Allow to Dry
Once you’ve placed all the crystals, set your pumpkin aside to dry. Follow the product instructions for your adhesive to determine the drying time. It’s important to keep it level during the drying process to avoid any shifting.
Step 5: Seal Your Design
For added durability, consider applying a sealer over your completed design once it’s fully dry. This step can help protect against dust and moisture.
Tips for the Best Result
- Layering Crystals: Layer different sizes to add depth and create a more three-dimensional look.
- Spacing and Balance: Take your time when placing crystals to achieve a balanced design visually.
- Drying Location: Choose a location for drying that is free from dust and disturbances.
Customization / Variations
Feel free to explore different color palettes based on the season. For example, traditional autumn colors like oranges, browns, and golds create a classic look. Alternatively, for a spring theme, vibrant pastels can brighten up your decor. For a more elaborate twist, you might consider using a combination of flowers and crystals for a mixed-media effect.
How to Display Your Finished Project
Your crystal pumpkins can be displayed in various ways, whether you choose to showcase them on a table, a windowsill, or as part of a larger festive arrangement. To really make them shine, consider placing them where they will catch sunlight during the day, creating beautiful light reflections throughout your space. You can also group them with candles or other decor items for a stunning centerpiece.
Frequently Asked Questions
Frequently Asked Questions
1. Can I use plastic pumpkins instead of glass?
Yes, plastic pumpkins can work well too, though the finished look may differ slightly.
2. How do I prevent crystals from falling off?
Use a strong adhesive and allow ample drying time. You can also consider applying a sealer for added protection.
3. What if I want to change the design later?
You can carefully remove the crystals using a gentle adhesive remover and start fresh with a new design.
4. Can I use different adhesives?
Yes, different types of adhesive work, but ensure they provide a strong bond suitable for glass and crystals.

Conclusion
Creating your own crystal pumpkin decor is an enjoyable way to enhance your seasonal decorations, resulting in beautiful pieces that illuminate your space. With the right materials and a touch of creativity, you can craft stunning centerpieces that reflect your personal style. For additional decorative ideas, explore stunning options like the clear glass pumpkin paperweight decor or the black & gold glam pumpkin decor.

Crystal Pumpkin Decor
Ingredients
Method
- Clean your glass pumpkin with glass cleaner and let it dry completely.
- Gather all materials in a clean and organized workspace.
- Apply a thin layer of craft glue or resin over the areas where you want to place the crystals using a paintbrush.
- Carefully use tweezers to place the crystal beads onto the glued areas, mixing colors and sizes.
- Allow the pumpkin to dry according to glue product instructions.
- Consider applying a sealer over the completed design for added durability once dry.