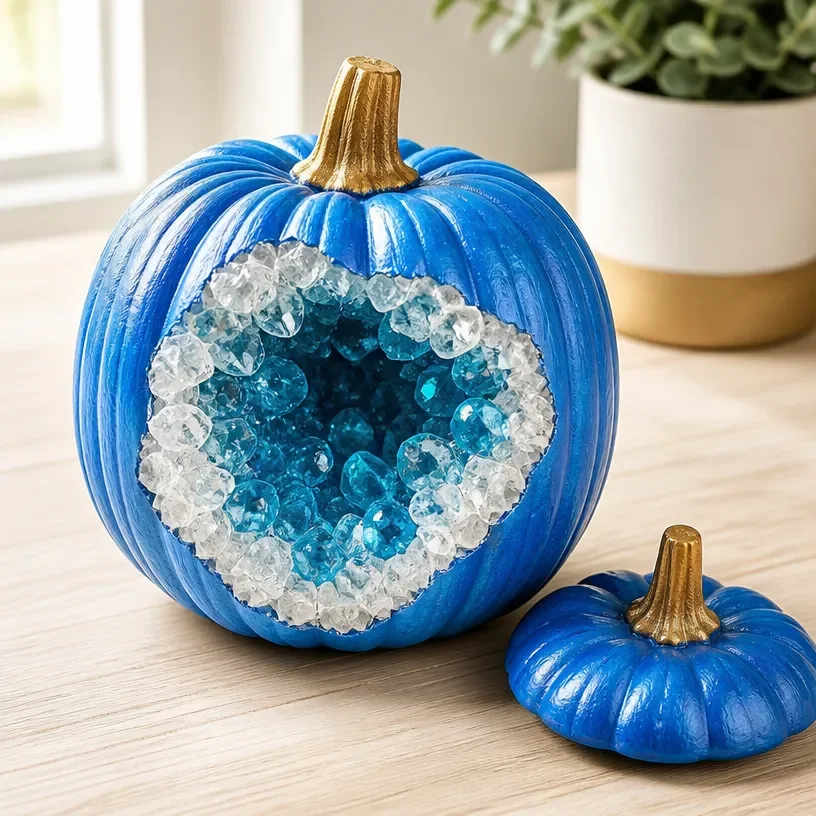
Ingredients
Method
Preparation
- Start with clean, dry pumpkins. If using a real pumpkin, carefully cut a hole at the top to allow for pouring the resin later.
- If using a faux pumpkin, skip this step but ensure it’s ready for decoration.
Mixing and Application
- Follow the manufacturer's instructions to mix your crystal-like resin with blue pigment to achieve a smooth consistency.
- Using a brush, apply the resin mixture over the area where you want the geode effect to appear, ensuring it creates waves that mimic natural stones.
Adding Crystals
- While the resin is still wet, sprinkle clear glass beads or crushed quartz over the resin layer to enhance the geode effect.
Curing
- Set your pumpkin aside in a well-ventilated area, allowing the resin to cure completely according to the manufacturer’s instructions.
- This usually takes a few hours to overnight.
Finishing Touches
- Once the resin is fully cured, add any extra details or touch-ups with additional paint or resins if desired.
- Consider integrating a glitter effect for extra sparkle.
Notes
Work quickly when applying resin, avoid clustering beads together, and practice patience for full curing.