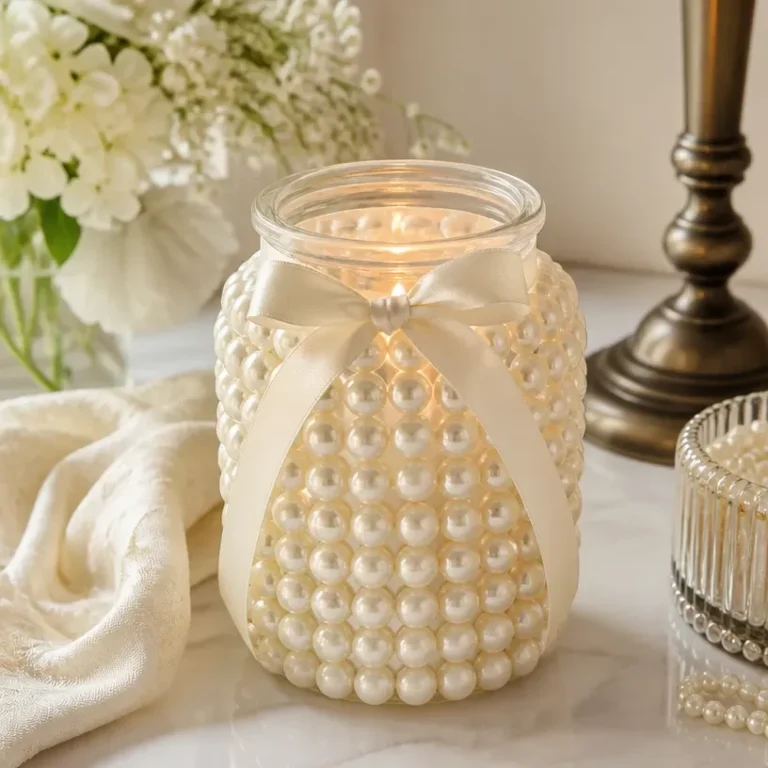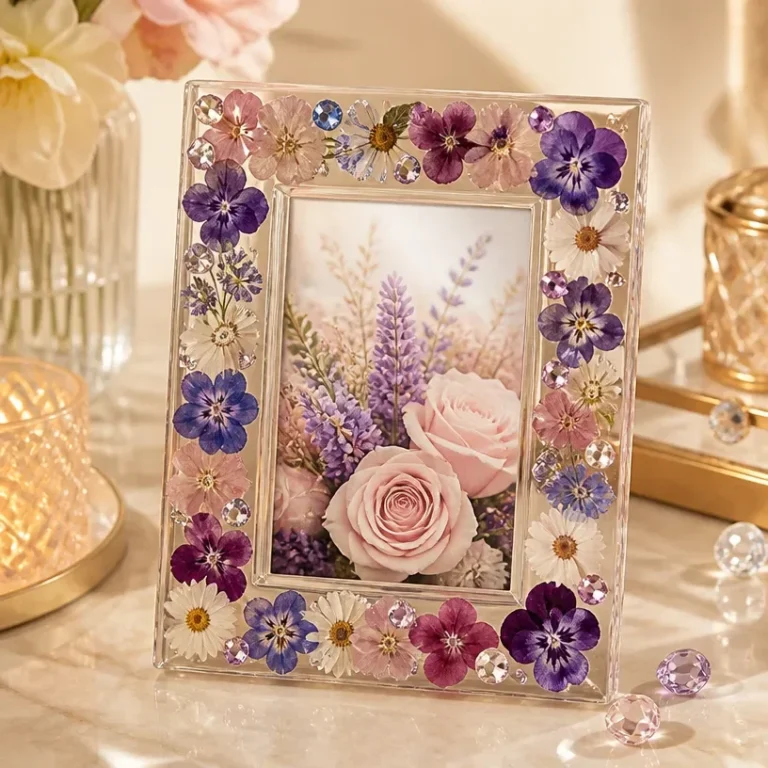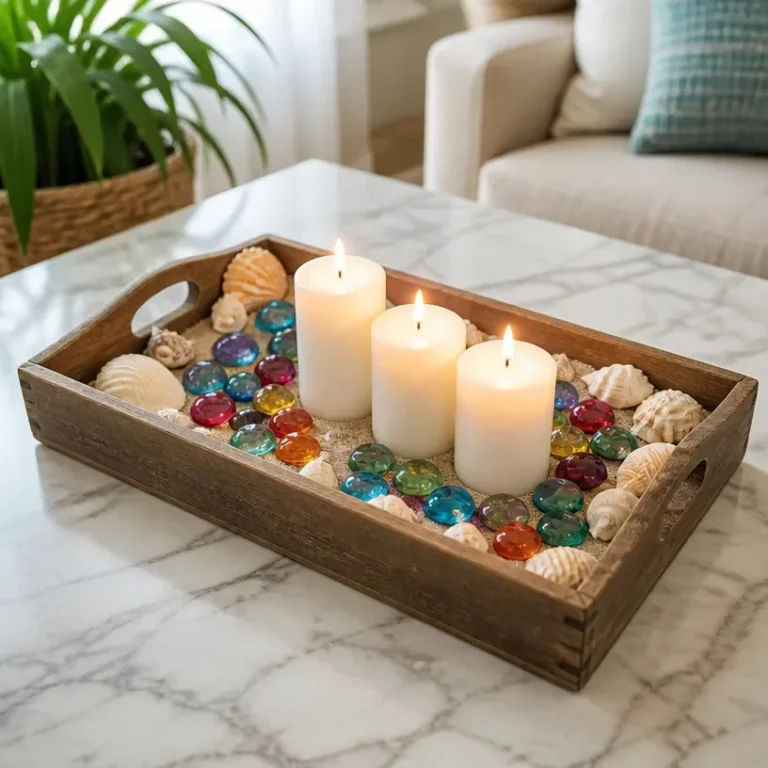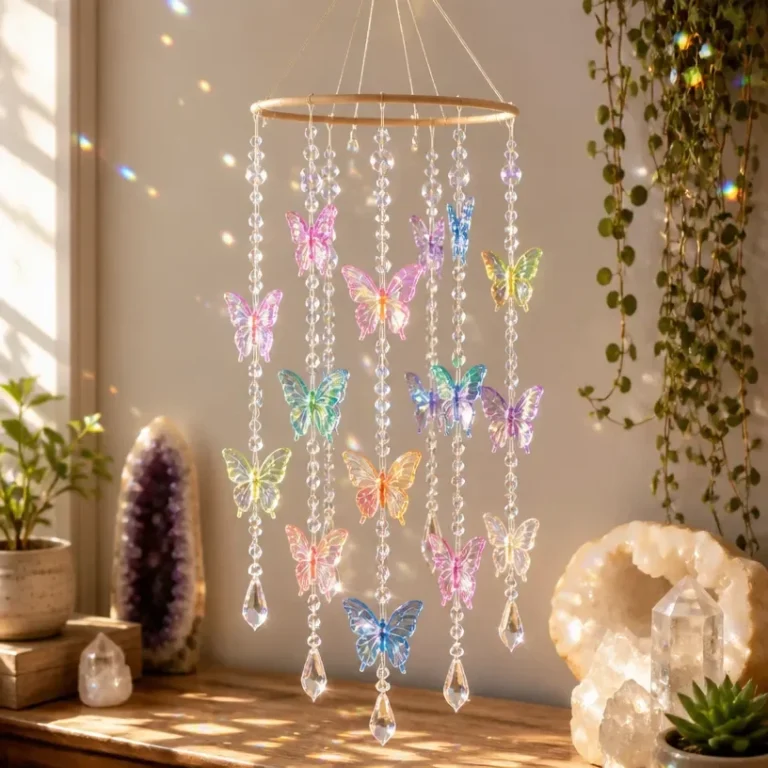
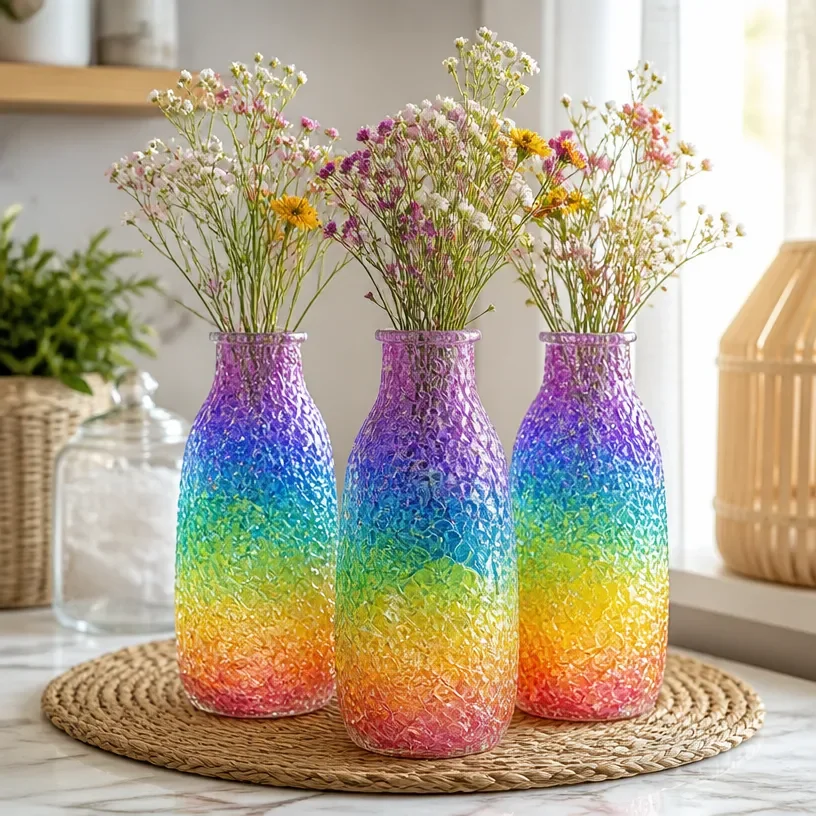
Creating beautiful decor for your home can be both fun and rewarding, and nothing embodies this more than colorful rainbow-colored sea glass vases. These stunning pieces can bring a splash of coastal charm to any room, offering a perfect balance of texture and style. Ideal for holding fresh or dried flowers, these vases not only enhance your decor but also serve as eye-catching centerpieces. You may also find Diy Sea Glass Mosaic Mirror Coastal Decor useful.
Let’s dive in and explore how you can make your very own rainbow-colored sea glass vases using simple materials and techniques that are as approachable as they are enjoyable. You may also find Diy Dried Flower Botanical Wreath For Wall Decor useful.
Why You’ll Love This Project
Creating rainbow-colored sea glass vases is a delightful project that offers several benefits: You may also find How To Make A Diy Crystal Sunburst Mirror For Wall Decor useful.
- Display-Worthy Result: The vibrant colors and unique shapes of sea glass create stunning vases that anyone would be proud to showcase.
- Approachable Technique: This project uses basic crafting methods, making it suitable for crafters of all skill levels.
- Customizable Colors: You can easily choose colors that match your decor or mood, ensuring your vases are truly unique.
- Inexpensive Materials: With minimal expense, you can create beautiful decor without breaking the bank.
- Seasonal Decorating: These versatile vases can be adapted for any season by changing the floral arrangements you display.
If you’re intrigued by other sea glass projects, consider exploring how to create a sea glass mosaic mirror for an added touch of coastal flair.
Before You Begin
Before you get started, it’s beneficial to prepare your workspace. Cover your table with a protective layer, such as newspaper or a craft mat, to avoid any mess. Organize your materials so you can easily reach for them as you progress through the steps. It’s also a good idea to wipe down any glass surfaces to ensure a clear shine, especially if you’ll be using new vases.
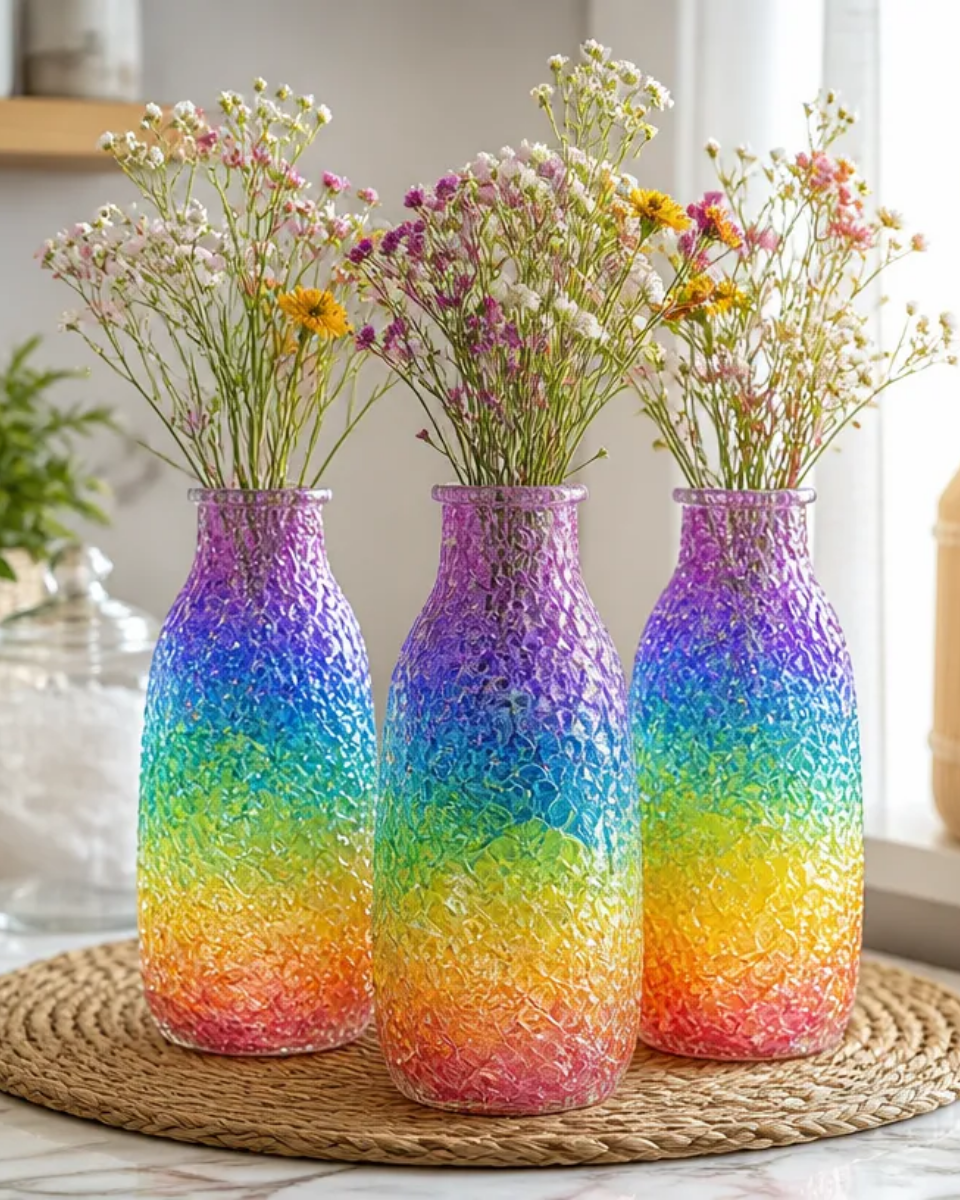
Materials You’ll Need
- Clear glass vases These will serve as the base for your project and showcase the colorful sea glass.
- Rainbow-colored sea glass Choose a mix of colors for a vibrant appearance.
- Adhesive (clear-drying) This will bond the sea glass to the vase securely.
- Paintbrush To apply the adhesive precisely.
- Sealant (optional) A clear sealant can be used to protect the finished surface.
Tools
- Craft knife For trimming any excess adhesive, if necessary.
- Scissors To cut any other materials you may need along the way.
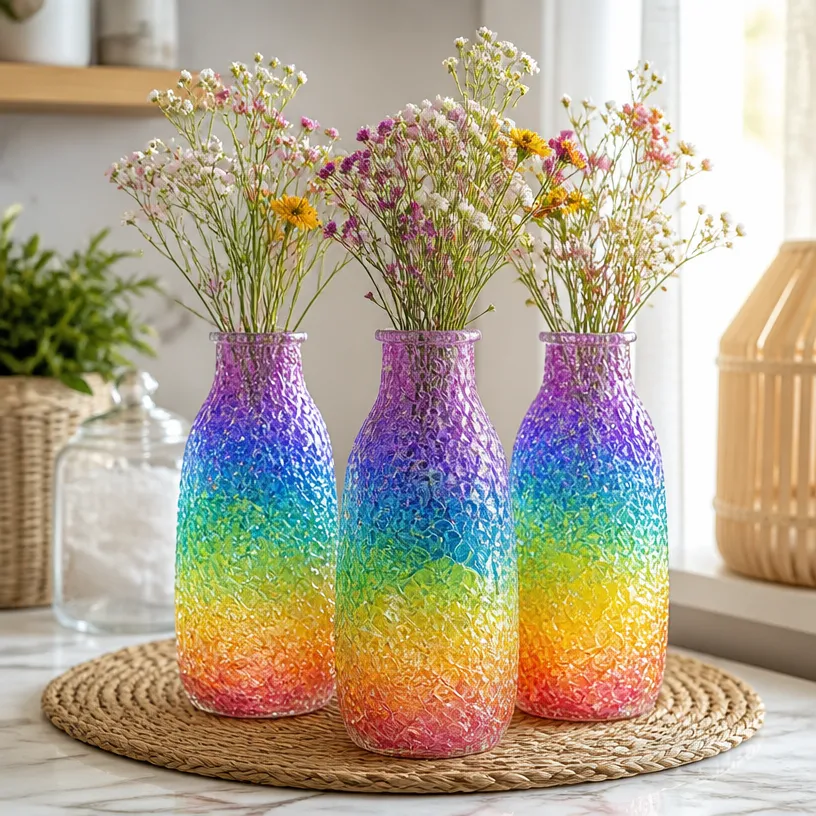
How to Make the Project
Step 1: Prepare Your Vases
Start with clean, dry glass vases. This ensures the adhesive will adhere properly and the vases will have a polished look.
Step 2: Create Your Design
Begin laying out the sea glass on one side of the vase to visualize your design. You can create a gradient from top to bottom or alternate colors for a playful effect.
Step 3: Secure the Sea Glass
Once you’re happy with your design, start applying a thin layer of adhesive to the first piece of sea glass. Press it firmly against the vase where you want it to sit. Continue this process with the rest of your sea glass pieces, ensuring each piece is secure.
Step 4: Allow to Dry
Allow your vases to dry completely according to the manufacturer’s instructions for the adhesive. This may take a few hours, but for the best results, overnight is ideal.
Step 5: Finish with Sealant (Optional)
If desired, apply a clear sealant over the sea glass to provide extra protection and enhance the colors. Allow this to dry fully before using your vases.
Tips for the Best Result
- Plan your layout before gluing: This helps to visualize the final look and ensures color balance.
- Apply adhesive sparingly: Too much adhesive can seep out around the sea glass and create a messy appearance.
- Experiment with textures: Mix different shapes and sizes of sea glass for a more dynamic design.
- Work in sections: Apply a few pieces at a time to avoid the adhesive drying before you can adjust placements.
Customization and Variations
Feel free to customize your rainbow-colored sea glass vases by using different colors entirely or creating a monochrome look with varying shades of the same color. You can also incorporate other decorative elements, like shells or small pebbles, to enhance the coastal theme.
Ideas for Styling Your Handmade Decor
Once your vases are complete, styling them is just as important as creating them. Place them on a dining table with fresh flowers for an elegant centerpiece, or use them as decorative accents on a bookshelf. You can also use them to create a stunning visual display on your mantel or as part of a seasonal decoration scheme.
If you’re interested in more decorative ideas, you might enjoy learning how to create a vibrant stained glass candle lantern to complement your sea glass vases.
Frequently Asked Questions
1. Can I use any type of glass vase for this project?
Yes, you can use various styles of glass vases as long as they are smooth and clean.
2. What if my sea glass won’t stick?
Ensure you are applying enough adhesive and allow it to dry according to the instructions. If needed, try a different type of adhesive specifically designed for glass.
3. Can I use real sea glass?
Absolutely! Just be mindful that it can be more expensive and harder to find than fakes.
4. How should I clean my finished vases?
Gently dust or rinse them under warm water, and avoid using harsh chemicals that could strip the finish.
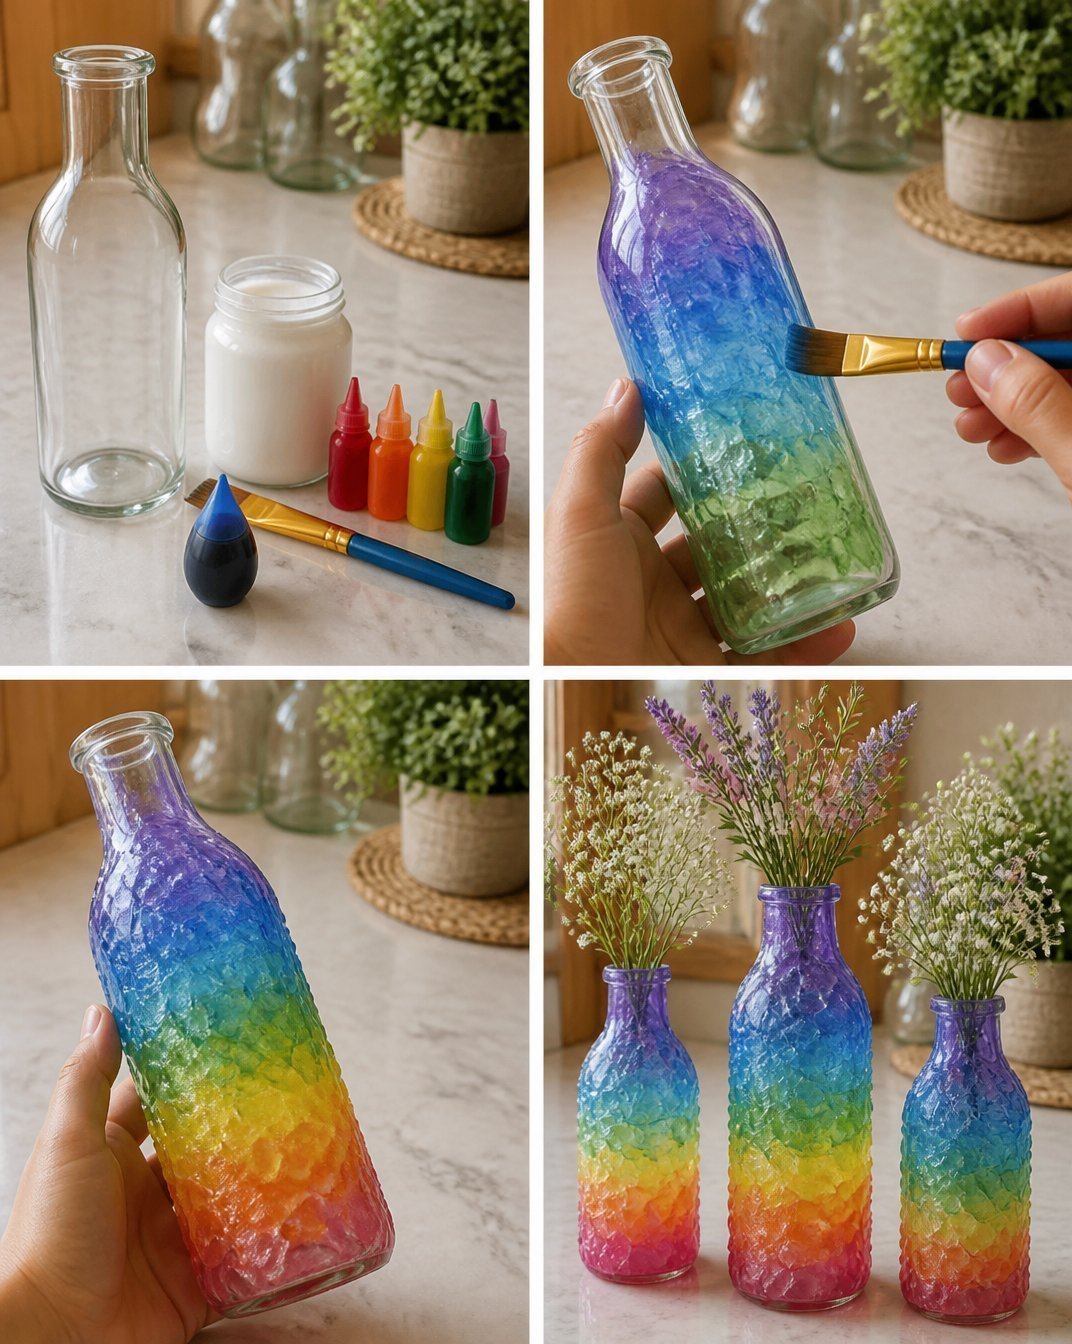
Conclusion
Creating these rainbow-colored sea glass vases not only enhances your space with lovely coastal decor but also provides a fulfilling artistic experience. You’ll enjoy displaying beautiful arrangements that reflect your personal style. For sourcing the right materials, consider checking out CYS EXCEL Sea Glass for a vibrant mix, or explore unique options on Etsy for added inspiration.
Follow Glow Studio DIY for fresh DIY ideas & inspiration!
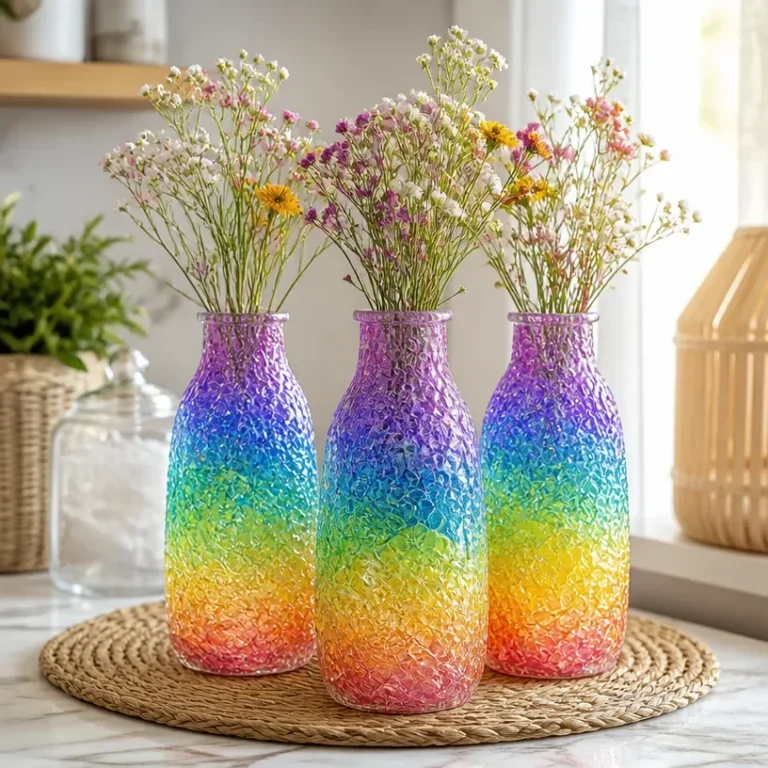
Rainbow-Colored Sea Glass Vases
Would you like to save this project?
By submitting you agree to receive this project and occasional emails. Unsubscribe anytime.
Materials
Materials Needed
- 1 unit Clear glass vases These will serve as the base for your project.
- 1 bag Rainbow-colored sea glass Choose a mix of colors for a vibrant appearance.
- 1 bottle Clear-drying adhesive This will bond the sea glass to the vase securely.
- 1 piece Paintbrush To apply the adhesive precisely.
- 1 bottle Sealant (optional) A clear sealant can be used to protect the finished surface.
Tools Needed
- 1 piece Craft knife For trimming any excess adhesive, if necessary.
- 1 piece Scissors To cut any other materials you may need along the way.
Directions
Preparation
- Start with clean, dry glass vases to ensure the adhesive will adhere properly.
Design Creation
- Begin laying out the sea glass on one side of the vase to visualize your design.
- Create a gradient from top to bottom or alternate colors for a playful effect.
Sea Glass Application
- Apply a thin layer of adhesive to the first piece of sea glass and press it firmly against the vase.
- Continue applying the rest of the sea glass pieces, ensuring each piece is secure.
Drying
- Allow your vases to dry completely according to the manufacturer's instructions for the adhesive.
- For best results, leave them overnight.
Sealant Application
- If desired, apply a clear sealant over the sea glass to provide extra protection and enhance the colors.
- Allow this to dry fully before using your vases.
Last Step: Don’t forget to leave a rating and comment below! It helps other readers find the best DIY projects — and it helps us too!