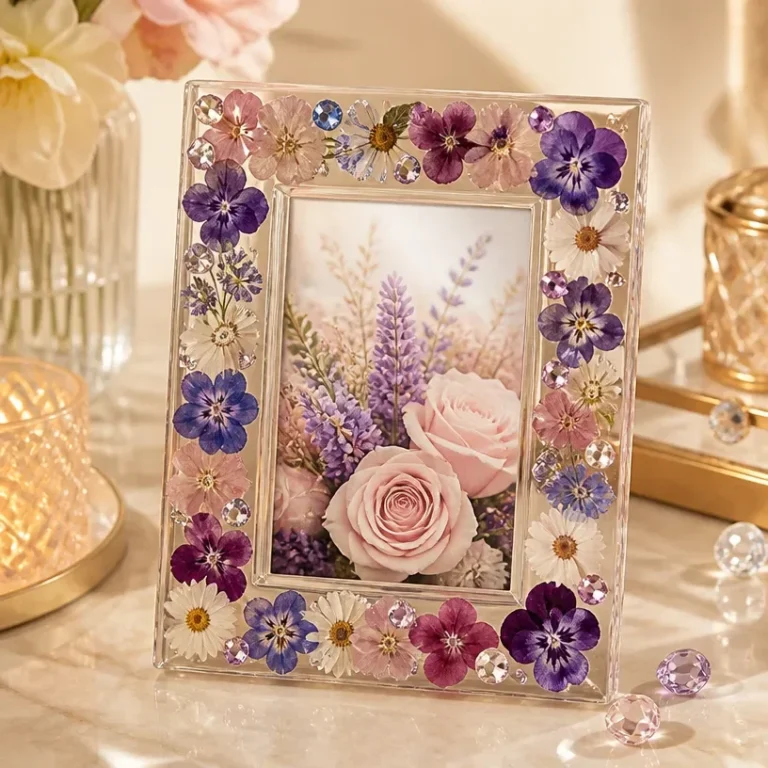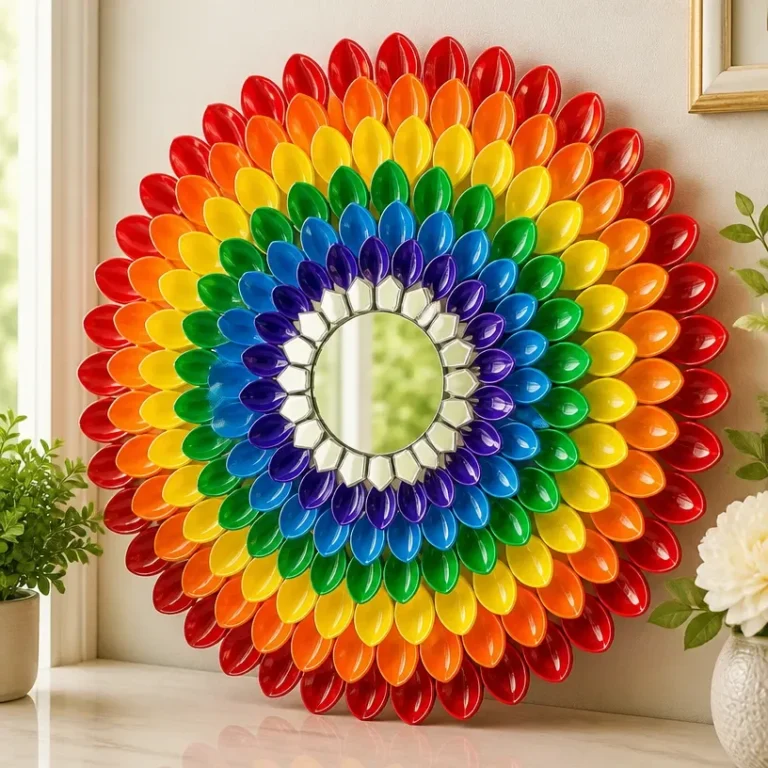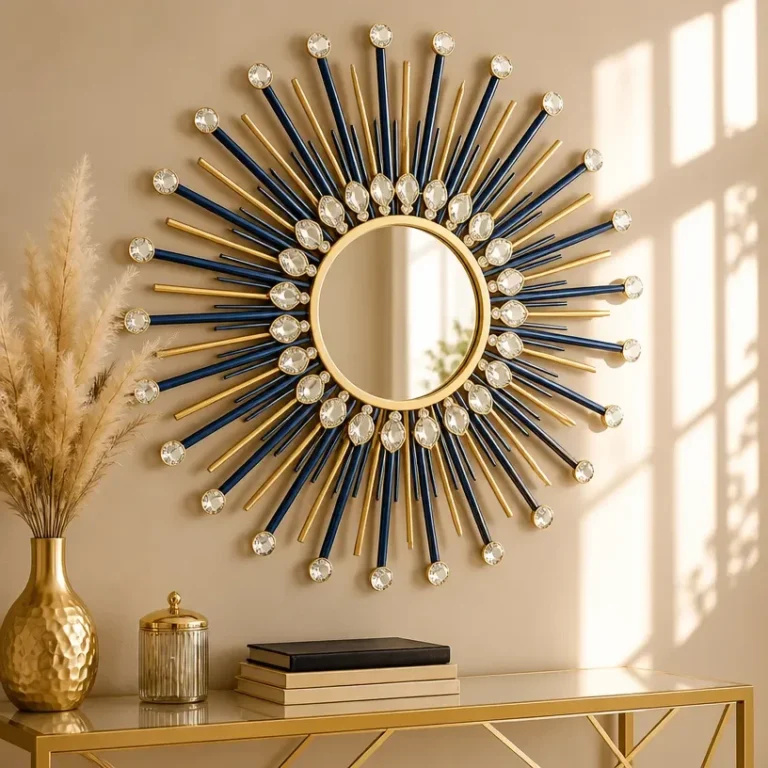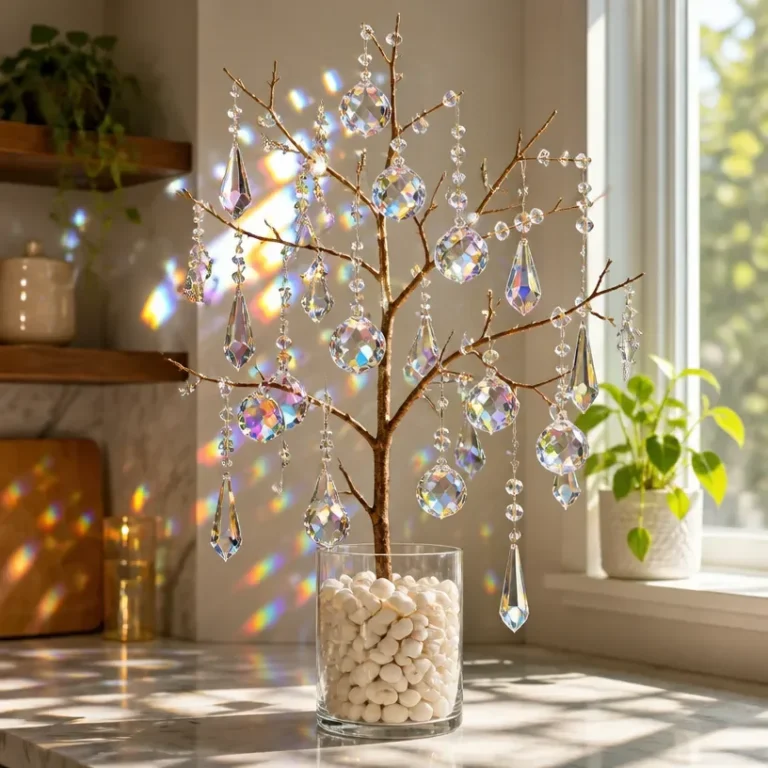
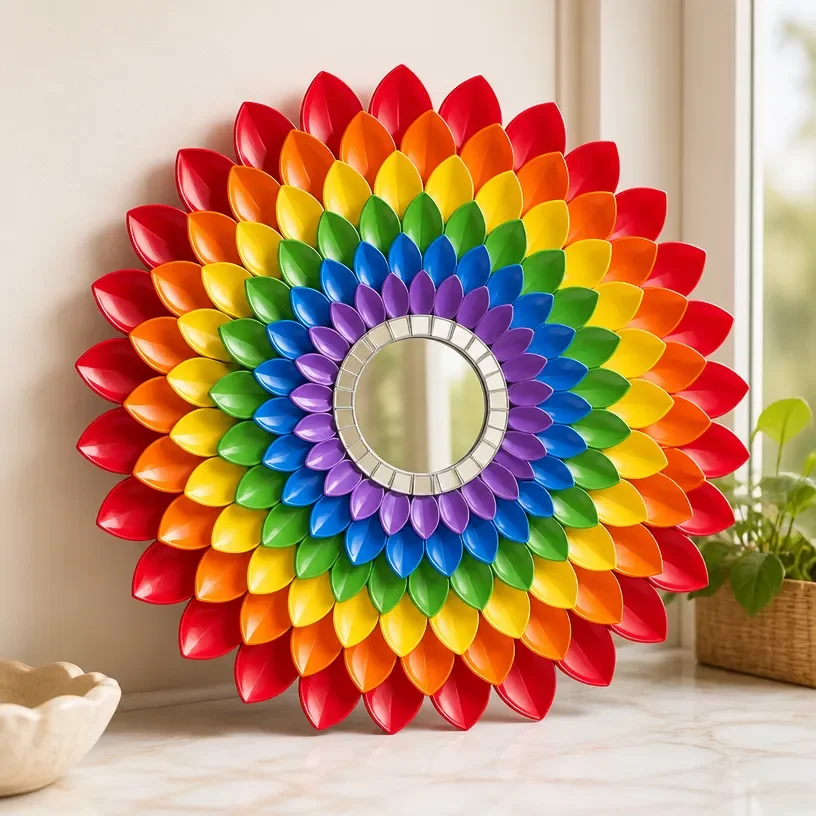
Creating a Crystal Lotus Prism Mirror Frame is an elegant way to enhance your home decor. This stunning piece not only reflects light beautifully but also adds a touch of sophistication to any space, whether it’s displayed on a wall or placed on a tabletop. With its unique blend of crystals and mirrors, the final product can brighten up your living area and serve as a delightful conversation starter. You may also find How To Make A Diy Crystal Sunburst Mirror For Wall Decor useful.
This project is straightforward and allows for personal expression, making it perfect for both beginners and experienced crafters. If you’re looking to create something unique for your home, let’s explore how to make this breathtaking decor piece that you will be proud to showcase. You may also find Crystal Hanging Plant Decor useful.
Why You’ll Love This Project
The Benefits of a Crystal Lotus Prism Mirror Frame
-
Display-Worthy Design: Achieving a polished and professional look is attainable with this project, turning it into a decorative centerpiece. You may also find Diy Pressed Flower Crystal Picture Frame useful.
-
Beautiful Light Reflection: The combination of mirrors and crystals creates dazzling reflections, especially when exposed to sunlight or ambient light.
-
Personal Customization: You have the freedom to choose colors and materials that resonate with your personal style, making it a truly unique piece.
-
Inexpensive Materials: Most of the materials you need are budget-friendly, making it accessible to craft without breaking the bank.
-
Perfect Gift Idea: This stunning frame can serve as a heartfelt, handmade gift for special occasions.
Before You Begin
Before diving into your project, take a moment to arrange your workspace. Clear a flat area and protect the surface to avoid any damage during assembly. Gathering your materials and tools beforehand will streamline the process. Ensure that you have adequate ventilation if you plan on using any adhesives.
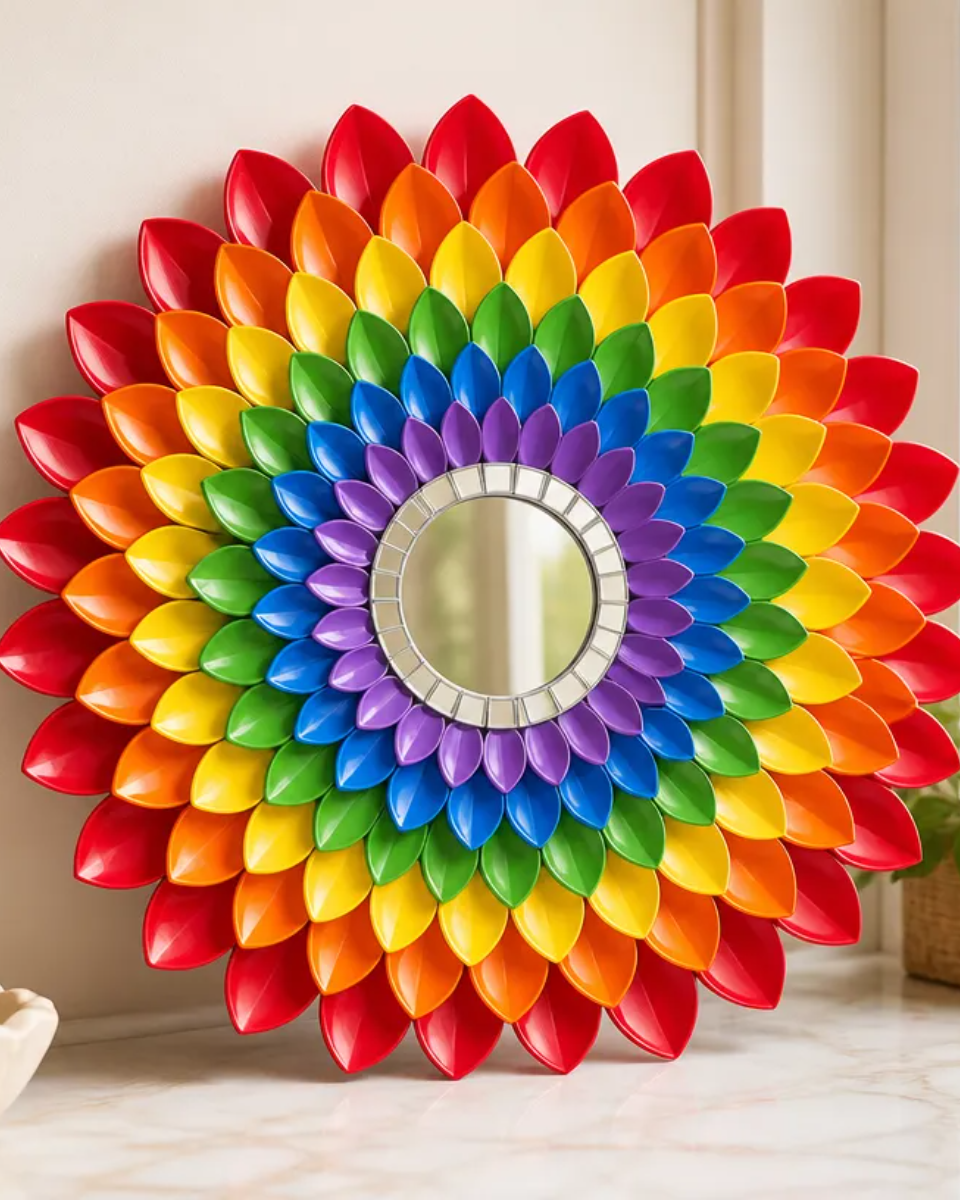
Materials You’ll Need
- Mirror frame Your base; choose a design that fits your decor style.
- Crystal embellishments For accentuating the frame and enhancing light reflection.
- Strong adhesive To securely attach the crystals to the frame.
- Tweezers Useful for placing small crystals precisely.
- Cleaning cloth To keep the mirror free of smudges and dust.
Tools
- Scissors For trimming any excess materials.
- Craft knife To carefully cut any tricky shapes if necessary.
- Ruler To measure placements accurately.
How to Make the Project
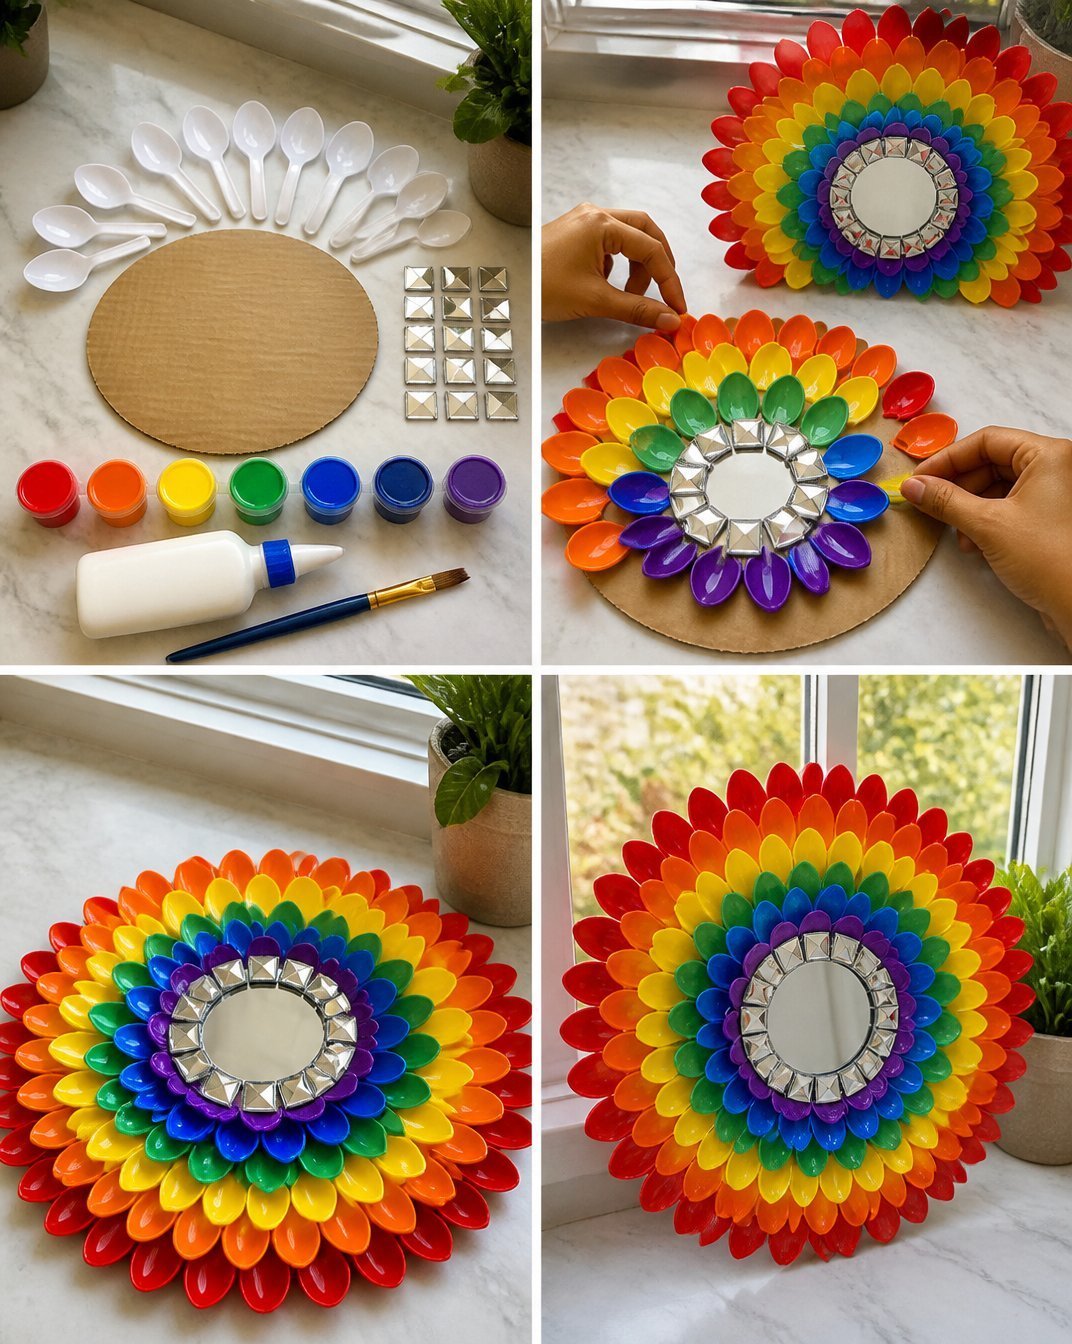
Step 1: Prepare the Mirror Frame
Begin by cleaning the mirror frame thoroughly to remove any dust or grease, which will ensure proper adhesion of the crystals.
Step 2: Arrange the Crystal Elements
Using tweezers, arrange the crystal embellishments around the mirror before attaching them. This allows you to visually assess and adjust their placement for balance and aesthetics.
Step 3: Secure the Crystals
Once you are satisfied with the arrangement, apply a small amount of strong adhesive to the back of each crystal and carefully press them onto the frame. Be patient and ensure that each piece is securely attached.
Step 4: Allow to Dry
Let the adhesive cure according to the manufacturer’s instructions. This step is essential for ensuring longevity and durability.
Step 5: Final Touches
After everything has dried, use a cleaning cloth to wipe down the mirror and remove any fingerprints or smudges that may have occurred during the crafting process.
Tips for the Best Result
- Balance Your Design: Step back often to ensure that your crystals are evenly distributed around the frame for a cohesive look.
- Experiment with Color: Select crystal colors that complement each other or contrast beautifully against the frame.
- Use Minimal Adhesive: Too much adhesive can seep out from underneath your crystals, ruining the clean look.
- Avoid Overcrowding: While it’s tempting to add many crystals, sometimes less is more. Choose a few standout pieces for a more sophisticated design.
Customization / Variations
Feel free to explore different color palettes or crystal shapes to adapt the project to reflect seasonal trends or your personal taste. You could even experiment with different frame materials like wood or metal for additional variety in presentation.
Ideas for Styling Your Handmade Decor
The Crystal Lotus Prism Mirror Frame can be displayed in various ways around the home. Consider placing it as a stunning focal point in your living room or using it as an elegant decor piece on a mantel. It also presents beautifully on a vanity or as part of a gallery wall that showcases other DIY creations such as a crystal sunburst mirror or a sea glass mosaic mirror.
Care and Storage
To maintain your crystal mirror frame’s beauty, dust it regularly with a soft cloth. Avoid exposure to moisture to prevent any damage to the adhesives and crystals.
Frequently Asked Questions
Can I substitute different materials?
Yes, you can use different types of crystals or even other decorative elements such as beads, depending on your design vision.
How do I hang my finished frame securely?
Make sure to use sturdy wall anchors or brackets that are rated for the weight of your frame, keeping your display safe.
What’s the best way to clean the crystals and mirror?
Use a soft lint-free cloth and a gentle glass cleaner to avoid scratching the crystals or the mirror surface.
Can I use this technique for a different type of frame?
Absolutely! The method can be adapted to numerous frame styles, just adjust the size of the crystals accordingly.
How do I fix common adhesive problems?
If any crystals fall off, simply reapply adhesive as needed and follow the drying instructions again.
Is this project suitable for children?
With adult supervision, older children can enjoy crafting this project, especially in selecting and arranging the crystals.
Conclusion
Making a Crystal Lotus Prism Mirror Frame not only results in a visually stunning piece for your home but also allows for a delightful crafting experience. Whether adding this piece to your decor or gifting it to a loved one, the final product is sure to impress. For more elegant decor ideas, you can explore furniture designs that complement your new frame or check out unique options for wall art on Etsy for inspiration.
Follow Glow Studio DIY for fresh DIY ideas & inspiration!
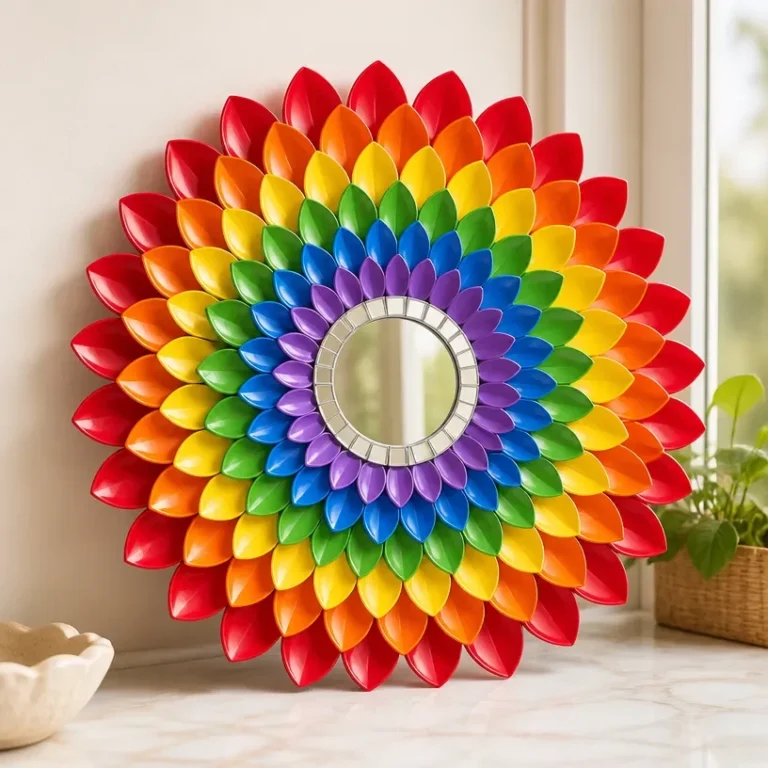
Crystal Lotus Prism Mirror Frame
Would you like to save this project?
By submitting you agree to receive this project and occasional emails. Unsubscribe anytime.
Materials
Materials
- 1 piece Mirror frame Choose a design that fits your decor style.
- assorted pieces Crystal embellishments For accentuating the frame and enhancing light reflection.
- 1 tube Strong adhesive To securely attach the crystals to the frame.
- 1 piece Tweezers Useful for placing small crystals precisely.
- 1 piece Cleaning cloth To keep the mirror free of smudges and dust.
Tools
- 1 piece Scissors For trimming any excess materials.
- 1 piece Craft knife To carefully cut any tricky shapes if necessary.
- 1 piece Ruler To measure placements accurately.
Directions
Preparation
- Clean the mirror frame thoroughly to remove any dust or grease.
- Gather your materials and tools at a clear workspace.
Assembly
- Using tweezers, arrange the crystal embellishments around the mirror framework.
- Once satisfied with the arrangement, apply strong adhesive to the back of each crystal.
- Carefully press the crystals onto the frame, ensuring each piece is securely attached.
- Let the adhesive cure according to the manufacturer's instructions.
- After everything has dried, wipe down the mirror with a cleaning cloth.
Last Step: Don’t forget to leave a rating and comment below! It helps other readers find the best DIY projects — and it helps us too!