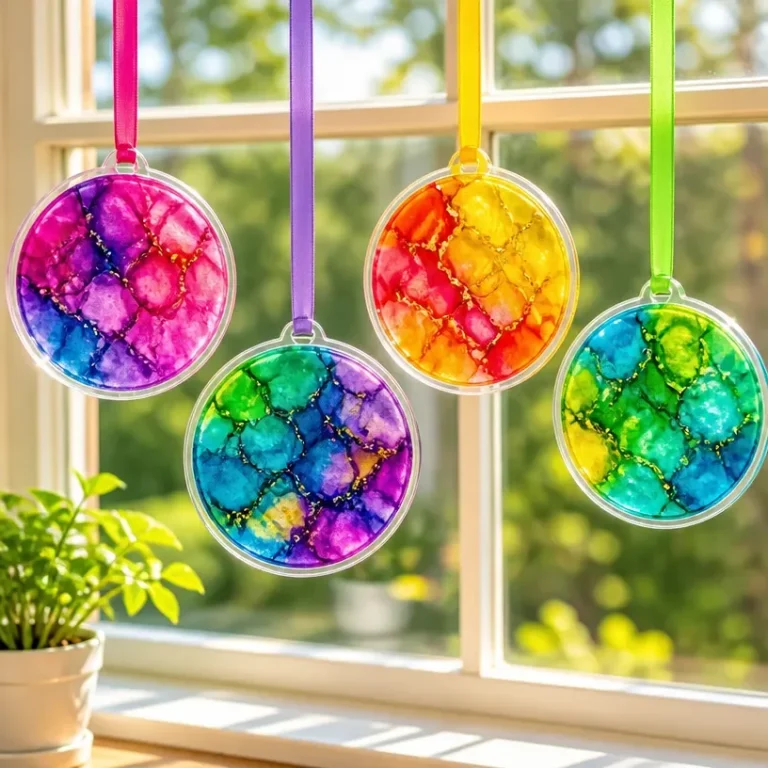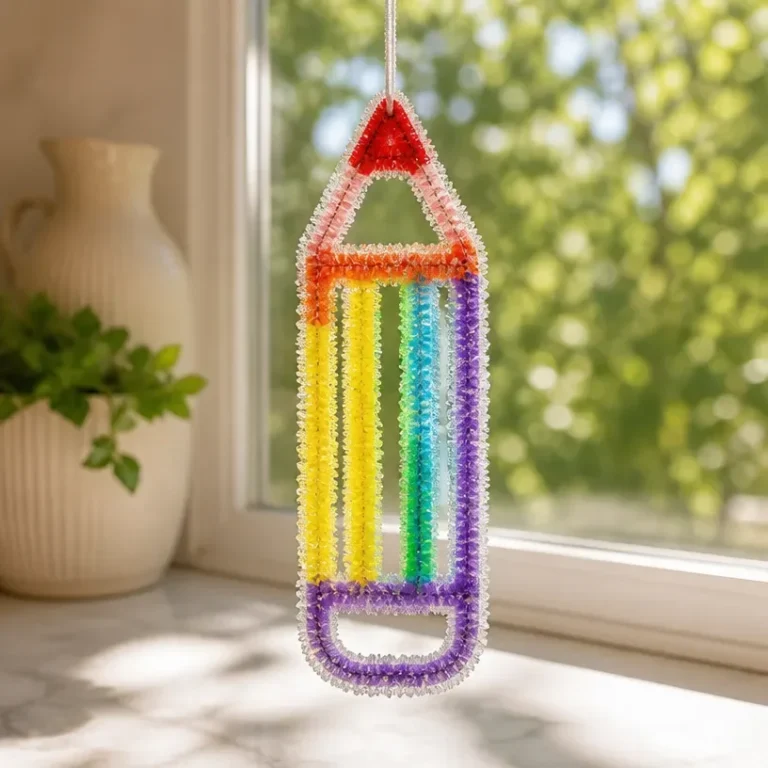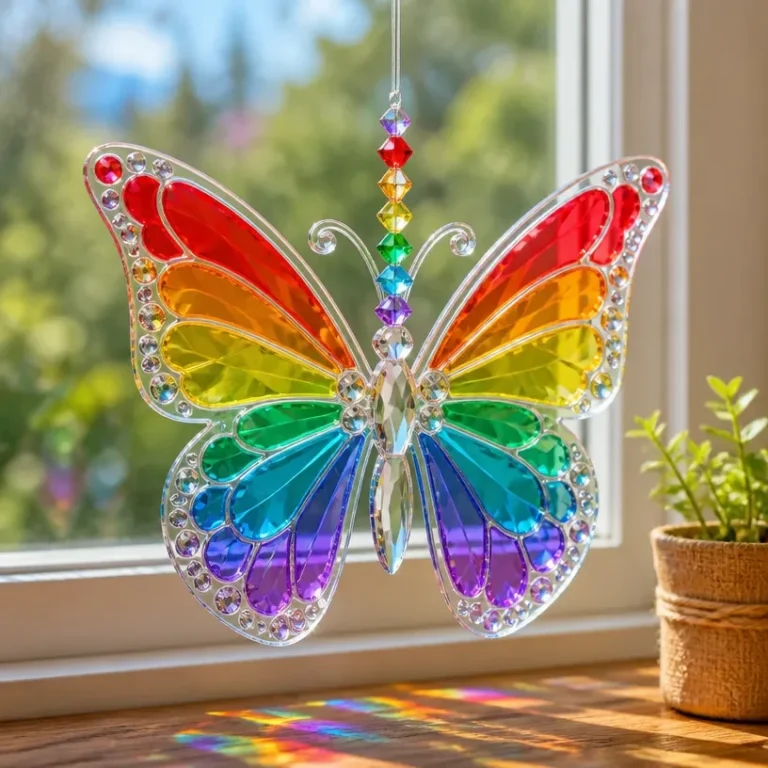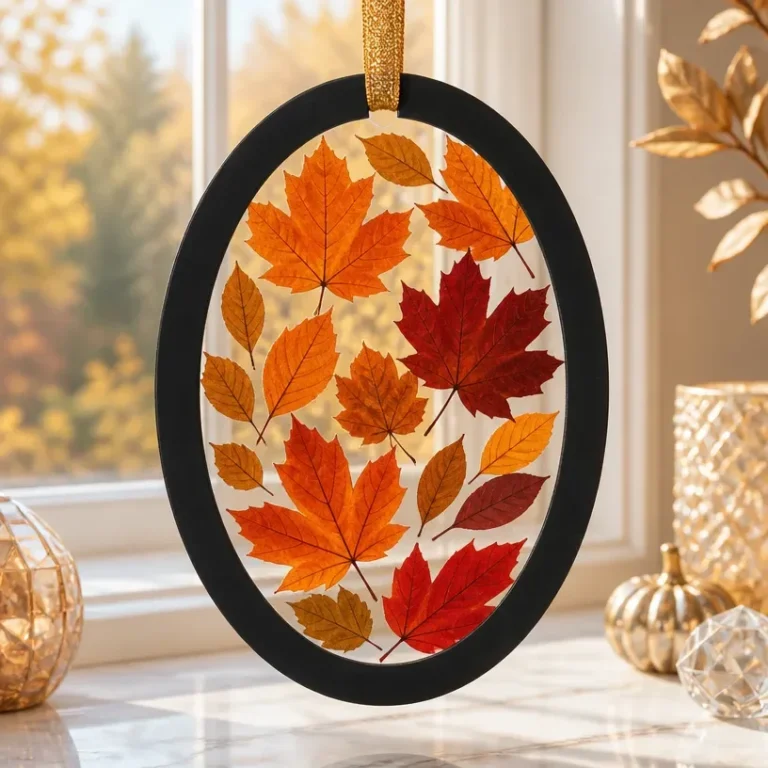
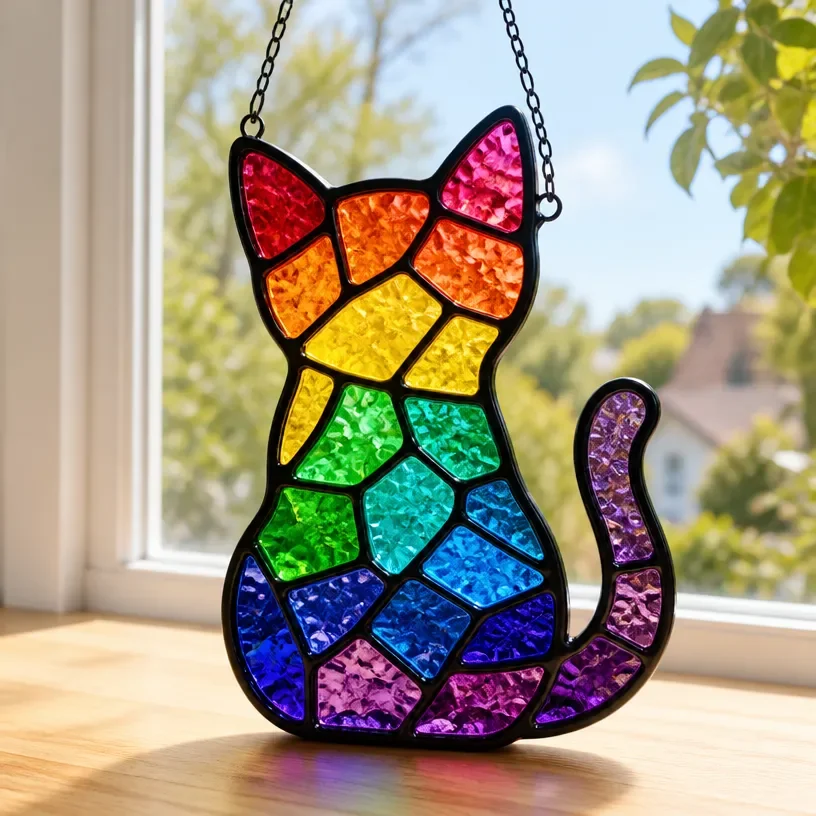
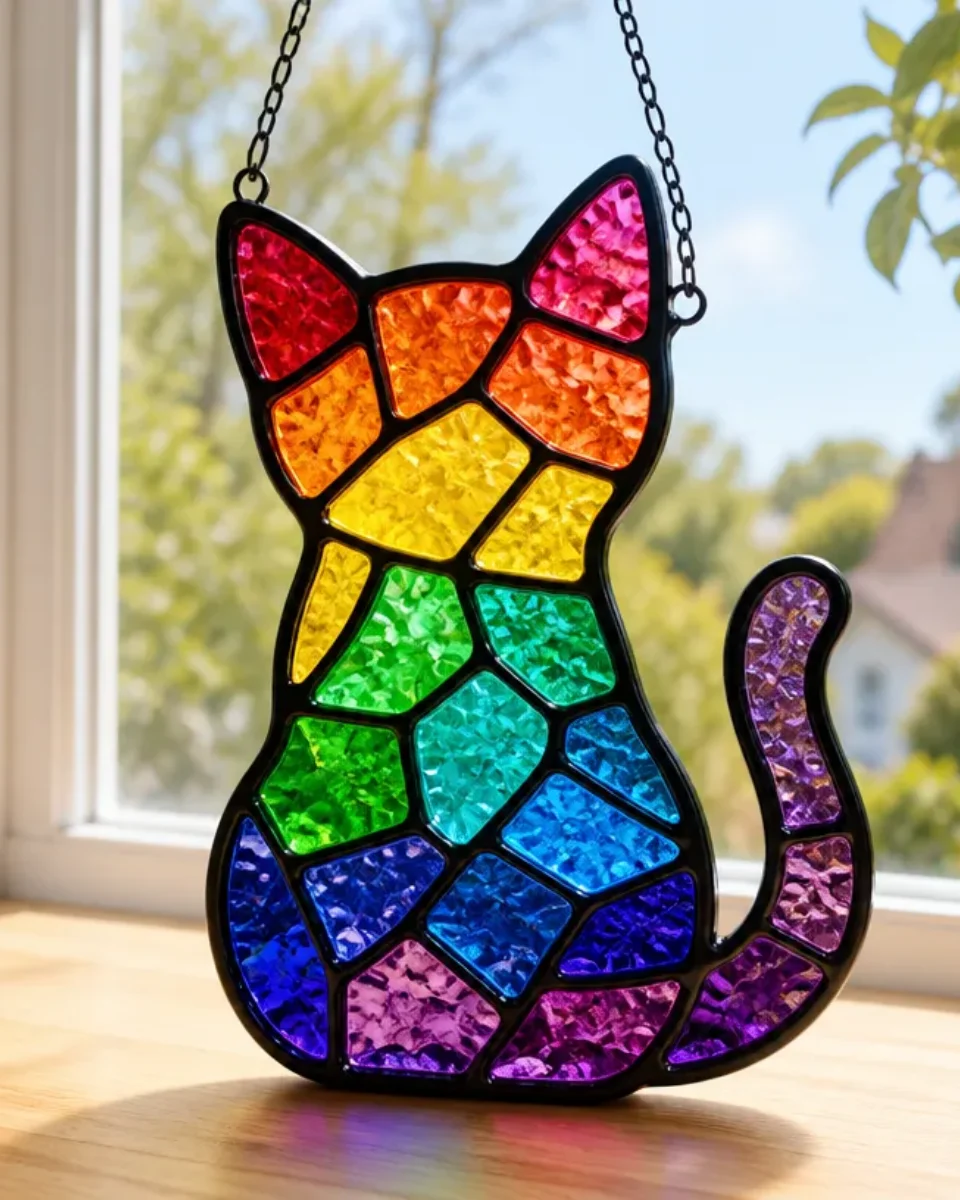
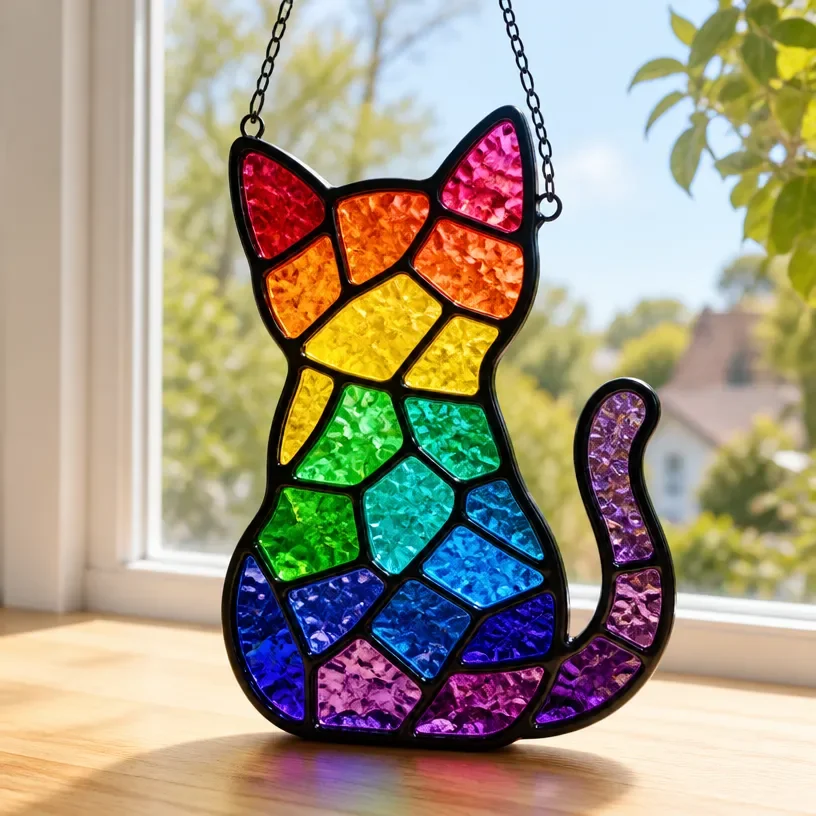
Creating a Rainbow Kitten Suncatcher with a clear glass window ornament is a delightful way to bring a burst of color and charm to any window in your home. The final piece not only captures beautiful light but also adds a whimsical element to your decor. Perfect for children’s rooms or as a cheerful addition to common areas, this project is both fun and aesthetically pleasing. You may also find Diy Pink Crystal Unicorn Suncatcher For Clear Glass Window Decor useful.
In this guide, we will walk you through the steps to make your own suncatcher, ensuring a display-worthy result that can brighten up your space. Additionally, crafting suncatchers offers the perfect opportunity for customization, allowing you to personalize colors and designs that best suit your style. If you’re interested in more suncatcher ideas, be sure to check out our DIY Colorful Rainbow Prism Suncatcher for additional inspiration.
Why You’ll Love This Project
Making your own suncatcher is a rewarding endeavor that comes with several benefits: You may also find Colorful Rainbow Haunted House Window Suncatcher For Halloween Decor useful.
- Display-Worthy Result: The vibrant colors and design make these suncatchers a great decorative element for any space.
- Beautiful Reflections: Sunlight passing through the suncatcher creates stunning reflections and adds a magical touch to your surroundings.
- Easy Technique: The project is approachable for all skill levels, allowing even beginners to create something beautiful.
- Customizable Options: You can choose different colors, shapes, and materials to match your personal style or seasonal themes.
- Gift Potential: Handmade suncatchers make thoughtful gifts for friends and loved ones, perfect for any occasion.
Each of these aspects enhances your crafting experience and final product, making it a worthwhile addition to your home decor. You may also find Diy Colorful Rainbow Prism Pencil Suncatcher For Window Decor useful.
Before You Begin
Preparing your workspace and materials is a crucial step to ensure a smooth crafting experience. Here are a few helpful tips: You may also find Diy Crystal Glass Suncatcher Hanging Window Decor useful.
- Protect Your Work Surface: Lay down a drop cloth or newspaper to catch any spills or mess.
- Organize Your Materials: Gather all your materials and tools beforehand so you won’t need to search for them during the process.
- Clean the Glass: Wipe down your glass with a cleaning solution to remove any dust or smudges that could affect adhesion.
- Ventilation: Ensure your workspace is well-ventilated, especially if you are using adhesives or paints.
Taking these steps will help you work more efficiently and achieve a polished final result.
Materials You’ll Need
Gather the following materials for your Rainbow Kitten Suncatcher:
- Clear glass panel this will serve as the base of your suncatcher.
- Colored glass paints used for painting the kitten and rainbow design.
- Paintbrushes for detailing your design.
- Adhesive to attach any additional decorative elements.
- Glitter or sequins (optional) to enhance sparkle and texture.
- Hanging cord or wire to display your suncatcher.
Tools
You will also need a few essential tools for this project:
- Scissors for cutting any hanging materials.
- Palette or plate to mix and hold your paints.
- Ruler for measuring and ensuring even spacing in your design.
How to Make the Project
Step 1: Design Your Suncatcher
Begin by sketching your design on paper. Consider how to visually arrange the rainbow and rainbow kitten. This will serve as a guide as you start painting.
Step 2: Prepare the Glass Panel
Once you have your design sketched out, take your clean glass panel and lay it flat on your prepared work surface.
Step 3: Paint the Base Color
Using your colored glass paints, start with the base colors for the kitten and the rainbow. Work with lighter colors first to create a smooth background. Allow this layer to dry completely before moving on.
Step 4: Add Details
Once the base is dry, use finer brushes to add details such as the kitten’s face and the rainbow’s colors. Don’t hesitate to add a bit of glitter or sequins for an extra shine.
Step 5: Secure Your Design
For additional stability, use adhesive to secure any loose decorative elements once the paint is dry. This will help the components stay in place when hung.
Step 6: Attach the Hanging Cord
Finally, cut a piece of cord or wire to the desired length and secure it to the top of the suncatcher. This will be what you use to hang your new creation.
Tips for the Best Result
To achieve the most polished finish on your suncatcher, consider these tips:
- Use Enough Paint: Apply even layers to avoid patchiness, but be careful not to overdo it, which can lead to drips.
- Drying Times: Allow each layer of paint to dry fully before adding additional layers or details to prevent smudging.
- Storage: Store your suncatcher in a cool, dry place if not hanging immediately to avoid accidental scratches or damage.
Customization / Variations
Feel free to customize your Rainbow Kitten Suncatcher with variations. You can experiment with different color palettes, designs, or even frame styles. This is also a fantastic opportunity to use seasonal colors or themes, such as autumn hues or winter blues.
How to Display Your Suncatcher
Once completed, find the perfect spot to showcase your suncatcher. It can be hung in a sunny window in a child’s room, brightening up the space with cheerful light. Alternatively, consider using it as part of a seasonal display on a mantle or shelf.
Frequently Asked Questions
Can I use different materials other than glass?
Yes! You can use plastic or acrylic panels if you’re concerned about fragility or weight.
How do I keep my suncatcher clean?
Gently dust it with a soft cloth, and avoid using water, as it can damage the paint.
What should I do if the paint doesn’t adhere well?
Ensure the glass is adequately cleaned, and consider using a glass primer before painting if necessary.
Can I make this project with kids?
Absolutely! This is a fun and creative project perfect for kids with adult supervision, especially during painting steps.
How can I hang my suncatcher?
You can use command hooks or nails on the wall, or thread your hanging material through the top edge of the glass and hang from a window frame.
Conclusion
Making your own Rainbow Kitten Suncatcher with a clear glass window ornament is not only a fun creative project but also results in a beautiful piece of decor that brings joy and color to your environment. Remember to explore different designs and materials to truly make this project your own. For more inspiration, you can find unique items such as a Rainbow Crystal Cat Sun Catcher Rhinestone Pendant or browse artistic options on Etsy for glass art prisms. Enjoy the process of creating and let your vibrant suncatcher brighten your space!
Follow Glow Studio DIY for fresh DIY ideas & inspiration!
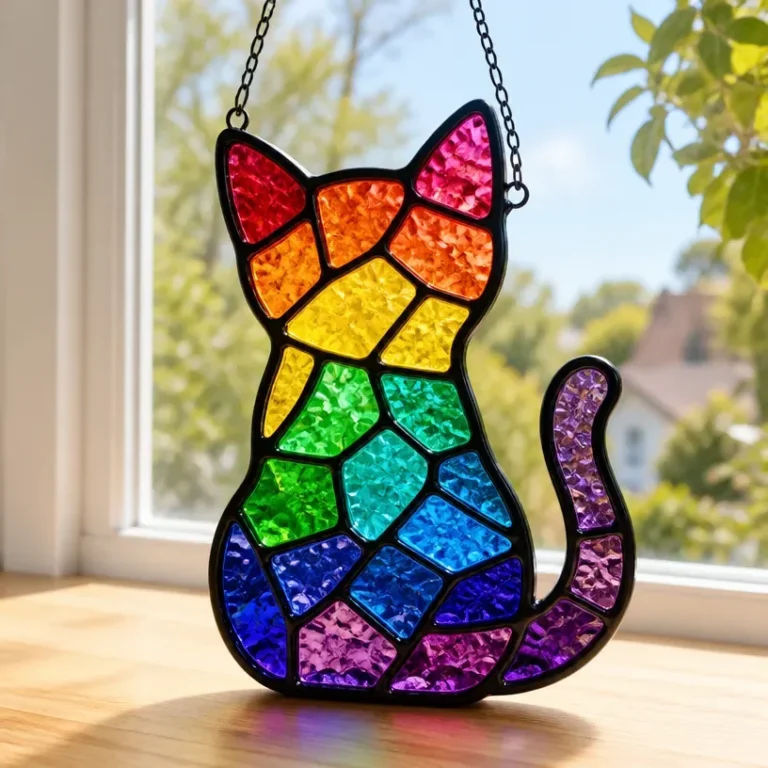
Rainbow Kitten Suncatcher
Would you like to save this project?
By submitting you agree to receive this project and occasional emails. Unsubscribe anytime.
Materials
Materials
- 1 piece Clear glass panel Serves as the base for the suncatcher.
- 6 colors Colored glass paints Used for painting the kitten and rainbow design.
- 2 pieces Paintbrushes For detailing your design.
- 1 tube Adhesive To attach any additional decorative elements.
- optional Glitter or sequins To enhance sparkle and texture.
- 1 piece Hanging cord or wire To display your suncatcher.
Directions
Preparation
- Step 1: Design Your Suncatcher - Sketch your design on paper.
- Step 2: Prepare the Glass Panel - Clean the glass and lay it flat on your work surface.
- Step 3: Paint the Base Color - Start applying base colors and allow to dry.
Detailing
- Step 4: Add Details - Use finer brushes to add details and optional glitter.
- Step 5: Secure Your Design - Apply adhesive to secure any loose elements.
- Step 6: Attach the Hanging Cord - Cut and attach your hanging material.
Last Step: Don’t forget to leave a rating and comment below! It helps other readers find the best DIY projects — and it helps us too!