DIY 3D Floral Wall Art Ideas for Home Decor
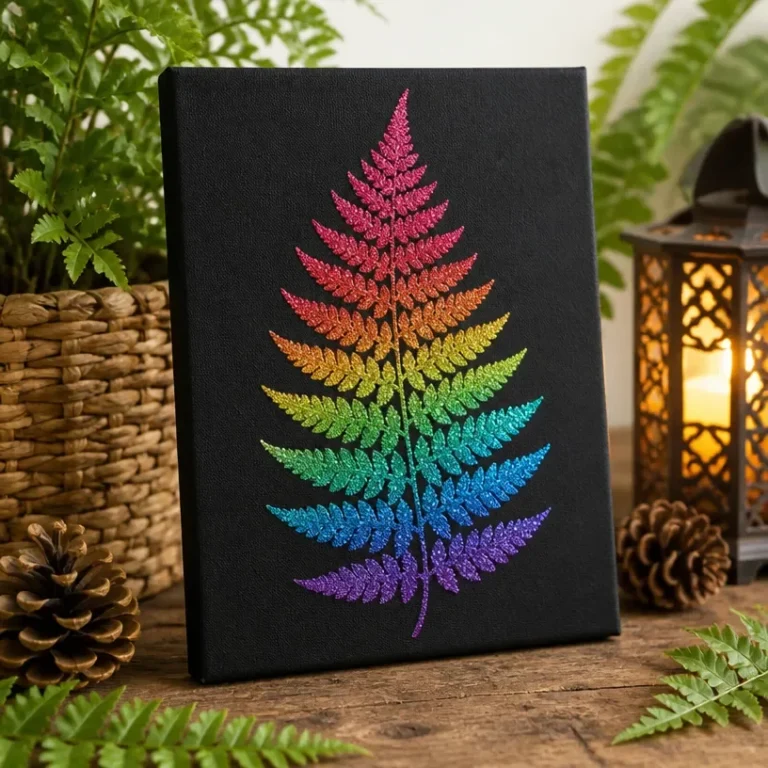
Creating 3D floral wall art is an engaging way to enhance your home decor with beautiful, eye-catching pieces. These artworks can transform any wall into a vibrant display, making them perfect for living rooms, bedrooms, or even entryways. The layering of shapes and colors in 3D floral art adds depth, bringing a touch of nature indoors without the maintenance of live plants. You may also find Diy Shimmering Rainbow Fern Wall Art Modern Home Decor useful.
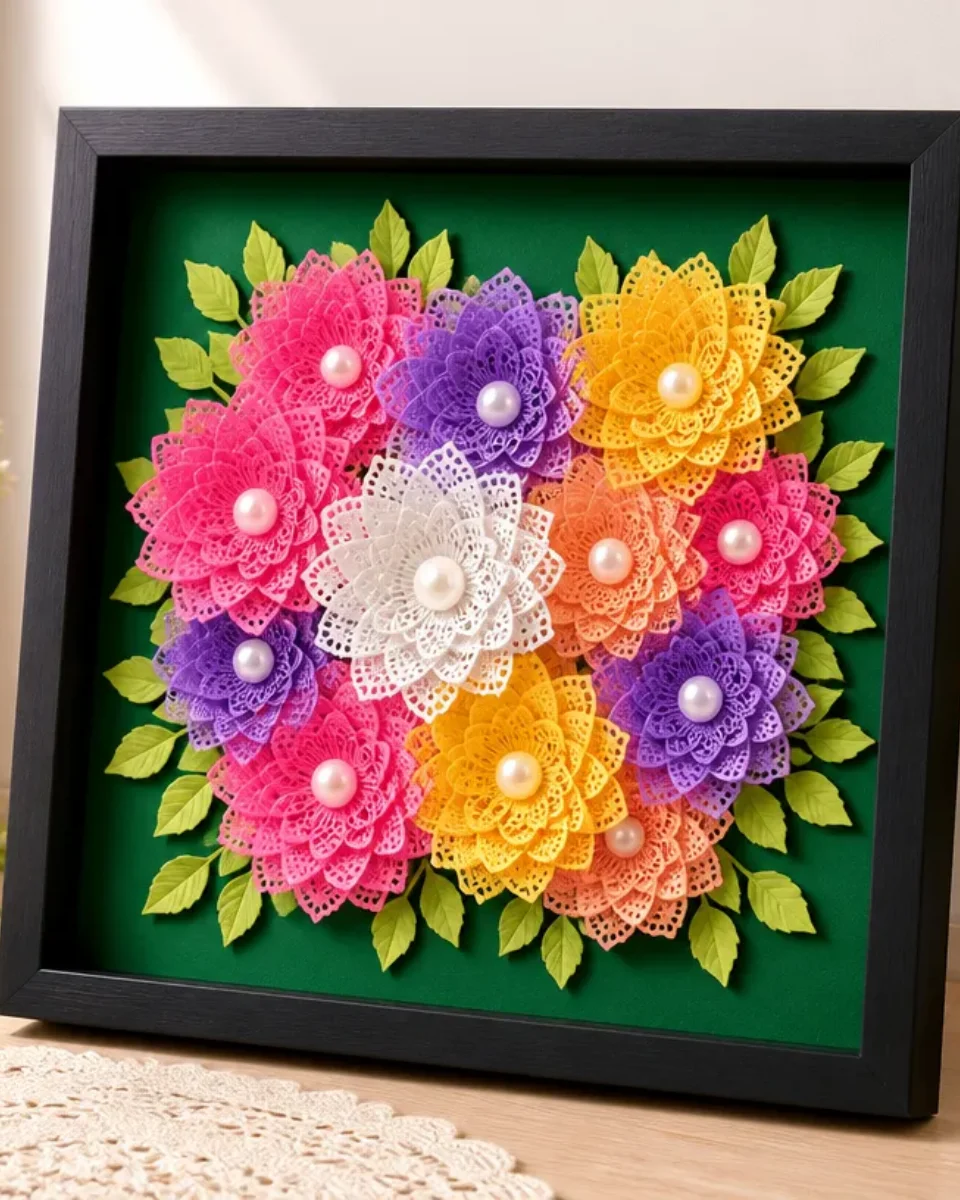
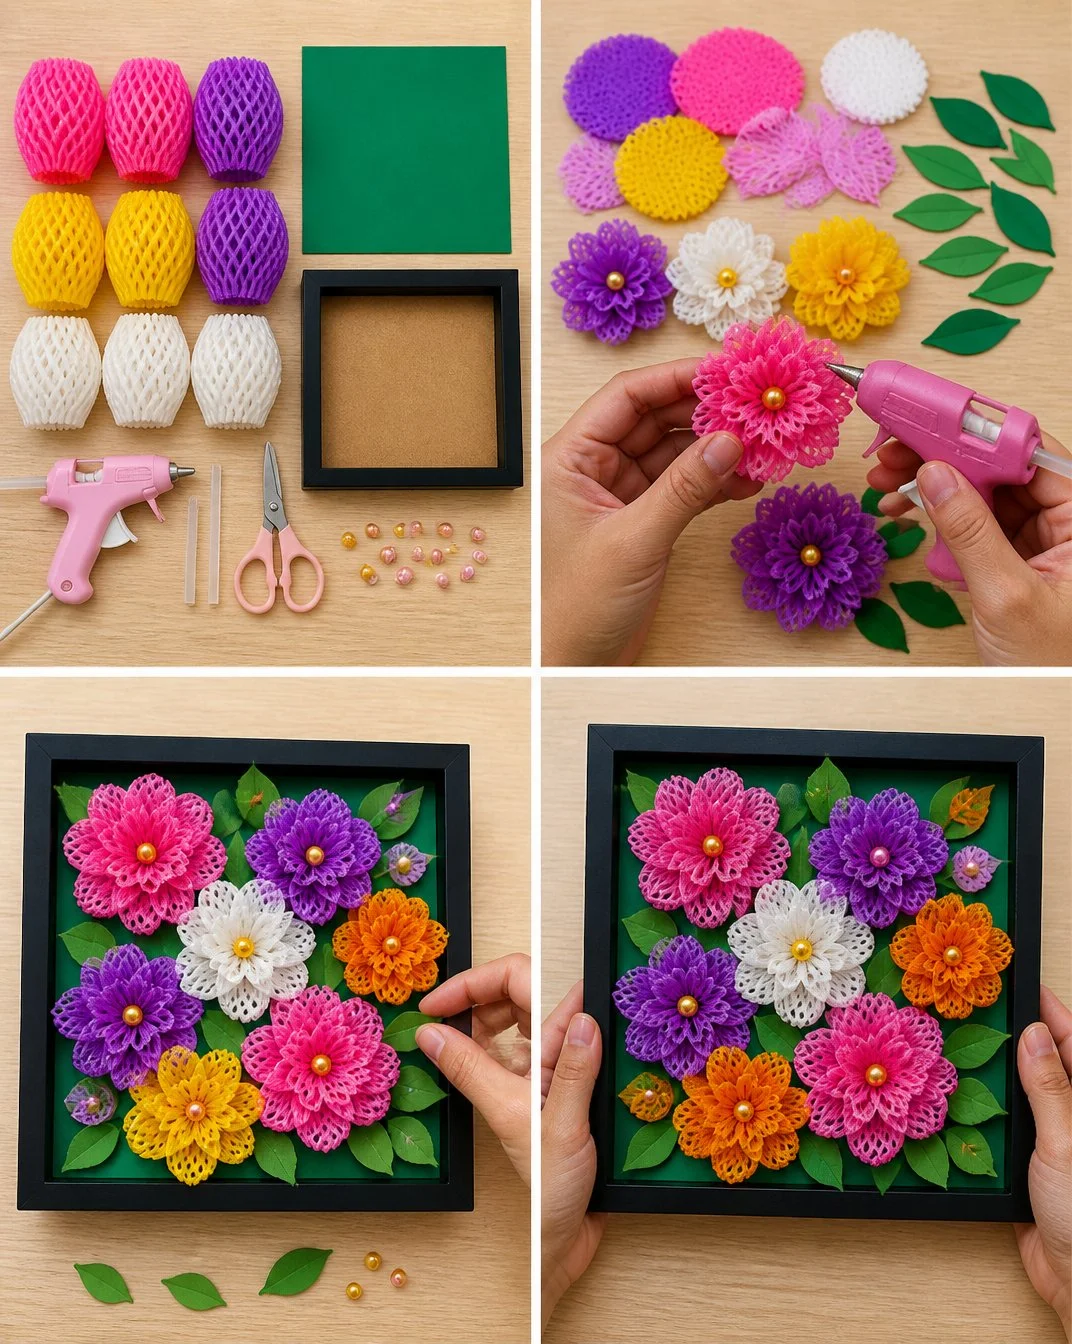
In this article, we’ll explore various DIY projects for creating stunning 3D floral wall art. By using inexpensive materials and simple steps, you can make a unique piece that reflects your personal style. You might want to check out this floral wall art project for inspiration, showcasing fruit foam nets that create striking, textured flowers.
Why You’ll Love This Project
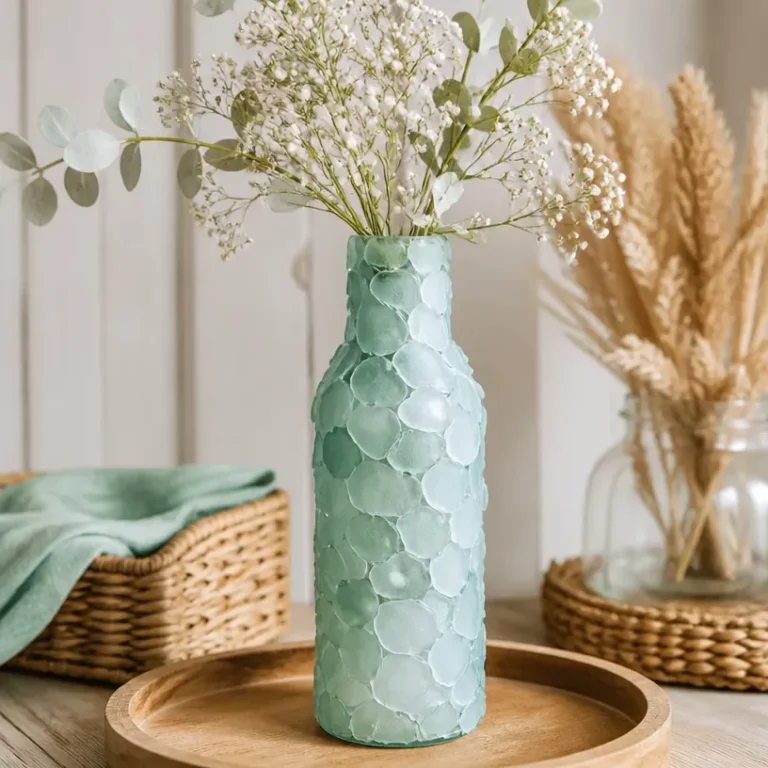
Creating 3D floral wall art offers numerous benefits that enhance its appeal: You may also find Diy Artificial Sea Glass Vase For Coastal Decor useful.
- Display-worthy results: Your finished project will be a beautiful focal point that enhances any room.
- Customizable: Adjust colors and designs to match your decor or seasonal themes.
- Sustainable materials: Many projects use recyclable or upcycled materials, making them an eco-friendly choice.
- Inexpensive: Most materials can be found at local craft stores or online, often without breaking the budget.
- Perfect for gifting: Handmade art pieces make thoughtful, personalized gifts for family and friends.
Before You Begin
To ensure a smooth crafting experience, consider these preparation tips before you start: You may also find Diy Dried Flower Botanical Wreath For Wall Decor useful.
- Protect your workspace: Lay down a drop cloth or newspaper to catch any spills or glue drips.
- Organize materials: Gather all your supplies ahead of time to streamline the process and keep track of everything.
- Ventilation: Work in a well-ventilated area if using strong adhesives or paint, as the fumes can be harmful.
- Visual placement: Before securing elements in place, arrange them dry to confirm you’re happy with the layout.
You may also find Diy Floral Ice Candle Centerpiece For Summer Parties useful.
Materials You’ll Need
- Cardstock or heavy paper serves as the base for your flowers.
- Foam sheets in various colors used to create depth and dimension for the flowers.
- Scissors for cutting out flower shapes and leaves.
- Hot glue gun and glue sticks to secure the elements together.
- Paint or markers (optional) for adding details to your flowers or background.

How to Make a 3D Floral Wall Art
Step 1: Create Your Flower Shapes
Begin by drawing flower shapes on cardstock or foam sheets. You can vary the size and style, using templates for different types of flowers if you prefer. Once cut out, you can create multiple layers for a more dynamic look.
Step 2: Assemble Layers
Layer your flower pieces by gluing smaller petals on top of larger ones. This will create the illusion of depth. If the flowers are made of foam, consider bending the edges slightly to give them a more natural look.
Step 3: Add Details
Utilize paint or markers to add colors or designs on the petals. You can create patterns like stripes or dots to make each flower unique. Allow any paint to dry before moving on to the next step.
Step 4: Arrange Your Composition
Next, think about how you want to arrange your flowers on your base. Consider a mix of sizes and orientations. Once you’re happy with the arrangement, secure them in place with your hot glue gun.
Step 5: Final Touches
After everything is glued down, check for any loose edges and secure them if necessary. You can also add leaves or other decorative elements to enhance the overall appearance.
Tips for the Best Result
- Consider color balance: Choose complementary colors that suit your room’s decor.
- Achieve a polished look: Make sure to trim any visible glue strings after securing the pieces.
- Experiment with textures: Mixing materials like fabric or paper can add additional interest.
- Avoid excess adhesive: Use just enough glue to hold each piece securely without overflowing.
Customization / Variations
You can easily customize your floral wall art for a seasonal or themed look. Here are some ideas:
- Seasonal colors: Use warm tones for fall or bright colors for spring.
- Sizes: Create a large statement piece or small clusters of flowers.
- Framing: Consider framing your artwork to add a finished touch or hanging it inside a shadow box for more depth.
Ideas for Styling Your Handmade Decor
Your 3D floral wall art can be displayed in various ways. Here are a few suggestions:
- Feature wall: Hang it as a central piece in your living room or hallway.
- Gallery style: Combine it with other artworks or photos for a personalized gallery wall.
- Gift giving: Wrap it carefully and present it to friends or family as a handcrafted gift.
Frequently Asked Questions
Can I use different materials for the flowers?
Absolutely! While foam and cardstock are common choices, you can use fabric, felt, or even recycled paper to craft your flowers.
How do I hang my finished wall art?
You can use command strips, adhesive hooks, or picture hangers, depending on the weight of your artwork and your wall type.
What if I want to change the colors later?
If you decide to change the colors, you can paint over the existing design. Ensure that any paint you use is suitable for the base material to ensure good adhesion.
How can I store this project during off-seasons?
To store your 3D floral art, keep it in a dry, temperature-controlled environment. Use a sturdy box with padding to avoid damage.
What if some flowers get damaged?
Replicate the damaged flowers using your existing templates. It’s simple to make replacements as needed to keep your artwork looking fresh.
Can I create a matching set?
Yes! Consider making multiple pieces that radiate the same theme or color palette for a cohesive display.
Conclusion
In summary, DIY 3D floral wall art is a fulfilling art project that results in gorgeous decor with personal flair. Whether used as a seasonal piece or an everyday staple, it can transform your environment in delightful ways. For further inspiration, you might want to explore this 3D wall stickers option or check out the Flower Wall Hanging DIY Project to add more creativity to your home.

3D Floral Wall Art
Ingredients
Method
- Step 1: Create Your Flower Shapes - Draw flower shapes on cardstock or foam sheets, cut them out for layering.
- Step 2: Assemble Layers - Glue smaller petals on top of larger ones to create depth in your flowers.
- Step 3: Add Details - Use paint or markers to enhance the petals with color and patterns, allowing them to dry.
- Step 4: Arrange Your Composition - Layout your flowers on the base and secure them in place with hot glue.
- Step 5: Final Touches - Check and secure any loose edges, and add decorative elements as desired.