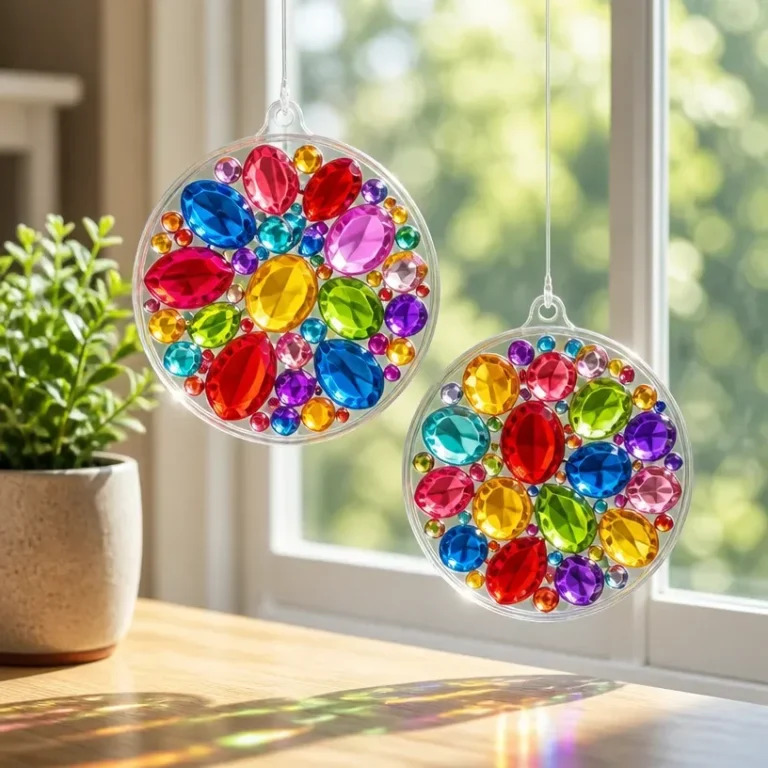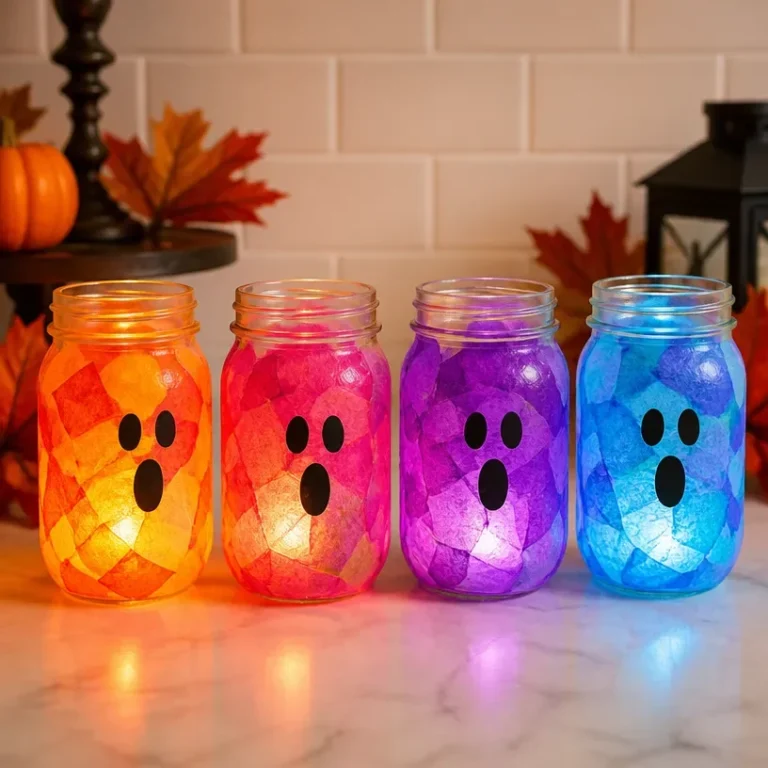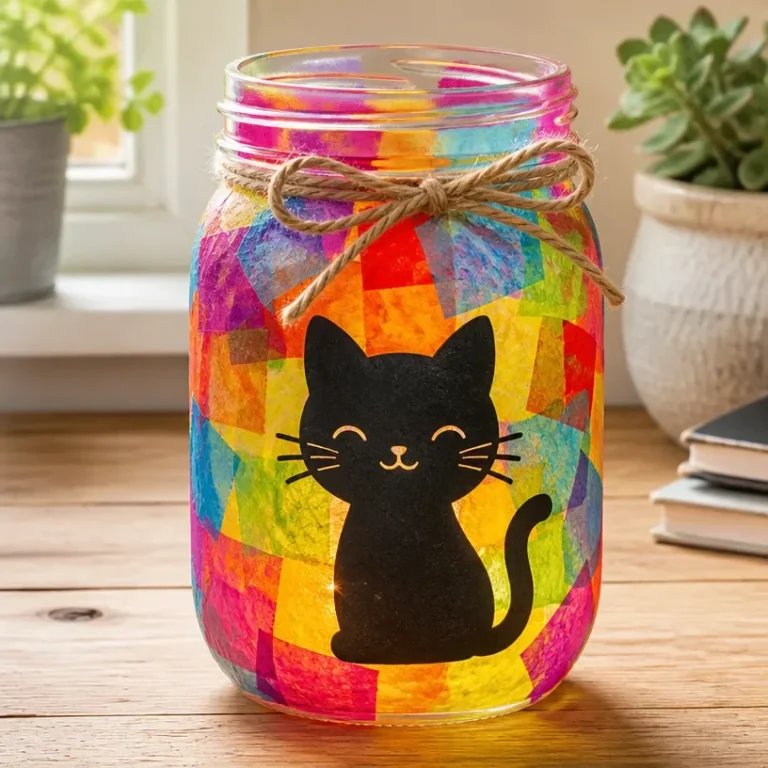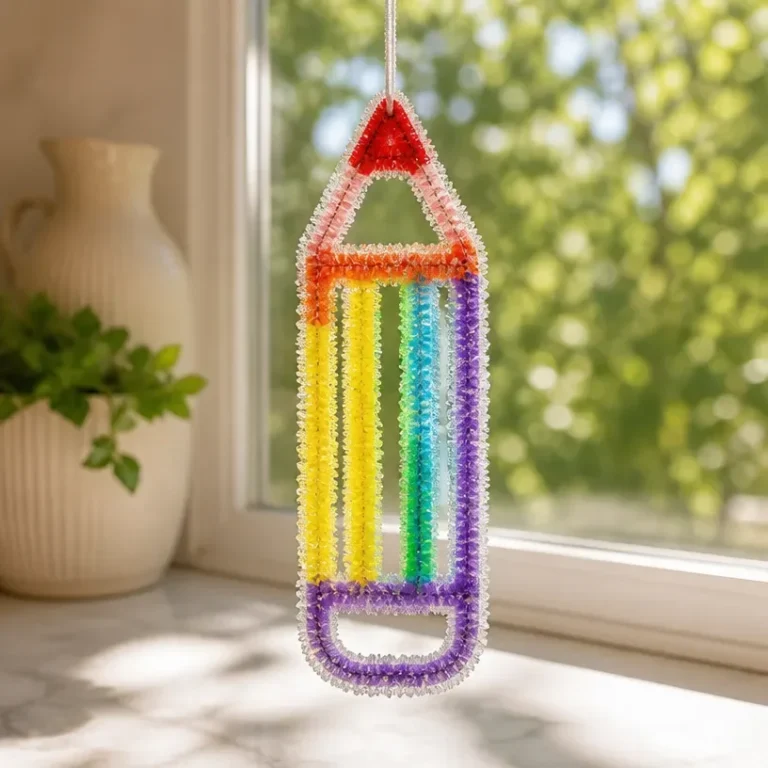
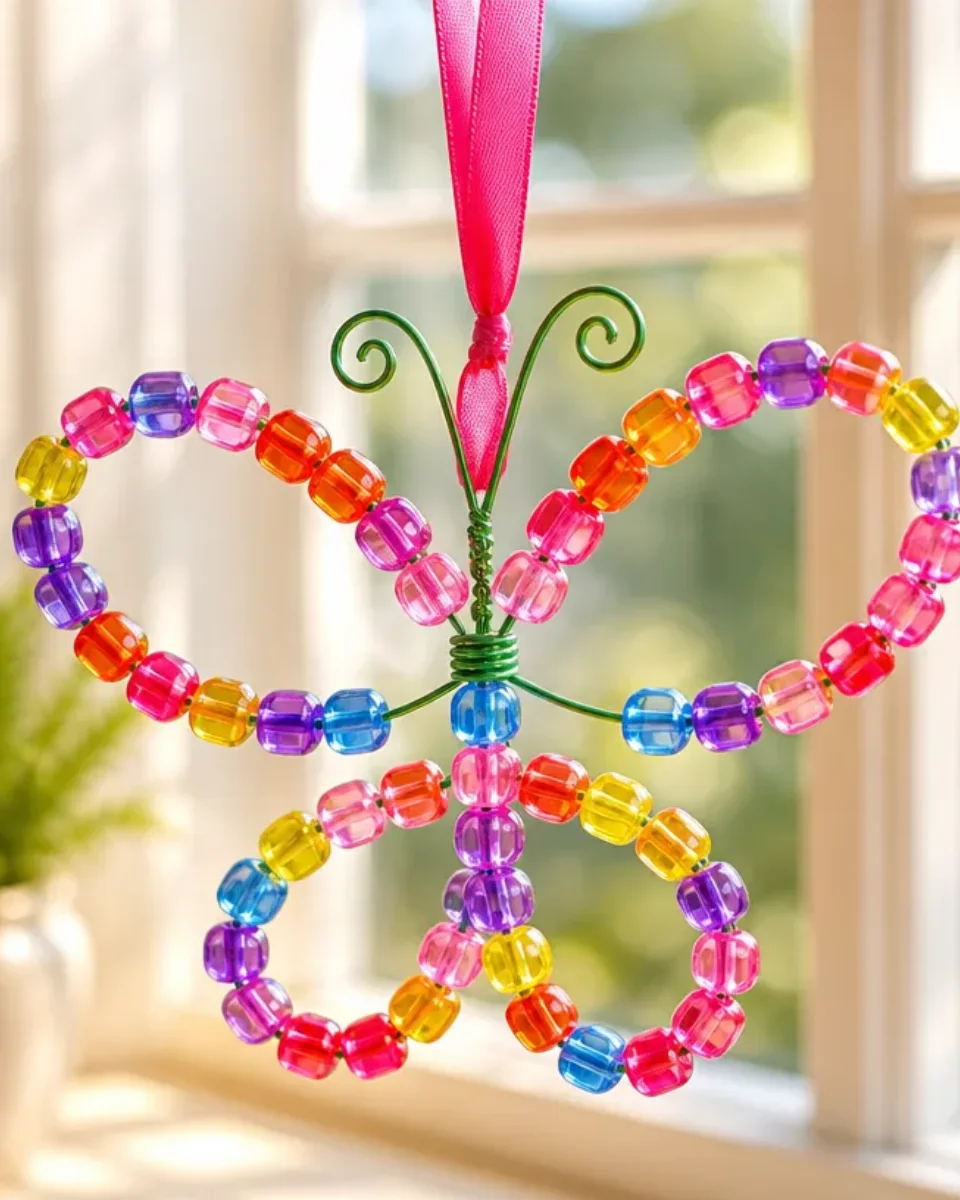
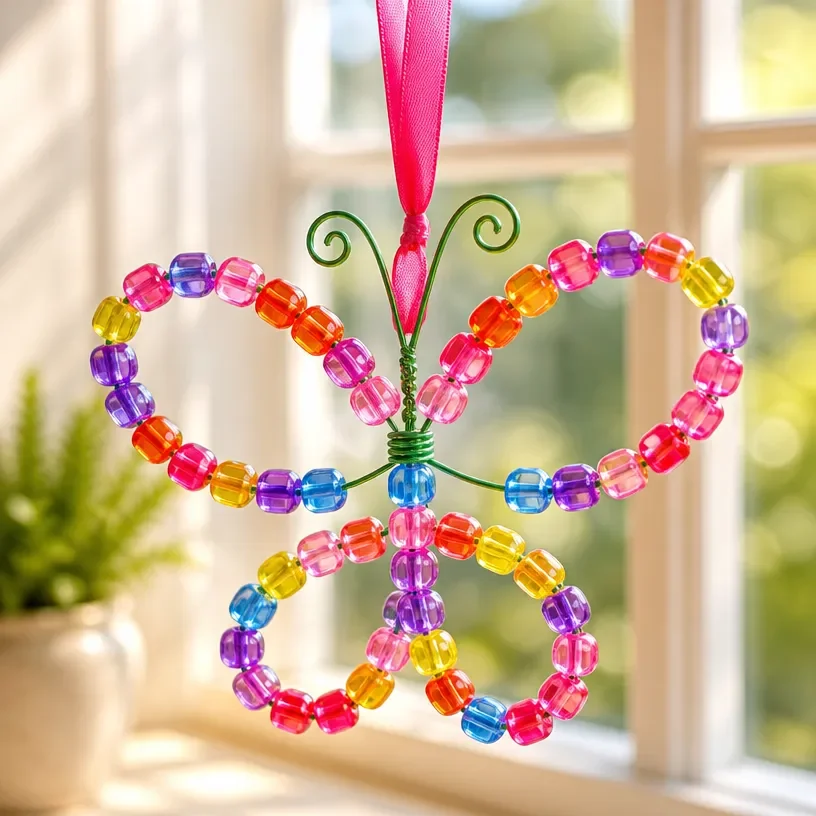
Creating a DIY beaded butterfly suncatcher is not only a fun craft project but also a beautiful addition to your home decor. This suncatcher captures light beautifully, casting colorful reflections throughout the room and adding a playful touch to any window. With its delightful butterfly shape, you can display it in your kitchen, living room, or even gift it to a loved one. You may also find Diy Crystal Beaded Window Garland Suncatcher useful.
In this guide, you’ll find all the steps necessary to make your very own butterfly suncatcher using vibrant pony beads. It’s an approachable project that allows for plenty of customization, ensuring your finished piece is unique to your style. To explore similar crafts, check out our article on DIY Rainbow Crystal Butterfly Suncatcher.
Why You’ll Love This Project
Creating a beaded butterfly suncatcher comes with numerous benefits: You may also find Dragonfly Suncatcher With Prism Beads useful.
- Stunning Aesthetic: Once hung, this suncatcher will transform the natural light into a whimsical display of colors, enhancing your living space.
- Easy to Make: This project is simple enough for crafters of all skill levels, making it accessible for adults and even older children.
- Inexpensive Materials: The materials needed for this project are not only affordable but also easily accessible.
- Customizable Colors: You can choose your favorite colors for the pony beads, allowing you to personalize the suncatcher to suit your decor or season.
- Great Gift Idea: Handmade gifts are always cherished, and this suncatcher makes a thoughtful present for friends and family.
Before You Begin
Before diving into the creation process, it’s helpful to prepare your workspace. Make sure to cover your surface with a protective mat to avoid any mess from beads and adhesive. Organizing your materials beforehand can save you time and keep the crafting process smooth. You may also find Diy Crystal And Pearl Hanging Heart Suncatcher Tutorial useful.
You may also find Diy Crystal Glass Suncatcher Hanging Window Decor useful.
Materials You’ll Need
- Pony beads vibrant colors for a lively effect.
- Heavy-duty fishing line for durability and strength when hanging.
- Butterfly-shaped mold this will give the suncatcher its unique shape.
- Hot glue gun for securing the beads in place.
- Scissors for cutting the fishing line to the desired length.
Tools
- Screwdriver if you need to hang the suncatcher with additional hardware.
- Tweezers helpful for positioning beads in tight spaces.
How to Make the Project
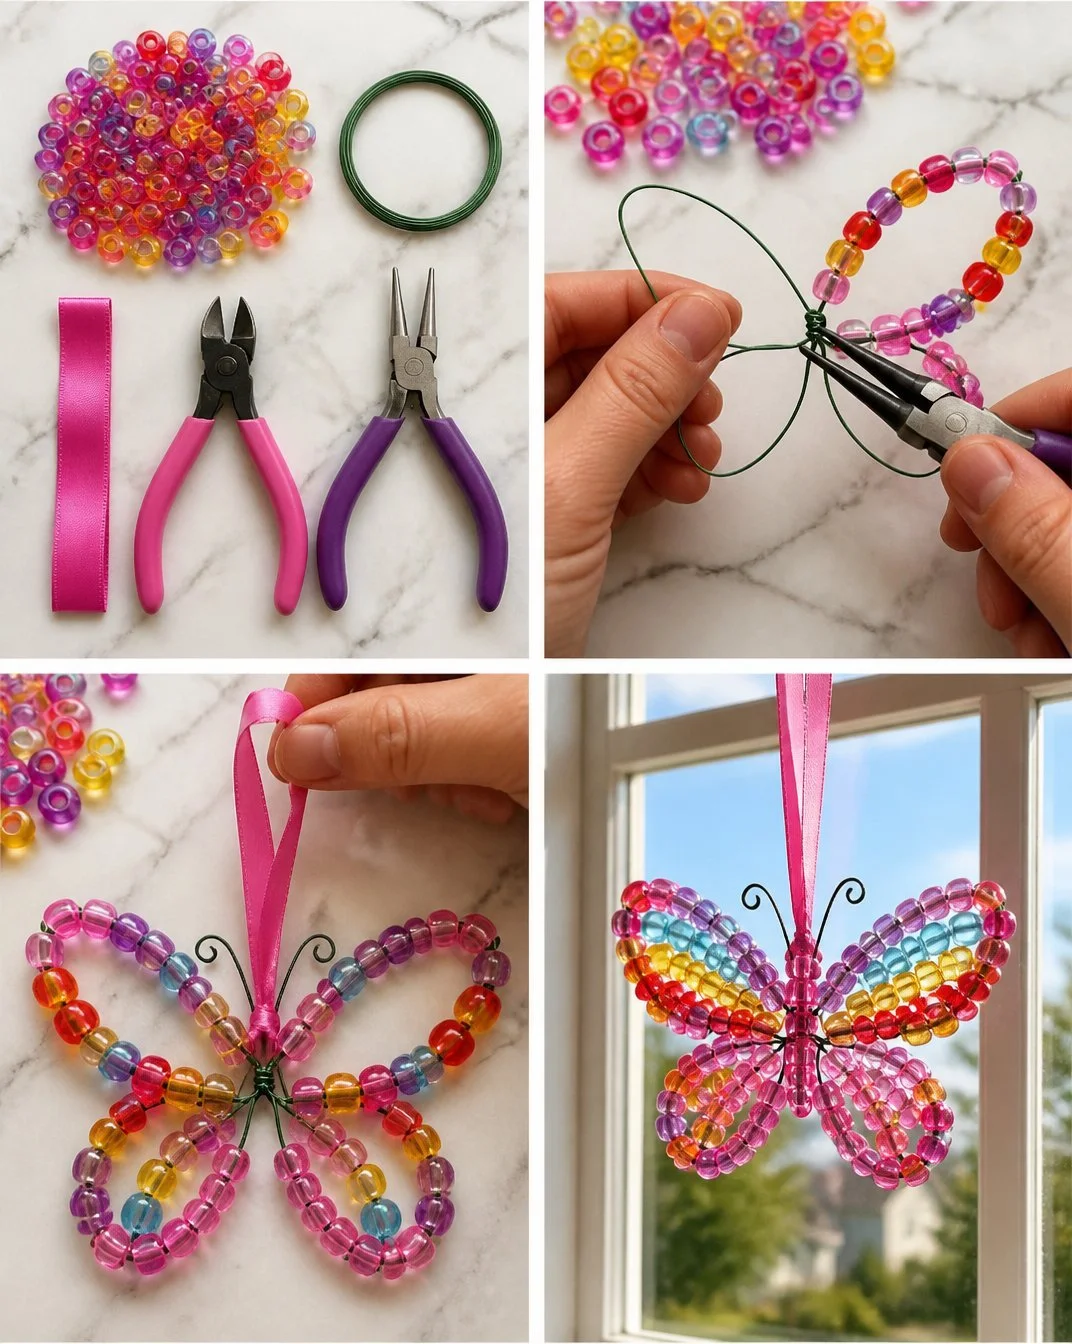
Step 1: Arrange the Pony Beads
Start by selecting your desired colors of pony beads and laying them out in a butterfly shape on the mold. This allows you to visualize your design before securing anything.
Step 2: Secure the Beads
Using your hot glue gun, carefully apply glue to each bead to secure it in the mold. Make sure to allow each bead to cool completely before moving on to ensure they won’t shift or fall out.
Step 3: Attach the Fishing Line
Once the beads are secured and cooled, take your heavy-duty fishing line and cut a length that will allow for hanging. Thread it through the top of the butterfly design and tie a sturdy knot.
Step 4: Hang Your Suncatcher
Choose the perfect spot for your suncatcher and hang it where it can catch the light. Consider using an adhesive hook if you don’t want to drill holes or cause any damage to the surface.
Tips for the Best Result
- Consider Placement: Aim for a window that gets a lot of sunlight to maximize the light display.
- Avoid Excess Adhesive: Using too much glue can create a messy finish, so apply in small amounts.
- Let It Cure: Allow the glue to cure properly before hanging to ensure everything stays in place.
Customization / Variations
Feel free to customize your butterfly suncatcher with various bead shapes or sizes. You might also explore using crystal beads instead of pony beads for added sparkle or incorporate different color themes based on the season.
How to Display Your Suncatcher
Once your butterfly suncatcher is complete, consider hanging it near a bright window or in a sunny spot outdoors. It could also be a beautiful addition to a child’s room or a charming decoration for seasonal celebrations.
Frequently Asked Questions
Frequently Asked Questions
Can I use different types of beads?
Yes! While pony beads work great, you can experiment with different styles and sizes.
What if I don’t have a butterfly mold?
You can create a butterfly design freehand or use any other mold that inspires you.
How should I store my suncatcher?
Store it in a safe, dry place away from moisture to preserve its appearance.
What length should the fishing line be for hanging?
Cut the fishing line to a length that suits your hanging location, typically around 12 to 18 inches.
Can I make this project with younger children?
Yes, with supervision, this project can be a delightful activity for kids, allowing them to explore their creativity.
Conclusion
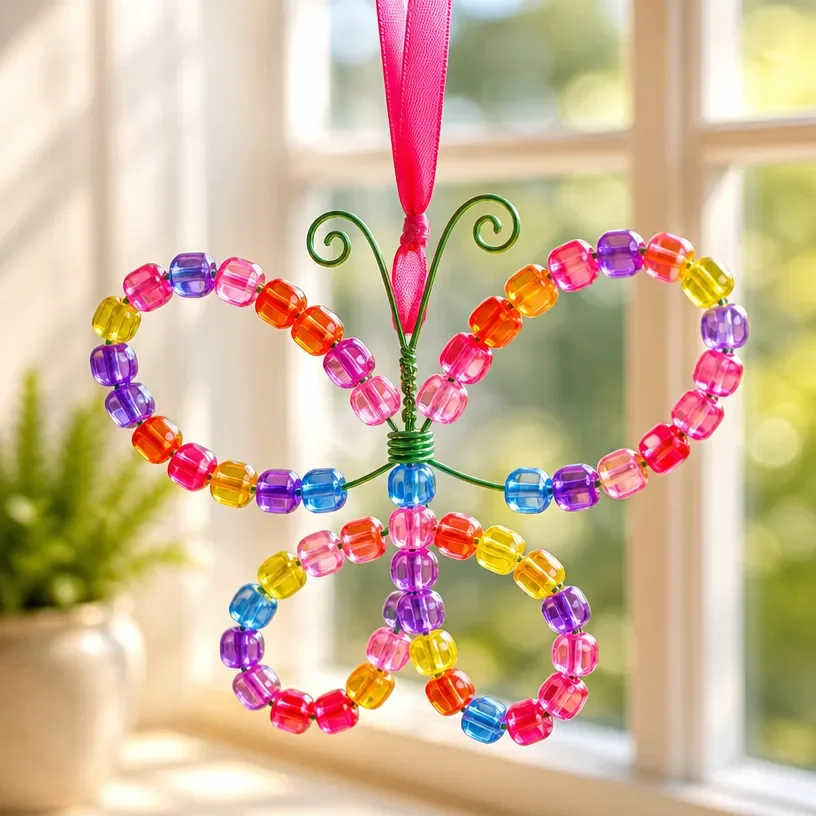
In summary, this DIY beaded butterfly suncatcher is a stunning and personalized decor piece you can make at home. Not only does it add beauty to your space, but it also makes a thoughtful gift for someone special. For more creative ideas, check out Melted Pony Bead Ornaments – Danya Banya or find the supplies you need, like the SHUANGART 252 Pcs Phone Chain Beaded Making Kit on Amazon.com. Enjoy crafting!
Beaded Butterfly Suncatcher
Ingredients
Method
- Arrange the pony beads by selecting your desired colors and laying them out in a butterfly shape on the mold.
- Using your hot glue gun, carefully apply glue to each bead to secure it in the mold.
- Allow each bead to cool completely before moving on to ensure they won’t shift or fall out.
- Cut a length of heavy-duty fishing line that will allow for hanging.
- Thread it through the top of the butterfly design and tie a sturdy knot.
- Choose the perfect spot for your suncatcher and hang it where it can catch the light.