Go Back
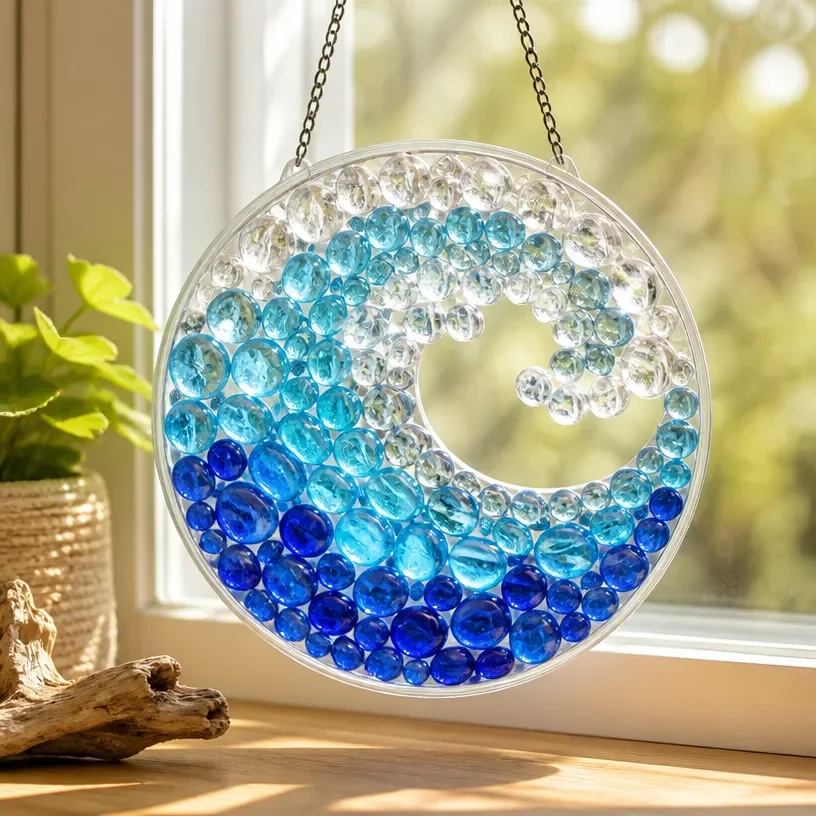
DIY sea glass wave suncatcher hanging in a sunny window

Sea Glass Wave Suncatcher

Create a stunning sea glass wave suncatcher that beautifully reflects natural light and enhances your home decor with its vibrant colors.
Prep Time 30 minutes
Total Time 30 minutes
Servings: 1 suncatcher
Course: Crafts, Home Decor
Cuisine: Artisan, DIY

Ingredients
  

Materials
  • 1 set Colored sea glass (various shades of blue, green, and clear) Choose shades for a beautiful oceanic effect.
  • 1 bottle Acrylic adhesive For securely holding the sea glass pieces.
  • 1 piece Transparent base (acrylic or glass) Serves as the foundation for your suncatcher.
  • 1 piece String or wire For hanging your finished piece.
  • 1 pair Protective gloves To ensure safety while handling adhesive and sharp glass.
Tools
  • 1 piece Scissors For cutting string or wire.
  • 1 piece Paintbrush For applying adhesive evenly.
  • 1 piece Ruler To measure your materials for a neat finish.

Method
 

Preparation
  1. Protect your work surface with newspaper or a silicone mat.
  2. Organize your materials and ensure all pieces of sea glass are clean and dry.
Designing
  1. Begin by arranging your sea glass pieces on the transparent base to create a wave pattern you love.
Assembly
  1. Once satisfied with the layout, use acrylic adhesive to secure each piece in place.
  2. Allow the suncatcher to dry completely, following the adhesive manufacturer's instructions.
  3. After drying, cut a piece of string or wire and attach it securely for hanging.
Display
  1. Hang your suncatcher in a sunny window to catch light and create beautiful reflections.

Notes

Consider using seasonal colors or different shapes for the base. Always be cautious when handling glass pieces.