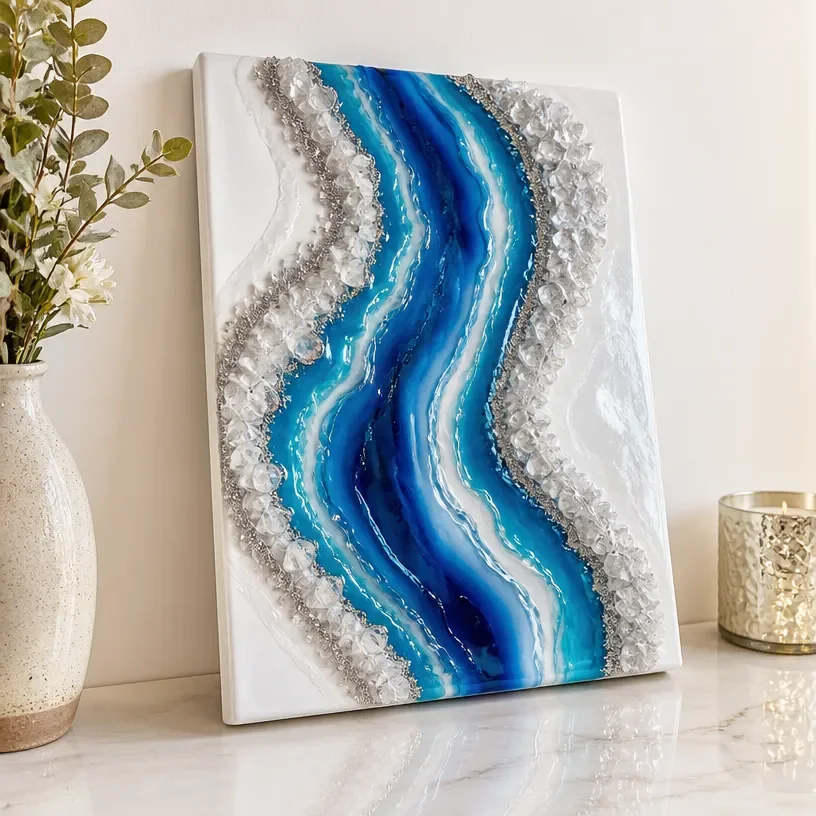
Ingredients
Method
Preparation
- Protect your work surface with a drop cloth or plastic sheeting.
- Gather all materials and tools within reach.
Mixing
- Follow the manufacturer's instructions to mix your epoxy resin—typically combining equal parts resin and hardener in a mixing cup.
- Stir thoroughly with a coffee stirrer for several minutes until well integrated.
Coloring
- Divide the mixed resin into smaller cups to create different colors.
- Add resin color pigments to achieve your desired shades and mix in glitter or mica powder if desired.
Pouring
- Pour your colored resins into the silicone mold, starting with one color and layering as you go.
- Use your stirrer to gently swirl the colors together without overmixing.
Bubbles Removal
- Use a heat gun or torch to gently pass over the surface to eliminate any air bubbles.
Curing
- Allow your resin to cure based on the manufacturer's instructions, typically taking 24 hours depending on thickness.
- Make sure your workspace is undisturbed during this period.
Finishing
- Once fully cured, carefully remove your resin art from the mold.
- Use sandpaper to smooth out any sharp or uneven edges.
Displaying
- Find a perfect spot in your home to display your newly crafted resin geode wall art.
Notes
To achieve the best result, work in a well-ventilated area and follow safety precautions. Customize colors and patterns to match your decor. Incorporating natural elements can add unique touches to your artwork.