DIY Crayon Flower Suncatchers: Melted Window Art
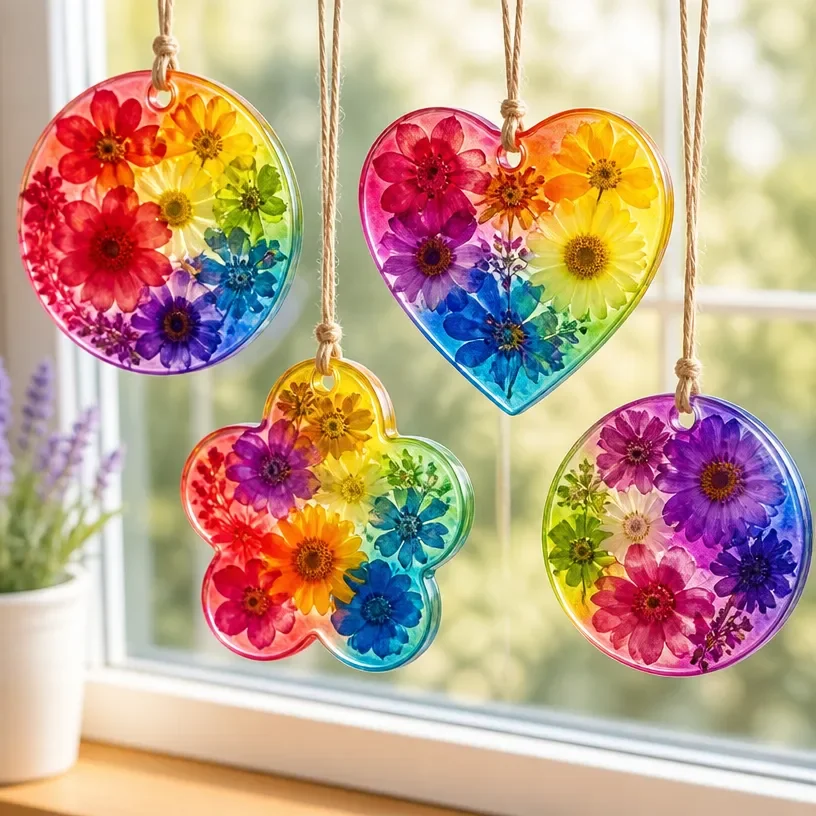
Creating beautiful window art can bring a vibrant touch of nature and creativity into your space. In this DIY project, we will guide you through making stunning crayon flower suncatchers that capture light and add color to any window. The melted crayon design not only offers a unique aesthetic but also allows for personalization with colors of your choice, making it a fun project for all ages. You may also find Diy 3D Flower Wall Art Fruit Foam Nets Home Decor useful.
These suncatchers can elevate any room’s decor and make thoughtful gifts for friends and family. As light shines through them, they create a cheerful ambiance that brightens both your home and your spirit. You may also find Diy Pressed Flower Art Wall Art useful.
Why You’ll Love This Project
Making your own crayon flower suncatchers is both satisfying and enjoyable. Here are a few reasons why this project is a must-try: You may also find Diy Rainbow Cd Flower Mosaic Wall Art useful.
- Display-Worthy Results: The finished suncatchers are stunning, capturing the light beautifully and enhancing your home decor.
- Customizable: You can choose your favorite colors and flower shapes, allowing for personal expressions in every suncatcher.
- Simple Technique: The melting process is fairly straightforward, making it an excellent project for both beginners and experienced crafters.
- Fun and Interactive: It’s a delightful activity for kids and adults alike, perfect for crafting days or family bonding.
- Inexpensive Materials: Most of the materials you need, such as old crayons and wax paper, can be found around your home or at a low cost.
To enhance your decorative skills, consider exploring other DIY projects, such as botanical pressed flower wall art, which also emphasizes the beauty of nature in your home.
Before You Begin
Getting set up properly will make the crafting process smoother. Here are a few helpful tips before you dive into making your suncatcher: You may also find Diy Artificial Sea Glass Vase Coastal Decor useful.
- Protect Your Work Surface: Lay down parchment paper or a silicone mat to catch any melted wax and prevent a messy workspace.
- Gather Materials: Organize all your supplies before starting. This includes crayons, wax paper, a baking sheet, and a hairdryer.
- Ventilation: Ensure you’re in a well-ventilated area when melting the crayons to avoid any fume buildup.

Materials You’ll Need
Here’s a list of materials you will need for this project:
- Old crayons These will be melted down to create your colorful designs.
- Wax paper This acts as a base for the melted crayons to solidify on.
- Baking sheet For placing the wax paper and crayons in the oven.
- Hairdryer To melt the crayons effectively.
- Scissors For trimming your suncatchers once they have cooled and set.
Tools
- Oven For melting the crayon pieces.
- Pencil or marker For outlining your flower designs on the wax paper, if desired.
How to Make the Project
Step 1: Prepare the Crayons
Start by unwrapping the crayon pieces and breaking them into smaller pieces. This will help them melt faster and evenly.
Step 2: Arrange the Crayon Pieces
On the wax paper, arrange your broken crayon pieces in flower shapes or any pattern you like. Remember to leave some space in between so that they can blend during melting.
Step 3: Melt the Crayons
Preheat your oven to 200°F (93°C). Place the wax paper with crayons on a baking sheet and put it in the oven for about 10-15 minutes, monitoring closely until the crayons are fully melted. Alternatively, you can use the hairdryer to melt the crayons more precisely.
Step 4: Shape the Suncatchers
After the crayons are melted, use a toothpick or a small skewer to swirl the melted wax together, forming a marbled or more integrated look if desired. Let it cool completely on a flat surface.
Step 5: Cut and Hang
Once cooled, carefully cut out the flower shape you desire. You can then hang them in your windows using clear thread or even command hooks for a sleek display.
Tips for the Best Result
- Melting Temperature: Make sure to monitor the melting process closely to avoid burning the wax.
- Color Balance: When selecting your crayon colors, think about how they will look when melted together, as some colors may dominate others.
- Alignment: If you’re making multiple flowers, ensure they are aligned properly when hanging to create a visually appealing display.
Customization / Variations
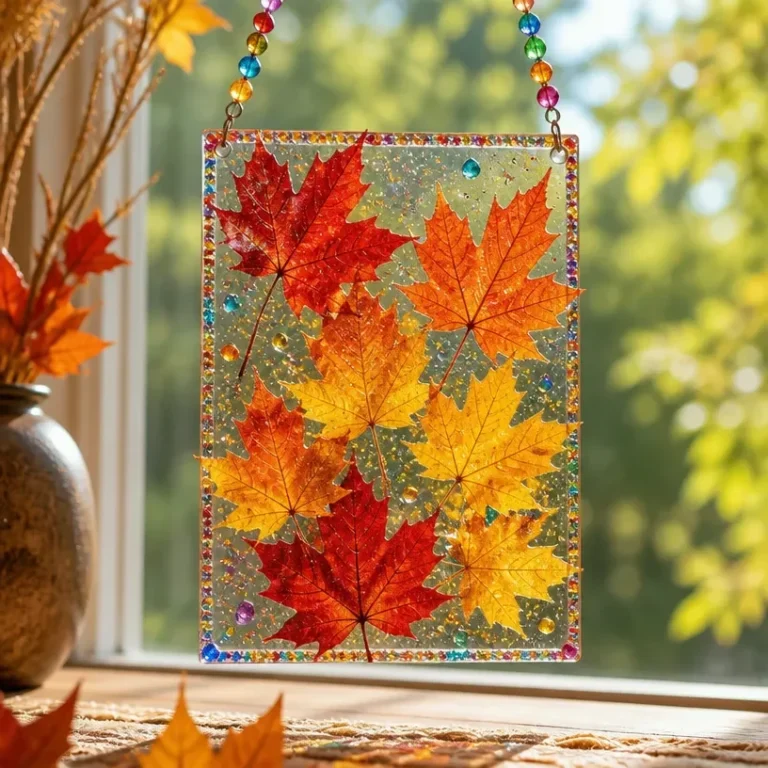
Consider experimenting with different shapes and colors. For instance, you might use warm colors for a summer theme or cooler shades to reflect a winter vibe. You could even create a combination of shapes, like leaves alongside flowers, for a more dynamic look.
How to Display Your Suncatcher
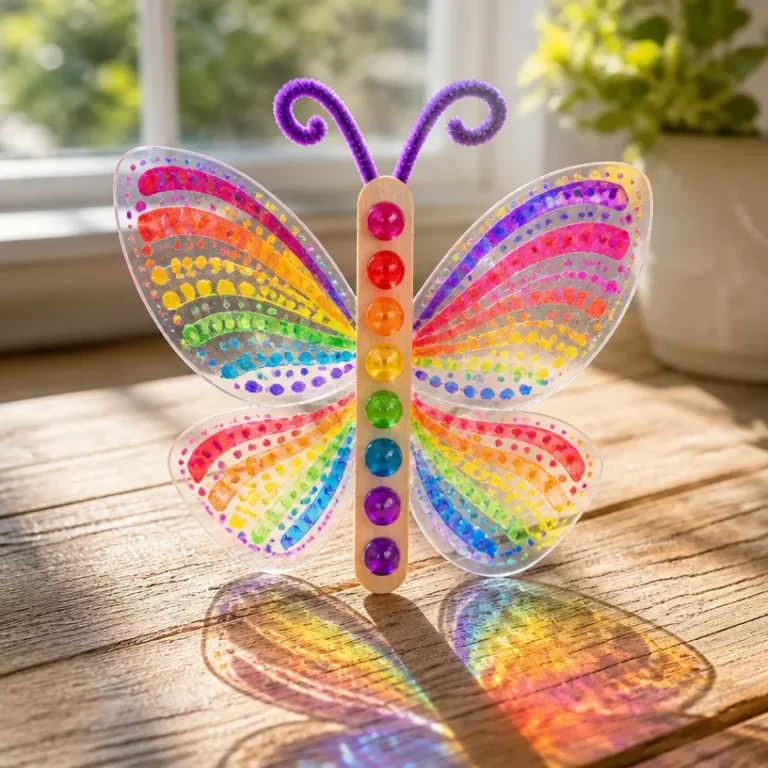
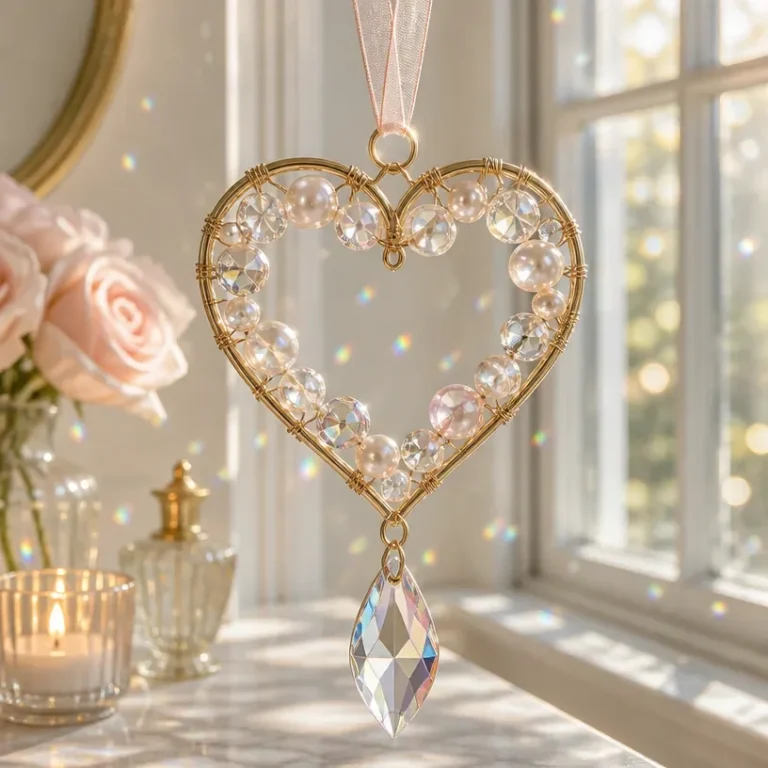
These beautiful crayon flower suncatchers can be displayed in various ways. Hang them in your windows to catch sunlight and create mesmerizing patterns on your walls. You might also consider giving them as gifts, especially as cheerful presents during spring.
Care and Storage
Handle your suncatchers carefully to avoid bumps or scratches. If they become dusty, simply wipe them gently with a soft cloth. Be sure to store them in a dry area if you take them down for the season to avoid accidental damage.

Frequently Asked Questions
What if I don’t have wax paper?
You can use parchment paper as an alternative, but make sure it can withstand the heat of the oven.
Can I use different materials besides crayons?
While crayons are ideal for this project, you could experiment with colored wax beads for a similar effect.
How do I hang my suncatchers?
Using clear thread or fishing line is great as it is less visible once hung; adhesive hooks also work well for temporary displays.
What should I do if my crayons don’t melt properly?
If your crayons are not melting evenly, ensure they are broken into smaller pieces and that they spend enough time in the oven.
Conclusion
In this project, you learned how to create stunning crayon flower suncatchers that not only brighten your home but also showcase your creativity. Use these suncatchers to bring a colorful touch to your windows year-round or consider gifting them to friends and family for a handmade touch of charm. If you’re looking for more creative projects, try making a melted crayon sun catcher or explore the wax paper art techniques for even more colorful craft ideas!

Crayon Flower Suncatchers
Ingredients
Method
- Unwrap the crayon pieces and break them into smaller pieces.
- Arrange the broken crayon pieces on the wax paper in flower shapes, leaving space in between.
- Preheat the oven to 200°F (93°C).
- Place the wax paper with crayons on a baking sheet and bake for about 10-15 minutes until the crayons are fully melted.
- Alternatively, use a hairdryer to melt the crayons by directing heat onto them.
- Use a toothpick or small skewer to swirl the melted wax together for a marbled effect.
- Allow the melted crayons to cool completely on a flat surface.
- Once cooled, carefully cut out the desired flower shape.
- Hang the completed suncatchers in windows using clear thread or command hooks.