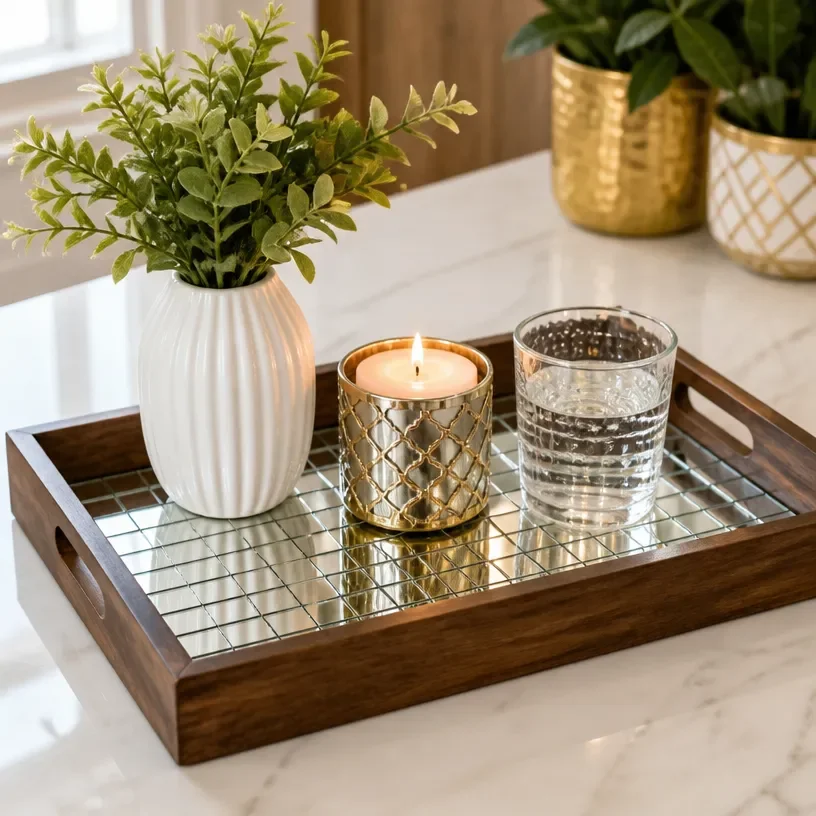
Creating a DIY Modern Mirror Mosaic Serving Tray not only enhances your decor but also adds a touch of elegance to your home. The shimmering reflections from the mosaic pieces create a visually stunning effect that’s perfect for showcasing your favorite candles or appetizers during gatherings. This project is simple enough for beginners and can be customized to fit your personal style. You may also find Diy Sea Glass Mosaic Mirror Coastal Decor useful.
With the right materials and steps, you can craft a beautiful serving tray that embodies your unique aesthetic. Let’s dive into how you can make this charming addition to your home decor. You may also find Diy Sea Glass Mosaic Mirror For Coastal Wall Decor useful.
Why You’ll Love This Project
Benefits of the Modern Mirror Mosaic Tray
- Display Worthy: The finished tray offers a captivating reflective surface that enhances any table setting.
- Customizable Design: You can choose your color scheme and materials, making each tray a unique piece.
- Inexpensive Materials: Most of the needed items are affordable and easy to source, allowing this project to fit any budget.
- Perfect for Gifting: Show off your crafting skills by making this for family or friends; it makes an excellent handmade gift.
- Multiple Uses: Whether as a decorative accent or a functional serving tray, this project serves various purposes.
Before You Begin
It’s essential to prepare your workspace to ensure a smooth crafting experience. Start by protecting your work surface with newspaper or a crafting mat to catch any mess. Gather all your materials in one place to help streamline the process, ensuring you have everything at hand. Also, make sure to clean your mirror pieces thoroughly as dust and fingerprints can affect the final look of your mosaic tray. You may also find Crystal Lotus Prism Mirror Frame Diy Elegant Home Decor useful.
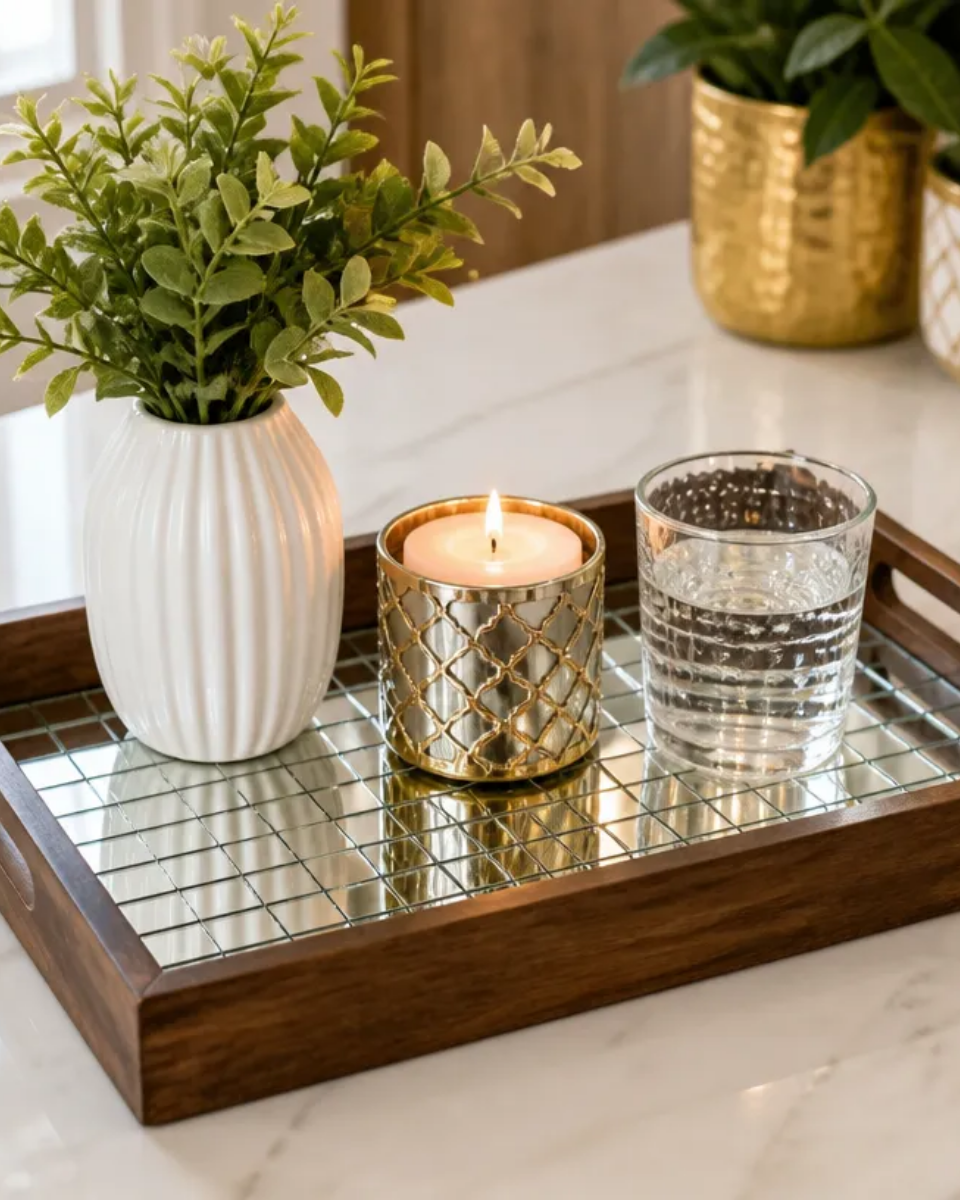
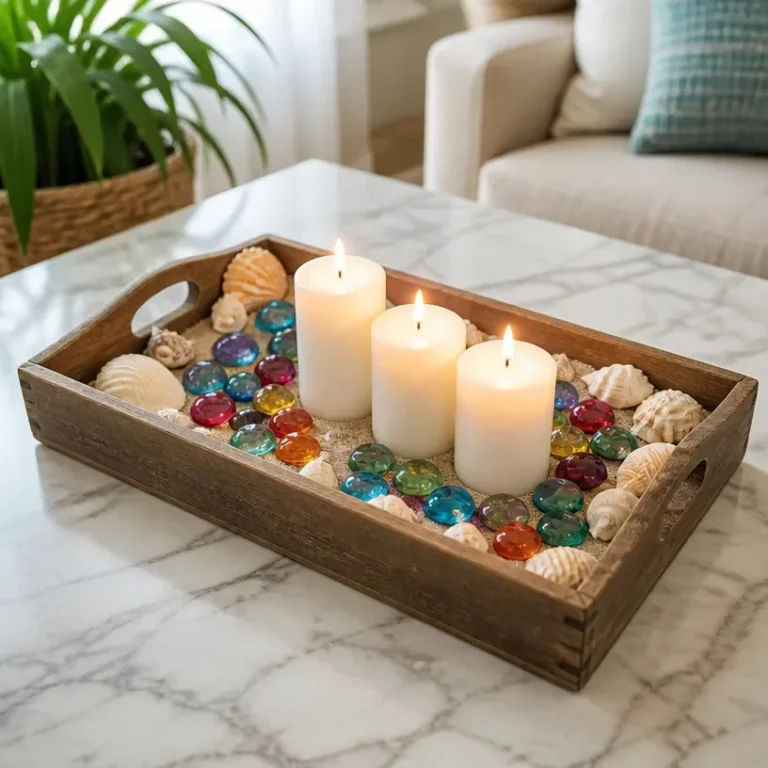
You may also find Diy Beach Themed Candle Tray Rainbow Glass Gems useful.
Materials You’ll Need
- Wooden tray base serves as the foundation for your mosaic design.
- Mirror pieces adds dimension and sparkle to your tray; you can find these at craft stores.
- Adhesive a strong glue suitable for glass and wood to secure the mirror pieces.
- Grout fills the gaps between the mirrors and gives your tray a polished finish.
- Sealer protects your tray from moisture and enhances durability.
Tools
- Craft knife helps to cut the mirror pieces to fit your desired pattern.
- Ruler ensures accurate measurements when cutting mirrors.
- Sponge used for applying grout and cleaning excess.
How to Make the Project
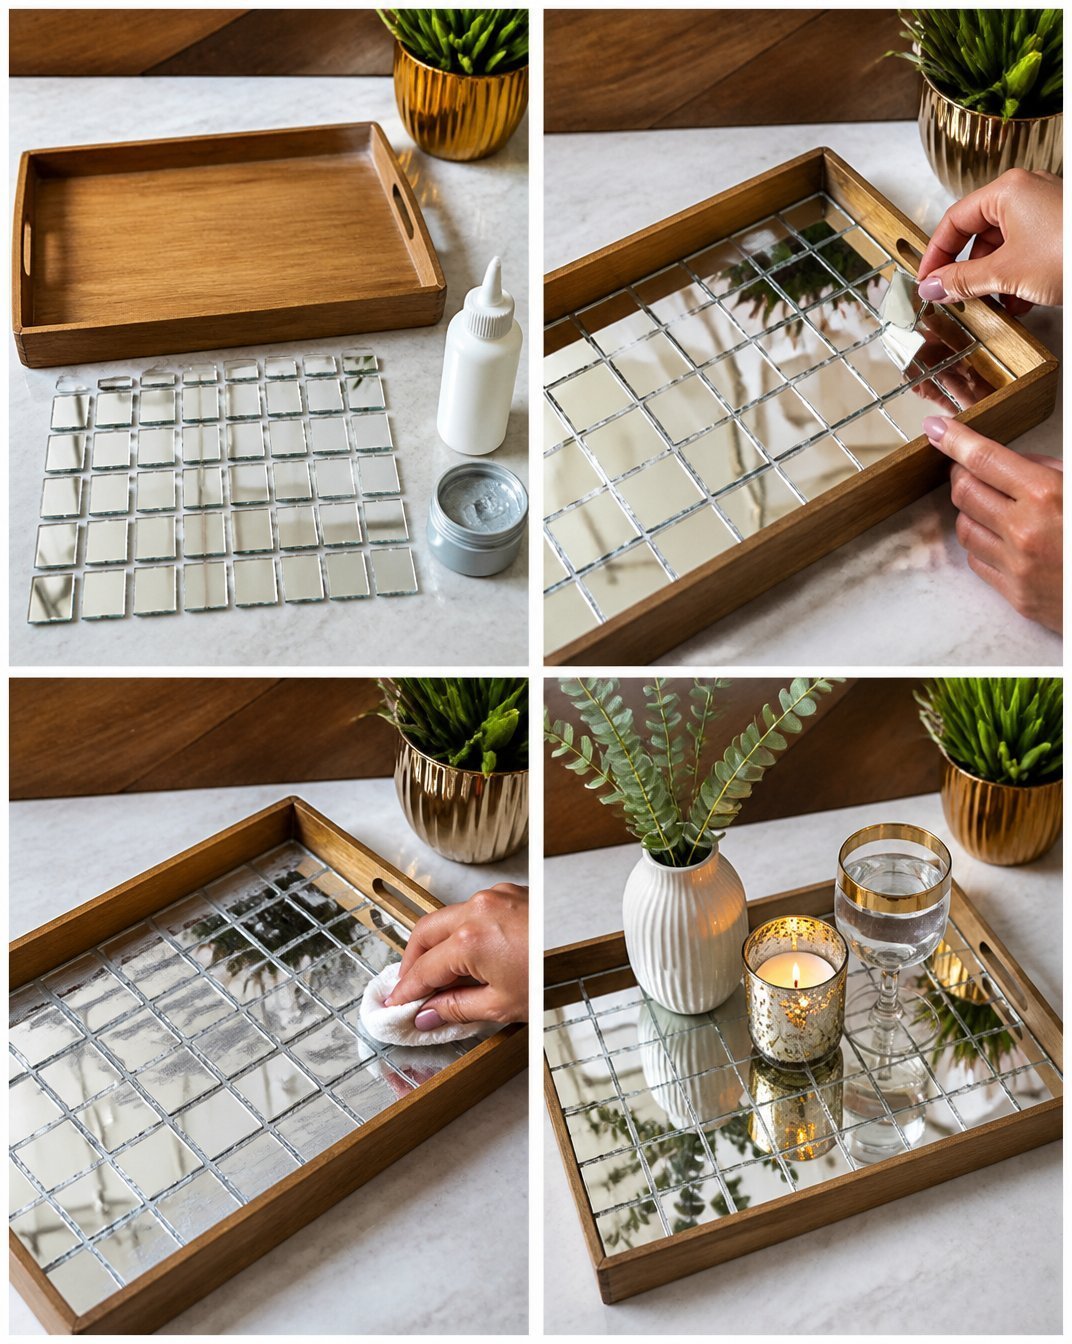
Step 1: Prepare Your Tray Base
Begin by ensuring your wooden tray base is clean and dry, which will help the adhesive bond better. You may also find Diy Crystal And Pearl Hanging Heart Suncatcher Tutorial useful.
Step 2: Cut the Mirror Pieces
Use the craft knife to cut the mirror into various shapes, allowing for a design that fits your personal style. Consider geometric shapes or random pieces for a more organic look. Always wear protective gloves and goggles to ensure safety during this step.
Step 3: Arrange the Mirror Pieces
Lay out your cut mirror pieces on the tray, starting from the center outwards. This arrangement will give a balanced appearance. Once you’re satisfied with your design, it’s time to secure the mirrors in place.
Step 4: Secure the Design
Apply adhesive to the back of each mirror piece and press them firmly onto the tray base. Allow this to dry completely according to the manufacturer’s instructions.
Step 5: Mix and Apply Grout
Once the adhesive has set, prepare the grout as per the package instructions. Spread it between the mirror pieces using a sponge, pushing it into the gaps to create a cohesive look.
Step 6: Clean Excess Grout
After the grout has set for the recommended time, dampen a sponge and gently wipe away any excess from the mirror surfaces, ensuring a neat finish.
Step 7: Seal the Tray
To protect your mosaic tray, apply a thin layer of sealer over the entire surface. This step will help prevent moisture damage and maintain the brilliance of the mirror pieces.
After completing these steps, your modern mosaic tray will be ready to use. You can showcase it as a centerpiece or use it practically in your home.
Tips for the Best Result
- Plan Your Design: Before sticking down the mirrors, take your time to plan the layout thoroughly.
- Work in a Ventilated Area: When using adhesives and sealers, ensure your workspace is well-ventilated to avoid inhaling fumes.
- Use Consistent Pressure: When applying the grout, ensure even pressure for a smooth finish.
- Check Placement Again: After gluing the mirrors, double-check their placement before the adhesive dries to avoid any misalignments.
Customization / Variations
Feel free to customize your mosaic tray further by experimenting with different color mirror tiles, or even incorporating colored glass pieces. You can also adjust the size of your tray to fit specific spaces or occasions. Consider adding embellishments around the edges for an added layer of detail, like twine or ribbon to give it a rustic finish.
How to Display Your Finished Project
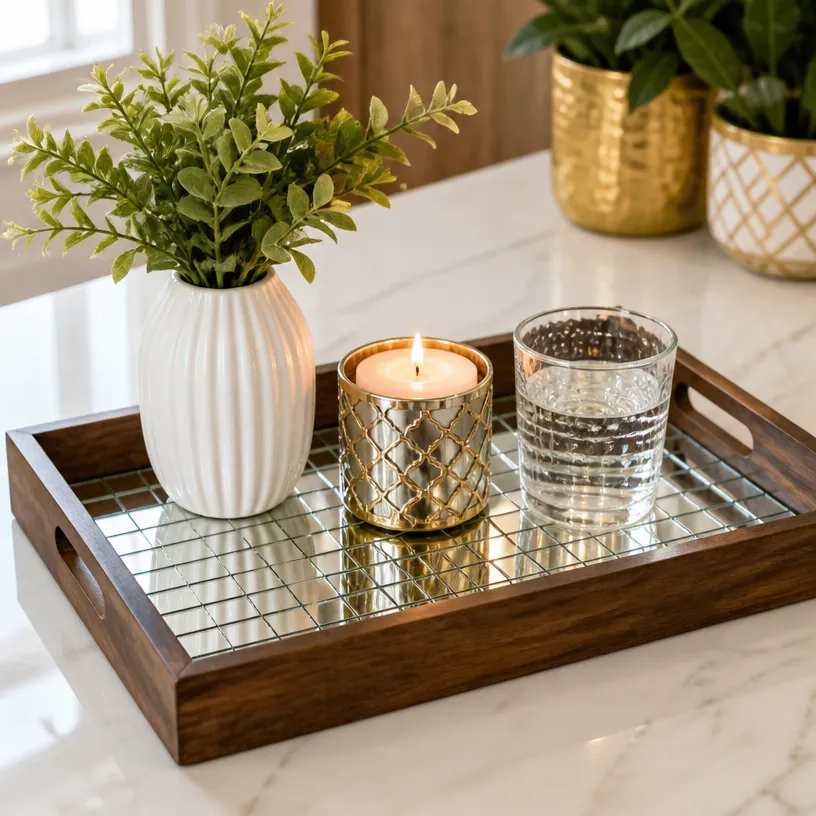
The Modern Mirror Mosaic Serving Tray can serve various functions in your home. Place it on a coffee table as a decorative piece or use it to serve snacks during a gathering. It also makes a great addition to a vanity for organizing beauty products or displaying personal keepsakes.
Frequently Asked Questions
Frequently Asked Questions
1. Can I substitute materials?
Yes, you can use different types of glass or mirrors, but make sure the adhesive is compatible with the materials you choose.
2. How long does the tray take to dry?
The drying time can vary based on the adhesive and grout used; always refer to the product’s instructions.
3. Is this tray dishwasher safe?
To maintain its aesthetic, it’s recommended to clean it by hand instead of using a dishwasher.
4. Can I use this tray outdoors?
It’s best for indoor use unless you use water-resistant materials and sealer specifically designed for outdoor applications.
5. How can I fix cracked mirrors?
If you crack a mirror, replace it with a new piece or attempt to fill in minor cracks with grout.
Conclusion
Your DIY Modern Mirror Mosaic Serving Tray adds a touch of sophistication to any space, combining functionality with style. Enjoy showing off this beautiful piece at home, and consider customizing it further to reflect your tastes. If you’re looking for more inspiration, check out this decorative mosaic tray project for additional ideas, or explore this wood and resin tray tutorial that beautifully complements your handmade creations.
Follow Glow Studio DIY for fresh DIY ideas & inspiration!
Modern Mirror Mosaic Serving Tray
Would you like to save this project?
By submitting you agree to receive this project and occasional emails. Unsubscribe anytime.
Materials
Tray Materials
- 1 unit Wooden tray base Serves as the foundation for your mosaic design.
- Various pieces Mirror pieces Adds dimension and sparkle to your tray; can be found at craft stores.
- 1 tube Adhesive Strong glue suitable for glass and wood.
- 1 box Grout Fills gaps between mirrors and gives a polished finish.
- 1 bottle Sealer To protect the tray from moisture.
Directions
Preparation
- Prepare your workspace by protecting the surface with newspaper or a crafting mat.
- Gather all materials to streamline the crafting process.
- Clean mirror pieces to remove any dust or fingerprints.
Creating the Tray
- Ensure your wooden tray base is clean and dry.
- Use a craft knife to cut the mirror pieces into various shapes.
- Arrange the cut mirror pieces on the tray starting from the center.
- Apply adhesive to the back of each mirror and press them onto the tray.
- Allow the adhesive to dry completely as per the manufacturer's instructions.
- Mix the grout as per package instructions and spread it between the mirrors using a sponge.
- After the grout has set, wipe away excess grout from the mirror surfaces.
- Apply a thin layer of sealer over the entire surface to protect the tray.
Last Step: Don’t forget to leave a rating and comment below! It helps other readers find the best DIY projects — and it helps us too!